516
Making Video
Now the wire is not hanging inside the cigarette lighter in the registrar.
He came sat in the car. recorder on the magnets and went plop. mudohatsya do not need a charger wires and other things (added at the request of readers)
26 photos
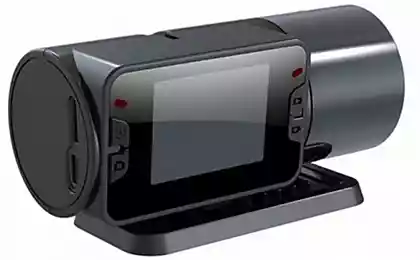
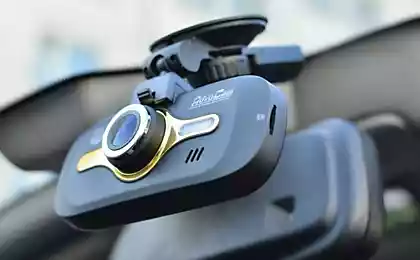
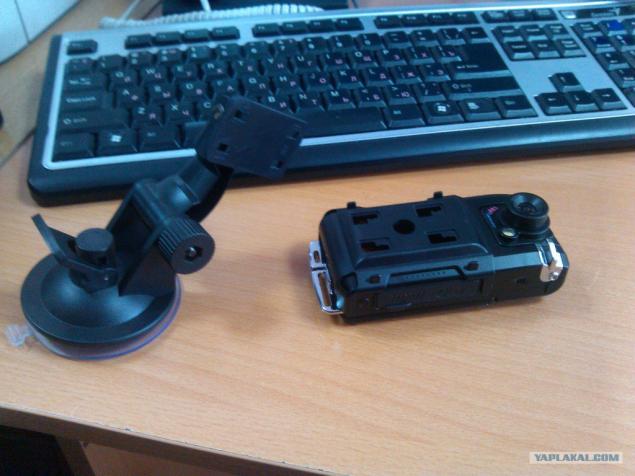
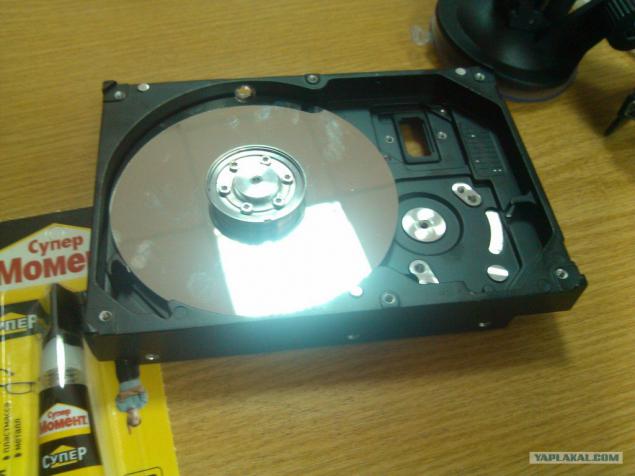
1 - the actual patient.
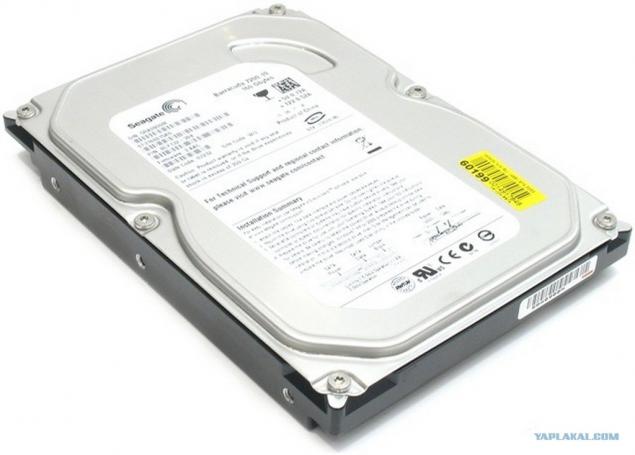
2 - we need to finalize a dead hard drive or not.
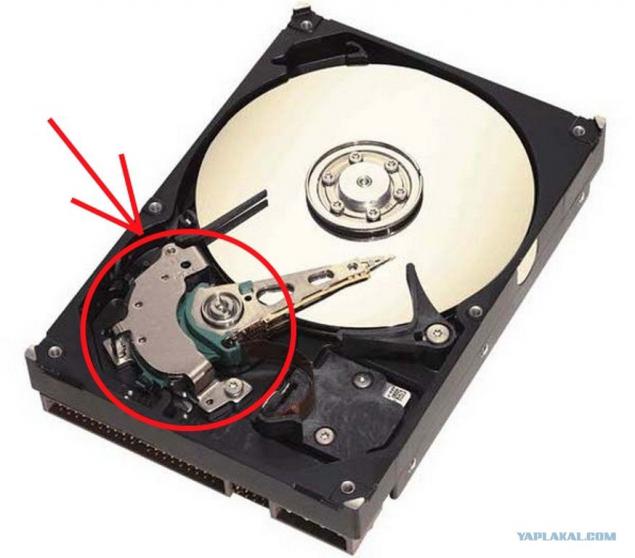
3 - the most important thing that we need magnets. TWO them there.
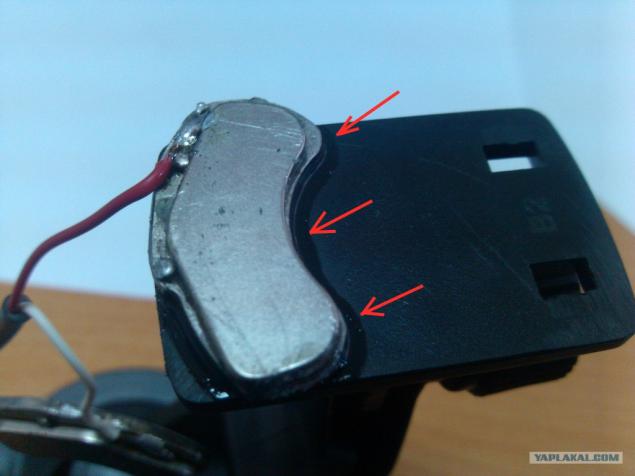
4 - after opening the screw, you can mirror zamanstyrit. :)
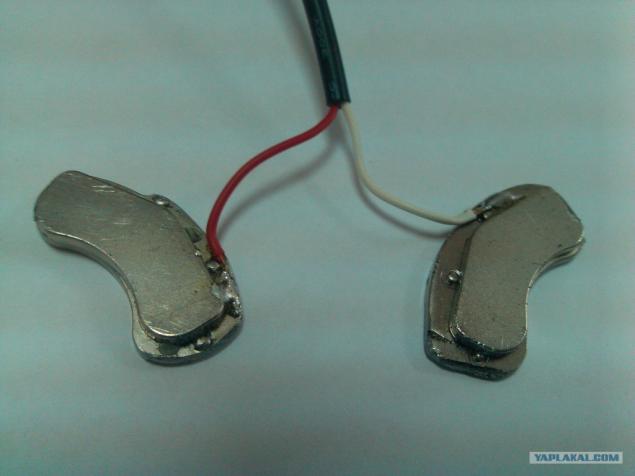
5 - unfortunately did not immediately began to take a picture, so the removed magnets ground beneath them (alone should not - be a fragile structure)
napayanymi with wires.
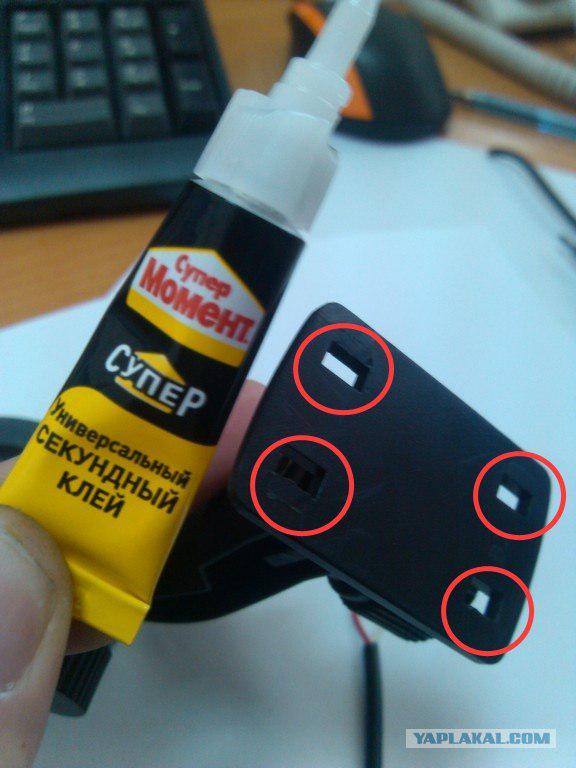
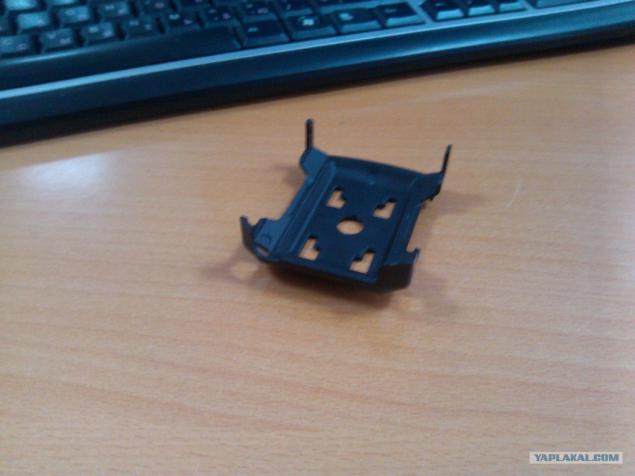
6 - Leg was fixed before the coupling, we do not need it, grind a zero catches.
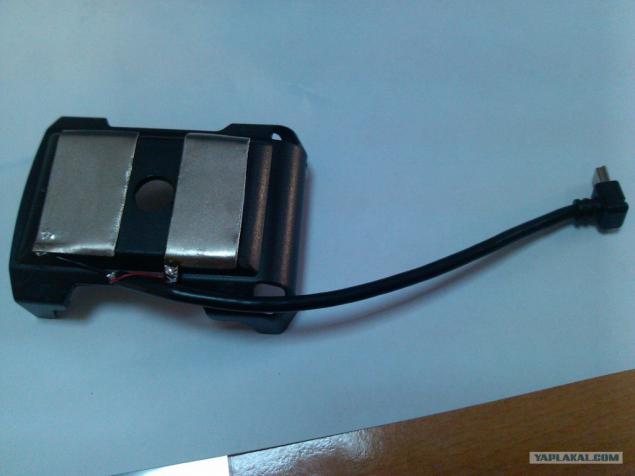
Glue is then used everywhere :) (I think the time is best)
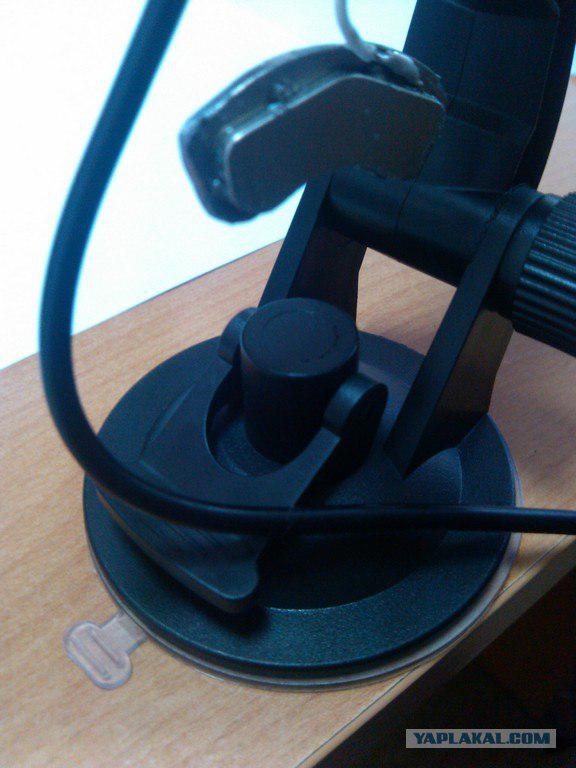
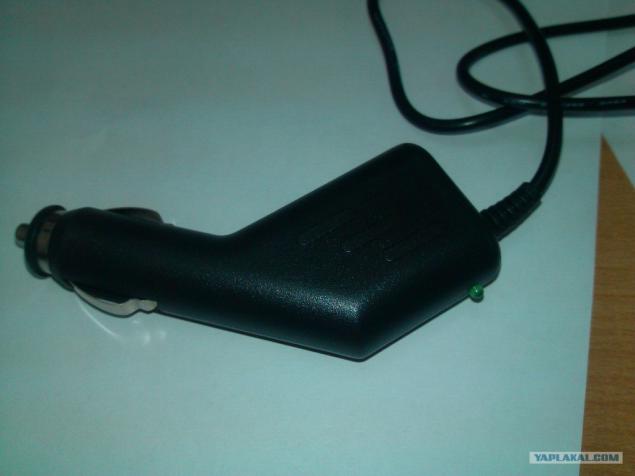
7 - For further convenience, the holder fixed to the suction cup on the table. :)
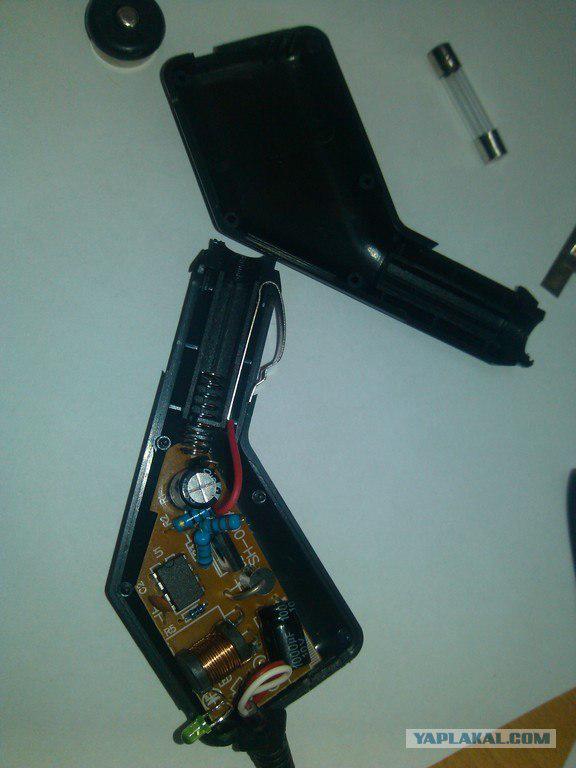
8 - attaching a first pad. It puts on the glue. You can not worry about holding tightly!
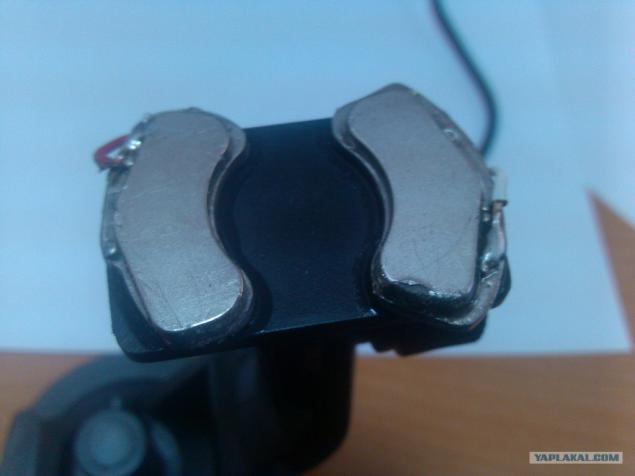
9 - should be fixed second. I advise you to keep the magnets are kept away from each other. cleave if zadolbali tear :)
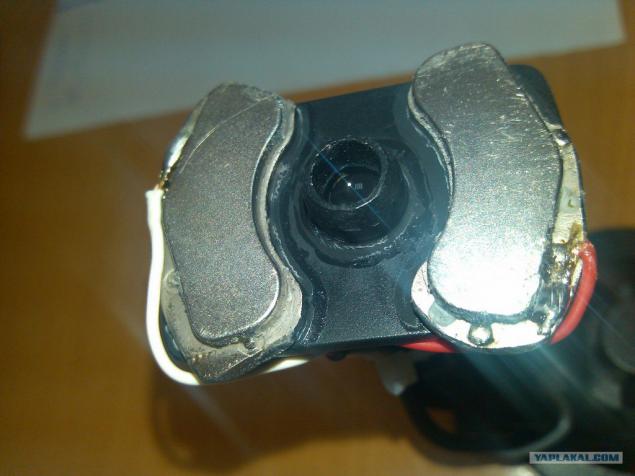
10 - stuck in the middle of a piece of plastic tube and Stoch chamfer. in the second leg of the holder has a hole. just to center the design and not to crawl to the registrar.
11 - so as not to spoil the registrar himself and be able to put that in the case of the standard holder subsequently modified the hardware only.
12 - from the cover of the hard drive with scissors cut two metal plates and soldered to them the most common wire miniUSB (black & quot; - & quot ;, red & quot; + & quot;)
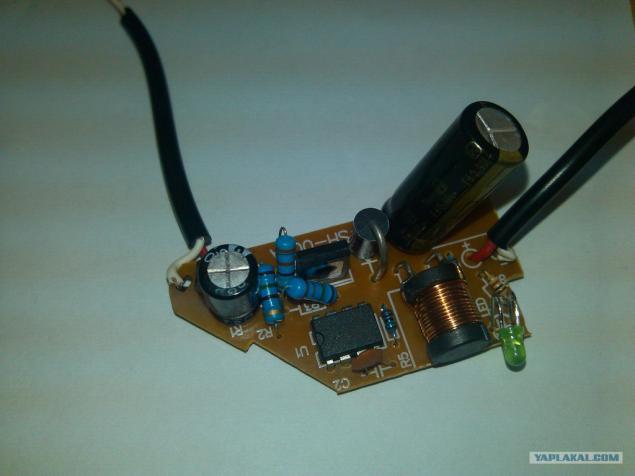
13 - battery charger.
14 - disassemble it, take out the insides
15 - at the output filter capacitor is 1000mF x 10V resolder more capacious - 1800 mF x 16v (just vypayal from the old dead motherboard)
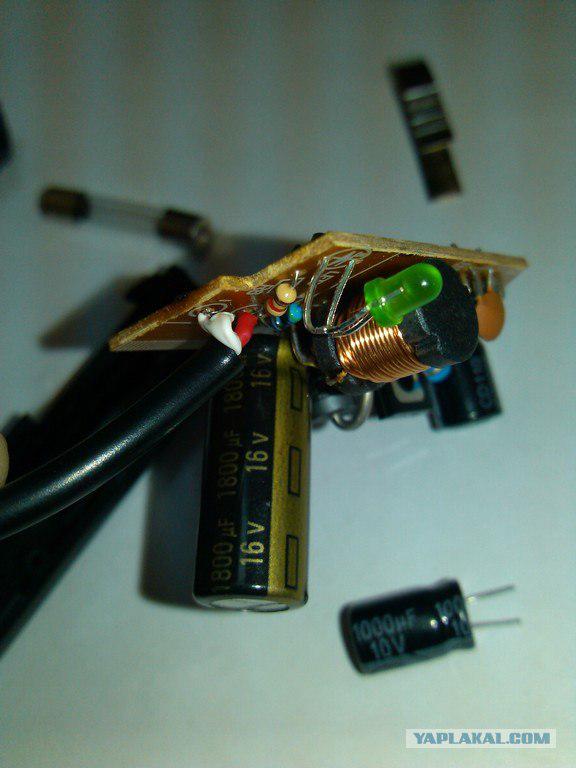
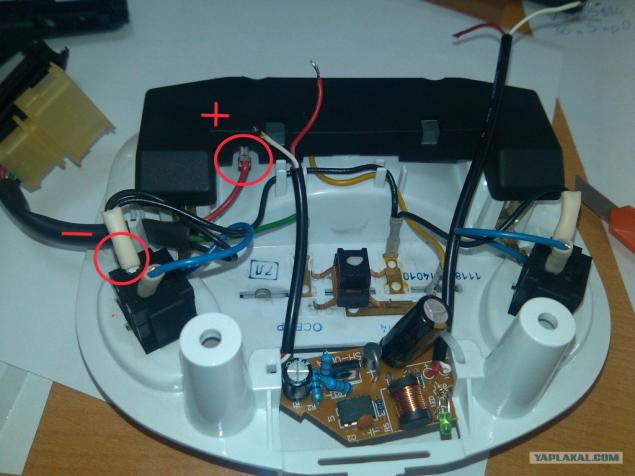
16 - to the input and output adapter soldered wire. everything - is ready for installation.
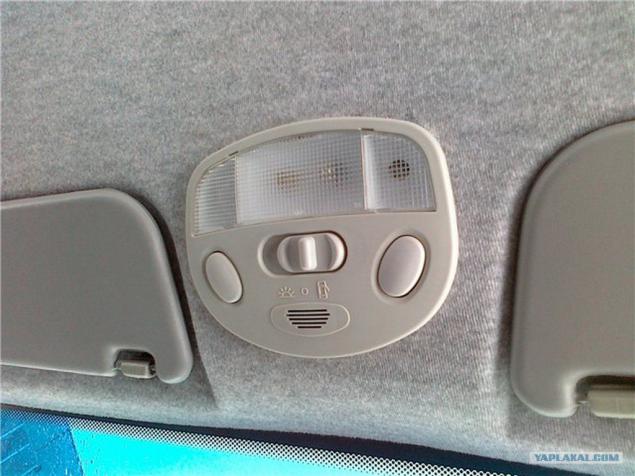
17 - Car viburnum, but I think the others are the same. remove Courtesy light.
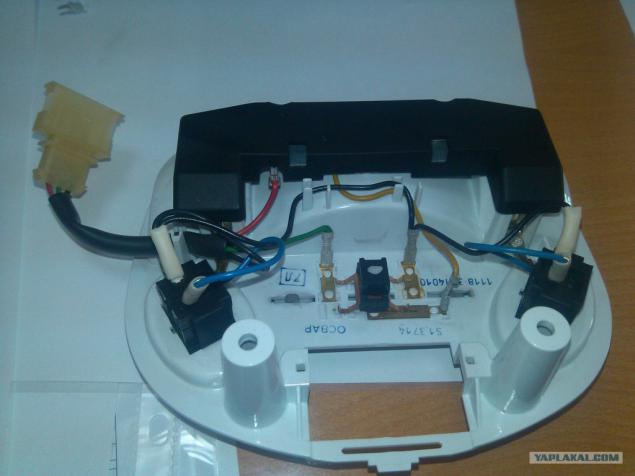
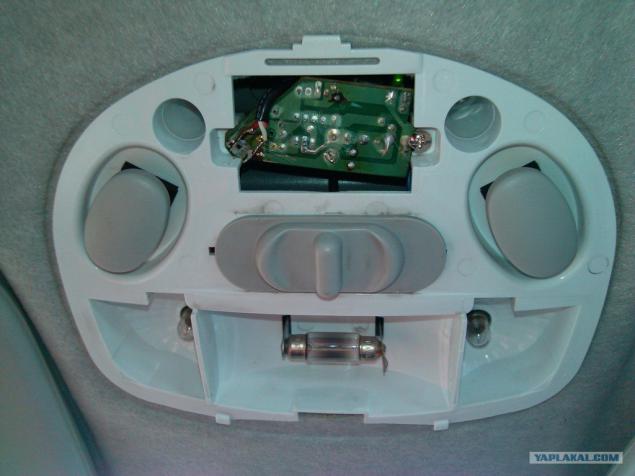
18 - in the disassembled state. in the middle you can see the empty space, and did not understand why. but judging from the grid in the ceiling of apparently for the buzzer or speaker. microphone or handsfree. back and will strengthen the power adapter

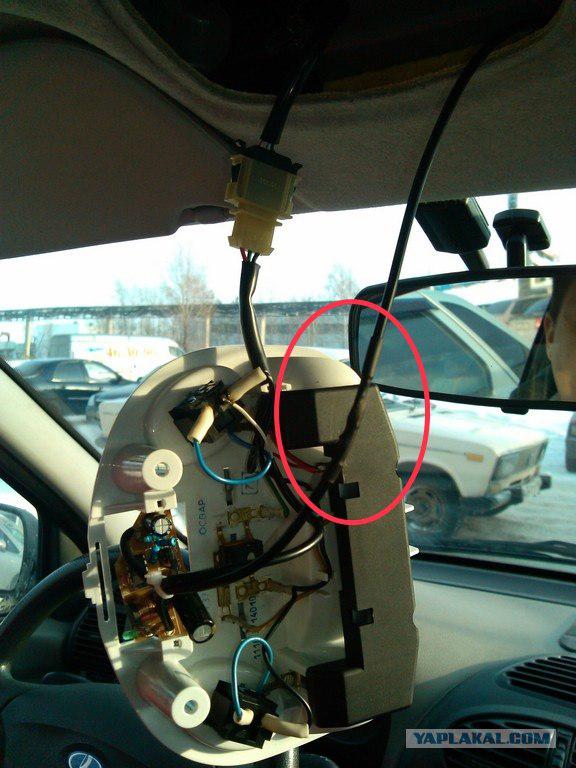
19 - Unscrew the bolt and right visor ...
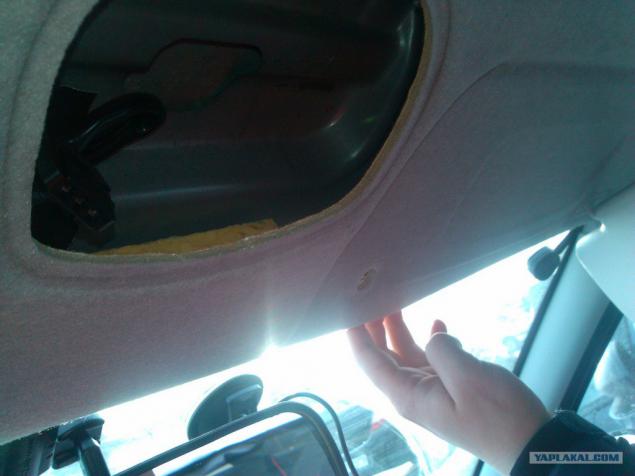
20 - raised his hand missed the wire from the registrar of the ...
there you

21 - ceiling prior to installation.
22 - after the installation of the ceiling adapter. marked the spot soldering 12V.
23 - picks up the bowl, twist the wires from the attachment to the output adapter and tightens shrink tube.
24 - the ceiling is in place. adapter hid inside.
25 - basically closed the lid on the ceiling and took a photo on the side.
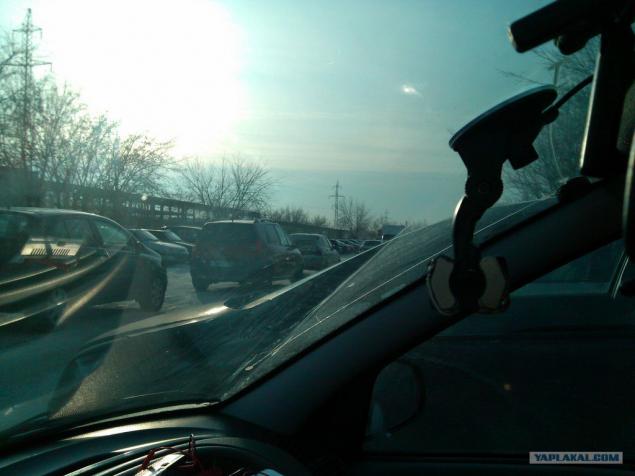
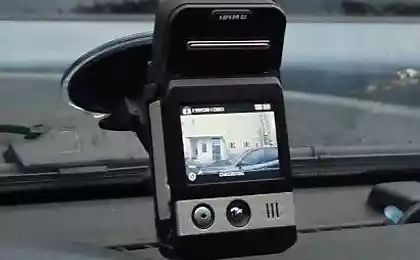
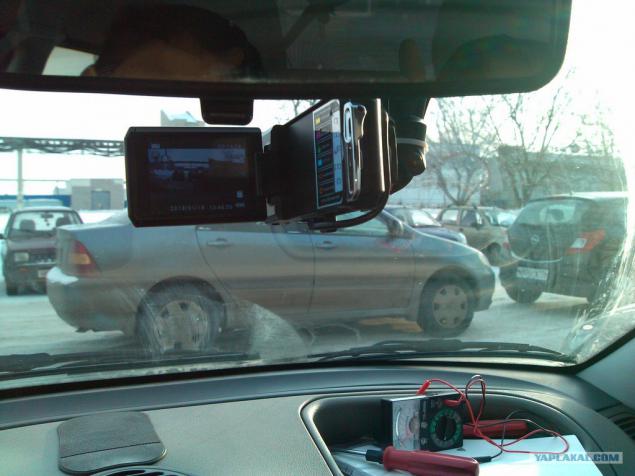
26 - plus a general view. recorder installed quite easily. removed from the force, but enough of one hand.
+ P.S & gt; Wire pads going to pour Melt today with the office was not just another black plastic ties need to buy, do not look very white. :)
+ P.S & gt; That's all I wanted to say. throw stones :)
Source:
He came sat in the car. recorder on the magnets and went plop. mudohatsya do not need a charger wires and other things (added at the request of readers)
26 photos
1 - the actual patient.

2 - we need to finalize a dead hard drive or not.

3 - the most important thing that we need magnets. TWO them there.

4 - after opening the screw, you can mirror zamanstyrit. :)

5 - unfortunately did not immediately began to take a picture, so the removed magnets ground beneath them (alone should not - be a fragile structure)
napayanymi with wires.

6 - Leg was fixed before the coupling, we do not need it, grind a zero catches.
Glue is then used everywhere :) (I think the time is best)

7 - For further convenience, the holder fixed to the suction cup on the table. :)

8 - attaching a first pad. It puts on the glue. You can not worry about holding tightly!

9 - should be fixed second. I advise you to keep the magnets are kept away from each other. cleave if zadolbali tear :)

10 - stuck in the middle of a piece of plastic tube and Stoch chamfer. in the second leg of the holder has a hole. just to center the design and not to crawl to the registrar.

11 - so as not to spoil the registrar himself and be able to put that in the case of the standard holder subsequently modified the hardware only.

12 - from the cover of the hard drive with scissors cut two metal plates and soldered to them the most common wire miniUSB (black & quot; - & quot ;, red & quot; + & quot;)

13 - battery charger.

14 - disassemble it, take out the insides

15 - at the output filter capacitor is 1000mF x 10V resolder more capacious - 1800 mF x 16v (just vypayal from the old dead motherboard)

16 - to the input and output adapter soldered wire. everything - is ready for installation.

17 - Car viburnum, but I think the others are the same. remove Courtesy light.

18 - in the disassembled state. in the middle you can see the empty space, and did not understand why. but judging from the grid in the ceiling of apparently for the buzzer or speaker. microphone or handsfree. back and will strengthen the power adapter

19 - Unscrew the bolt and right visor ...

20 - raised his hand missed the wire from the registrar of the ...
there you

21 - ceiling prior to installation.

22 - after the installation of the ceiling adapter. marked the spot soldering 12V.

23 - picks up the bowl, twist the wires from the attachment to the output adapter and tightens shrink tube.

24 - the ceiling is in place. adapter hid inside.

25 - basically closed the lid on the ceiling and took a photo on the side.

26 - plus a general view. recorder installed quite easily. removed from the force, but enough of one hand.
+ P.S & gt; Wire pads going to pour Melt today with the office was not just another black plastic ties need to buy, do not look very white. :)
+ P.S & gt; That's all I wanted to say. throw stones :)

Source: