809
CB (CB) connection in the car on Feng Shui
Good day to all. Ripe for his first post for YaP'a. I'll talk about how to install the radio in the car. The victim would be 2114, which I bought new in 2011.
Will be 34 photos. Kicking the can, at the end of the post. Breaking is not desirable!
The report I have already spread to Drive2. I decided to show to you)
So there you go
Well, I was ripe for the installation of radio. On the road I travel often, so I decided to have at least some alternative form of communication. Of course, the first step - the purchase of equipment. After a lot of incense and forums ci-bi.ru cb-ufa.ru chose here this budget included:
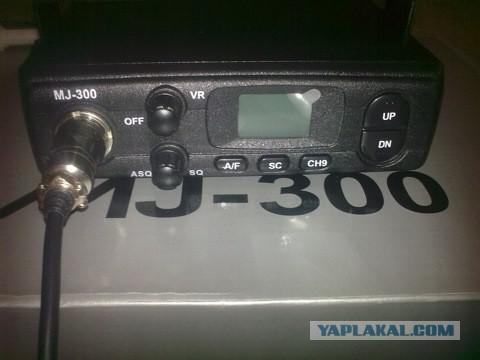
Station MegaJet mj-300 PLUS and antenna Lemm at-1000 Eagle (1, 60m). At first I thought to take the antenna Lemm 2001 Turbo (2m) long but frightened. Although now I look and realize that it was possible to take.
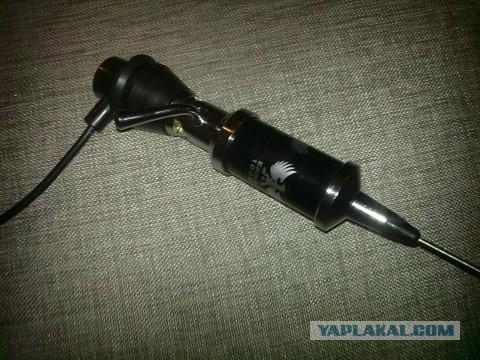
Antenna Lemm AT-1000 Eagle
Megajet mj-300 PLUS
The first thing you want to modify the antenna. This procedure is required if you do not want to buy a new one year.
Step One: The bandage of threads for the connector
Parse our antenna:
Remove the spool with the pin
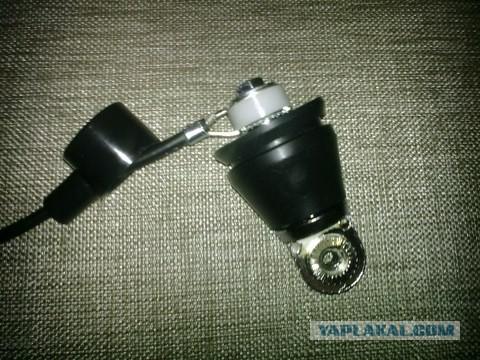
Parse base
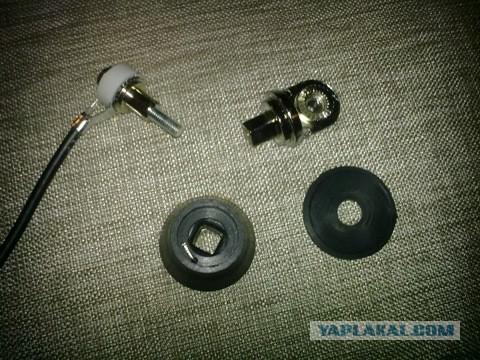
Here it is, the object of revision
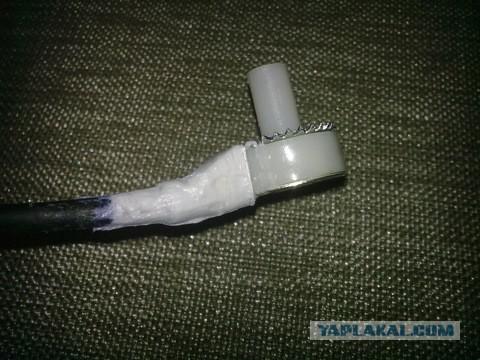
Smeared with glue and winding thread connector. This will protect it from moisture, as well as prevent excessive bending of the cable.
Step Two: Completion of the coil antenna
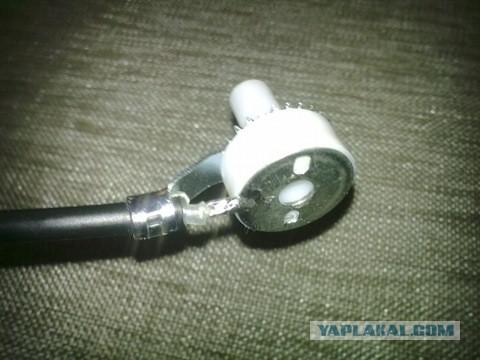
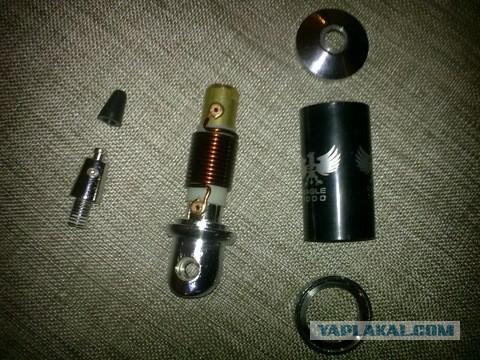
Parse coil housing:
Unscrew and remove the stud pin antenna
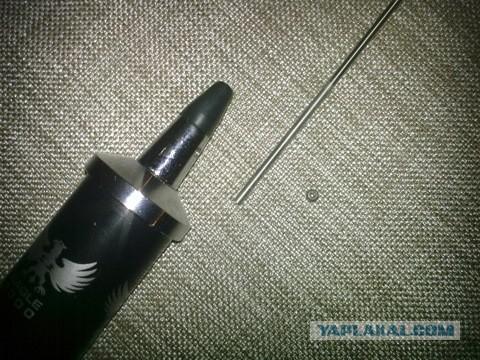
Then heat the holder pin soldering iron (soldering hairdryer, on the stove) until it hisses glue. The fact that the manufacturer, twisting the pin and glue dripped there just does not unscrew it now. Screw the pin into the hole of the pin attaching authenticity and a little effort unscrew holder. As a result, the antenna takes the form:
Propaivaem rivet spool for better contact (soldering worthless, soldering iron was horrible):
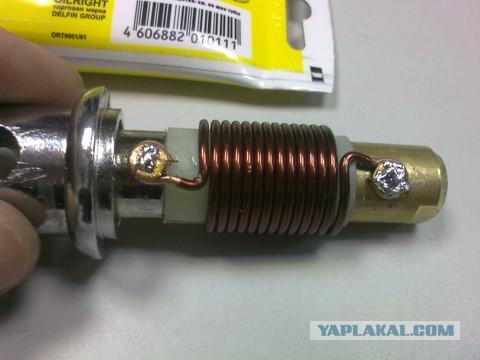
And smear coil lithologic-24 for waterproofing:
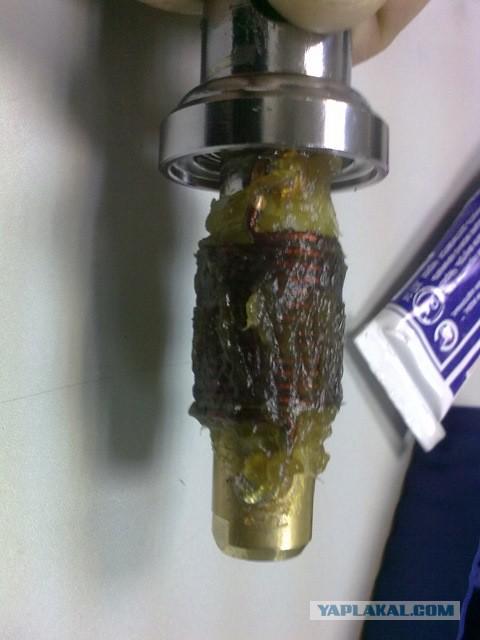
Promazyvaya compound sealant, collect all back:

Thus, the antenna finalized. The next step - its installation. The species you can think of a lot of editing. First I would like to mount the gutter. But looking at the weight of the antenna, I felt sorry for the drain. Its just blabbed. And the contact with the body is not very (very important for the antenna weight from the body. But the problem is that it is impossible to bring to the antenna wire. Alternative mounting on the trunk or hood fell away too soon because it is false weight). The next option was the holder loop tailgate. But this option is very expensive, because It makes it quite difficult. And the relationship with the mass of a body is not quite so, what should be.
As a result, I decided to ... drill hole in the roof ...
Step Three. Remove the ceiling and pick a place to hole.
How to remove the ceiling does not make sense to describe. At any Murzilka it is.
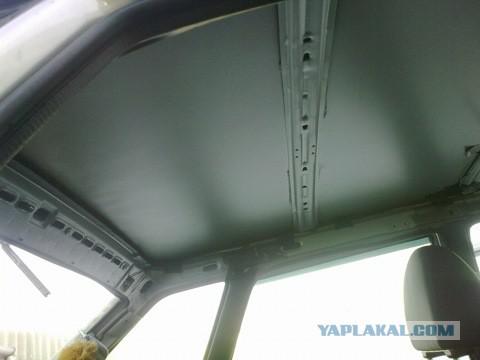
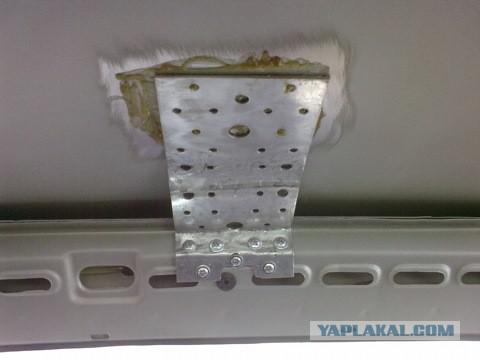
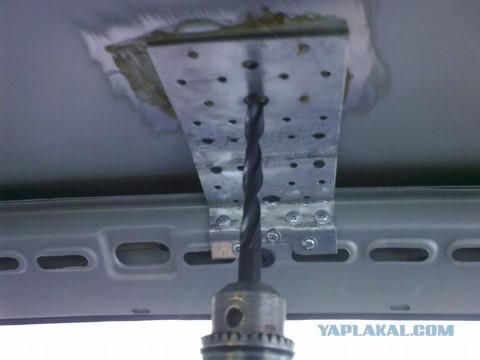
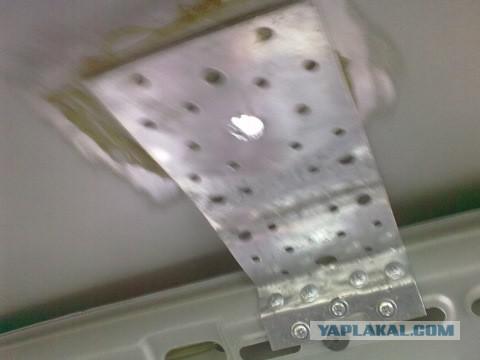
Step Four. Increased metal roof.
The antenna is quite heavy. Conventional metal roof will not sustain it for a long time. Therefore, it is necessary to strengthen it. To do this, take the mounting plate 2mm (at any hardware store) and Gnehm her so tight against the roof. Before attaching sure we clean the contact patch of the roof plate to the metal. Samu we clean plate, too, just in case. And is attached to the rear reinforcement beam roof, pre-lubricated contact patch lithologic-24. In order not rusted.
Step five. Sacrament, called defloration.
Well, there is nothing much to write. All the guys know how to do it.
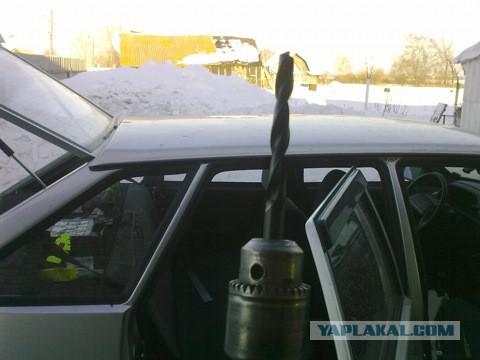
Crucial moment!
Let there be light!
Then I began my fototapok discharged. Therefore
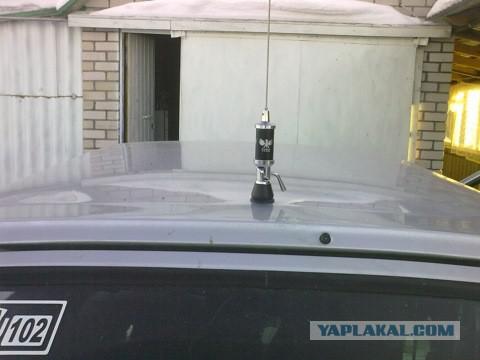
Step Six. Fasten the antenna.
Here, too, everything is clear. Fasten the antenna and connector grease lithologic-24 for waterproofing.
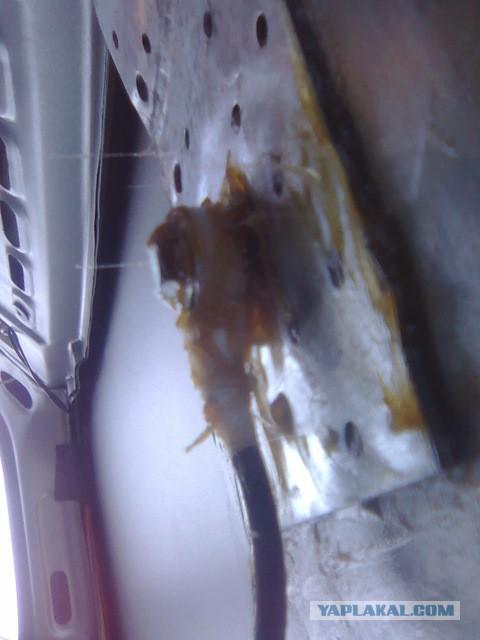
We put the cap on the connector
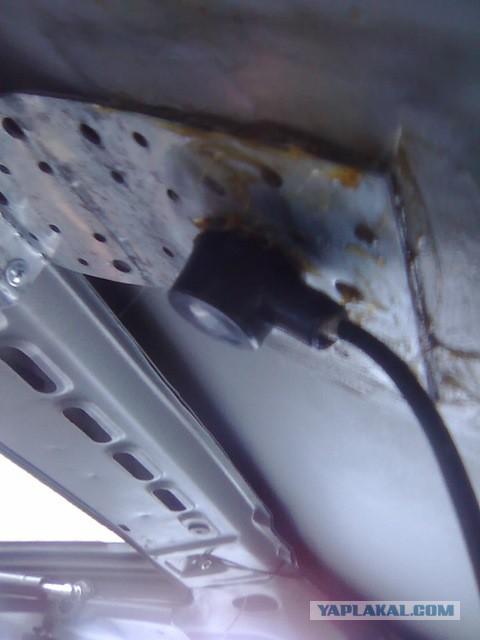
And put an antenna on top
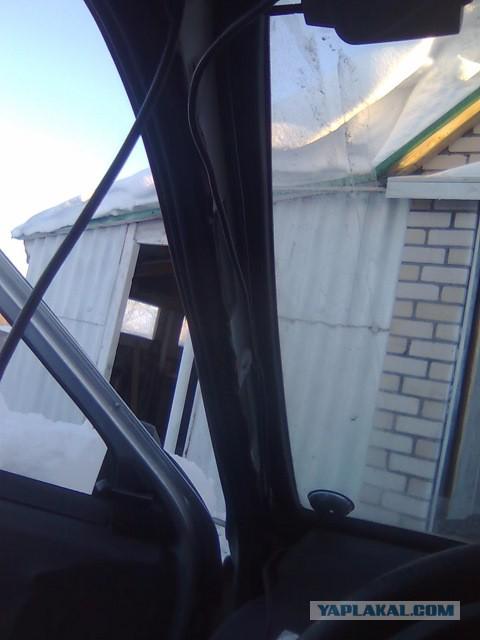
Step seven. Route the cables and compress the connector at the end.
Route the cables in the roof side reinforcement
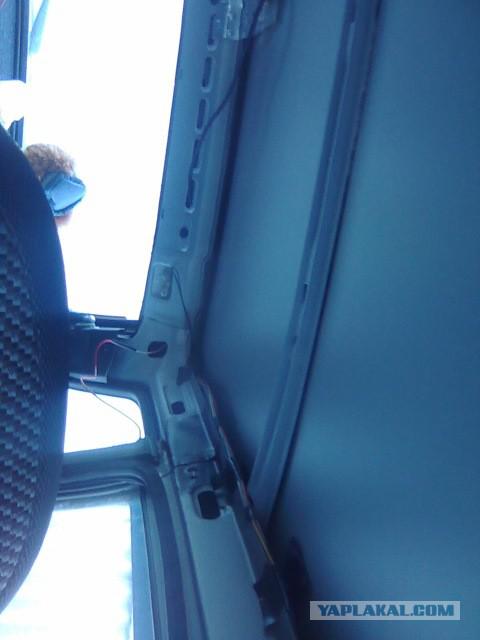
Route the cables at the front windshield and the plant under the panel.
With crimp connector simple. I bought and soldered. For the lazy there crimp connectors.
Step eight. Posting
Just describe the wiring. TK even turn the radio consumes and the plan was to minimize losses. We do this with the help of relays and buttons. Button took the conventional heating of the seats to fit in the interior and an eyesore. Will be located in the same place, and must be placed a button the seat heating. Driving:
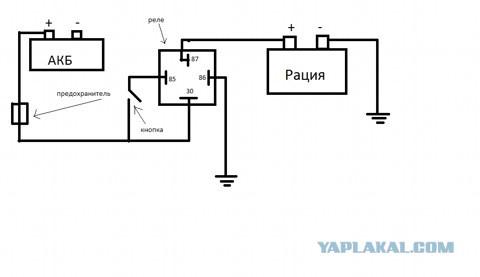
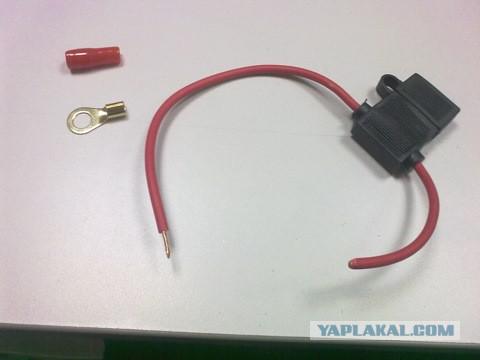
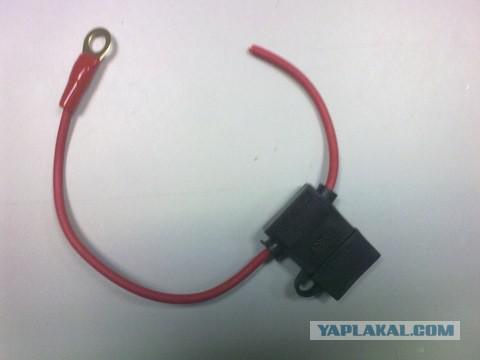
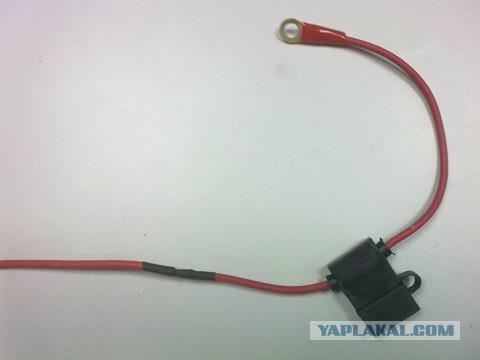
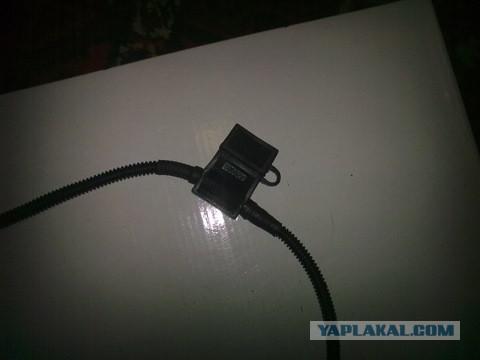
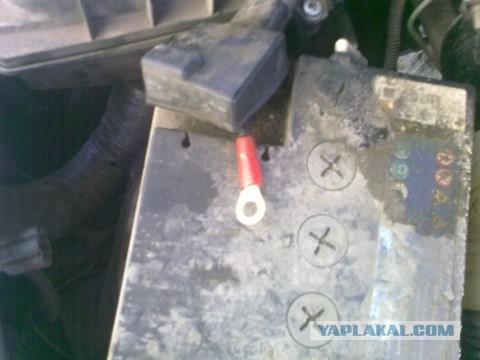
Prepare the power cable from the battery to the switch. Wire is taken at 2, 5 square. At a distance of no more than 15 cm from the battery fuse set in a protected cover. In general, I think the whole process will be seen in the photo:
24
25
26
27
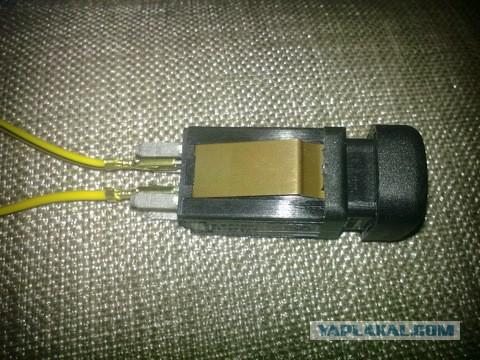
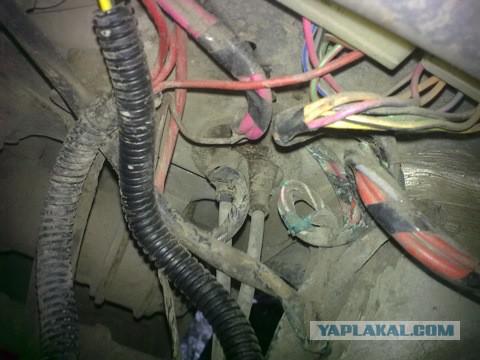
Then pick up the relay wiring and buttons:
all corrugation
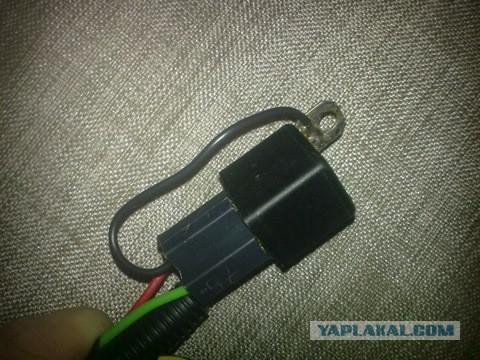
86 relay output solder in lronburg
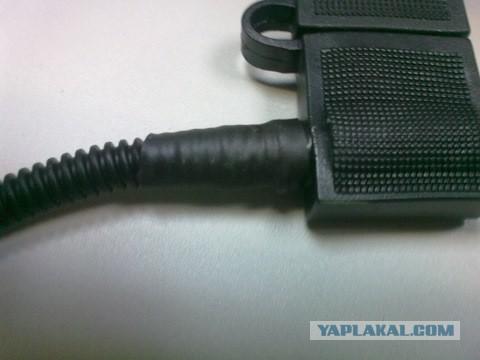
Tighten the wire into the salon ripple (from CRA) through the gum hydrocorrector:
I do not get enough attention from others. Hug me and sundry. take directly to the battery terminals
Wire in the ripple (the view from the cabin)
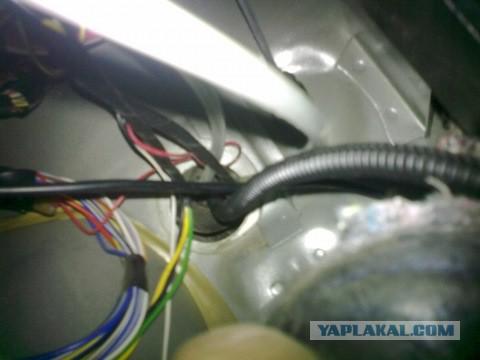
Wire in the ripple (the view from the cabin)

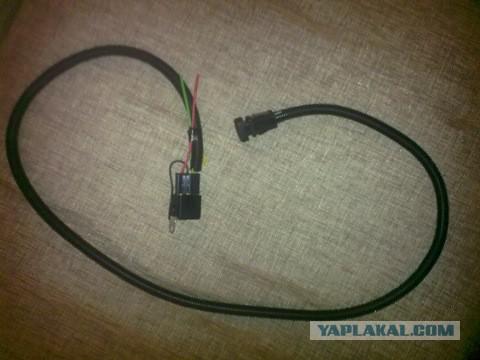
All. At this stage, sneakers finally died. So just collect all the scheme together. How convenient. Preferably without twists. All solder and heat shrink for insulation.
Finally, choose a location for the station and fasten it. Connect the power and enjoy the result.
When setting the antenna SWR is brought in yedinichku. Communication excellent time to communicate with the Ufa Radioclub.
That's it. All set up and running. Thank you for your attention!
Kick!
We invite you to our club car radio! cb-ufa.ru

Source:
Will be 34 photos. Kicking the can, at the end of the post. Breaking is not desirable!
The report I have already spread to Drive2. I decided to show to you)
So there you go
Well, I was ripe for the installation of radio. On the road I travel often, so I decided to have at least some alternative form of communication. Of course, the first step - the purchase of equipment. After a lot of incense and forums ci-bi.ru cb-ufa.ru chose here this budget included:
Station MegaJet mj-300 PLUS and antenna Lemm at-1000 Eagle (1, 60m). At first I thought to take the antenna Lemm 2001 Turbo (2m) long but frightened. Although now I look and realize that it was possible to take.
Antenna Lemm AT-1000 Eagle

Megajet mj-300 PLUS

The first thing you want to modify the antenna. This procedure is required if you do not want to buy a new one year.
Step One: The bandage of threads for the connector
Parse our antenna:
Remove the spool with the pin

Parse base

Here it is, the object of revision

Smeared with glue and winding thread connector. This will protect it from moisture, as well as prevent excessive bending of the cable.

Step Two: Completion of the coil antenna
Parse coil housing:
Unscrew and remove the stud pin antenna

Then heat the holder pin soldering iron (soldering hairdryer, on the stove) until it hisses glue. The fact that the manufacturer, twisting the pin and glue dripped there just does not unscrew it now. Screw the pin into the hole of the pin attaching authenticity and a little effort unscrew holder. As a result, the antenna takes the form:

Propaivaem rivet spool for better contact (soldering worthless, soldering iron was horrible):

And smear coil lithologic-24 for waterproofing:

Promazyvaya compound sealant, collect all back:

Thus, the antenna finalized. The next step - its installation. The species you can think of a lot of editing. First I would like to mount the gutter. But looking at the weight of the antenna, I felt sorry for the drain. Its just blabbed. And the contact with the body is not very (very important for the antenna weight from the body. But the problem is that it is impossible to bring to the antenna wire. Alternative mounting on the trunk or hood fell away too soon because it is false weight). The next option was the holder loop tailgate. But this option is very expensive, because It makes it quite difficult. And the relationship with the mass of a body is not quite so, what should be.
As a result, I decided to ... drill hole in the roof ...
Step Three. Remove the ceiling and pick a place to hole.
How to remove the ceiling does not make sense to describe. At any Murzilka it is.

Step Four. Increased metal roof.
The antenna is quite heavy. Conventional metal roof will not sustain it for a long time. Therefore, it is necessary to strengthen it. To do this, take the mounting plate 2mm (at any hardware store) and Gnehm her so tight against the roof. Before attaching sure we clean the contact patch of the roof plate to the metal. Samu we clean plate, too, just in case. And is attached to the rear reinforcement beam roof, pre-lubricated contact patch lithologic-24. In order not rusted.

Step five. Sacrament, called defloration.
Well, there is nothing much to write. All the guys know how to do it.

Crucial moment!

Let there be light!

Then I began my fototapok discharged. Therefore
Step Six. Fasten the antenna.
Here, too, everything is clear. Fasten the antenna and connector grease lithologic-24 for waterproofing.

We put the cap on the connector

And put an antenna on top

Step seven. Route the cables and compress the connector at the end.
Route the cables in the roof side reinforcement

Route the cables at the front windshield and the plant under the panel.
With crimp connector simple. I bought and soldered. For the lazy there crimp connectors.

Step eight. Posting
Just describe the wiring. TK even turn the radio consumes and the plan was to minimize losses. We do this with the help of relays and buttons. Button took the conventional heating of the seats to fit in the interior and an eyesore. Will be located in the same place, and must be placed a button the seat heating. Driving:

Prepare the power cable from the battery to the switch. Wire is taken at 2, 5 square. At a distance of no more than 15 cm from the battery fuse set in a protected cover. In general, I think the whole process will be seen in the photo:

24

25

26

27

Then pick up the relay wiring and buttons:

all corrugation

86 relay output solder in lronburg

Tighten the wire into the salon ripple (from CRA) through the gum hydrocorrector:

I do not get enough attention from others. Hug me and sundry. take directly to the battery terminals

Wire in the ripple (the view from the cabin)

Wire in the ripple (the view from the cabin)

All. At this stage, sneakers finally died. So just collect all the scheme together. How convenient. Preferably without twists. All solder and heat shrink for insulation.
Finally, choose a location for the station and fasten it. Connect the power and enjoy the result.
When setting the antenna SWR is brought in yedinichku. Communication excellent time to communicate with the Ufa Radioclub.
That's it. All set up and running. Thank you for your attention!
Kick!
We invite you to our club car radio! cb-ufa.ru

Source: