550
Heated floor
Good day! I decided to post one of the parts that repairs made himself the first time on the advice of his brother and friends.
After an exchange of old apartments to the new, we moved out to live with his mother-so field work was free =)
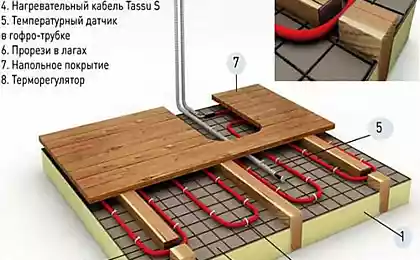
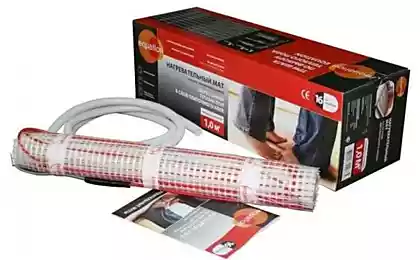
For heating cable has been selected Ecofloor do not ask me why, just like he told me all =)
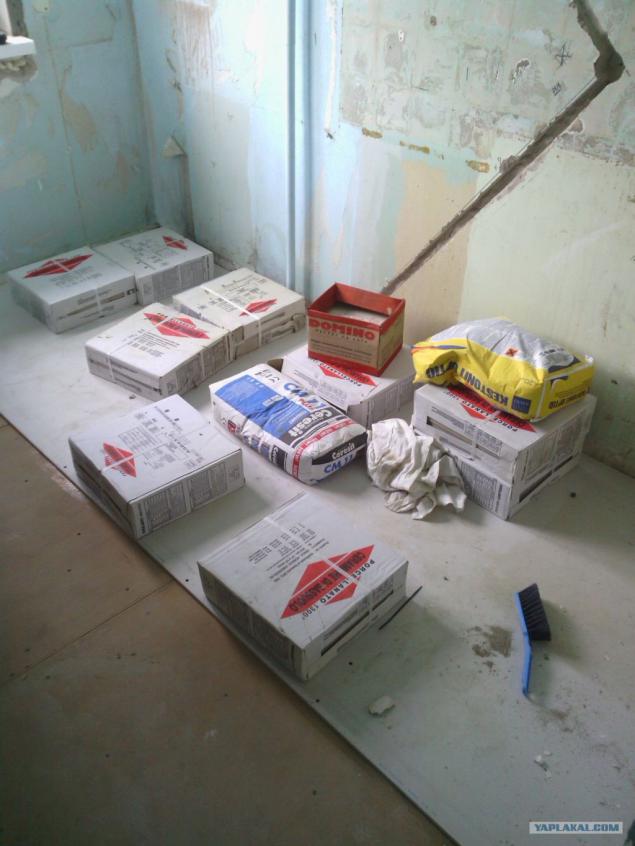
That's what we have in stock will be 14 ph and bukovki
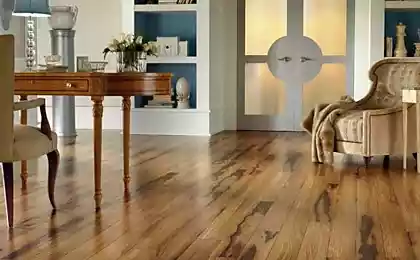
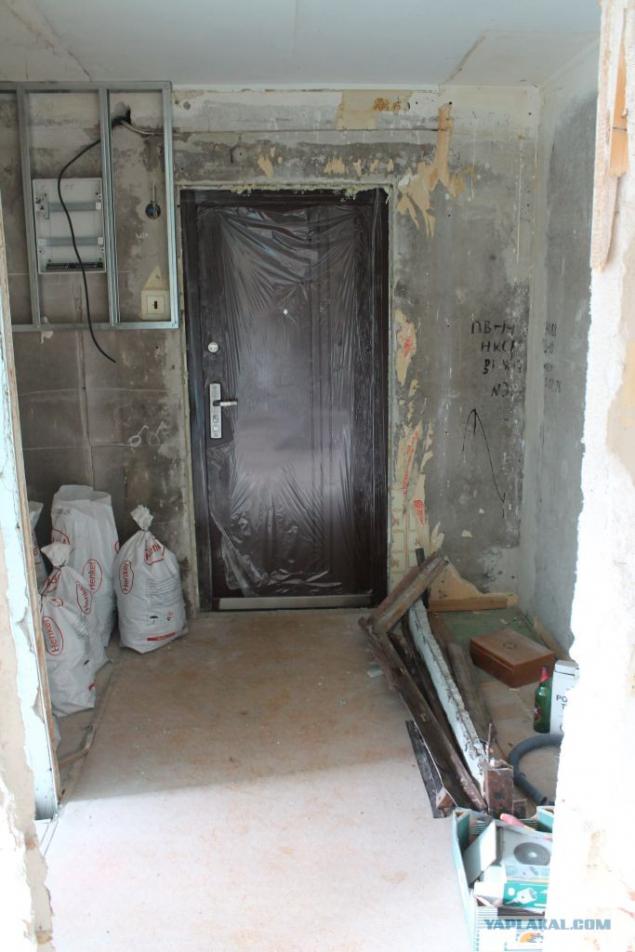
View the hallway of a large room
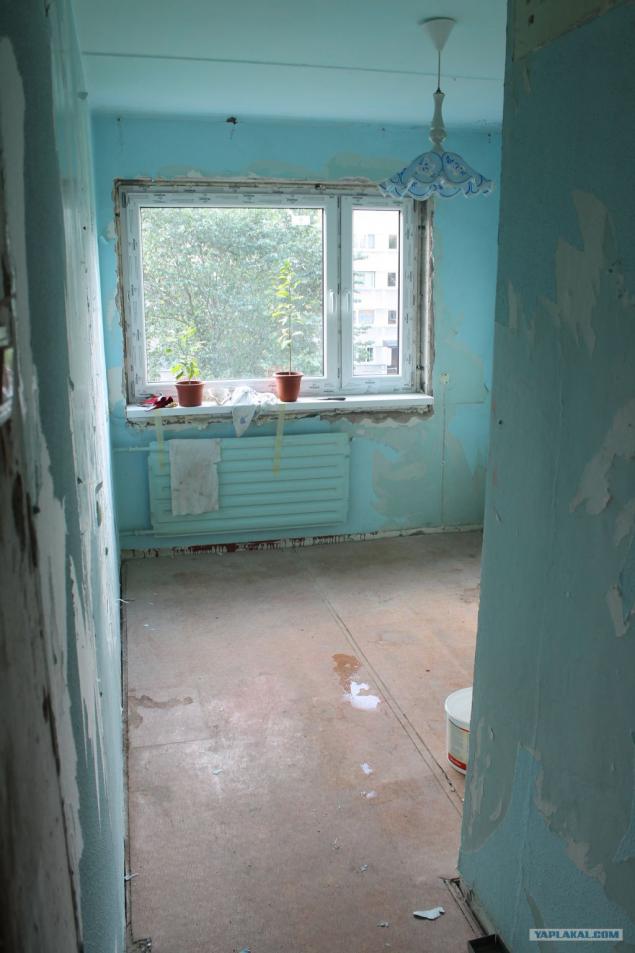
View from the hallway to the kitchen
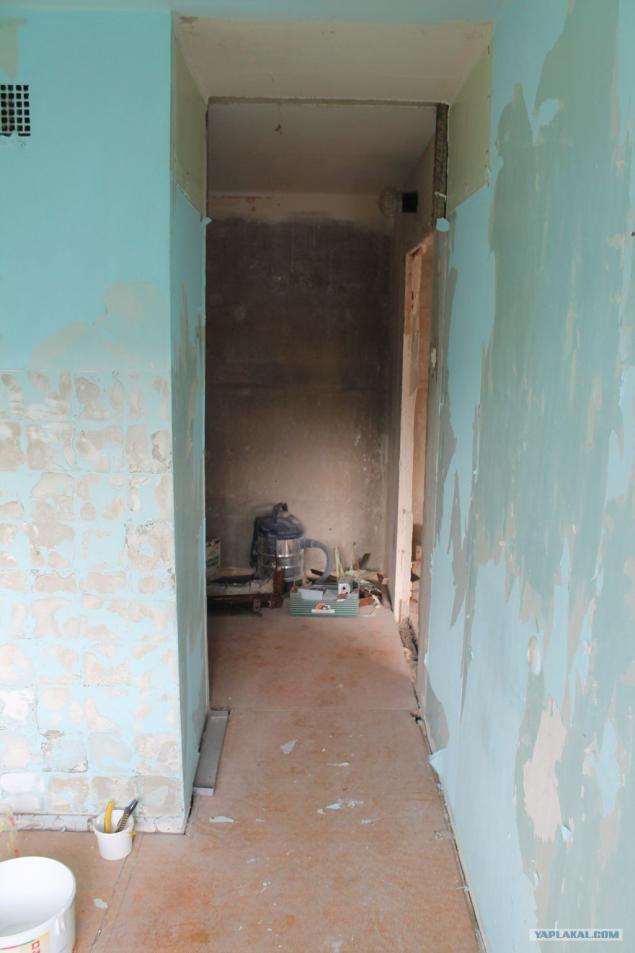
From the kitchen to the hallway
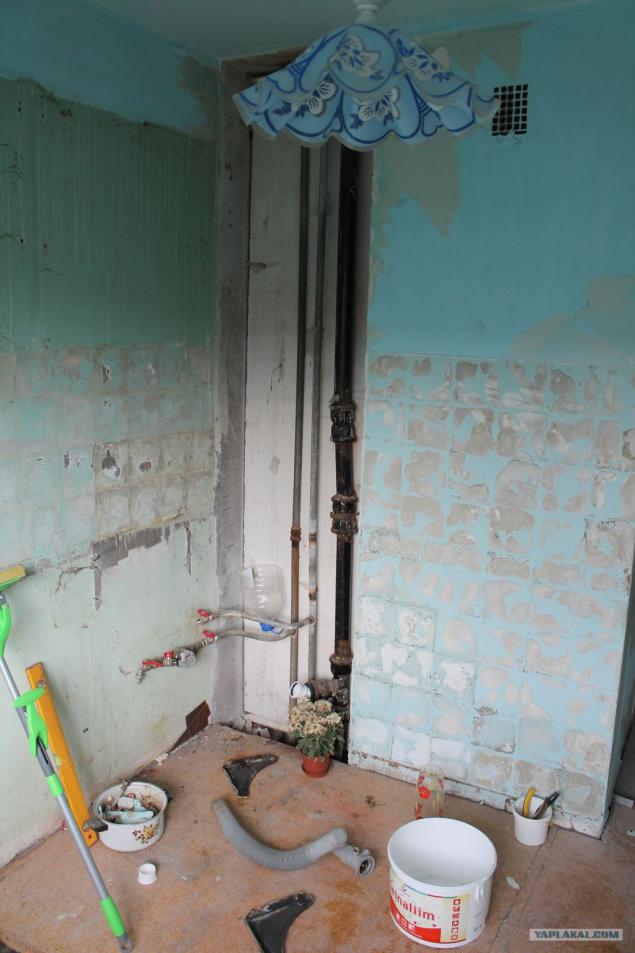
And so rakrus to complete the picture =)
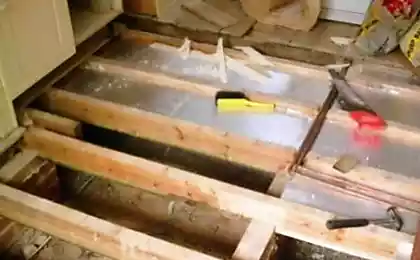
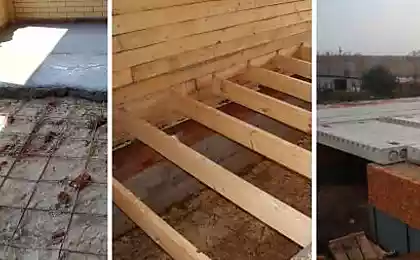
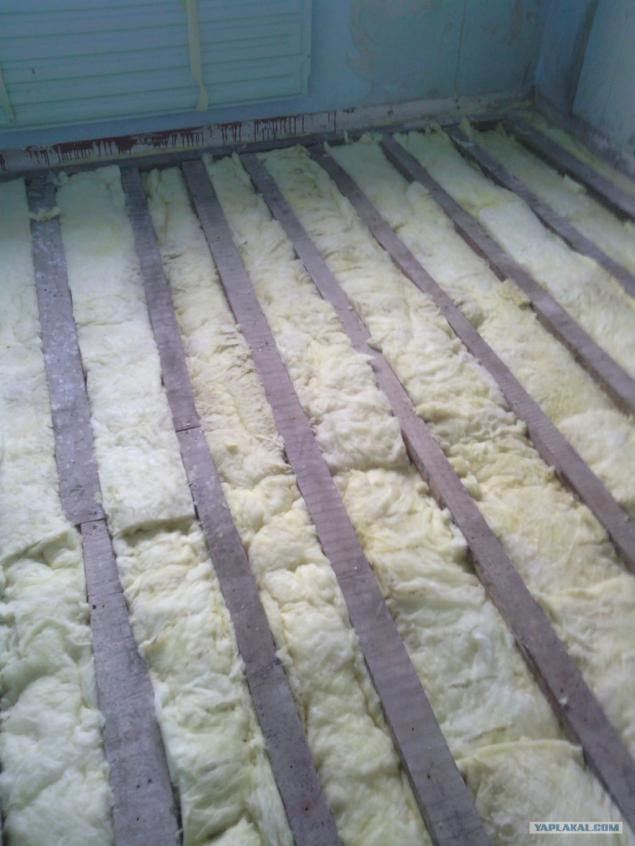
The first step is to strip off the old floor, in this case it was linoleum and veneered chipboard (that still turd). And look at the state of lag. Laghi is even nothing, just place chocks under the squeak plate on nails driven into them during construction. Fasten all plug-nails to the panel, where it is possible to tear out the old nails, which is not, and to hell with them.
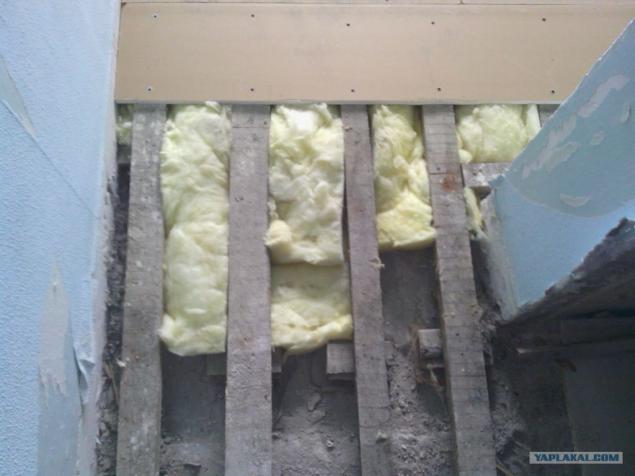
Between lag laid insulator, Isover, rock wool, etc., etc. - in order not to heat the neighbors ceiling =)
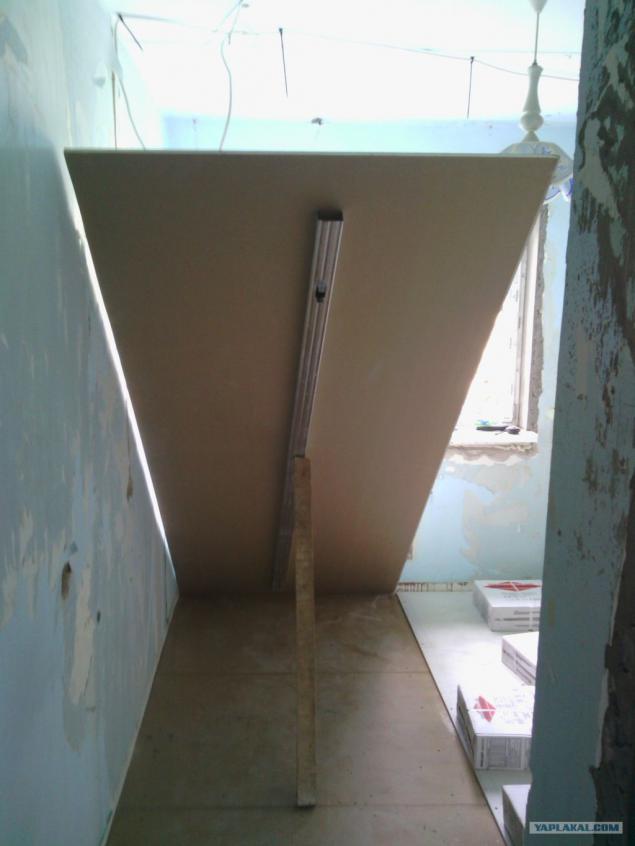
... And begin to lay a new floor. the first layer is a sexual gypsum plasterboard. We have it in size 2400 * 900 * 13mm on this photo hastily spread a wrong had to be laid across the lag. Fortunately time noticed perestelil
That's the way to do it was not necessary =)
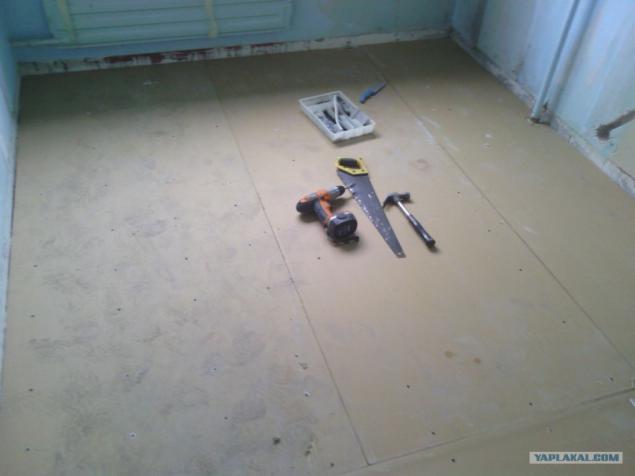
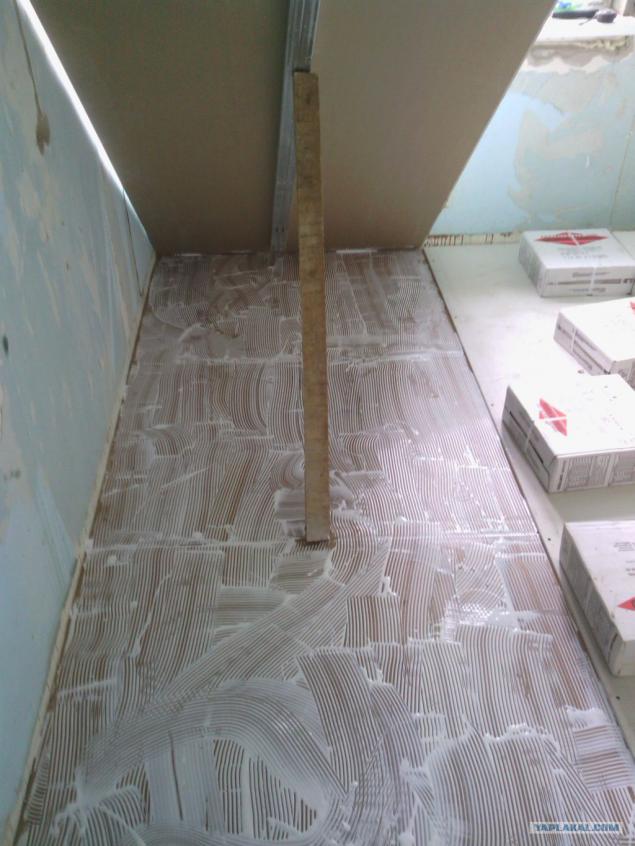
So the first layer paved now with respect to the first layer of gypsum plasterboard sex put a second layer of a conventional gypsum plasterboard. Pre-smeared PVA glue, so pious ... not sparing =) here without glue
Adjacent sheets laid yesterday, and I think the glue is quite dry =)
That something like this =) edges fasten with screws, and the rest of the bin box with the same tiles, sacks of mortar and putty ... let tightly lie down, squeeze out the excess glue, but not too much and it was
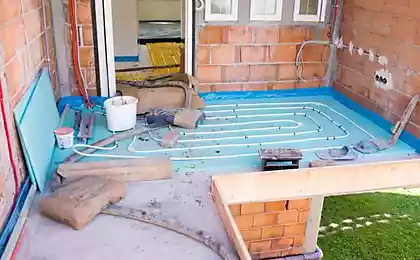
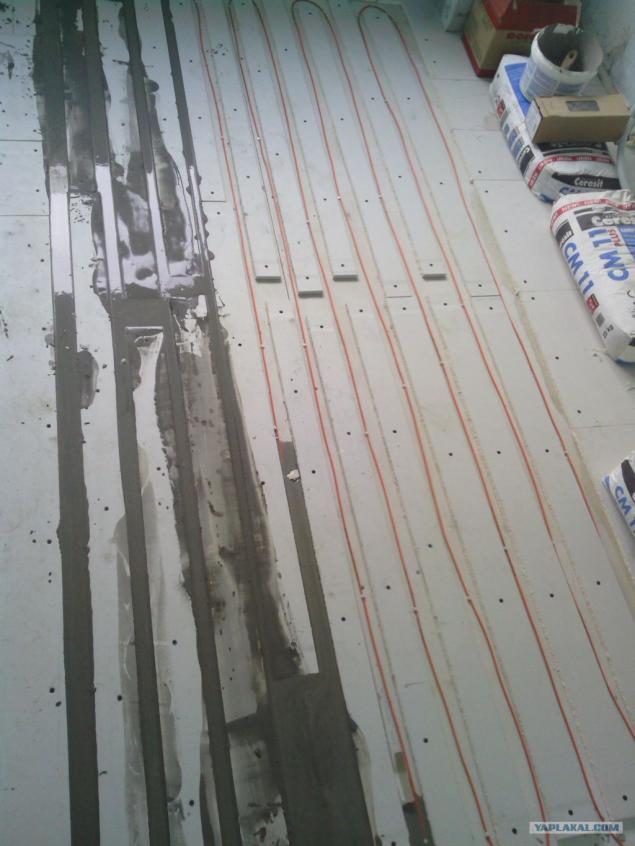
Then, after the glue has dried, remove all nafig clamp mount and start heating. Under his nebudet furniture, so to throw pieces of gypsum plasterboard and glue them again. Where do such will display here for the installation of gypsum plasterboard strips between windings. The distance between the 100mm, cut strips of 80mm wide and placed between the coils of the heating, gluing and screwing them to the floor. At the same time we throw a piece of corrugated between turns 16 mm for the temperature sensor.
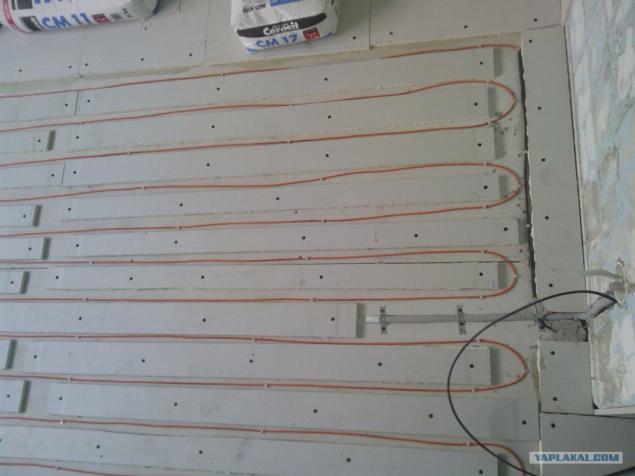
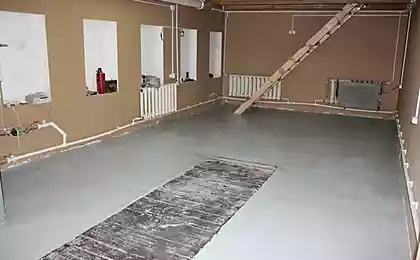
Rear fixed so ... "on snot" only to him did not move much from side to side while pouring self-leveling mortar. By the way, gypsum plasterboard strips are laid only in order to save =) You could just pour samovyravnivalkoy and it has tile =) But the budget is too tight, and gypsum plasterboard waste from a lot that's left them in case =)
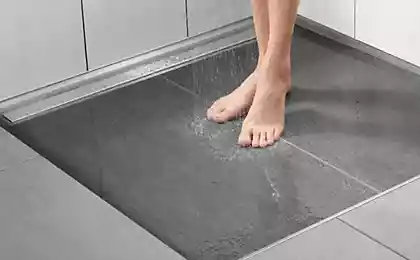
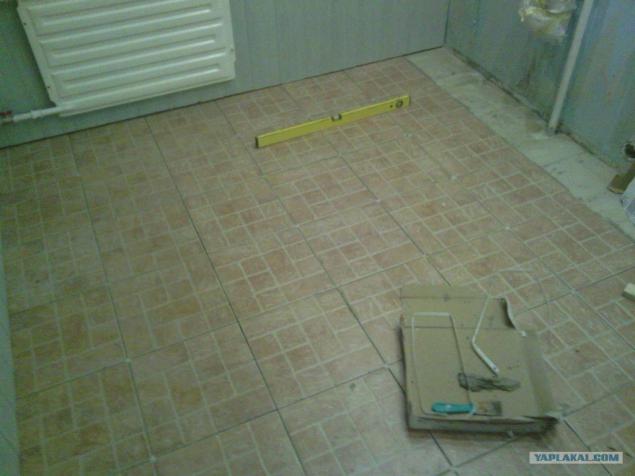
We are waiting for 3 days to dissolve dry, cover the whole thing AQUASTOP and forth to lay tile. Gallery laying tile No hands were too dirty and the process employed =) As a result we have here is a floor heated for 25-30 minutes, cool down somewhere hour and a half. Wife happy Oh well =) long cable 46metrov power 460 watts if you are interested.
All
Source:
After an exchange of old apartments to the new, we moved out to live with his mother-so field work was free =)
For heating cable has been selected Ecofloor do not ask me why, just like he told me all =)
That's what we have in stock will be 14 ph and bukovki
View the hallway of a large room

View from the hallway to the kitchen

From the kitchen to the hallway

And so rakrus to complete the picture =)

The first step is to strip off the old floor, in this case it was linoleum and veneered chipboard (that still turd). And look at the state of lag. Laghi is even nothing, just place chocks under the squeak plate on nails driven into them during construction. Fasten all plug-nails to the panel, where it is possible to tear out the old nails, which is not, and to hell with them.
Between lag laid insulator, Isover, rock wool, etc., etc. - in order not to heat the neighbors ceiling =)

... And begin to lay a new floor. the first layer is a sexual gypsum plasterboard. We have it in size 2400 * 900 * 13mm on this photo hastily spread a wrong had to be laid across the lag. Fortunately time noticed perestelil

That's the way to do it was not necessary =)

So the first layer paved now with respect to the first layer of gypsum plasterboard sex put a second layer of a conventional gypsum plasterboard. Pre-smeared PVA glue, so pious ... not sparing =) here without glue

Adjacent sheets laid yesterday, and I think the glue is quite dry =)

That something like this =) edges fasten with screws, and the rest of the bin box with the same tiles, sacks of mortar and putty ... let tightly lie down, squeeze out the excess glue, but not too much and it was

Then, after the glue has dried, remove all nafig clamp mount and start heating. Under his nebudet furniture, so to throw pieces of gypsum plasterboard and glue them again. Where do such will display here for the installation of gypsum plasterboard strips between windings. The distance between the 100mm, cut strips of 80mm wide and placed between the coils of the heating, gluing and screwing them to the floor. At the same time we throw a piece of corrugated between turns 16 mm for the temperature sensor.

Rear fixed so ... "on snot" only to him did not move much from side to side while pouring self-leveling mortar. By the way, gypsum plasterboard strips are laid only in order to save =) You could just pour samovyravnivalkoy and it has tile =) But the budget is too tight, and gypsum plasterboard waste from a lot that's left them in case =)

We are waiting for 3 days to dissolve dry, cover the whole thing AQUASTOP and forth to lay tile. Gallery laying tile No hands were too dirty and the process employed =) As a result we have here is a floor heated for 25-30 minutes, cool down somewhere hour and a half. Wife happy Oh well =) long cable 46metrov power 460 watts if you are interested.
All

Source: