802
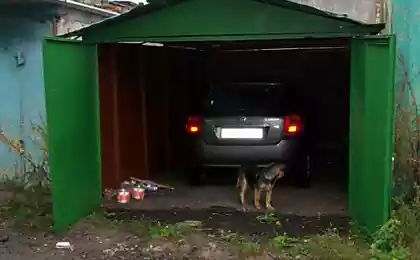
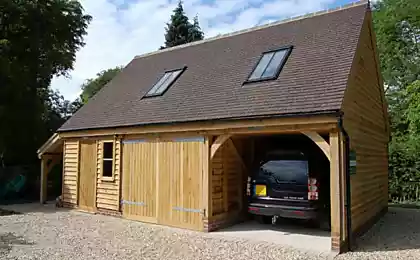
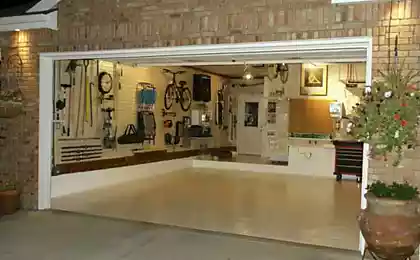
As I did the repair garage
First there was the choice of boxing - the garage, the choice is small, but still ...
28 photos
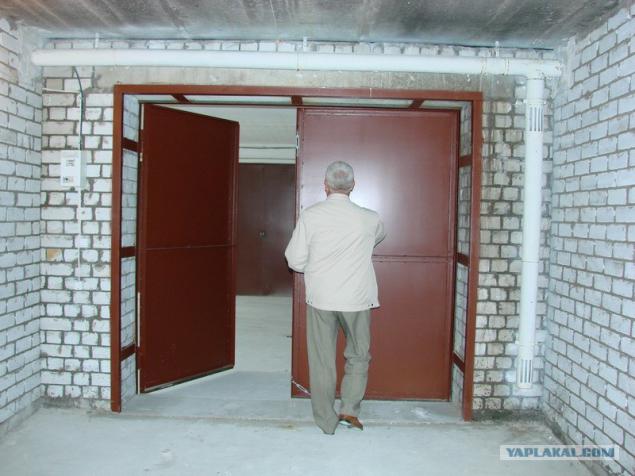
This rear wall, in winter it is very cold
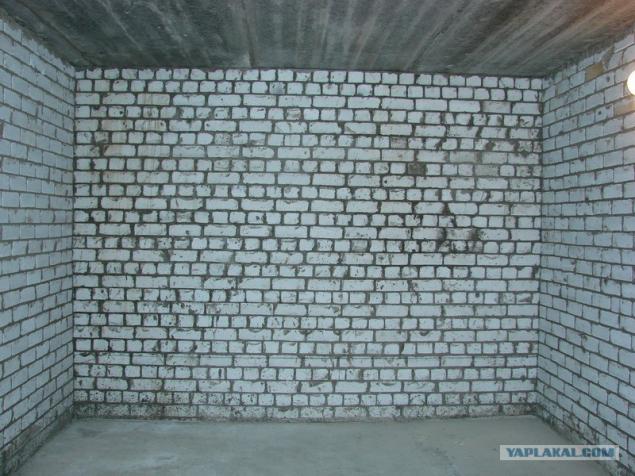
That size, I wrote them directly on the bricks for the calculation of the cost of repairs
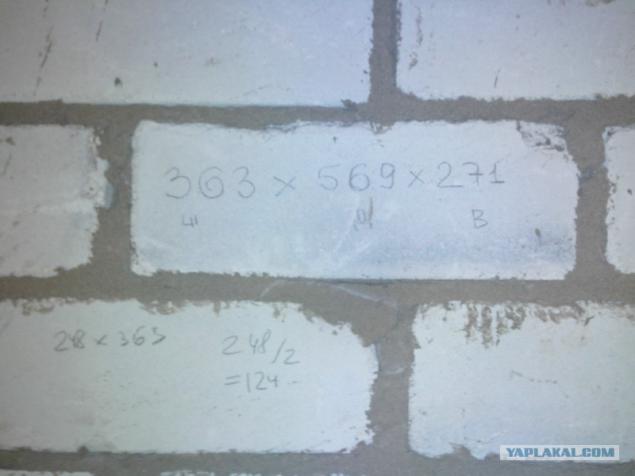
It was tiled, the process is clear and it should not show. Dirty!
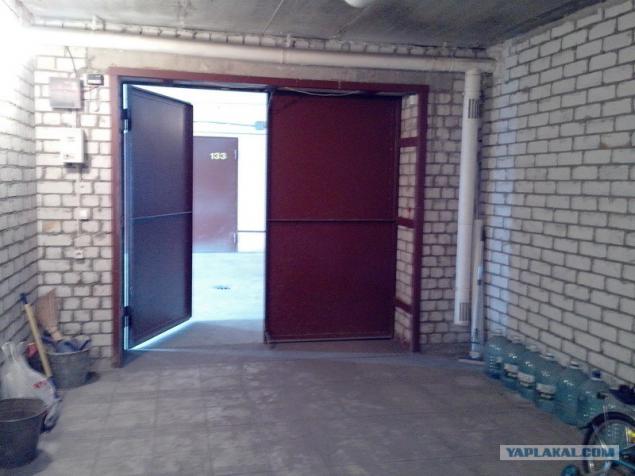
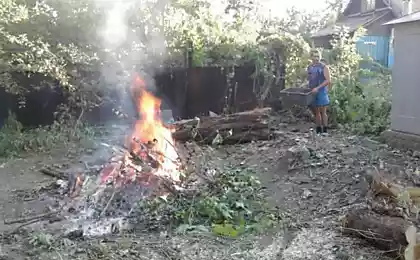
In the course of the repair was imported rubbish, he accumulated)
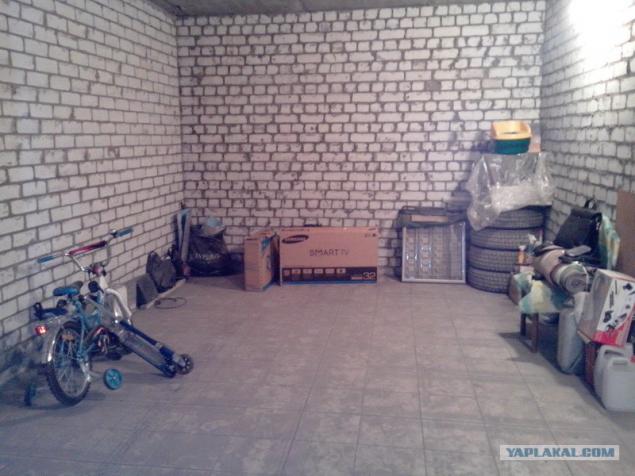
And here is the insulation for doors - glass wool Bazalit and fiberboard sheets
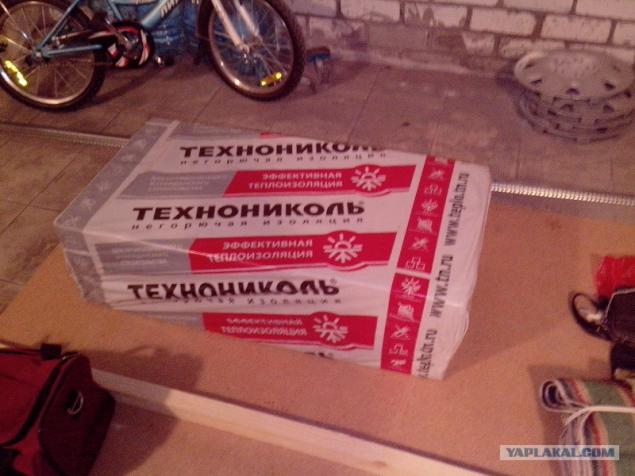
So I crepe. To fix the profile used the lighthouse wall. He does not bend and keep right.
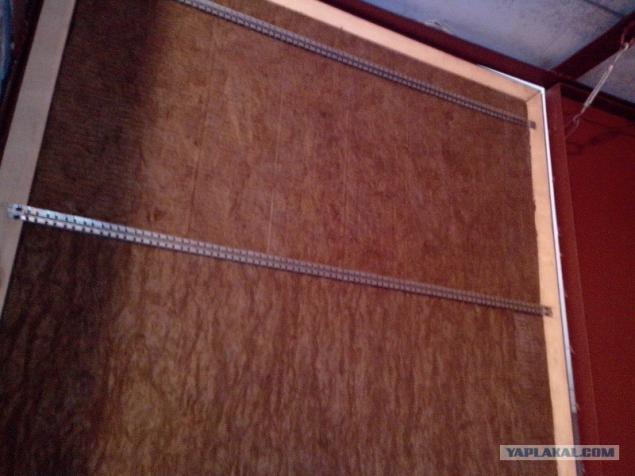
That's the first door is ready, the second coming.
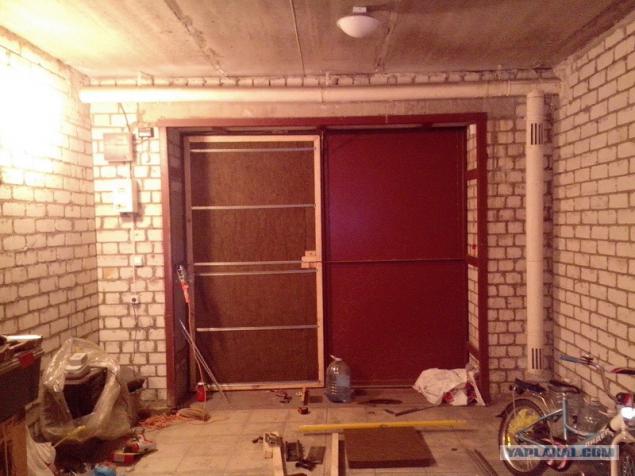
Changing the guard and the wiring, put signalization GSM, sensors and power supply
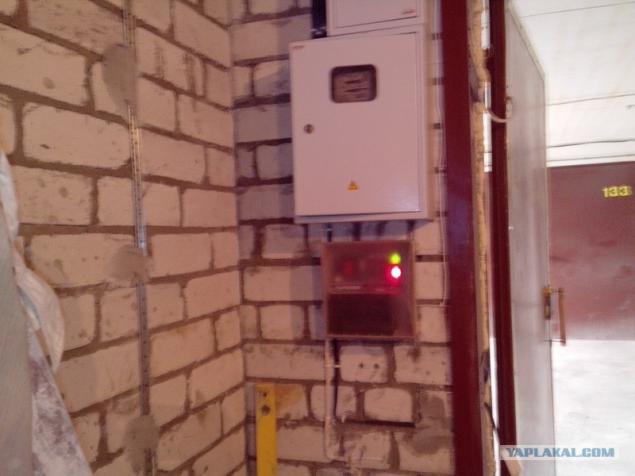
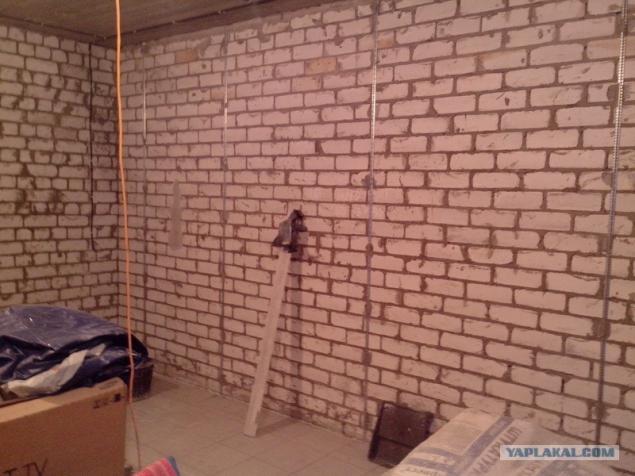
Sticking beacons on the wall
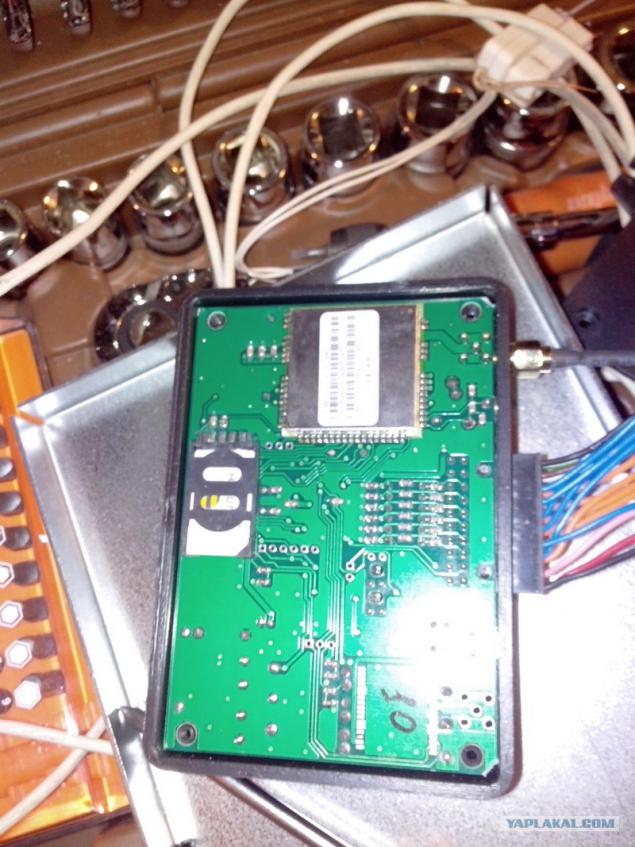
Signalization, temporary connection
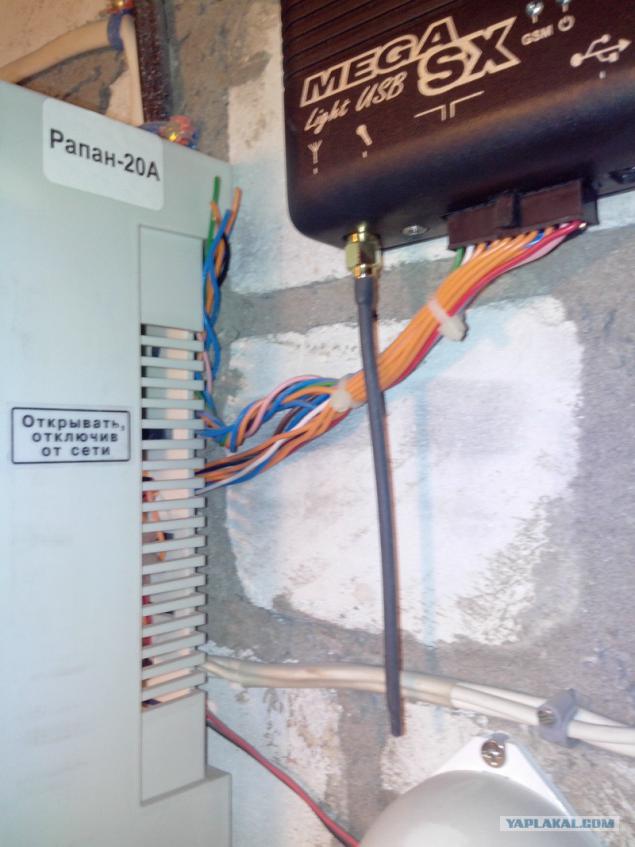
Cooking signalization for placement in a separate shield
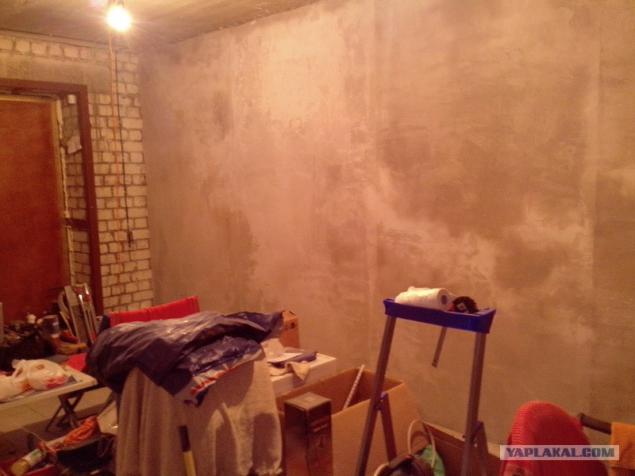
Plasterer Wall
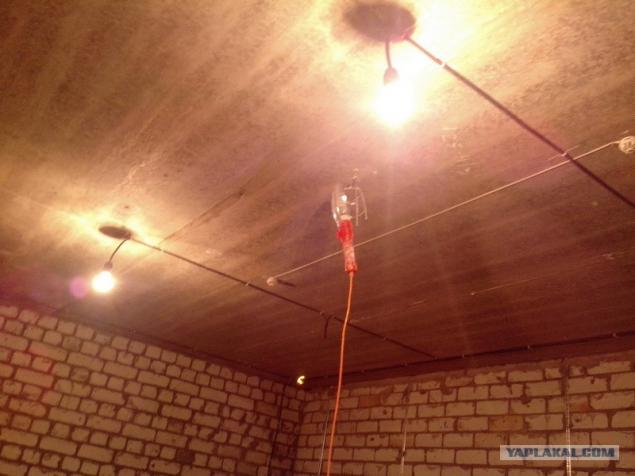
Here is a ceiling or a blank for ceiling
Put duct instead of the previously felled
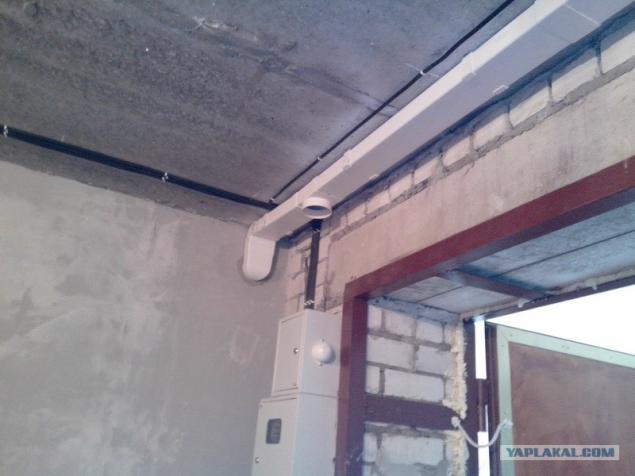
Duct and finished wall
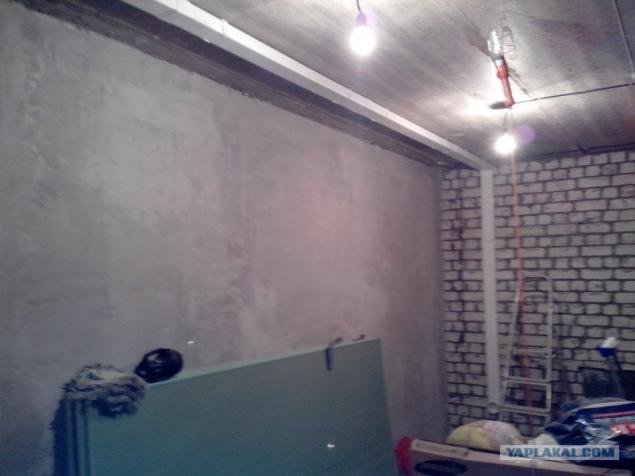
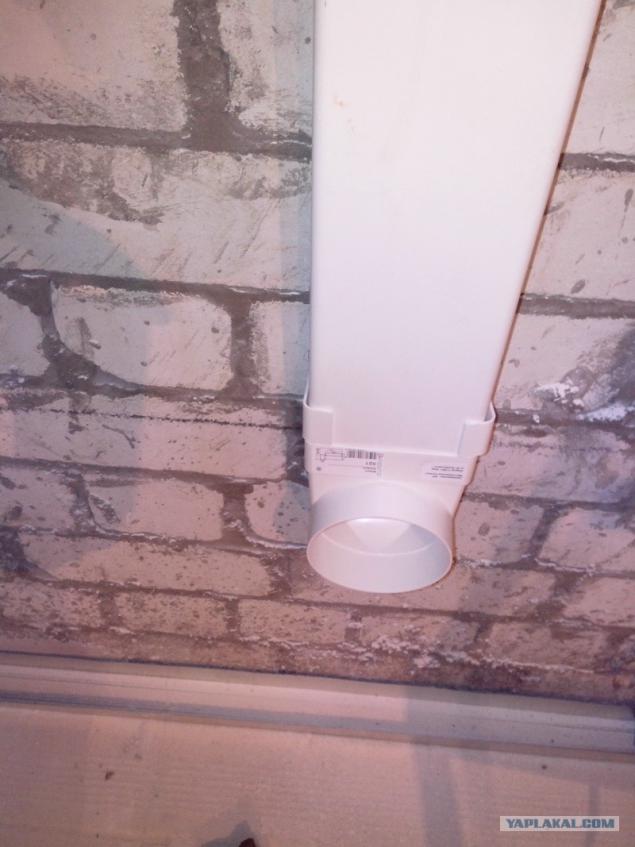
The joint duct
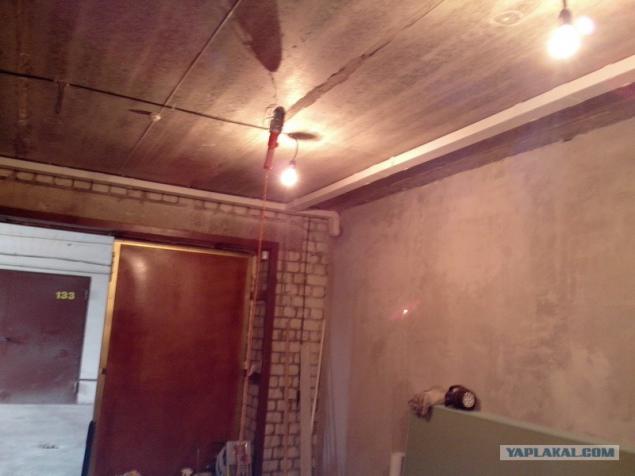
This is for mechanical ventilation gases - will turn on the fan when gassed
Now dry work - build a wall to hide the duct and sheathes bazalitom. The process of skin I lost. Excuse me.
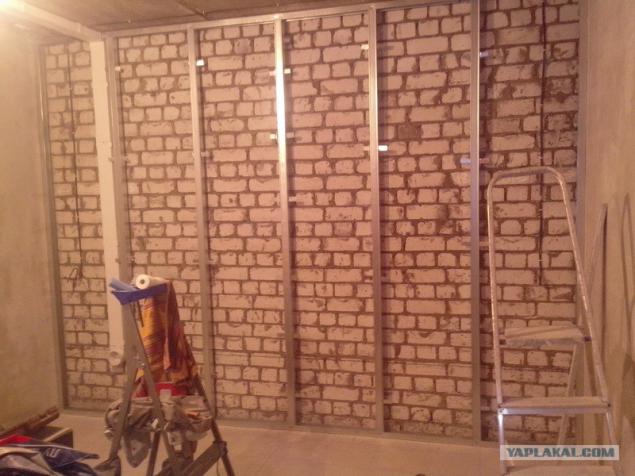
The finished wall. Now the ceiling mount.
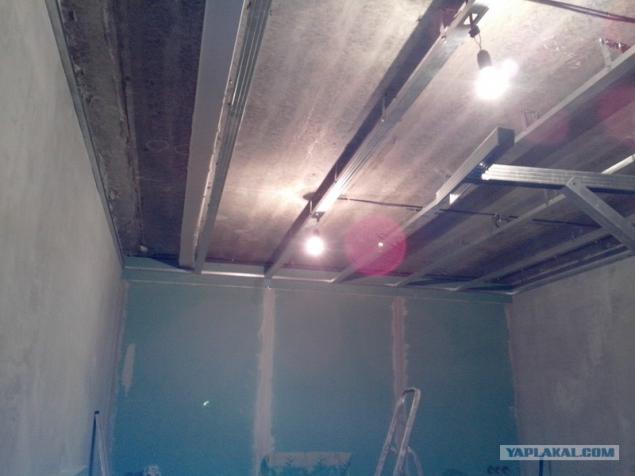
Sticking shpatlyuem curb and wall "sour." Closing joints in plaster.
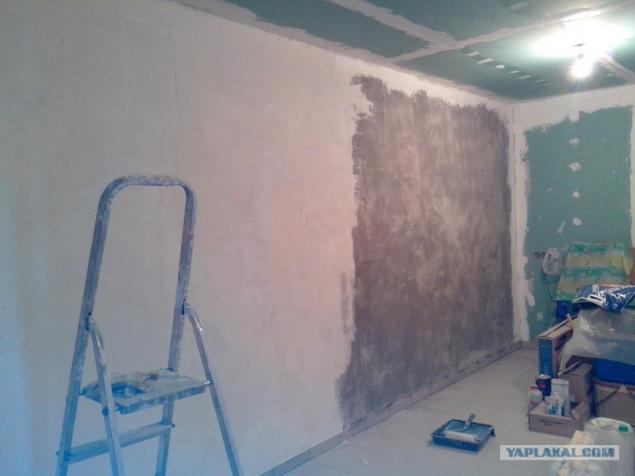
This wall is waiting in the wings, all the trash on the ground - he left.
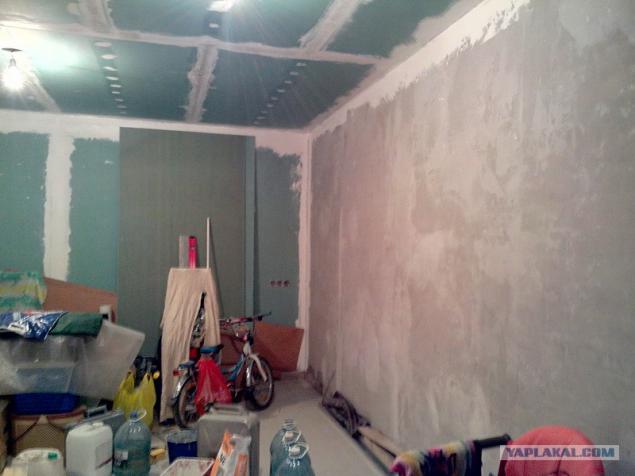
We got to the entrance. All gypsum - a 9 mm
GVKL
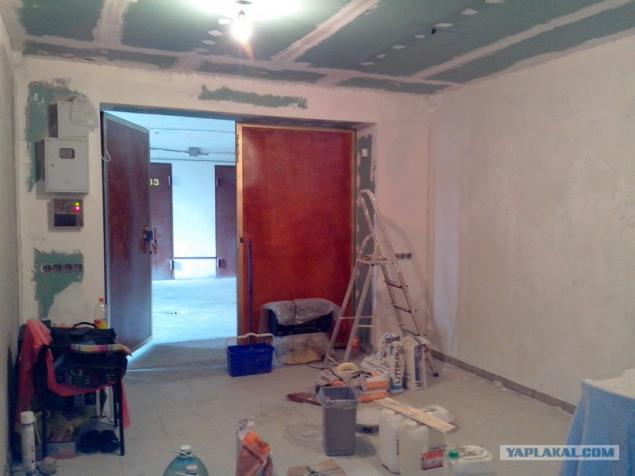
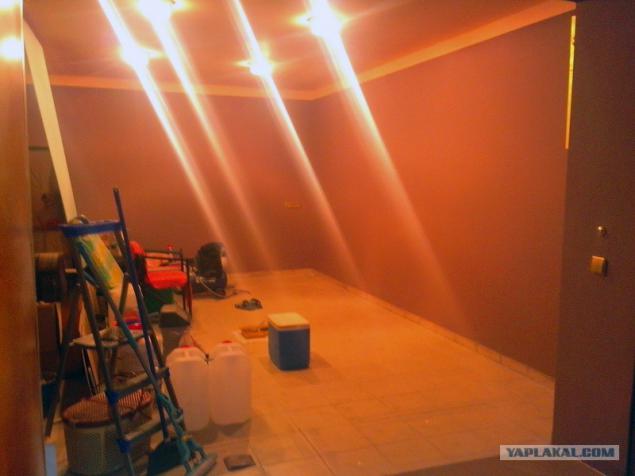
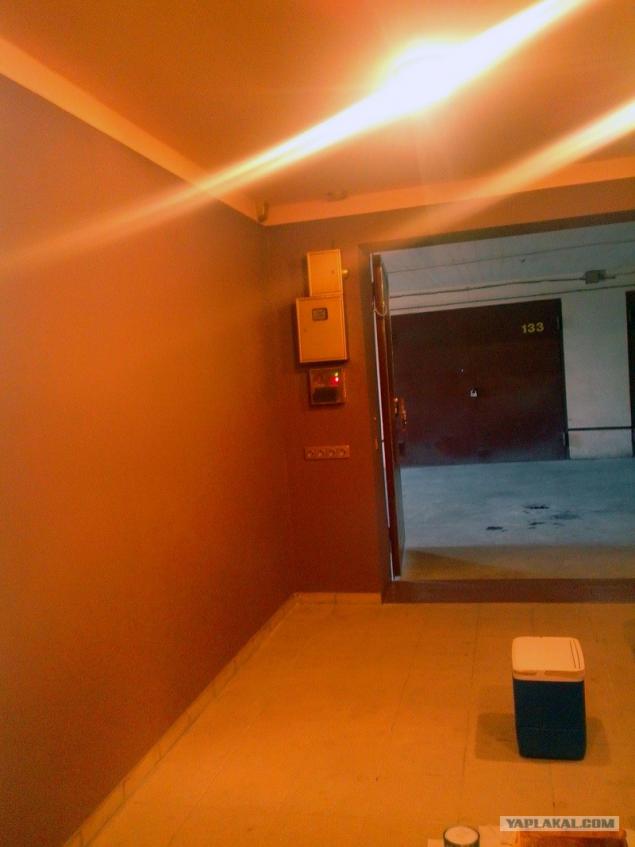
Paint the ceiling and walls. Get ...
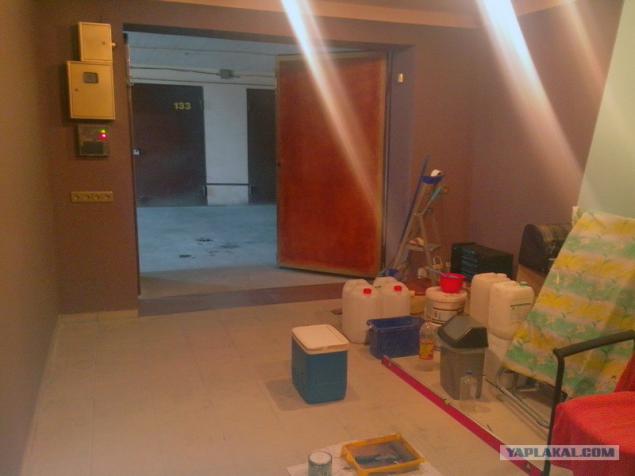
Fixtures specifically for the garage have been painted brass.
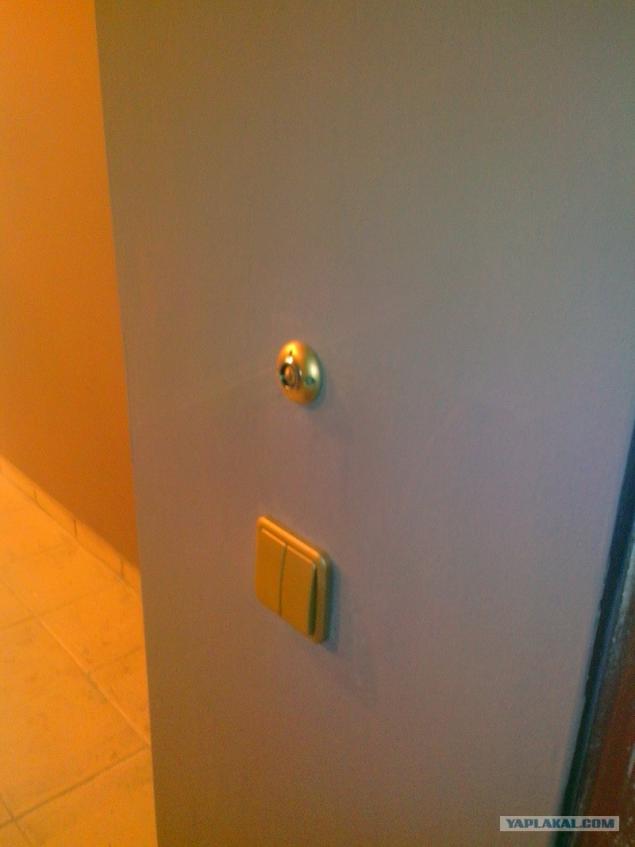
The switch was brass. Reader Dallas had spray paint.
All had to be painted brass ...)
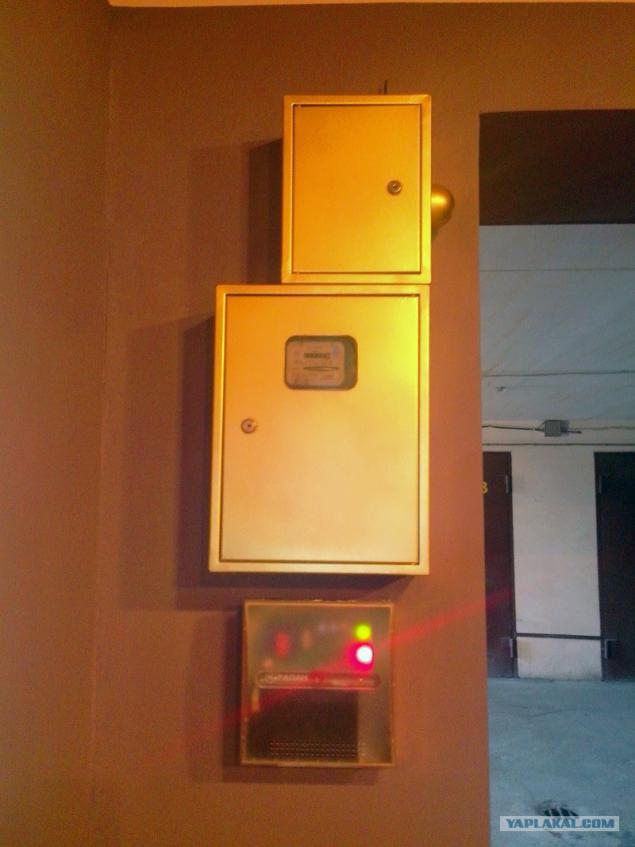
The duct is also brass).
Posted in [mergetime] 1379392101 [/ mergetime]
All! Feet do not kick. This is my first experience with such a large repair. Uchtu criticism, because without it in any way. I should add that has been put under the exhaust fan. On one of the photos visible timer switch it on. Without it, the whole room would be wet, dry out for a night all right.
Source:
28 photos

This rear wall, in winter it is very cold

That size, I wrote them directly on the bricks for the calculation of the cost of repairs

It was tiled, the process is clear and it should not show. Dirty!

In the course of the repair was imported rubbish, he accumulated)

And here is the insulation for doors - glass wool Bazalit and fiberboard sheets

So I crepe. To fix the profile used the lighthouse wall. He does not bend and keep right.

That's the first door is ready, the second coming.

Changing the guard and the wiring, put signalization GSM, sensors and power supply

Sticking beacons on the wall

Signalization, temporary connection

Cooking signalization for placement in a separate shield

Plasterer Wall

Here is a ceiling or a blank for ceiling

Put duct instead of the previously felled

Duct and finished wall

The joint duct

This is for mechanical ventilation gases - will turn on the fan when gassed

Now dry work - build a wall to hide the duct and sheathes bazalitom. The process of skin I lost. Excuse me.

The finished wall. Now the ceiling mount.

Sticking shpatlyuem curb and wall "sour." Closing joints in plaster.

This wall is waiting in the wings, all the trash on the ground - he left.

We got to the entrance. All gypsum - a 9 mm
GVKL

Paint the ceiling and walls. Get ...

Fixtures specifically for the garage have been painted brass.

The switch was brass. Reader Dallas had spray paint.

All had to be painted brass ...)

The duct is also brass).
Posted in [mergetime] 1379392101 [/ mergetime]
All! Feet do not kick. This is my first experience with such a large repair. Uchtu criticism, because without it in any way. I should add that has been put under the exhaust fan. On one of the photos visible timer switch it on. Without it, the whole room would be wet, dry out for a night all right.

Source:

