642
Padding of the saloon AUDI S4
When taking photos, it was not their goal to spread. Without Photoshop, etc. horizons overwhelmed But the essence of the process is clear.
34 photos
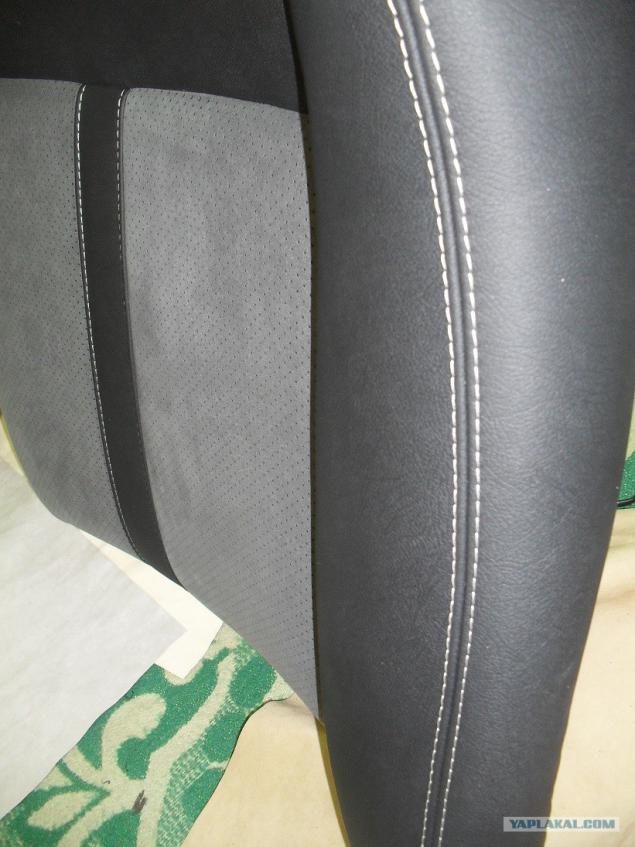
We have interior Recaro not the first freshness.
That's the material was lined with lounge.
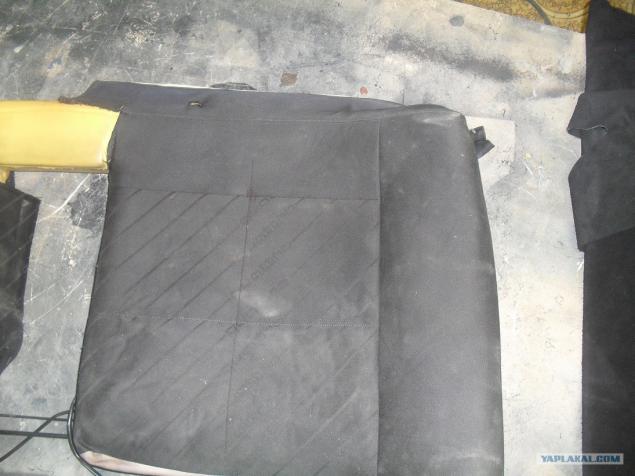
Remove the old liner, mark the center lane.
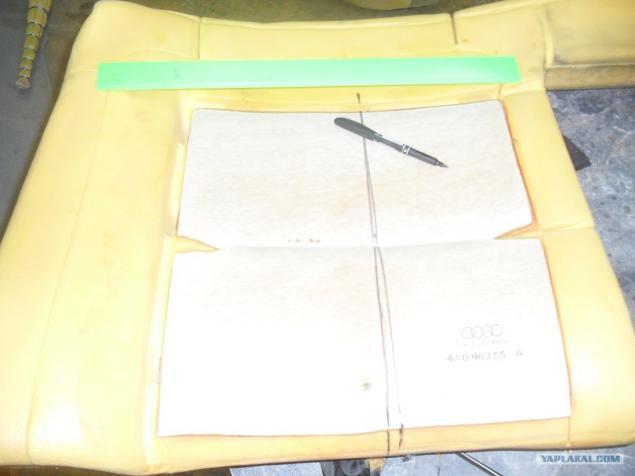
Next, I missed the time of withdrawal patterns. To do this, in part to use standard trim, the center of the seating produced new patterns.
Take the skin.
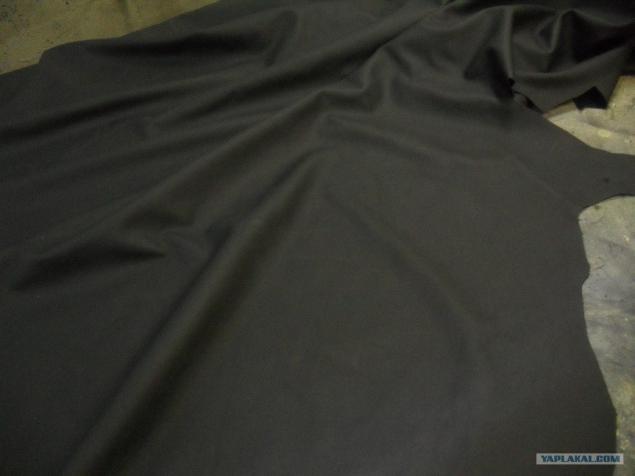
Contours of ready templates, then cut out.
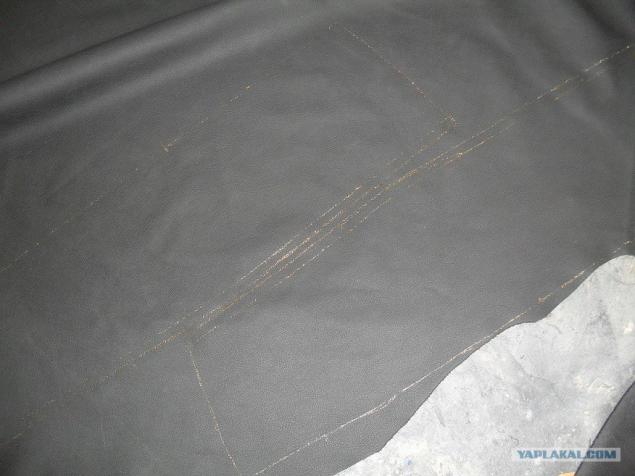
Ready-made patterns carefully glued to foam.
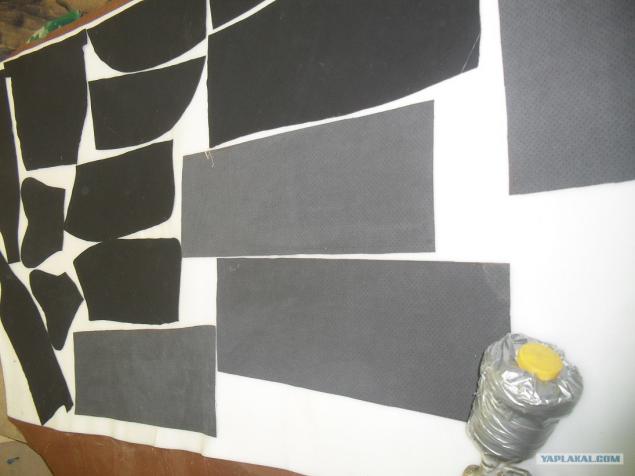
a little more
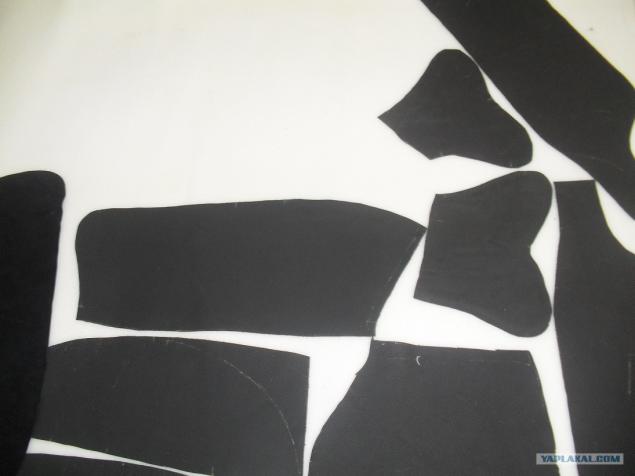
Now, the whole thing should be cut. As a result, we get such beautiful Circuits.
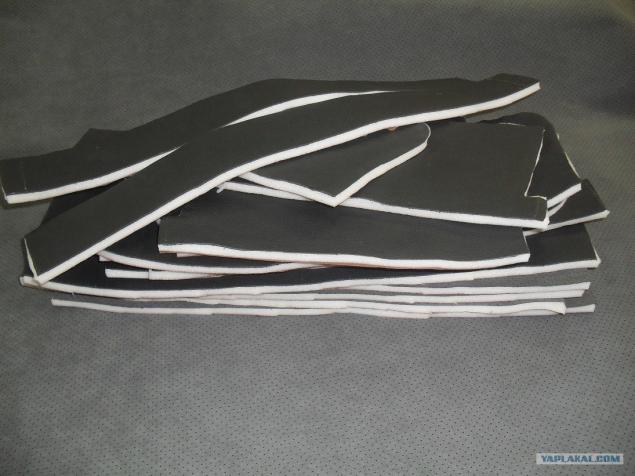
The most crucial moment, sewing. Pictures of the process of tailoring unfortunately not ((there is a photo of intermediate stages.
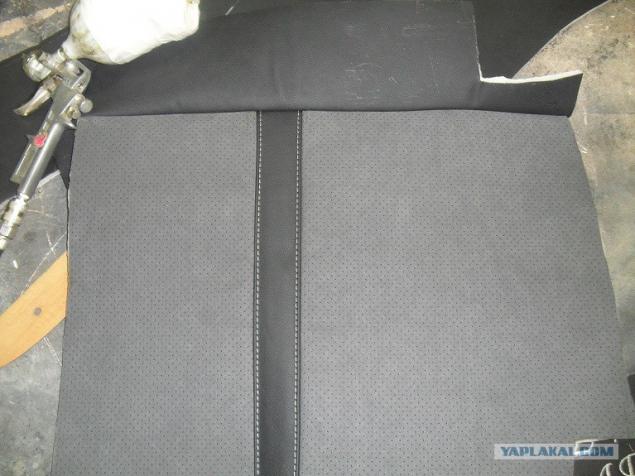
Finished with sewing gets ready to trim, left her dress (no less responsible than otshit,).
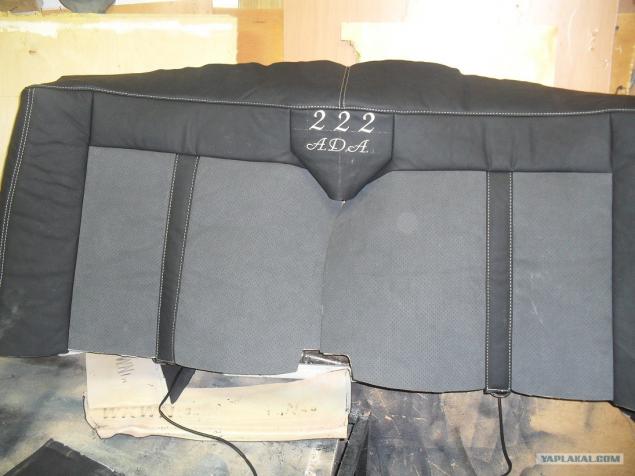
Sizing the edges and fix the iron rings.
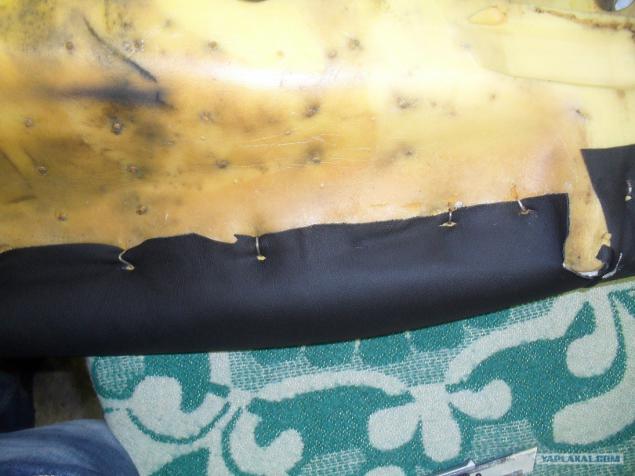
Further, the heat treatment hairdryer and a steam generator (this is done in order to trim perfectly snugly and sat on the latex!)
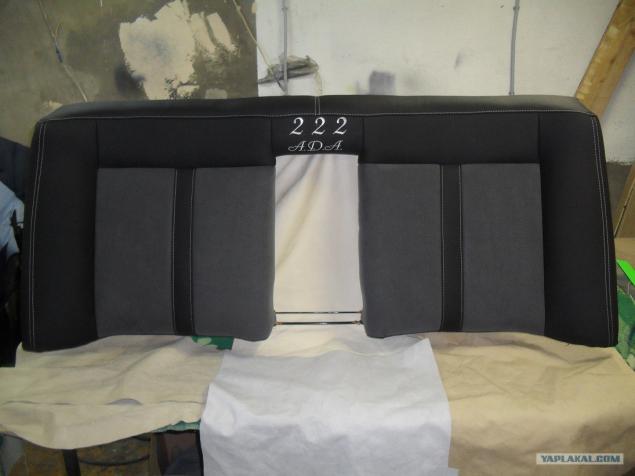
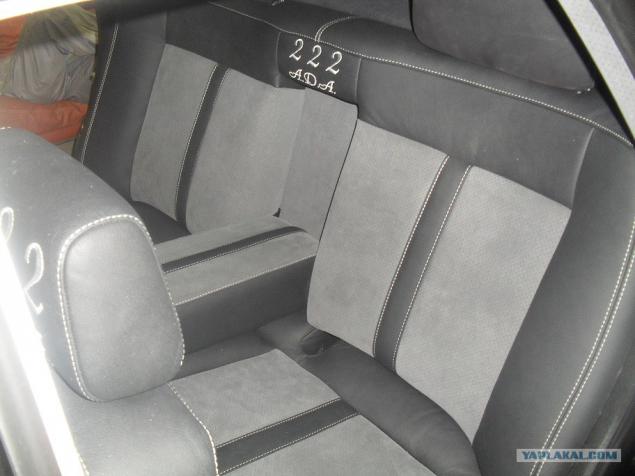
At the exit we have)) That such a result.
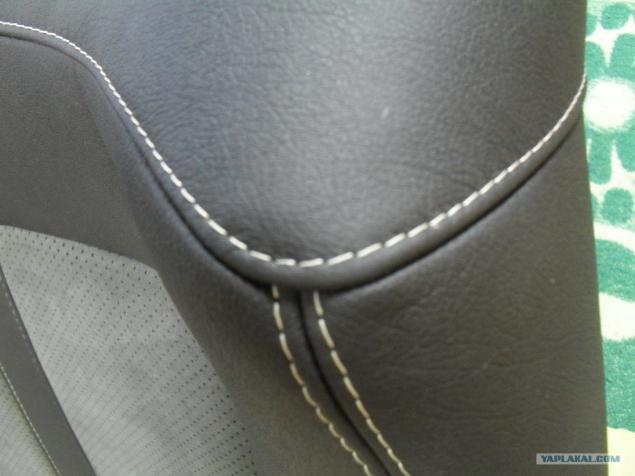
More
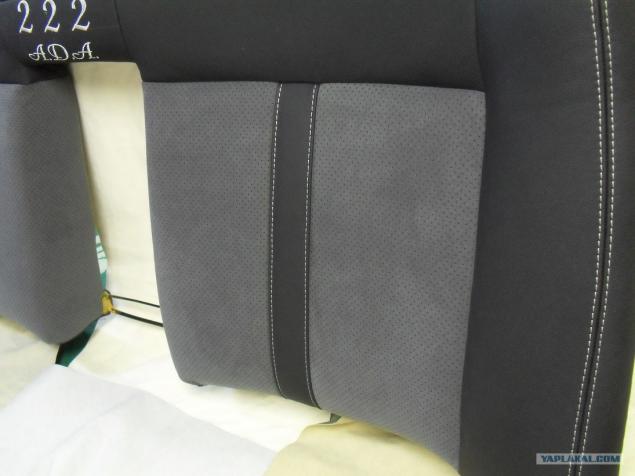
With the rear seat all. Now all the same repeat with the front siduhami.
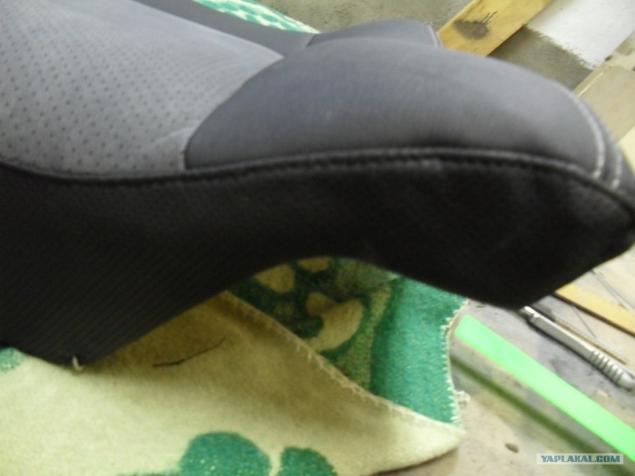
Next We are waiting for the ceiling. The ceiling was in a terrible state (almost rotten) had to shed its epoxy resin (whatever form held).
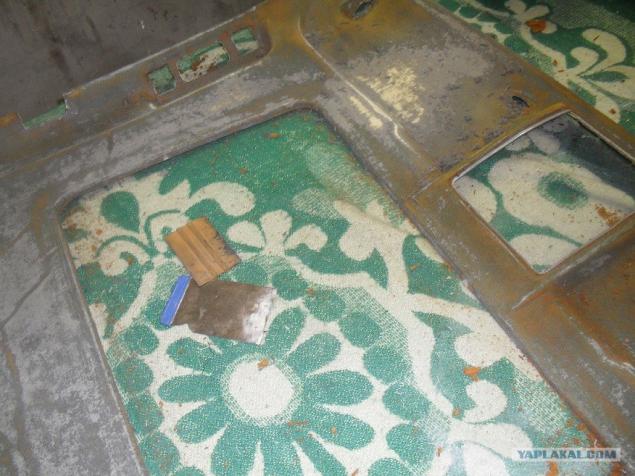
We remove all irregularities.
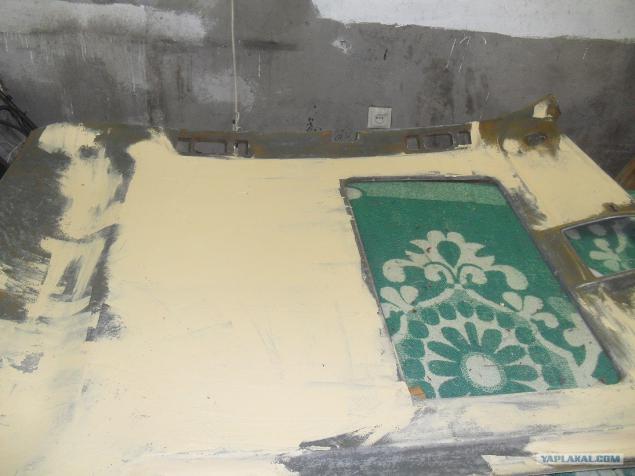
Then act as well as a seat, make patterns for rebuffing the ceiling.
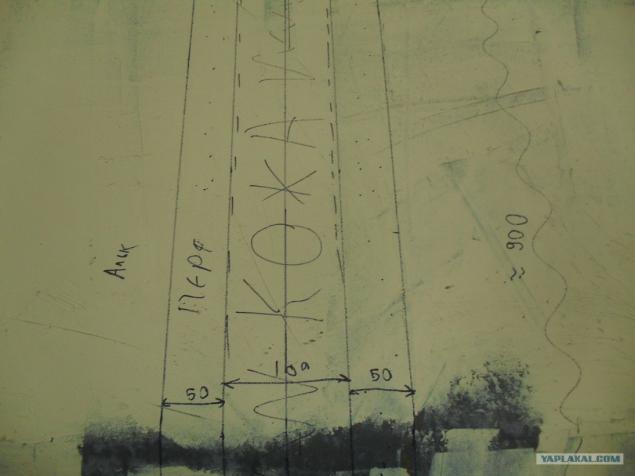
That's fitting
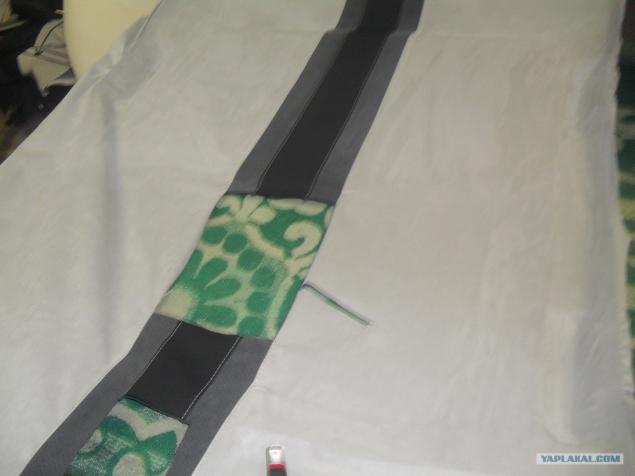
Apply glue to the ceiling and stuff.
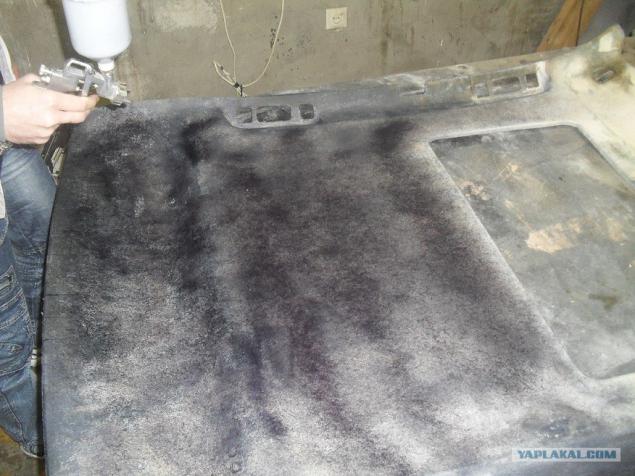
Here it
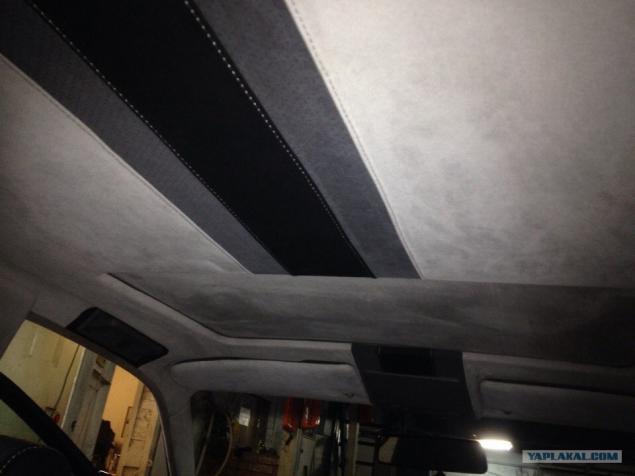
The next stage of assembly and the trunk.
Making the raised floor.
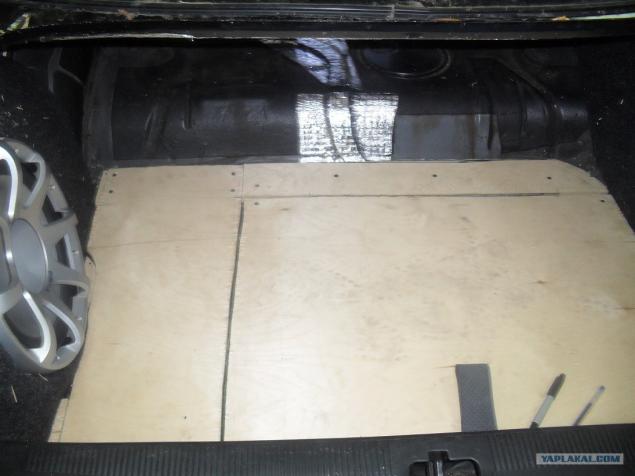
Cushioning of all carpet.
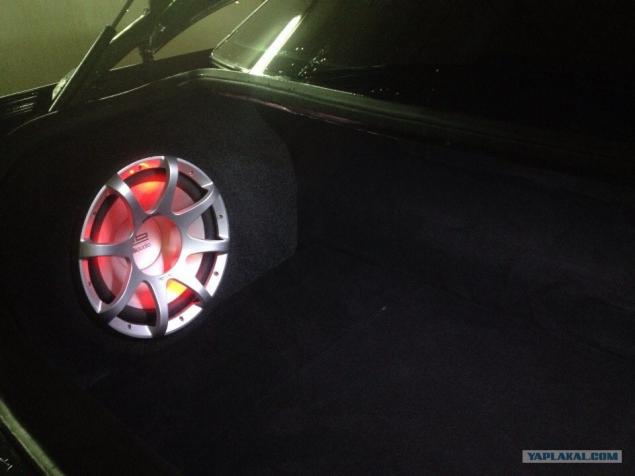
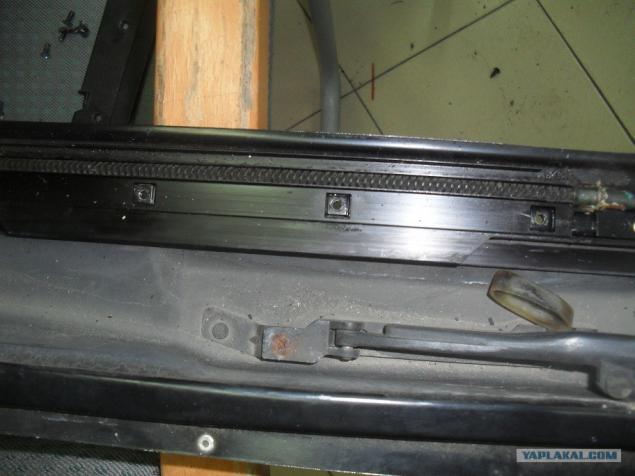
Begin to gather the ceiling. Since the machine is not new and the hatch is repaired (for banners curtains must be removed and dismantling the hatch) for the first day of the assembly was a lot of sex with a hatch ... The next day called for dismantling and took b \ y in working order for 1500 rubles, and two put together one ( thoroughly lubricate all mechanisms).
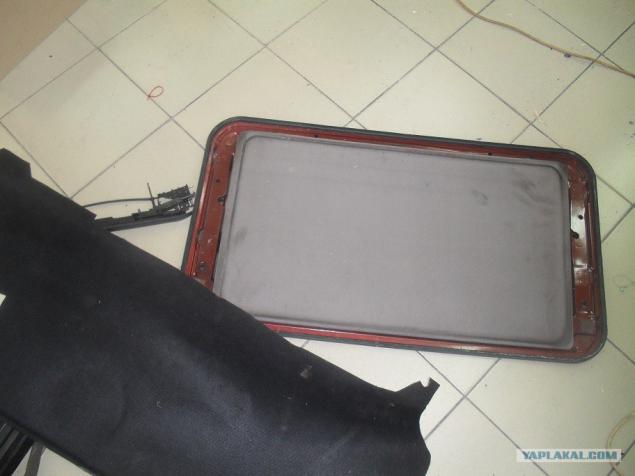
Here is a photo of the reptile)) opener.
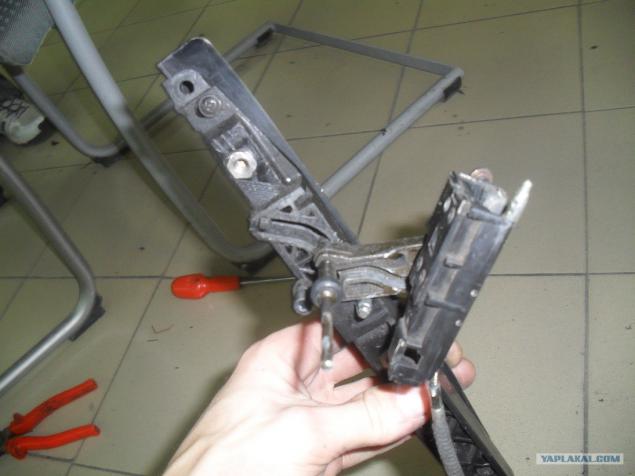
He.
The ceiling is set, the remaining seats and door trim. Well, the little things ...
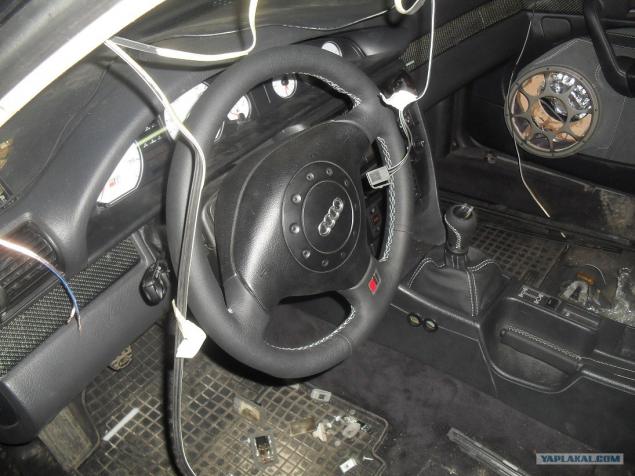
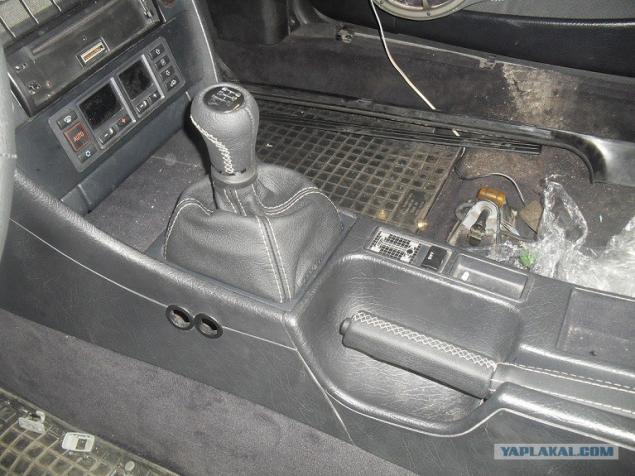
Here it is, small things
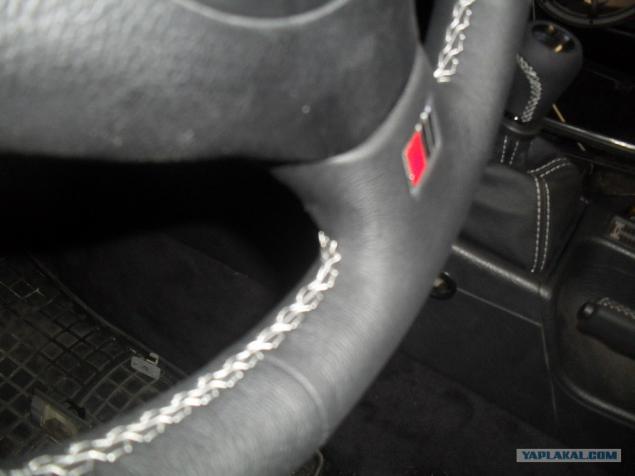
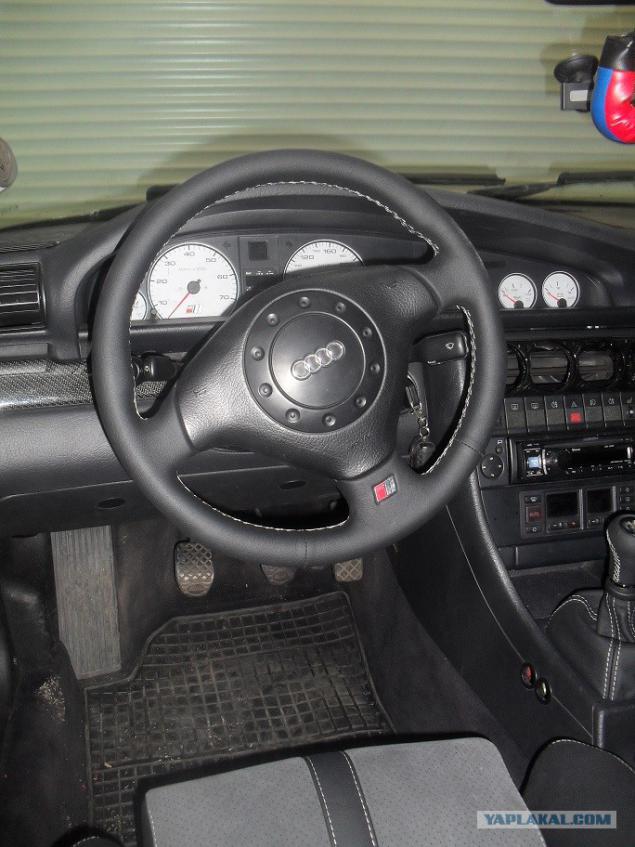
Rudder
The result of our labors.
2)
Source:
34 photos

We have interior Recaro not the first freshness.
That's the material was lined with lounge.

Remove the old liner, mark the center lane.

Next, I missed the time of withdrawal patterns. To do this, in part to use standard trim, the center of the seating produced new patterns.
Take the skin.

Contours of ready templates, then cut out.

Ready-made patterns carefully glued to foam.

a little more

Now, the whole thing should be cut. As a result, we get such beautiful Circuits.

The most crucial moment, sewing. Pictures of the process of tailoring unfortunately not ((there is a photo of intermediate stages.

Finished with sewing gets ready to trim, left her dress (no less responsible than otshit,).

Sizing the edges and fix the iron rings.

Further, the heat treatment hairdryer and a steam generator (this is done in order to trim perfectly snugly and sat on the latex!)

At the exit we have)) That such a result.

More

With the rear seat all. Now all the same repeat with the front siduhami.

Next We are waiting for the ceiling. The ceiling was in a terrible state (almost rotten) had to shed its epoxy resin (whatever form held).

We remove all irregularities.

Then act as well as a seat, make patterns for rebuffing the ceiling.

That's fitting

Apply glue to the ceiling and stuff.

Here it

The next stage of assembly and the trunk.
Making the raised floor.

Cushioning of all carpet.

Begin to gather the ceiling. Since the machine is not new and the hatch is repaired (for banners curtains must be removed and dismantling the hatch) for the first day of the assembly was a lot of sex with a hatch ... The next day called for dismantling and took b \ y in working order for 1500 rubles, and two put together one ( thoroughly lubricate all mechanisms).

Here is a photo of the reptile)) opener.

He.

The ceiling is set, the remaining seats and door trim. Well, the little things ...

Here it is, small things

Rudder

The result of our labors.

2)

Source:
