736
As I was doing LED lighting.
Welcome respected Yapovtsev. Reader site is a long time, but decided to write for the first time. Kicking or not your work, but ask not to break the post. Will be 19 photos and 1 video.
Photographed not all, so some pictures from internet.
So. Sometimes I wanted to make a repair LED lighting in the room. But neither fashionable now podsvetochka niche, namely the basic lighting fittings. He estimated that this would require. But need the following:
1. RGB LED strip.
2. Power supply.
3. Power.
4. Controller.
5. 4-wire cable.
6. aluminum profiles.
7. A pair of hands, but rather all four.
Then I went to the famous Chinese shop and bought:
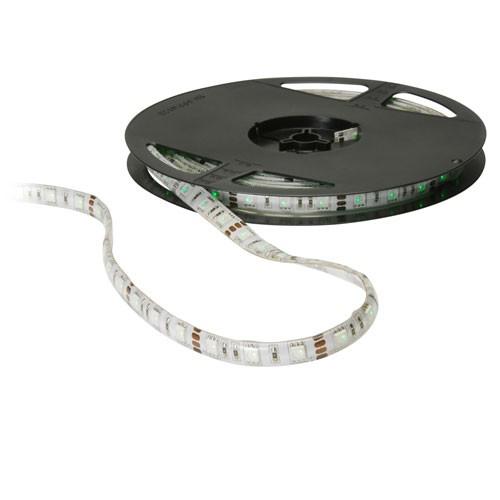
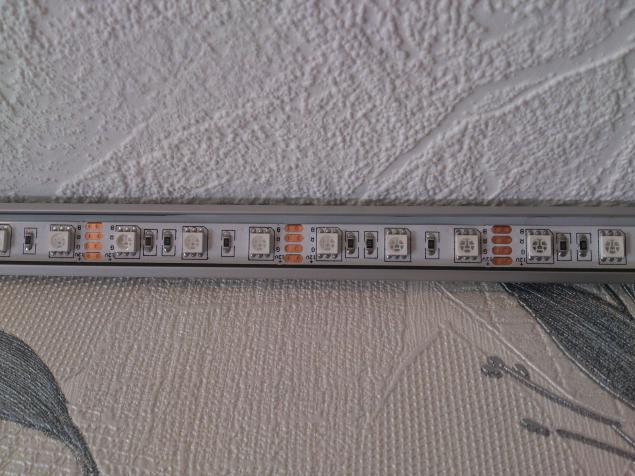
Tape 4 Babin of 5m. Here such:
Calculate the power supply unit. Taking into account the stock turned 360W. And the need for a current amplifier, turned on channel 10A (three-channel amplifier, the channel for each color).
However, as it turned out, the actual consumption is less than the stated tape 2 times, and nutritional turned nefigovy stock. But the worst of it will not be exactly.
Tape larger.

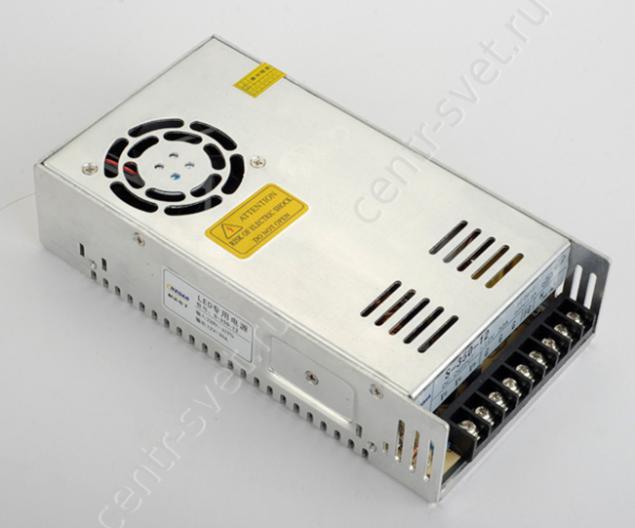
Power Supply 360W.
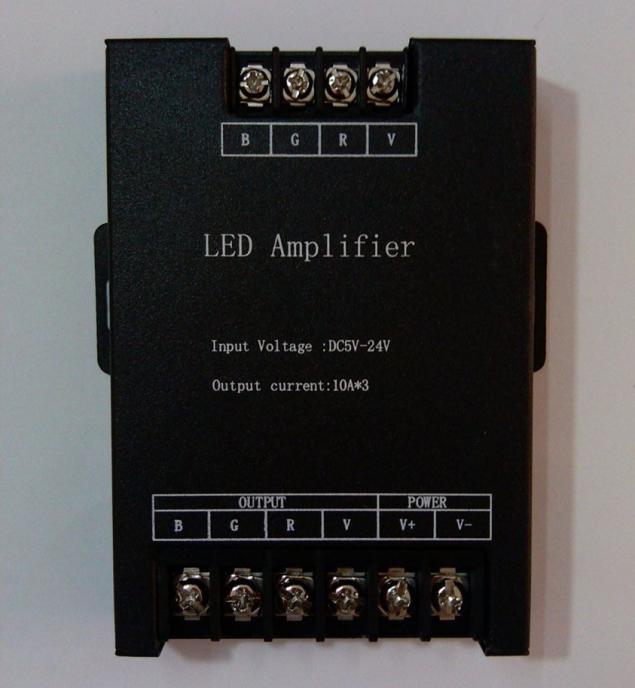
Power RGB.
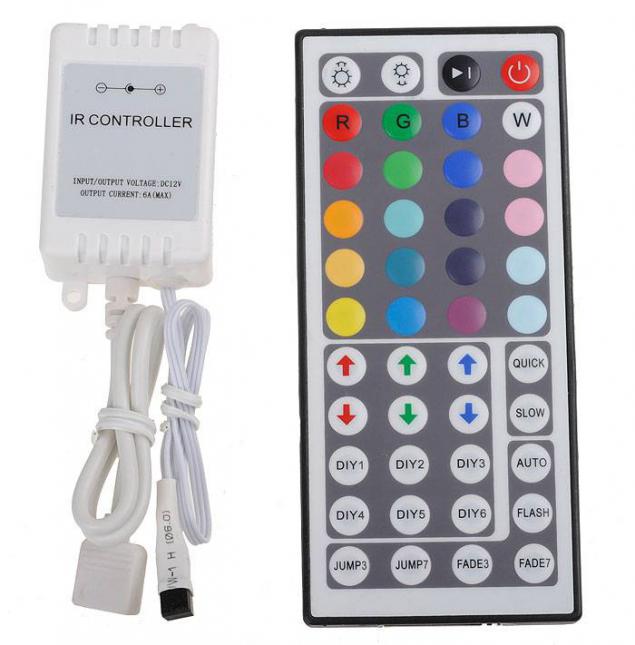
Controller with remote control. Interesting stuff.
Bay wire 30m. Then why I write so much.

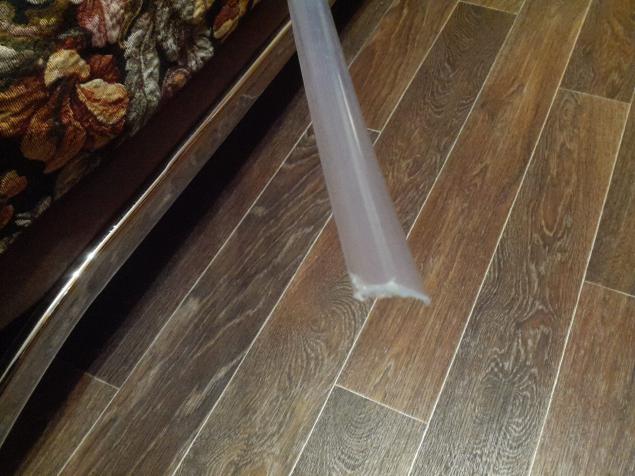
Profile ordered in Kiev. He took the easiest + lens. And the more I did not have to. 9 pieces of 2m.
A month later we reached all little presents from the Chinese brothers, and we started. Husband helps me in this difficult case.
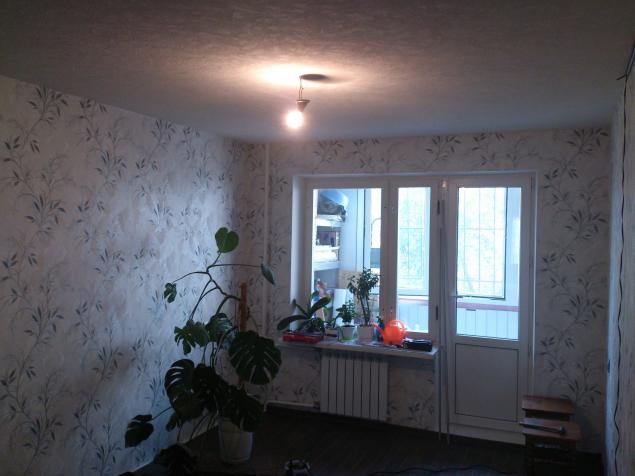
Room up, size 5.5 to 3m.
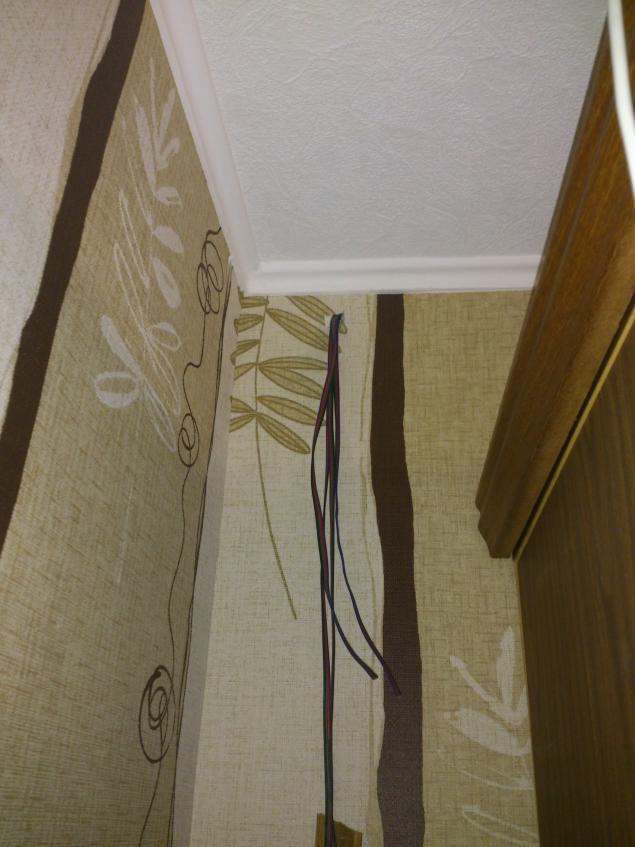
In order not to spoil the aesthetics of food and I decided to place the control in the adjacent room vyvev wires through specially made hole in the wall.
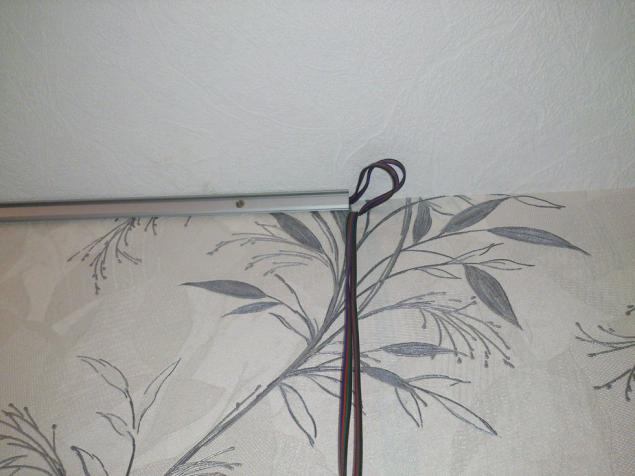
The tape is closed in a ring around 17m long, and as the conductor tracks on the tape thin, then power the entire ring in one place can not be - at the far end will glow dimly, and in the beginning may be burned. It is necessary to supply the tape to 4 points equidistant from each other. Cut wire to desired pieces and plant through the hole in the wall into the next room, where there is power supply.
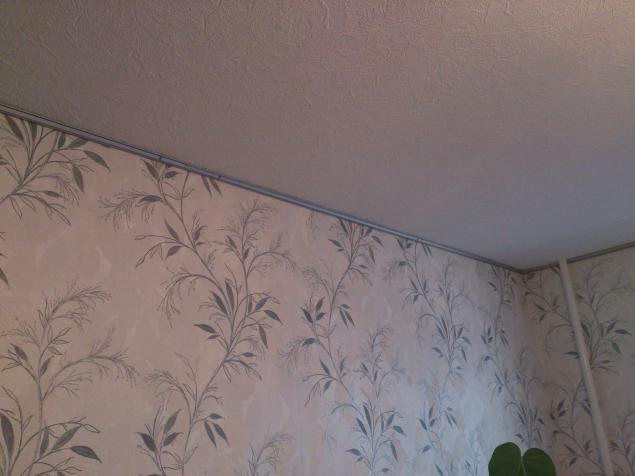
Getting to strengthen the profile between the ceiling and the wall, at the same time hiding underneath the wire. Fasten on a dowel.
Also in the field podpayki tape wires to make holes for the output wires. Then it will be seen. So slowly assemble profile around the perimeter.
The tape already has adhesive backing, but sometimes through her show through the pads so dumb a glue on the profile. Glue strips of double-sided tape.
Glued tape:
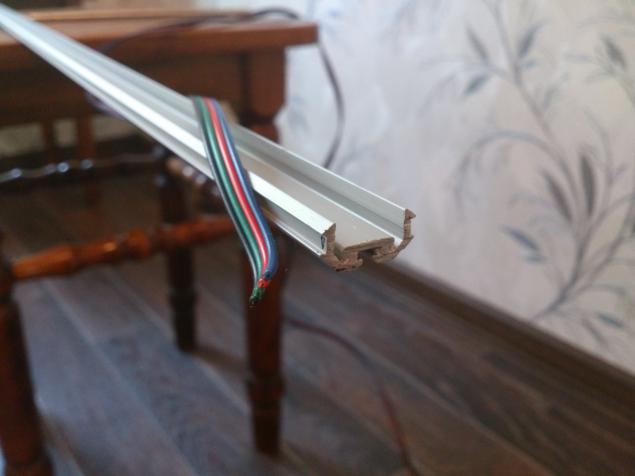
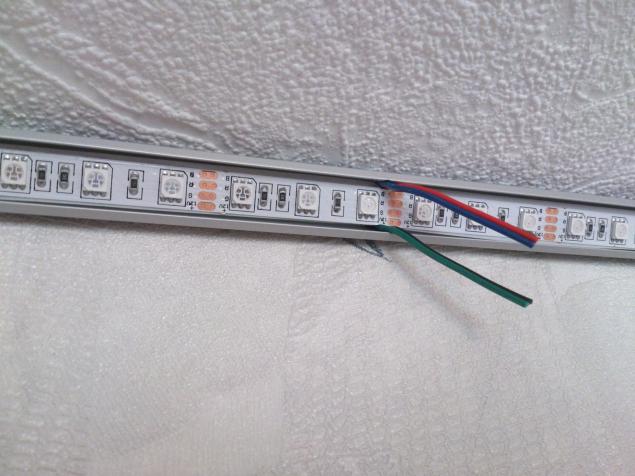
The output wire of the profile:
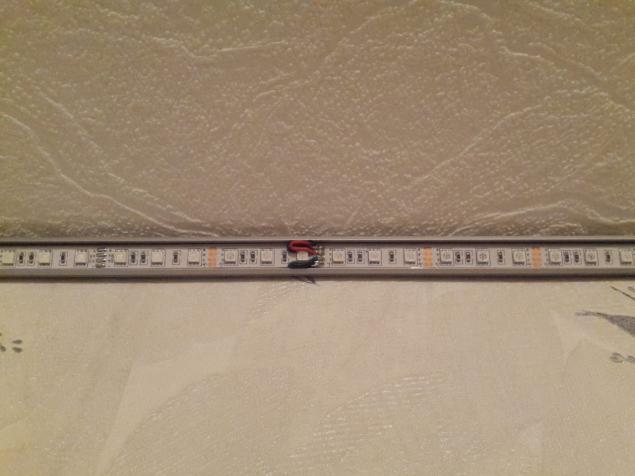
When the tape pasted and connected at the corners, fluster her wire:
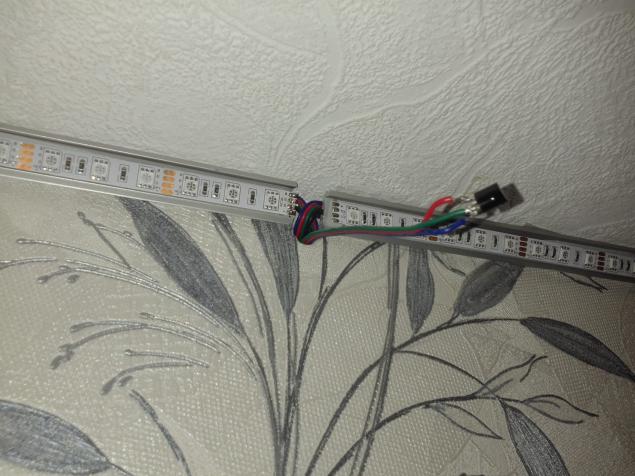
Well, G-spot just a disgrace - the joint profiles and wires sticking out and the IR receiver controller. Temporarily.
This works in the hall is almost finished, we can only stick to the lens profile.
That's the way it is, or does not want to get into focus.
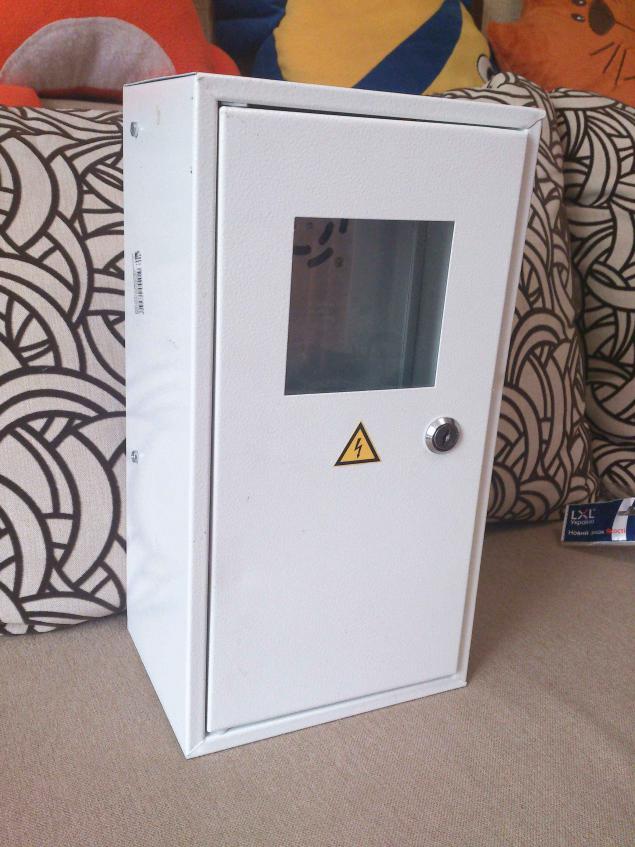
To accommodate all the electronic stuff was purchased here is a box,
as it turned pripaskudneyshego workmanship.
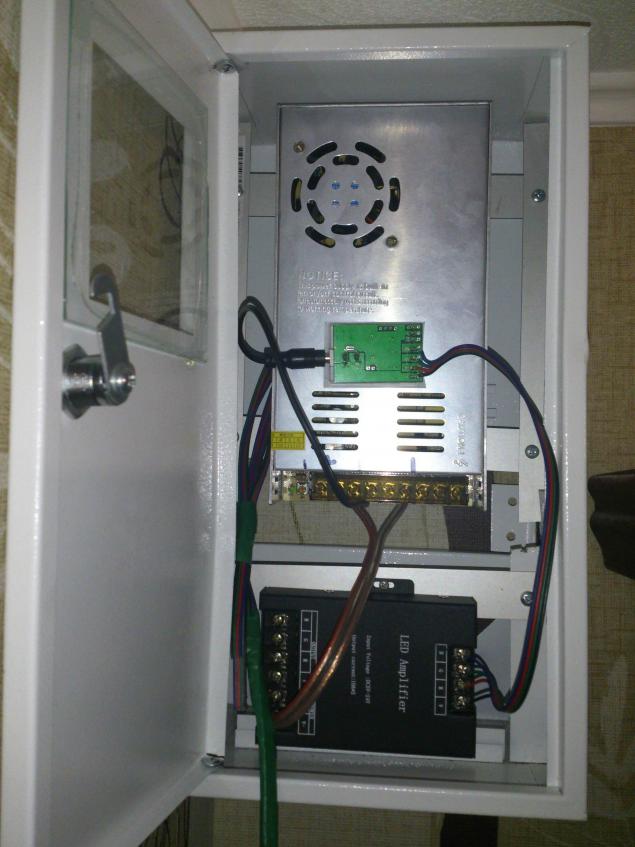
Stored aluminum corners and begin to push all inside the box:

Hoisting the box in place and the plant wires in it, connect the controller, the receiver is, as we have seen, sticking out in the next room:
Posted in [mergetime] 1385219744 [/ mergetime]
The box opened from the switch 220 in the hall, so we all turned on and off as usual. When disconnecting power, the controller remembers the last mode.
And now the video work. Persons with epilepsy look not recommended.
The video shows some interesting modes have controller, Christmas garland no longer needed. You can set any color and brightness of the light.
For the money all cost about 300 $.
$ 120 - profile, and the same all the electronics. The rest - the box, and all the small building materials.
There are not very nice moment - the power supply has a cooler, which was not of the quietest. Fortunately, he is rarely included.
That's all, if you have questions - be sure to answer.
Source:
Photographed not all, so some pictures from internet.
So. Sometimes I wanted to make a repair LED lighting in the room. But neither fashionable now podsvetochka niche, namely the basic lighting fittings. He estimated that this would require. But need the following:
1. RGB LED strip.
2. Power supply.
3. Power.
4. Controller.
5. 4-wire cable.
6. aluminum profiles.
7. A pair of hands, but rather all four.
Then I went to the famous Chinese shop and bought:
Tape 4 Babin of 5m. Here such:

Calculate the power supply unit. Taking into account the stock turned 360W. And the need for a current amplifier, turned on channel 10A (three-channel amplifier, the channel for each color).
However, as it turned out, the actual consumption is less than the stated tape 2 times, and nutritional turned nefigovy stock. But the worst of it will not be exactly.
Tape larger.

Power Supply 360W.

Power RGB.

Controller with remote control. Interesting stuff.

Bay wire 30m. Then why I write so much.

Profile ordered in Kiev. He took the easiest + lens. And the more I did not have to. 9 pieces of 2m.

A month later we reached all little presents from the Chinese brothers, and we started. Husband helps me in this difficult case.
Room up, size 5.5 to 3m.

In order not to spoil the aesthetics of food and I decided to place the control in the adjacent room vyvev wires through specially made hole in the wall.
The tape is closed in a ring around 17m long, and as the conductor tracks on the tape thin, then power the entire ring in one place can not be - at the far end will glow dimly, and in the beginning may be burned. It is necessary to supply the tape to 4 points equidistant from each other. Cut wire to desired pieces and plant through the hole in the wall into the next room, where there is power supply.

Getting to strengthen the profile between the ceiling and the wall, at the same time hiding underneath the wire. Fasten on a dowel.

Also in the field podpayki tape wires to make holes for the output wires. Then it will be seen. So slowly assemble profile around the perimeter.

The tape already has adhesive backing, but sometimes through her show through the pads so dumb a glue on the profile. Glue strips of double-sided tape.
Glued tape:

The output wire of the profile:

When the tape pasted and connected at the corners, fluster her wire:

Well, G-spot just a disgrace - the joint profiles and wires sticking out and the IR receiver controller. Temporarily.

This works in the hall is almost finished, we can only stick to the lens profile.
That's the way it is, or does not want to get into focus.

To accommodate all the electronic stuff was purchased here is a box,
as it turned pripaskudneyshego workmanship.

Stored aluminum corners and begin to push all inside the box:

Hoisting the box in place and the plant wires in it, connect the controller, the receiver is, as we have seen, sticking out in the next room:
Posted in [mergetime] 1385219744 [/ mergetime]
The box opened from the switch 220 in the hall, so we all turned on and off as usual. When disconnecting power, the controller remembers the last mode.
And now the video work. Persons with epilepsy look not recommended.
The video shows some interesting modes have controller, Christmas garland no longer needed. You can set any color and brightness of the light.
For the money all cost about 300 $.
$ 120 - profile, and the same all the electronics. The rest - the box, and all the small building materials.
There are not very nice moment - the power supply has a cooler, which was not of the quietest. Fortunately, he is rarely included.
That's all, if you have questions - be sure to answer.

Source: