168
How to make a cabochon
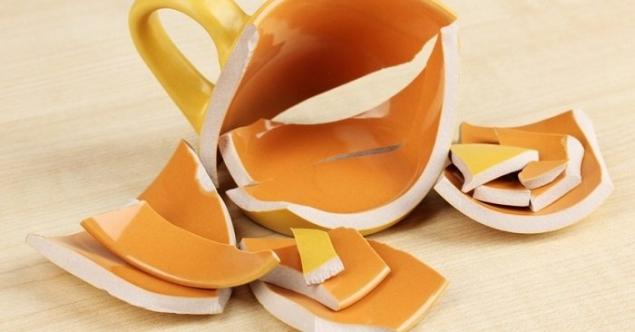
There are people who believe that keeping shards at home is bad luck. But there are those who believe that dishes always beat for happiness. Well, I think giving a second life to a beautiful thing is a great talent.
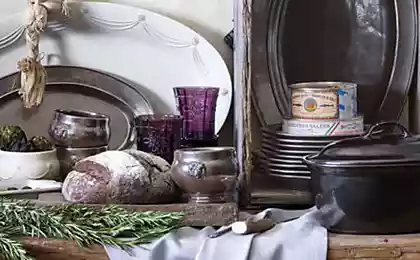
A week ago, my husband broke a teapot and a saucer from a favorite. granny. Previously, this service grandmother got only on holidays: washed it, rubbed it and ... put it back. We rarely ate and drank from it, mostly it stood in the sideboard all the time and collected dust (this is my “rough” opinion).
But his grandmother loved him and was proud of him: after all, the imperial porcelain factory produced a set. And the fragments were so artistically fragmented that the hand did not rise to throw them away. I'm glad you didn't get up!
DepositPhotos
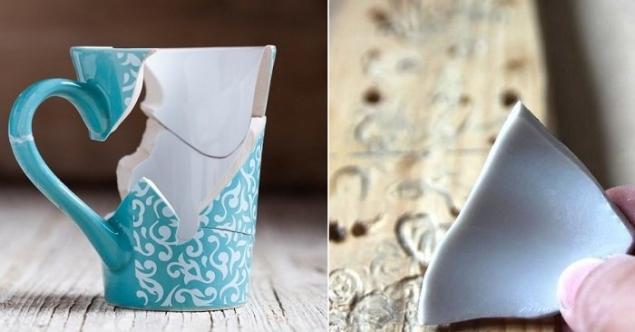
Unusual crafts Already invented many ideas, What to do with a broken cupThey're not about throwing it in the trash, they're about fantasy, creativity, flight of thought and courage. The idea is that anything can be given a second life, that another broken plate or mug is the next few hours of creativity, that there is nothing to regret.
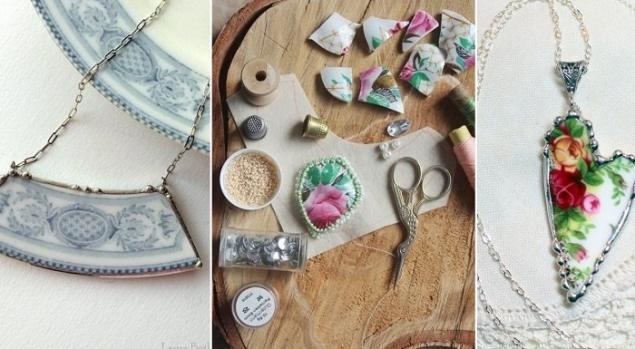
So today's editorial office. "Site" I suggest you find out an interesting way. chipping In cabochons for stylish jewelry. I hope my grandmother will forgive me.
DepositPhotos
You'll need it.
DepositPhotos
Progress of work
To make room on the shelves for more necessary and functional things, I suggest you look at 19 ideas for alterations from old sets. These handmade creations will undoubtedly bring a unique highlight to the interior!
The Japanese believe that broken dishes are much more valuable than whole. A teapot with a patched crack becomes more expensive because it's no longer just a kettle, it's a thing with history!
A ceramic kettle, which was not thrown away, but created something new from it, be it a wall mosaic or decoration, is also a recognition that the thing was so beautiful that you do not want to part with it, but you want to use and admire it, albeit in a new form.
Tell me about these. great ideas To my friends on social media, inspiration is so contagious!
A week ago, my husband broke a teapot and a saucer from a favorite. granny. Previously, this service grandmother got only on holidays: washed it, rubbed it and ... put it back. We rarely ate and drank from it, mostly it stood in the sideboard all the time and collected dust (this is my “rough” opinion).
But his grandmother loved him and was proud of him: after all, the imperial porcelain factory produced a set. And the fragments were so artistically fragmented that the hand did not rise to throw them away. I'm glad you didn't get up!

DepositPhotos
Unusual crafts Already invented many ideas, What to do with a broken cupThey're not about throwing it in the trash, they're about fantasy, creativity, flight of thought and courage. The idea is that anything can be given a second life, that another broken plate or mug is the next few hours of creativity, that there is nothing to regret.
So today's editorial office. "Site" I suggest you find out an interesting way. chipping In cabochons for stylish jewelry. I hope my grandmother will forgive me.

DepositPhotos
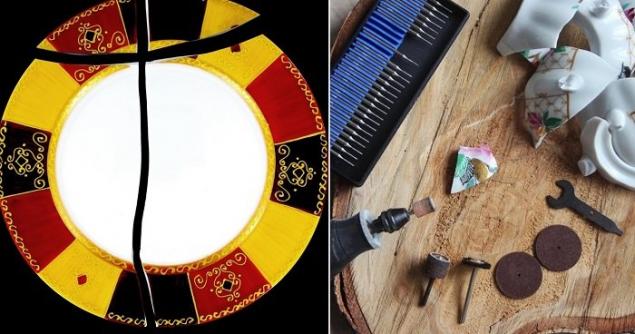
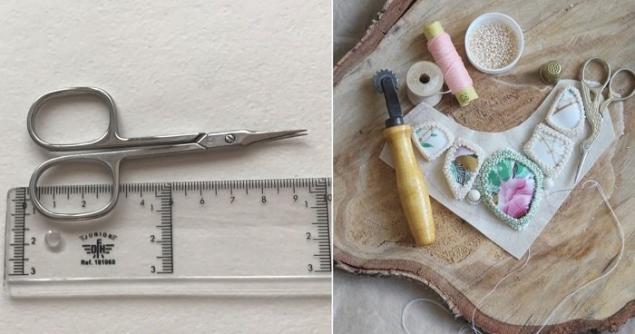
You'll need it.
- pottery
- drill
- grinder
- metalbrush
- Protection (handkerchief or mask on the nose and eyeglasses)
- felt-piece
- Moment-type glue
- beads
- jeweler

DepositPhotos
Progress of work
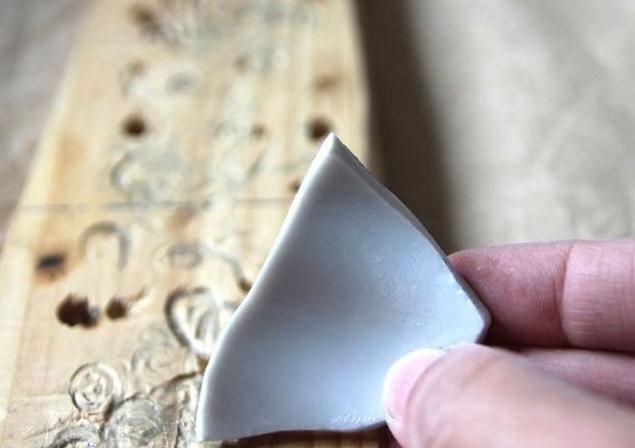
- In order to turn a shard of teapot into a cabochon, you need a drill (taken from your husband) to sharpen the sharp edges. To get rid of the fragments of all stabbing and cutting (and not touch the picture), it is better to take a grinding nozzle.
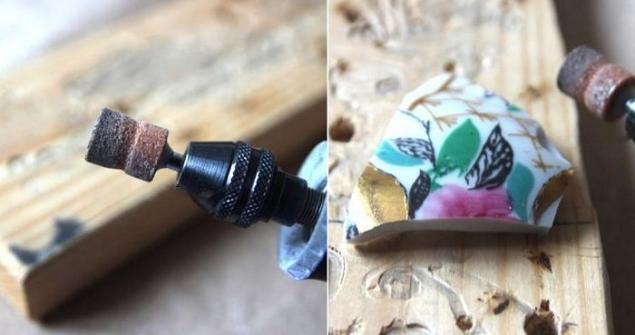
- It is necessary to smooth out all sides of the fragment, and then treat the surface with a “metal brush” nozzle. Pay attention to the surface that will be attached to the fabric, it should be smoother and smoother!
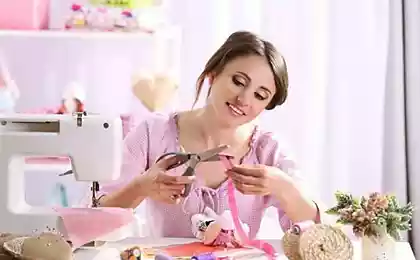
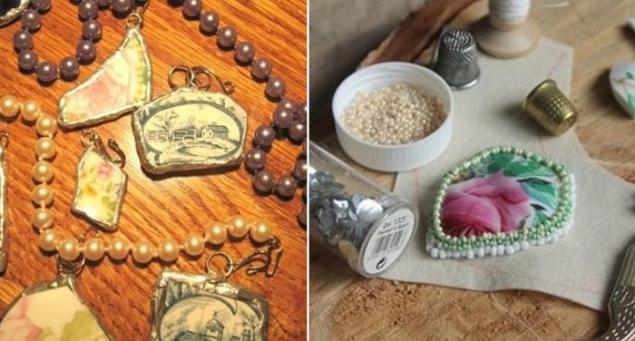
- And now we go directly to the creation of the decoration itself. Stick the cabochon to the felt base with glue, and then start shedding the base with beads. The first row consists of beads in one layer. The next row of beads must be sewn through one previous bead to get the effect of mosaic. Then another row through one. The same actions continue from 3 to 5 rows - it depends on the thickness of your cabochon fragments.
- After sheathing one cabochon, you can glue two more on the sides, and it is better to take fragments of different shapes for a more interesting effect in the finished product.
- Cabochons are sheathed, but there is a lot of empty space between them. To fix this, you can add beads and sheath them as well.
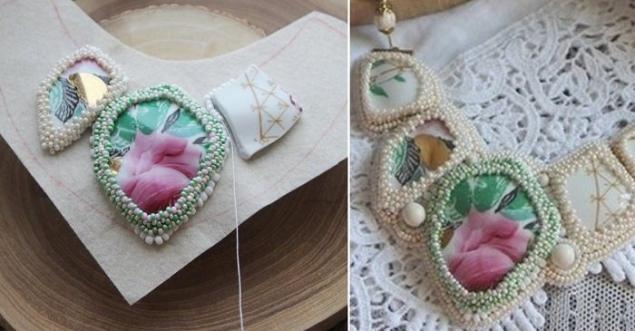
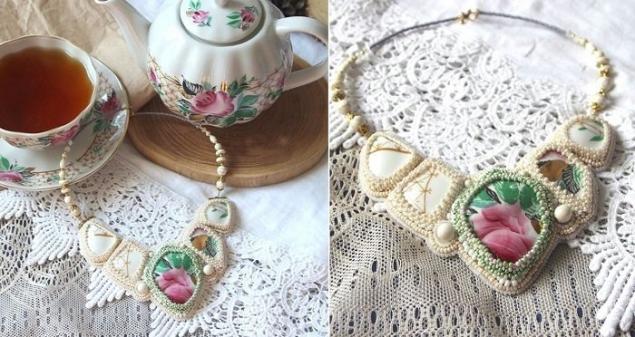
- The decorative part is ready. Now remove the extra felt. It is better to leave 1 millimeter of felt at the edges than cut so close that you will hook the thread and all the work will go to waste. When the removal of excess felt is finished, the aces at each edge of one connector, they will then be attached to a jewelry string.
- That's it, the decoration is done. It was amazing, wasn't it?


To make room on the shelves for more necessary and functional things, I suggest you look at 19 ideas for alterations from old sets. These handmade creations will undoubtedly bring a unique highlight to the interior!
The Japanese believe that broken dishes are much more valuable than whole. A teapot with a patched crack becomes more expensive because it's no longer just a kettle, it's a thing with history!
A ceramic kettle, which was not thrown away, but created something new from it, be it a wall mosaic or decoration, is also a recognition that the thing was so beautiful that you do not want to part with it, but you want to use and admire it, albeit in a new form.
Tell me about these. great ideas To my friends on social media, inspiration is so contagious!