188
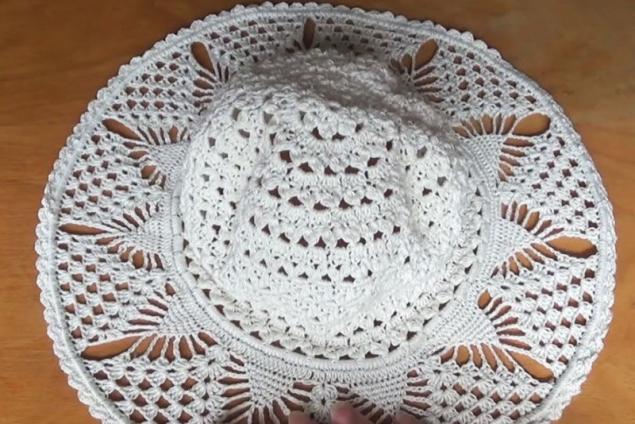
Detailed lesson of knitting a summer hat with fields from Svetlana Bersanova
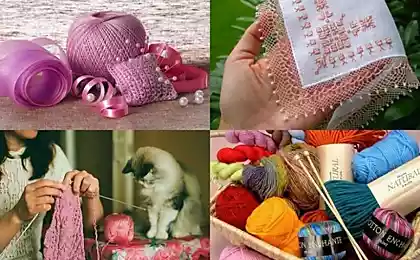
How many hats I want to try on immediately! Especially in the midst of the summer season, the hat saves from the scorching sunlight. Another important function of the hat is to complement the romantic image of a luxurious woman. Today we propose to try to tie the hat with a hook yourself.

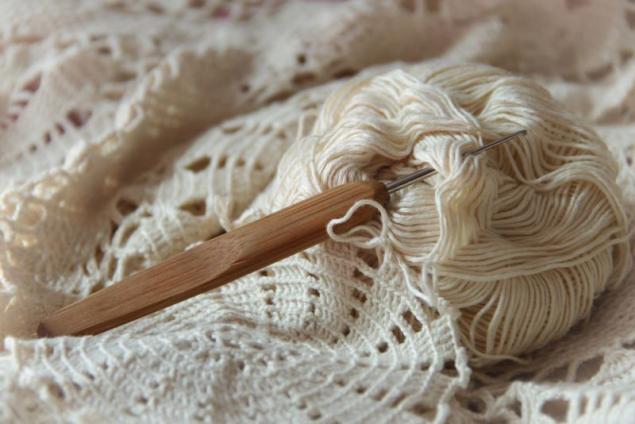
You will need a little patience, yarning 240 m for 50 g, a hook and a frame for a hat. It can be plastic regilin or ordinary wire. This hat with a height of 15 cm is designed for a head girth of 50 cm. Shall we start?
You'll need it.
A detailed lesson in knitting a summer cap with fields can be seen on the Olga Bersanova Canal. A patient needlewoman tells and shows how she knits each loop.
https://www.youtube.com/watch? v=I43UpRZLY0I
I hope you can tie that beautiful hat, too, because summer is just around the corner. The hat looks very elegant, and it seems as if knitting it is very difficult. But if you look closely, you'll realize that it's not that hard if you follow the instructions.

You will need a little patience, yarning 240 m for 50 g, a hook and a frame for a hat. It can be plastic regilin or ordinary wire. This hat with a height of 15 cm is designed for a head girth of 50 cm. Shall we start?

You'll need it.
- 80g yarn
- hook 2
- wire
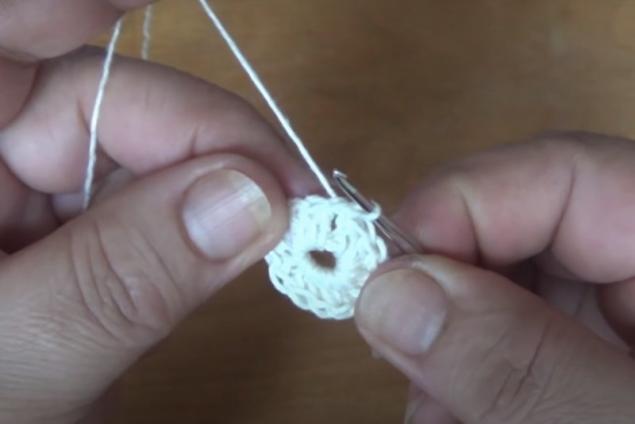
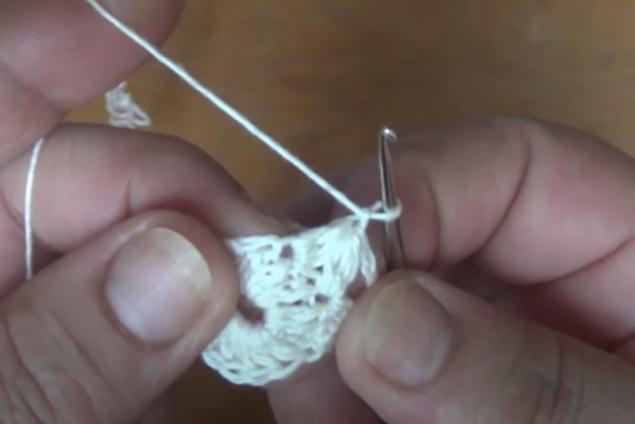
- Make 6 air loops and tie them into a ring of connecting loops. In the 1st row, connect 2 air loops and in each loop connect 16 columns with a cape.
- In the 2nd row, tie 2 air loops and start knitting the pattern at the base: link 1 column with a cape, but not to the end. In the same column, tie the second column without a cape and also tie not to the end. That leaves 4 loops on the hook. Make a cape and tie 3 loops without a cape through 1 column. On the hook are 8 loops that need to be connected together, and a triangle is obtained.
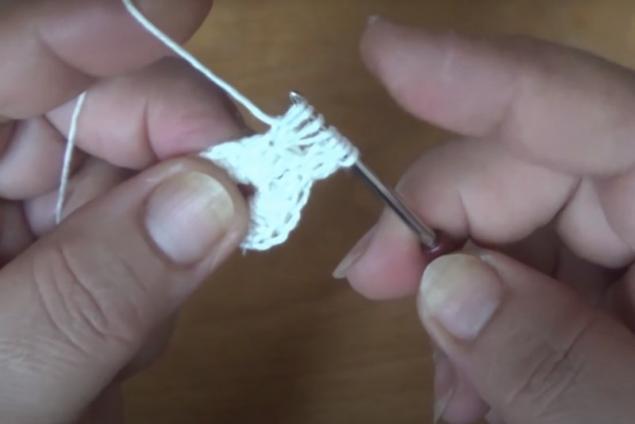
- Next, tie 3 air loops and 1 cape. In the same column where the first triangle was tied, tie 1 column not to the end and there are 2 columns without a cape. Make a cape and through one loop tie three pillars without a cape. Connect all the loops on the hook. It's another triangle.
- Next, link such triangles in a circle, all of them are 8.

- Connect the first and last triangles and connect 2 air loops. At the place where there were air loops in the previous row, link 6 loops with a cape in a circle.
- Next, we tie the same pattern as in the 2nd row, but this time we need to retreat not 1, but 2 loops.
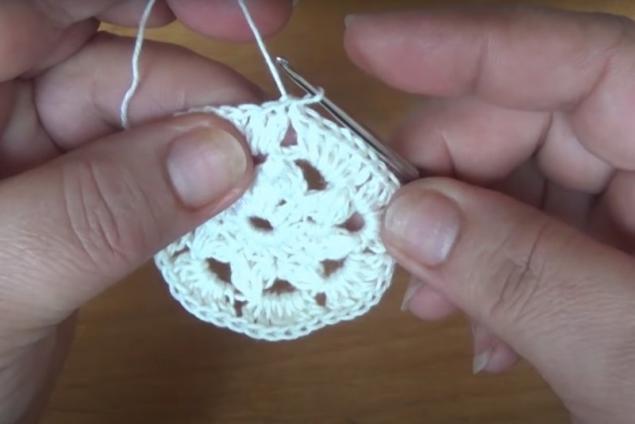
- Connect the pattern and connect 2 air loops. Tie the 4 pillars to the cape. Further, in each arch of air loops, connect 5 columns with a cape.
- In the next row, tie a pattern of triangles, and behind it again a row of 5 columns with a cape in the arches of air loops.
- Once again, a series of triangles and on top of 4 columns with a cape in the air loops of the previous row.
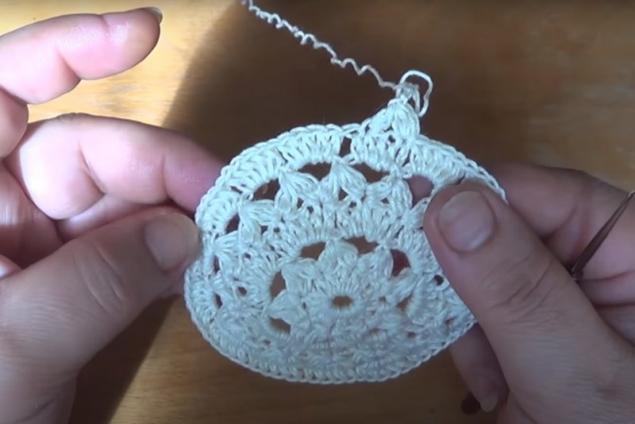
- Then triangles every 3 columns. In the next row of 4 columns in the air loops. Thus, you need to connect 5 rows of triangles, alternating them with rows of columns. 13739,000
- The base of the cap is ready. Now it needs to be strengthened with a wire whose diameter is equal to the girth of the head. Tie the wire in a circle with pillars of cape.
- The next row is connected with the usual pillars with a cape.
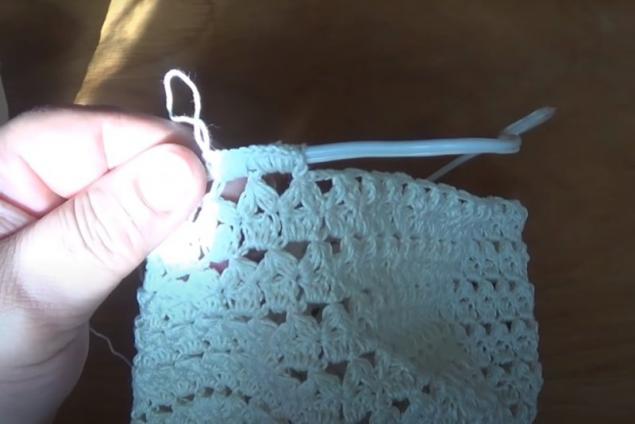
- Then, on the same principle, the fields of the hat are knitted. For a child, you can tie such a lace panamic without fields. They can be made narrow or very wide at their discretion.


A detailed lesson in knitting a summer cap with fields can be seen on the Olga Bersanova Canal. A patient needlewoman tells and shows how she knits each loop.
https://www.youtube.com/watch? v=I43UpRZLY0I
I hope you can tie that beautiful hat, too, because summer is just around the corner. The hat looks very elegant, and it seems as if knitting it is very difficult. But if you look closely, you'll realize that it's not that hard if you follow the instructions.