313
How to tie socks on two spokes
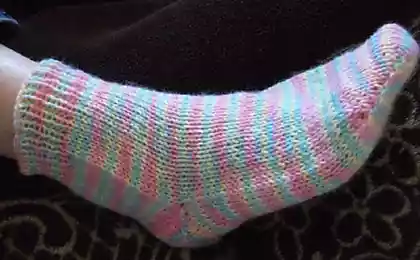
How nice on a cold winter evening to put on soft socks, wrap yourself in a blanket and make yourself cocoa. What about knitting? A kind of meditation for needlewomen at the same time calms the nerves and allows you to tie such a product that no one else will have. Everyone knows that usually socks and tracks are knitted on four spokes and it is quite inconvenient. We will tell you how to simplify the task.
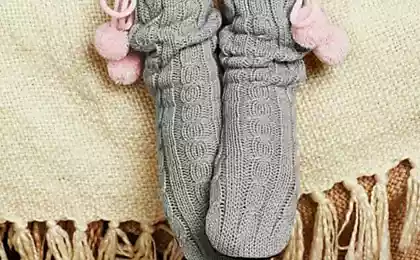
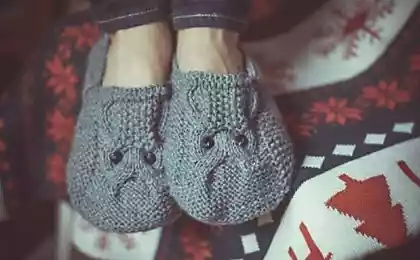
Linking soft winter tracks is not as difficult as it seems. Today's edition. "Site" tell you, How to tie tracks on two spokes without a seam patterned. Look at that beauty!
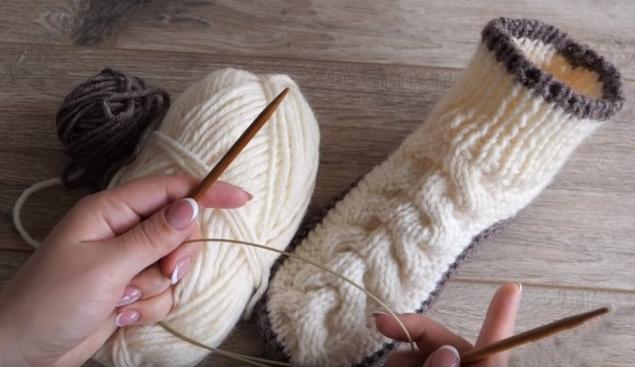
You'll need it.
Footprint cuff
Top of the trail
The bottom of the trail
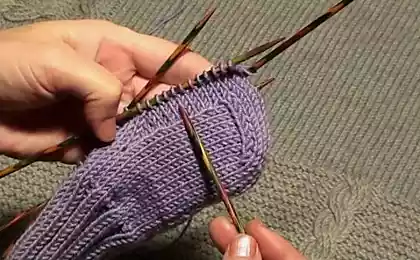
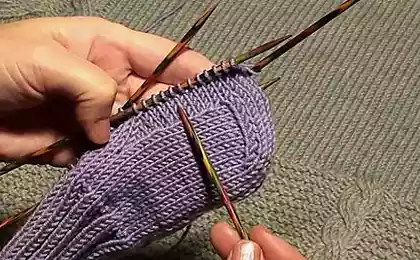
A detailed master class shows on her channel Katerina Mushin. The manager simply and easily explains, How to Tie Slippers on Two Spokes. If you are a beginner, try first to tie tracks without a pattern, and successfully selected yarn colors compensate for the complex knitting.
about:blank
Make cozy home tracks will be possible in one free weekend, and if you catch up, then in a few hours. Just take the yarn and repeat the master's actions. I hope that the knitting instruction did not seem difficult to you and you will definitely try yourself in this case. Tracks with a beautiful pattern in the form of pigtails will be a wonderful gift for the New Year for the most loved ones. I'm sure they'll appreciate your efforts.

Linking soft winter tracks is not as difficult as it seems. Today's edition. "Site" tell you, How to tie tracks on two spokes without a seam patterned. Look at that beauty!

You'll need it.
- pole
- two-flower
- looper
- needle
- needle
Footprint cuff
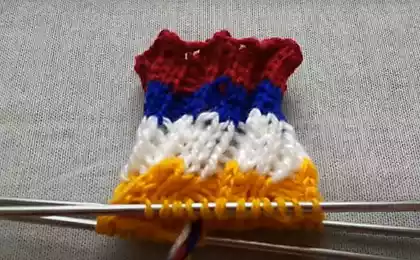
- Knitting tracks begins with a cuff, it is better to take spokes are not very thin, about 5 mm thick. Dial 23 loops in the classic way with an additional thread that differs from the two primary colors. Then thread, which knits the cuff and sole, tie 3 rows of facial surface, including the initial loops.
- Remove 1 edge loop. On the tied rows, the green thread separates the main color, so you need to raise the brown loop first on the left spoke, tie it with a facial loop, the next with a back-up loop, then again raise the lower loop on the left spoke and tie the front loop. So tie it to the end of the row. Thus, the number of loops is doubled.
- Dissolve an additional thread and take the yarn of the color that will tie the tracks. In this case, it's a white thread.
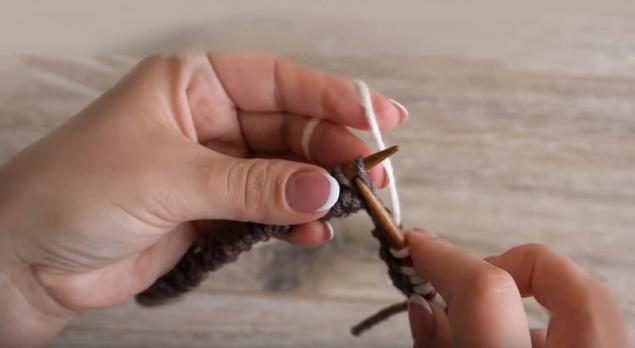
- Remove the edge loop, then tie 1 front, 1 back to the last two loops in the row. The last loop is always tied inside, because it is edged.
- Turn the yarn, remove the edge loop and also tie the 2nd row: front, back. There are twelve such rows.
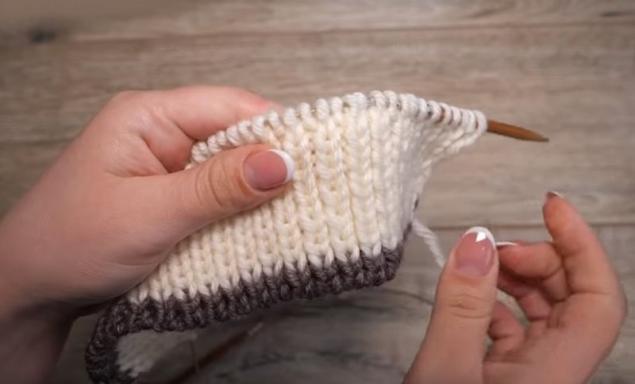
- When the cuff of 12 rows is connected, the handkerchief knitting begins: remove the edge loop and tie the 21 face to the middle of the cuff.
- With the 22nd loop you need to connect two loops in one: for the front wall to tie the front, for the back - the back loop. This makes two loops out of one.
- The remaining loops tie the facial loops to the end of the row, do not forget to tie the edge with a back loop.
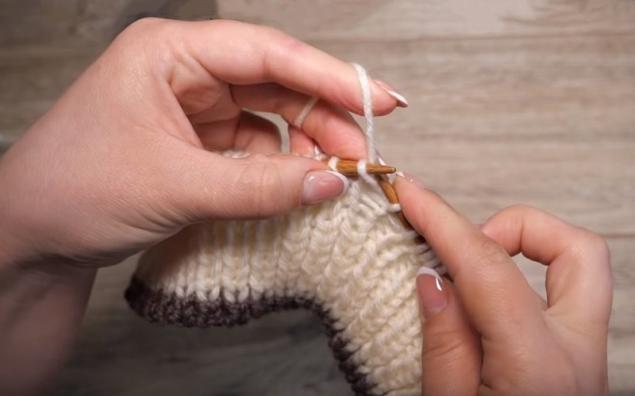
- Row 14: remove the edge loop and tie 16 front and then 12 back loops.
- The 15th row is tied completely with facial loops, except for the edge.
- The 16th row fits in the same way as the 14th: 16 front loops, 12 back loops, 16 front and edge back loop.
- From the 17th row begins knitting pattern on the trail. A tiny loop is removed, 16 facial loops are tied. On an additional needle, lower 3 loops and leave them for knitting. The next three loops are tied facially and the removed three loops are also facial loops.
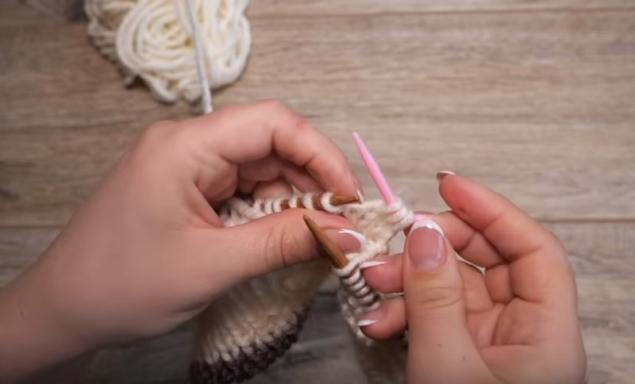
- Another three loops dial an additional needle and place it before knitting, tie the next 3 loops with facial loops and on the additional needle also facial. Tie the 17th row with face loops.
- 18th row: edge, 16 front, 12 back, 16 front and edge loop.
- The 19th row is tied completely with facial loops.
- 20th row: edge, 16 front, 12 back, 16 front loops and edge.
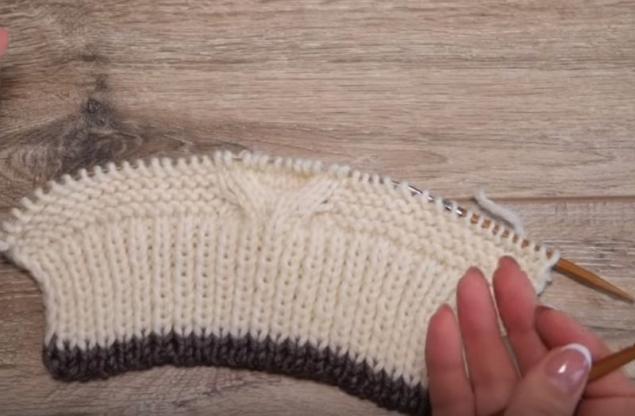
Top of the trail
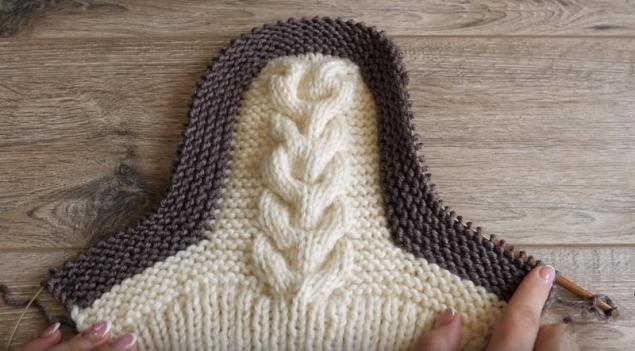
- From the 21st row begins knitting the top of the foot, that is, the 1st row. Cut the string and remove 22 loops on your right spoke. Take a new thread and tie 20 hinges with your face.
- 2nd row: edge loop, 4 front, 12 back, 4 front.
- 3rd row: the first and last loops in the row are edged, the whole row is tied with facial loops.
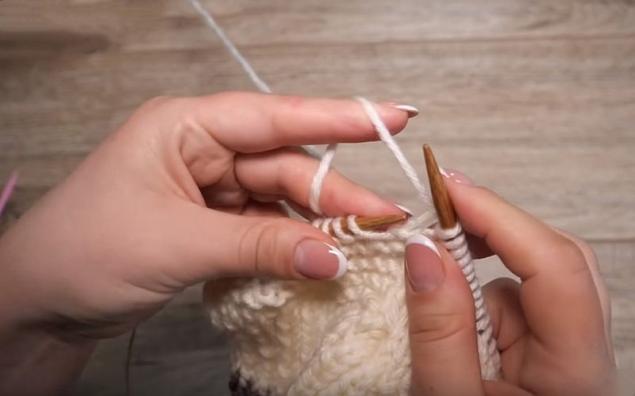
- The 4th row fits like the 2nd.
- 5th row: edge, 4 front, 3 loops remove on an additional spoke, leave it behind the yarn and the next 3 loops tie face. Lower 3 hinges on an additional needle and place it in front of the yarn, tie the next 3 hinges with facial ones. Then 4 front and edge loop.
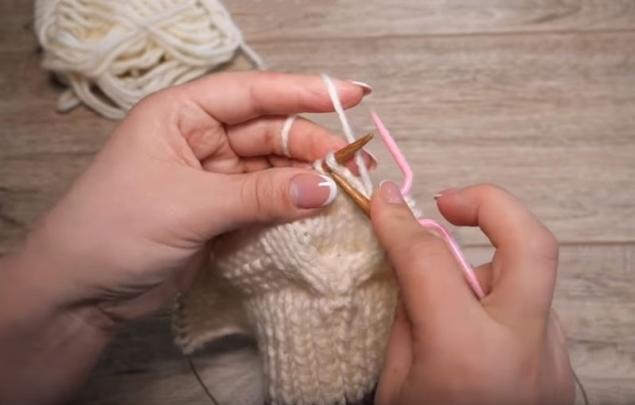
- The 6th row fits like the 2nd and 4th.
- 7th row: edge, 20 front, edge.
- The 8th row is the same as the 2nd, 4th, 6th.
- Then 9-32 rows knit in the same sequence to the desired length. To understand how long to knit the top of the track, measure the foot meter. The length of the tiered top should be 2 cm shorter.
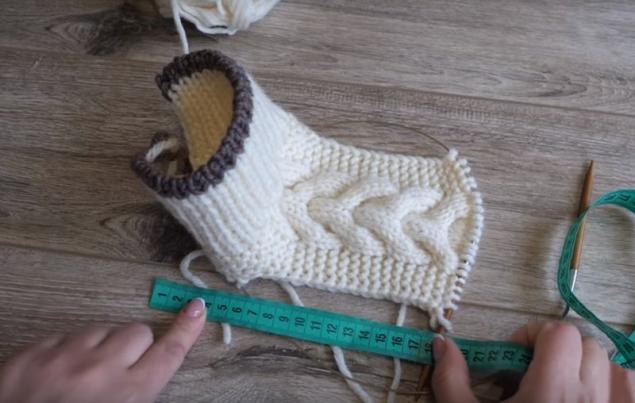
- 33rd row: remove the edge loop, tie 2 loops together with the front loop to the right (scythe 3 on 3 to the right), then 16 front and 2 together front left (scythe 3 to 3 to the left), edge.
- 34th row: edge, 3 front, 12 back, 3 front, edge.
- 35th row: edge loop, 2 together front with a slope to the right, 14 front, 2 front along with a slope to the left, edge loop. The number of loops decreased to 18.
- 36th row: edge, 2 front, 12 back, 2 front, edge loops.
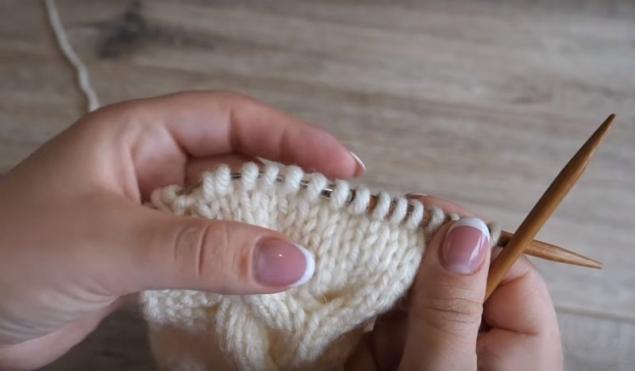
- 37th row: edge loop, 2 together face to right, braid 3 on 3 left, braid 3 on 3 left, braid 3 on 3 right, 2 together face to left, edge loop.
- 38th row: edge, 1 front, 12 back, 1 front, edge.
- 39th row: edge, 2 together face to right, 3 front, 2 together face to right, 2 together face to left, 3 front, 2 together face to left, edge loop. Total 12 loops.
- Row 40 tie it with the back loops. The top of the product is ready, cut the thread.
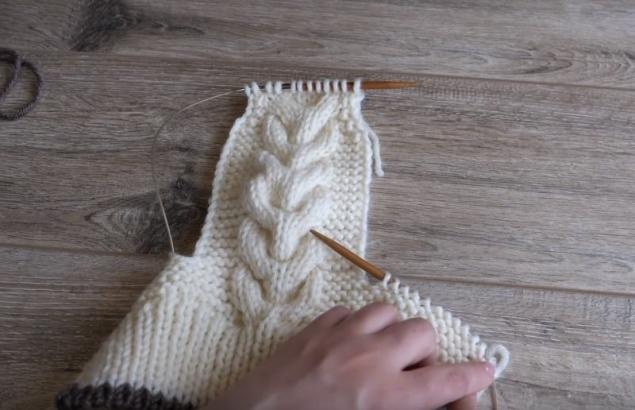
- Start knitting the sole with a brown thread, going to the right part of the postponed hinges. For convenience, move the hinges to the left spoke. 1st row of foot: edge, 11 front, then 20 loops to tie along the right side of the canvas of the upper part of the product. 12 hinges on the sock also tie the front and dial along the second part of the trail another 20 facial hinges. Then there are 12 front loops and 1 edge loop.
- Row 2 tie the face loops. There should be a total of 10 such rows.
The bottom of the trail
- 1st row: edge loop, 2 together front, 29 front, 2 together front, 3 front, 2 together front, 2 together front, 3 face loops. Next, 2 together face, 29 face, 2 together face loops.
- 2nd row of soles knit with facial loops to the end of the row.
- 3rd row: edge, 2 together face loops, 28 front, again 2 together front, 2 front, 2 together front, 2 more face, again 2 together front, 27 front and 2 together face loops, the last edge.
- The 4th row is tied with facial loops to the end of the row, except for edge loops.
- 5th row: edge, 2 together, 26 front, 2 together, 1 front, 2 together, 1 front, 2 together, 26 front, 2 together, 2 together, face and edge loops together.
- The 6th row is tied with facial loops.
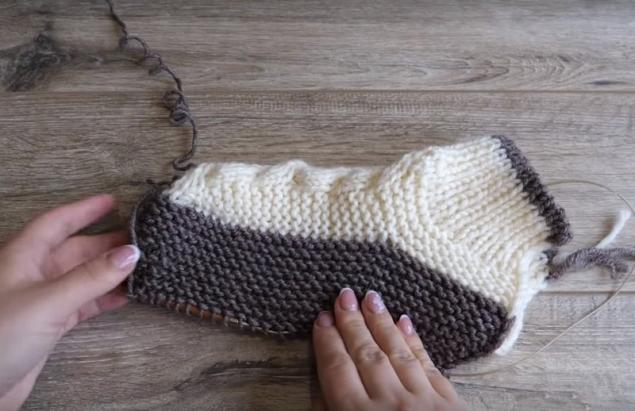
- Tie the 7th row with facial loops: edge, 2 together, 24, 2 together front 3 times, 25 front, 2 together, edge loop.
- 8th row: edge, 27 face loops. As a result, each spoke 28 loops, finally they can be connected. Before that, mark 60 cm of thread and cut the rest. Connect the two halves of the heel with a needle with a secret seam.
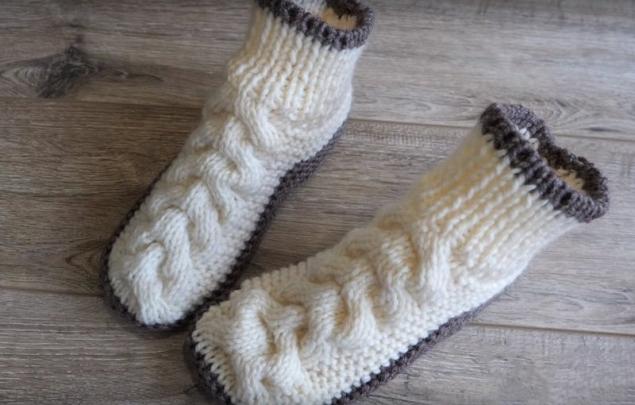
A detailed master class shows on her channel Katerina Mushin. The manager simply and easily explains, How to Tie Slippers on Two Spokes. If you are a beginner, try first to tie tracks without a pattern, and successfully selected yarn colors compensate for the complex knitting.
about:blank
Make cozy home tracks will be possible in one free weekend, and if you catch up, then in a few hours. Just take the yarn and repeat the master's actions. I hope that the knitting instruction did not seem difficult to you and you will definitely try yourself in this case. Tracks with a beautiful pattern in the form of pigtails will be a wonderful gift for the New Year for the most loved ones. I'm sure they'll appreciate your efforts.


