219
Why knit a transformer scarf?
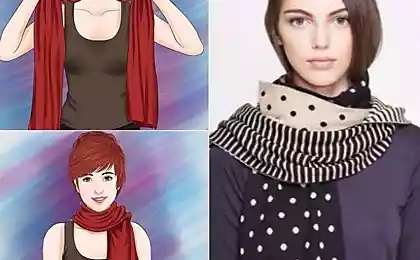
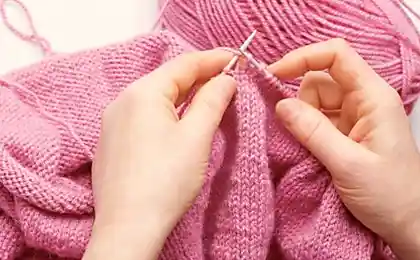
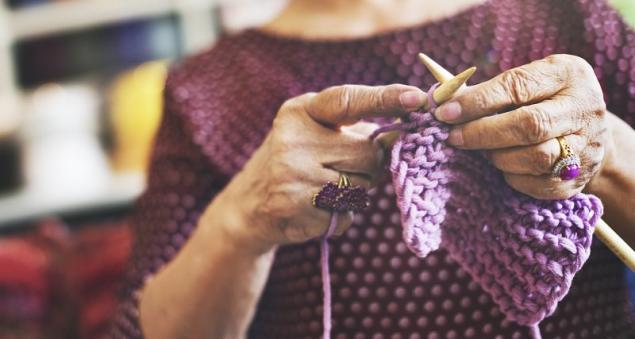
Knitting is a great way to relax. Not everyone has enough experience to knit mittens, sweaters or sweaters. However, knitting scarves can be an ideal first step for beginner knitters. Attention, dear women! At the end of the article will be a video on how to tie a scarf transformer.
Scarf-transformer tied scarf-transformer It won't be too hard. Believe me, this knitting will give you more pleasure than worries.
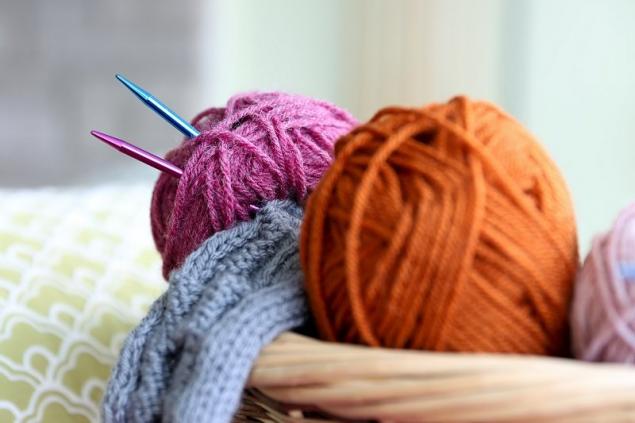
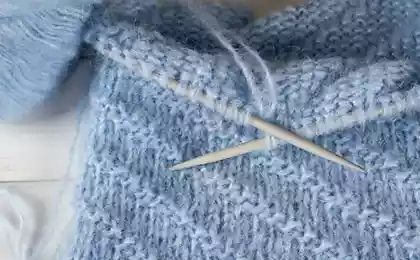
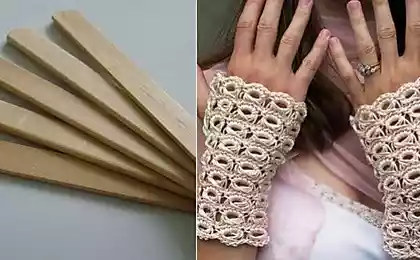
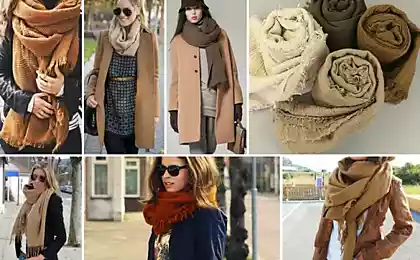
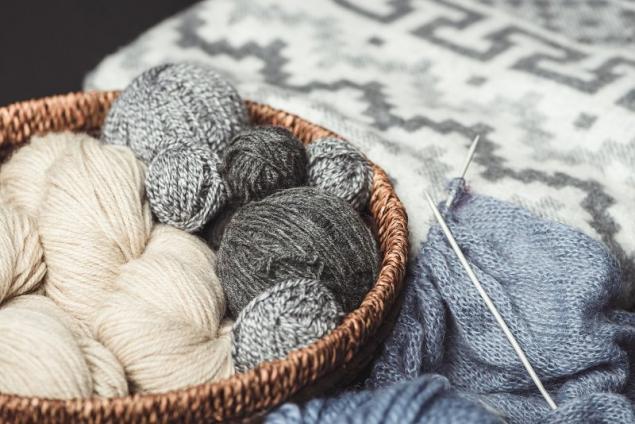
The beauty of such simple knitting is that you can safely experiment with patterns and the color of yarn. For scarf is best suited wool or acrylic yarn.

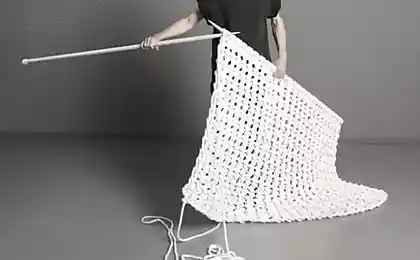
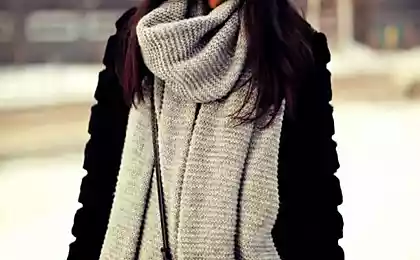
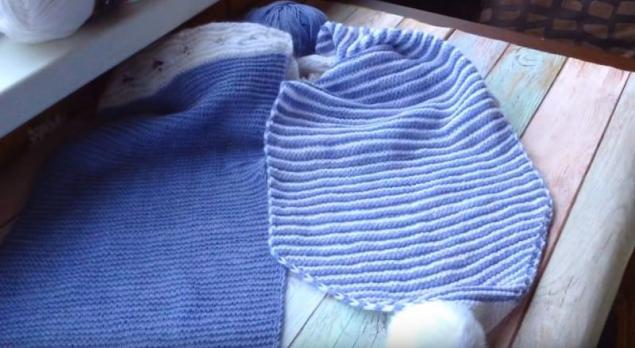
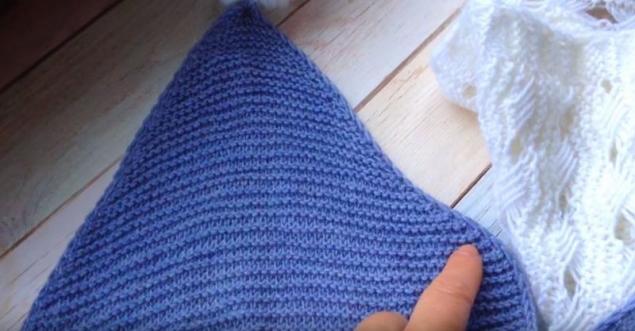
The scarf we're going to tell you about today is made up of three equal parts. Its total length is about 190 cm. Each part is slightly more than 60 cm.
The extreme parts of the scarf are made with a simple handkerchief. The central part fits into any openwork technique you know. A little below you will find a description of one of the simplest, but beautiful openwork matings.
Transformer scarve scheme It is not necessary, because you determine the width and length that will be most convenient for you.
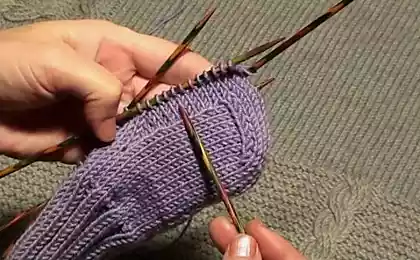
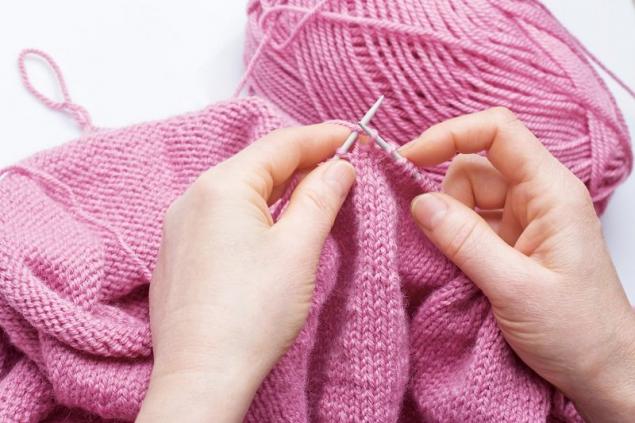
The most difficult part is the addition and reduction of loops. Below we will tell you how to properly reduce the hinges on those parts of the scarf that are lateral.
How to reduce the hinges at the ends of the scarf
The central part of the scarf can be made in openwork technique. For example:
Chess openwork for scarf
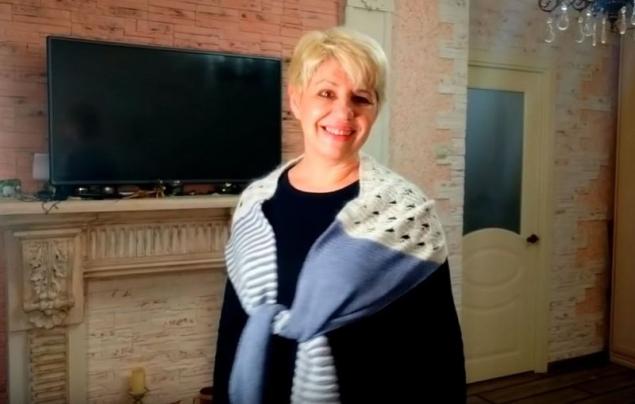
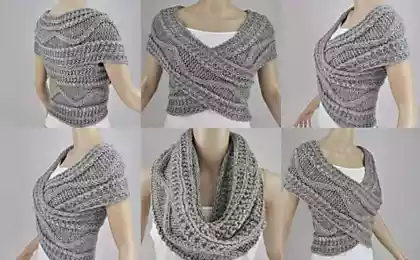
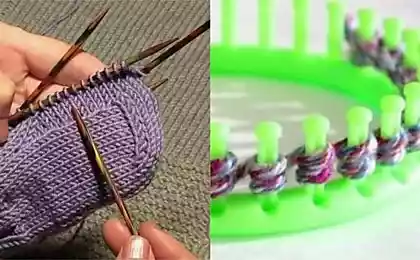
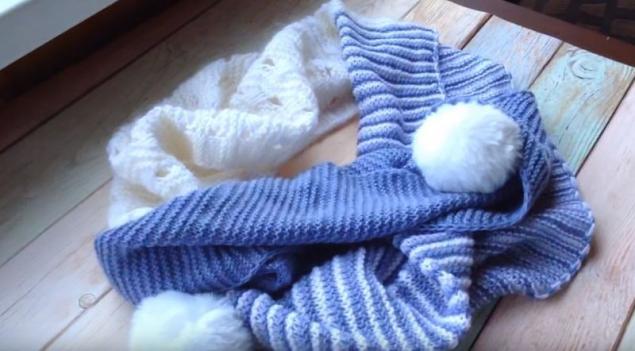
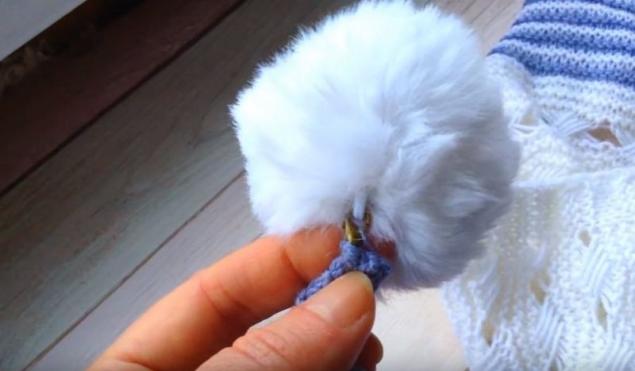
Stitch all three parts of the scarf together and attach small poms. If you want to turn a cozy scarf into a shawl or turma, remove the poms and tie the accessory at your discretion. On our site you can find some very interesting ways.
579126
We're sure you won't find it difficult to tie such a scarf. Be sure to experiment with colors and patterns. You can make your first scarf using simple techniques. And the following options can be tied as a gift. In these options, try more complex patterns and add new colors.
Scarf-transformer tied scarf-transformer It won't be too hard. Believe me, this knitting will give you more pleasure than worries.

The beauty of such simple knitting is that you can safely experiment with patterns and the color of yarn. For scarf is best suited wool or acrylic yarn.

The scarf we're going to tell you about today is made up of three equal parts. Its total length is about 190 cm. Each part is slightly more than 60 cm.

The extreme parts of the scarf are made with a simple handkerchief. The central part fits into any openwork technique you know. A little below you will find a description of one of the simplest, but beautiful openwork matings.

Transformer scarve scheme It is not necessary, because you determine the width and length that will be most convenient for you.

The most difficult part is the addition and reduction of loops. Below we will tell you how to properly reduce the hinges on those parts of the scarf that are lateral.

How to reduce the hinges at the ends of the scarf
- It is necessary to reduce the loops only on one side. Since this is a handkerchief and it is quite difficult to determine the sides, we recommend using a special marker.
- At the beginning of the series, remove the edge loop. The following two facial hinges tie together with a lean to the left (to the center of the scarf).
- Tie the row as usual until there are three loops left at the end. Tie the two front loops together again, but with a tilt to the right.
- There is no need to reduce anything from the back side. Target the marker.
- Reduce the loops so that there are 4 at the end. Carefully close them and sew a small carbine in this place.


The central part of the scarf can be made in openwork technique. For example:

Chess openwork for scarf
- Loops alternate in this way: three back and three front.
- Three rows tie in exactly this way. Remember that on the back side in place of the front are tied with the back, and in place of the back - the front.
- Fourth row: cape, three loops together front, then again cape, three front. Then the sequence repeats.
- The fifth row fits similarly to the first, only first there are three front rows, and then there are three back rows.

Stitch all three parts of the scarf together and attach small poms. If you want to turn a cozy scarf into a shawl or turma, remove the poms and tie the accessory at your discretion. On our site you can find some very interesting ways.
579126
We're sure you won't find it difficult to tie such a scarf. Be sure to experiment with colors and patterns. You can make your first scarf using simple techniques. And the following options can be tied as a gift. In these options, try more complex patterns and add new colors.