185
Instructions for knitting a luxury scarf
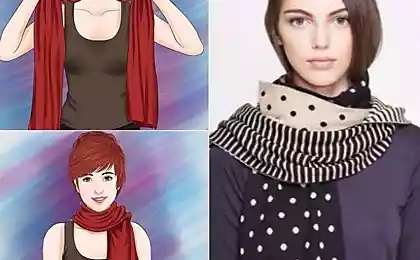
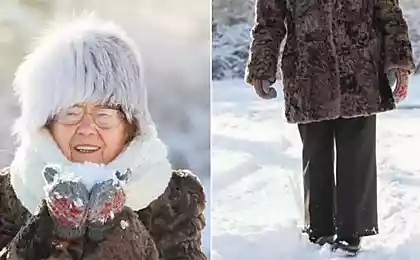
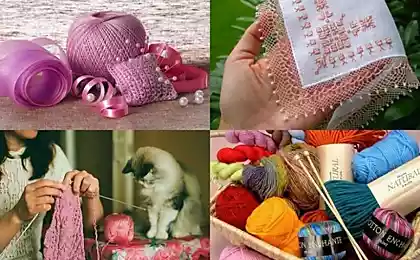
Going outside in the harsh cold, it is so important to provide yourself with warmth and comfort. It's a great job. knitted scarf. It is definitely one of the most popular accessories, and not only in winter! Types of scarves amaze with their diversity: straight, snoods and transformers, dense and openwork. You can knit them both with a hook and spokes.
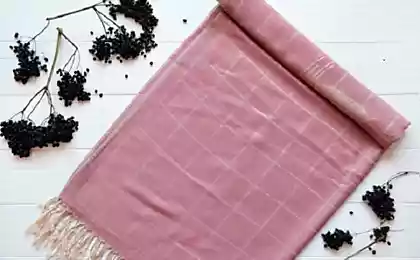
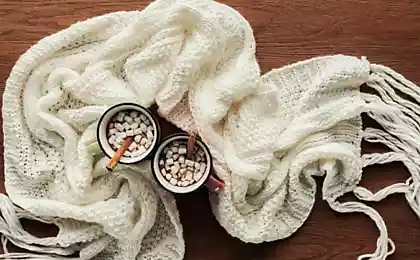
Editorial "Site" will tell you how needle. Scarf "Illusion" will be fashionable and reliable protection from bad weather! It got its name because of the pattern, which looks different, but equally gorgeous from the front and back.
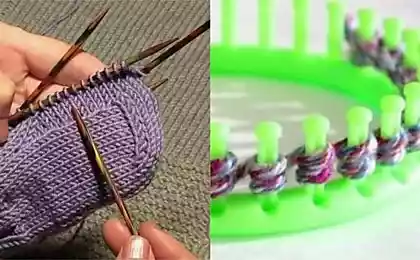
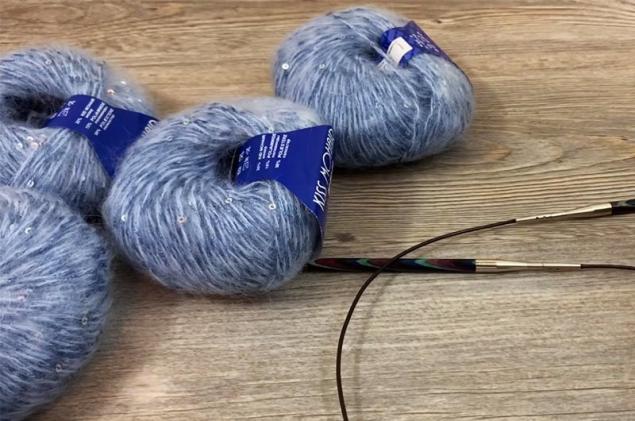
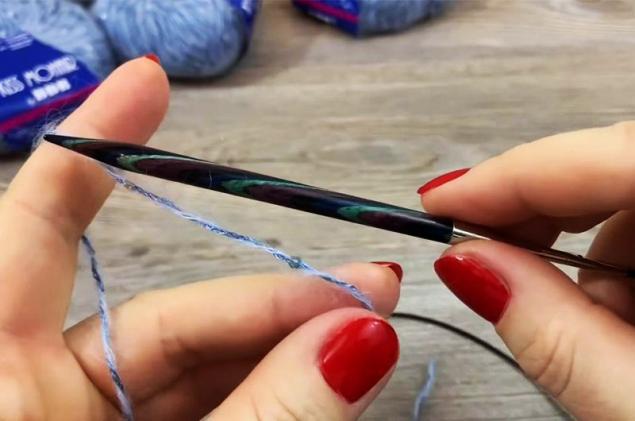
To tie such a scarf, you will need yarn and spokes. In this case, spokes number 6 and threads were used, which consist of 50% polyester, 35% mohair kits and 15% sequins.
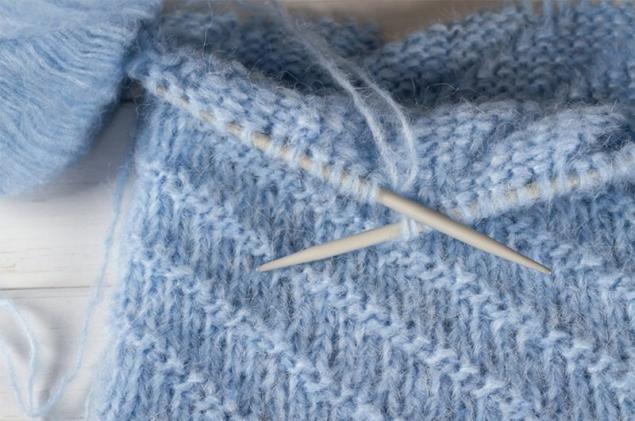
You can do it. experiment with spoke number and type of yarn. Depending on the chosen tools and materials, you will get different results. Below is a comparison of the threads and spokes involved.
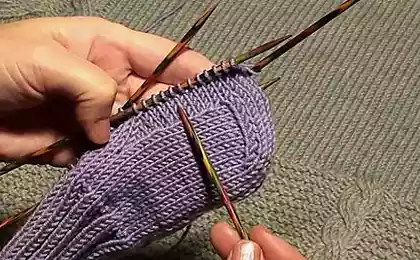
And now I suggest you look into it. knitting. Guided by it, even a novice needlewoman can create a luxurious scarf!
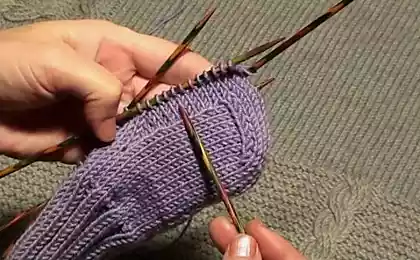
Back to the front. Fourth row of report We knit like the other one. But here we are not just using facial loops, it will be a little different. Remove the edge loop, make the cape on the right side and tie behind the back wall with a cape. Thus, we tie the entire 4th row to the end.

Fifth row We knit like the 3rd. We make a cape on the left side and tie the back two loops together with the cape. Focus on the fact that odd-lined. If you want a long scarf, it should be about your height or at least from shoulder to floor.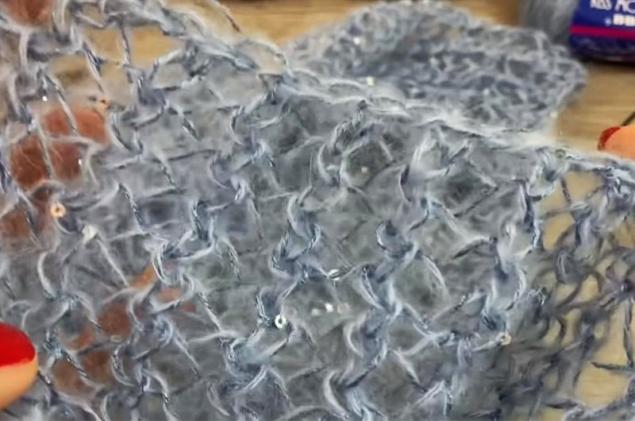
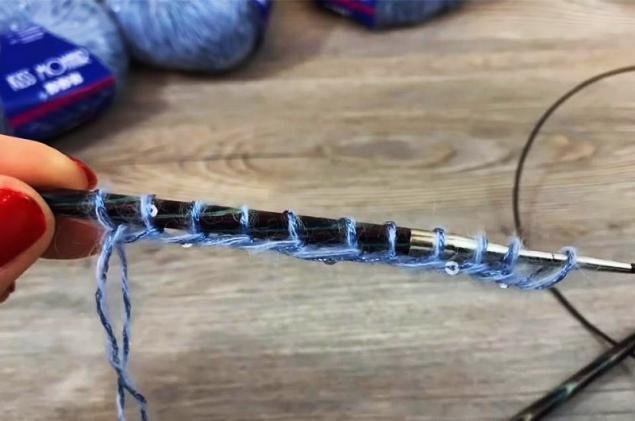
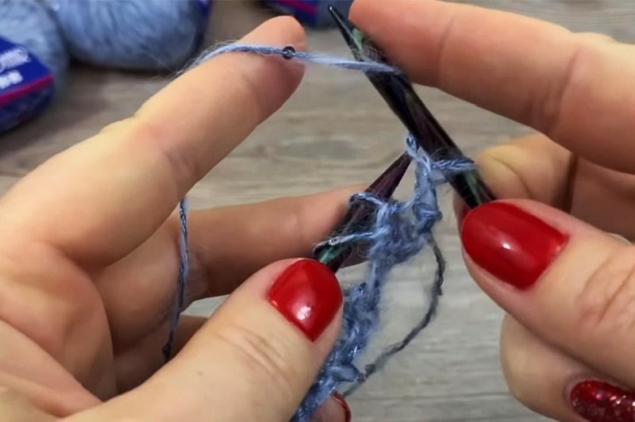
When the scarf is of the required length, only loop off. To do this, on the front side we remove the edge loop, tie the front, with the left spoke we enter the edge loop on the right spoke and pull out. And so we tie it to the end. It's a normal closing. The main thing is not to tighten the loops too tightly. Beginners will be fine. You can hook it if you're used to it. When the last loop remains, we cut the tail, stretch it into the loop, tighten and fill it. Similarly, tuck the tips all over the scarf if you didn't do it in the process.
To my instructions, I attach a video so you can learn more about how to link sponge.
about:blank
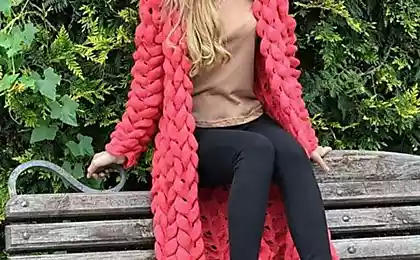
Patterned "Illusion" You can also knit beautiful, exquisite jumpers from mohair. But remember that you should choose yarn based on your own color type. Unlimited inspiration to you and pleasant needlework!

Editorial "Site" will tell you how needle. Scarf "Illusion" will be fashionable and reliable protection from bad weather! It got its name because of the pattern, which looks different, but equally gorgeous from the front and back.
To tie such a scarf, you will need yarn and spokes. In this case, spokes number 6 and threads were used, which consist of 50% polyester, 35% mohair kits and 15% sequins.

You can do it. experiment with spoke number and type of yarn. Depending on the chosen tools and materials, you will get different results. Below is a comparison of the threads and spokes involved.

And now I suggest you look into it. knitting. Guided by it, even a novice needlewoman can create a luxurious scarf!
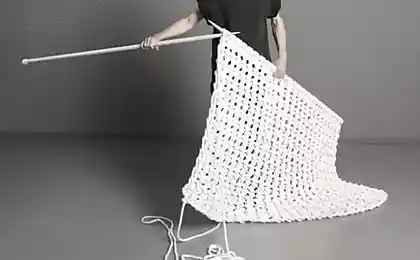
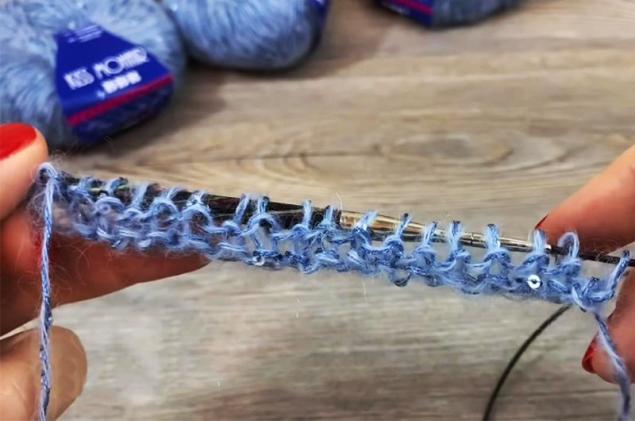
- First, we dial loops, without tightening, for one or two spokes. This will be much easier with one. I mean, so that the number of hinges collected is even (divided into two). We have 36 loops, but you can do more if you want to tie a wider scarf. This is how the first loops should turn out: free and air.
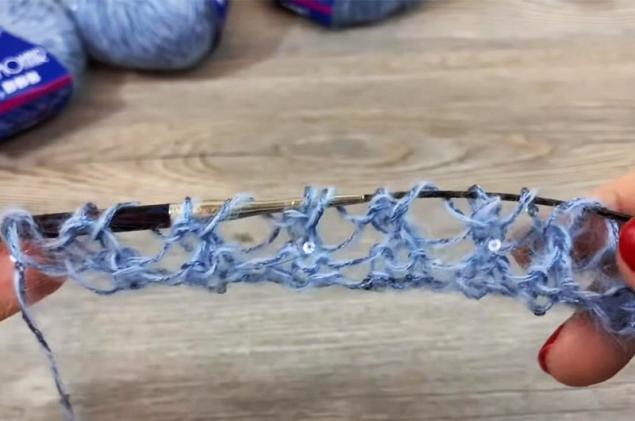
- First row of installationTherefore, we tie the edge loop of the front, and then we tie all the other loops behind the front wall. This is what the front row looks like. Next We always alternate between 2nd and 3rd rows
- Now start the report. Remember that in the pattern we will remove the first edge loop, and the second edge loop tie. And on the front side - the front loop, on the back - the back. Second row front. We tie as follows: remove the edge loop on the right spoke, make a cape on the right side and tie 2 loops together with the front. That is why the number of loops should be even. Repeat the same set of actions with the other loops. A tiny one at the end of the row is also tied to the front.
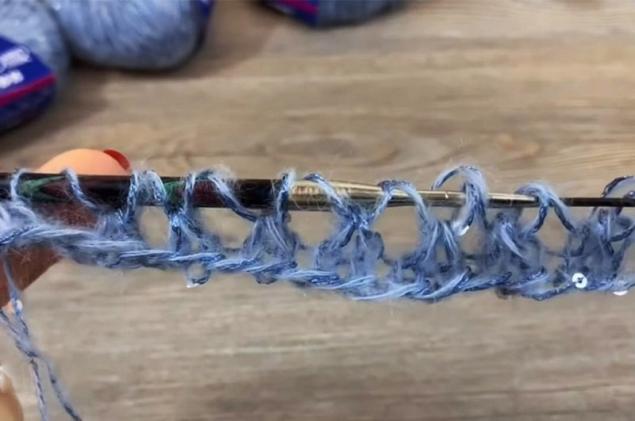
- Third row. Remove the edge loop on the right spoke and make a cape on the left side. Then we tie the two loops together with the cape.


Back to the front. Fourth row of report We knit like the other one. But here we are not just using facial loops, it will be a little different. Remove the edge loop, make the cape on the right side and tie behind the back wall with a cape. Thus, we tie the entire 4th row to the end.

Fifth row We knit like the 3rd. We make a cape on the left side and tie the back two loops together with the cape. Focus on the fact that odd-lined. If you want a long scarf, it should be about your height or at least from shoulder to floor.

When the scarf is of the required length, only loop off. To do this, on the front side we remove the edge loop, tie the front, with the left spoke we enter the edge loop on the right spoke and pull out. And so we tie it to the end. It's a normal closing. The main thing is not to tighten the loops too tightly. Beginners will be fine. You can hook it if you're used to it. When the last loop remains, we cut the tail, stretch it into the loop, tighten and fill it. Similarly, tuck the tips all over the scarf if you didn't do it in the process.
To my instructions, I attach a video so you can learn more about how to link sponge.
about:blank
Patterned "Illusion" You can also knit beautiful, exquisite jumpers from mohair. But remember that you should choose yarn based on your own color type. Unlimited inspiration to you and pleasant needlework!