573
New features rustic construction: making the Windows with their hands
The window to do with your hands, of course, optional. On the market there are many models of wooden and plastic Windows with wide range of prices and available options. However, in a country house sometimes require wood Windows for outbuildings, sheds or porches in the house. Which you have no time or simply no desire to order the design from the supplier of the Windows. And whatever you decide to do the work yourself.

The most important thing in this case is the correct geometry of the window and its tightness. And if you make the window with your hands, you need to remember that the same accuracy on the machine, to achieve it will be very difficult. However, to make a quality wooden box with your hands you quite a force if you will tools like hammer, drill, screwdriver, chisel and planer.

So, where to start to do window? First, you must make the project window on paper. Beginners may be advisable to make it in full size or in the ratio of 1 to 2, it was easier then to calculate the quantity of materials necessary for the manufacture of the window. For the first time take to manufacture the pine boards. You can use the more expensive material, but still the first experience of getting on an oak array is optional.
Check that the Board was knots and cracks. Because the box, which you will do, as the basis for future window, it needs to be smooth and even.

Select a Board size 150 x 50 mm. the workpiece need to make a groove in the form of the letter "G". Further 4 parts of the window block you join the carpenter's glue, and then fix the wooden rods for better strength. The rods are inserted into specifically (and in advance) drilled for this hole.
If you do not fix a design rods — the block will not be right angles, and the design can be shaky. Then you insert the unit into the prepared opening and fix to the wall with plugs. Commit the result with screws and gaps sealed with foam.
To make the window frame, you will need lumber 6 x 4 cm size of the beam will depend on how you want to look your window. If, for example, the window of the veranda, and it assumes that there is only one glass, it is necessary to make 2 rectangular groove. They will need to embed the glass and the subsequent installation of a window in the box. If you dvuhstekolnye profile — you will need one additional slot for a second glass.
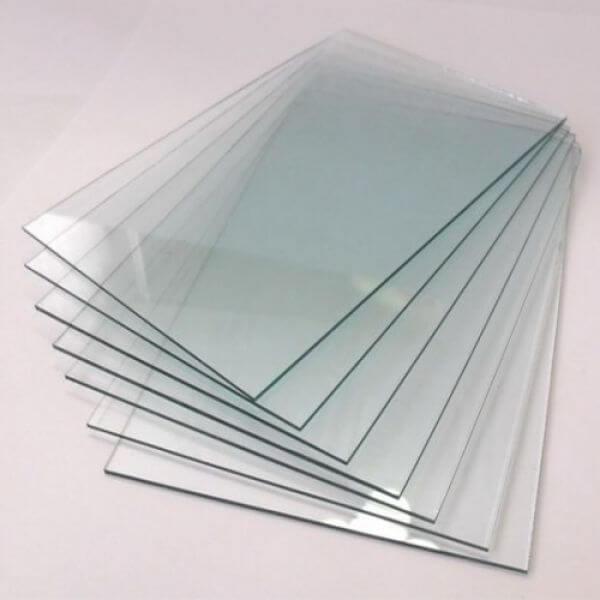
As for the glass — you will just buy a sheet thickness of 4 mm.
Prepare the boards for the frame. To do this, cut or sawed at an angle of 45 degrees. Connect profile a thorn-groove, fasten with screws to provide rigidity. Tighten the screws tightly so that the hat went into the wood completely.
Size of glass - a very important detail. It needs to be calculated to 1 mm if in your house or on the deck you don't want noise, drafts and dust. Cut glass with a diamond glass cutter and the edges polished with fine emery paper. Do not forget to wear gloves and goggles to avoid damage to eyes and hands.
To cut glass, you need to make a line and hold the glass cutter along the edge, and then break off the desired segment. Then, after you prepare the glass, they will need to be inserted into the frame for fitting. Then remove, apply edge sealer and then place the glass into the groove completely. Attached glass frame glazing beads and thin nails. If fillets are too wide — you can mount them with screws.
If your window consists of two parts, the middle to the frame to mount the vertical bar and make it the same grooves. One frame window in this case is more subtle, and it needs to be manufactured separately. To the main frame its attached hinged loops. Having done that, you will get the opening sash.
Then you screws attach it to the handle, and a chisel make a groove for closing the window. That's all, as I said — there is nothing in this world is impossible.
Your window should now be inserted into the unit and lock in the slots. To fix window need not to redo this work later. Better to do it with screws that are of sufficient size to pass through the box. Take this nail gun.
When finished seal the cracks with foam, then trim the excess after drying (if they will) and you're done! Now you can plaster the walls and to engage in the installation of the tide. Or sill. Surely you will make it all nice and neat. published
Source: estp-blog.ru/rubrics/rid-35431/

The most important thing in this case is the correct geometry of the window and its tightness. And if you make the window with your hands, you need to remember that the same accuracy on the machine, to achieve it will be very difficult. However, to make a quality wooden box with your hands you quite a force if you will tools like hammer, drill, screwdriver, chisel and planer.

So, where to start to do window? First, you must make the project window on paper. Beginners may be advisable to make it in full size or in the ratio of 1 to 2, it was easier then to calculate the quantity of materials necessary for the manufacture of the window. For the first time take to manufacture the pine boards. You can use the more expensive material, but still the first experience of getting on an oak array is optional.
Check that the Board was knots and cracks. Because the box, which you will do, as the basis for future window, it needs to be smooth and even.

Select a Board size 150 x 50 mm. the workpiece need to make a groove in the form of the letter "G". Further 4 parts of the window block you join the carpenter's glue, and then fix the wooden rods for better strength. The rods are inserted into specifically (and in advance) drilled for this hole.
If you do not fix a design rods — the block will not be right angles, and the design can be shaky. Then you insert the unit into the prepared opening and fix to the wall with plugs. Commit the result with screws and gaps sealed with foam.
To make the window frame, you will need lumber 6 x 4 cm size of the beam will depend on how you want to look your window. If, for example, the window of the veranda, and it assumes that there is only one glass, it is necessary to make 2 rectangular groove. They will need to embed the glass and the subsequent installation of a window in the box. If you dvuhstekolnye profile — you will need one additional slot for a second glass.
As for the glass — you will just buy a sheet thickness of 4 mm.

Prepare the boards for the frame. To do this, cut or sawed at an angle of 45 degrees. Connect profile a thorn-groove, fasten with screws to provide rigidity. Tighten the screws tightly so that the hat went into the wood completely.
Size of glass - a very important detail. It needs to be calculated to 1 mm if in your house or on the deck you don't want noise, drafts and dust. Cut glass with a diamond glass cutter and the edges polished with fine emery paper. Do not forget to wear gloves and goggles to avoid damage to eyes and hands.
To cut glass, you need to make a line and hold the glass cutter along the edge, and then break off the desired segment. Then, after you prepare the glass, they will need to be inserted into the frame for fitting. Then remove, apply edge sealer and then place the glass into the groove completely. Attached glass frame glazing beads and thin nails. If fillets are too wide — you can mount them with screws.
If your window consists of two parts, the middle to the frame to mount the vertical bar and make it the same grooves. One frame window in this case is more subtle, and it needs to be manufactured separately. To the main frame its attached hinged loops. Having done that, you will get the opening sash.
Then you screws attach it to the handle, and a chisel make a groove for closing the window. That's all, as I said — there is nothing in this world is impossible.
Your window should now be inserted into the unit and lock in the slots. To fix window need not to redo this work later. Better to do it with screws that are of sufficient size to pass through the box. Take this nail gun.
When finished seal the cracks with foam, then trim the excess after drying (if they will) and you're done! Now you can plaster the walls and to engage in the installation of the tide. Or sill. Surely you will make it all nice and neat. published
Source: estp-blog.ru/rubrics/rid-35431/