909
Homemade LED Chandelier
Will be 32 photos + video.

I decided to make a chandelier LED instead of incandescent boring.
I Bought LED strips and carved Lazr of org glass blanks for boxes.
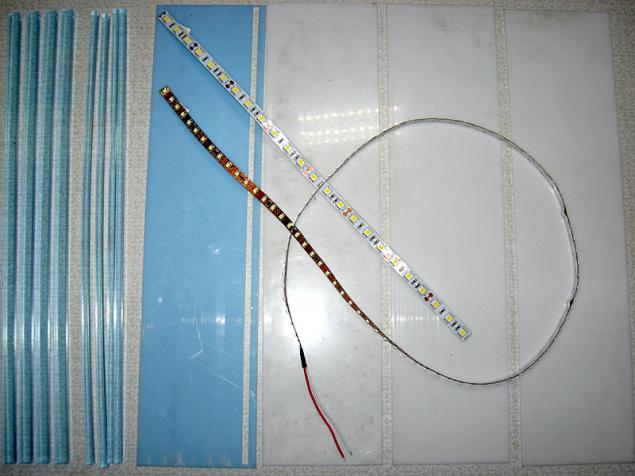
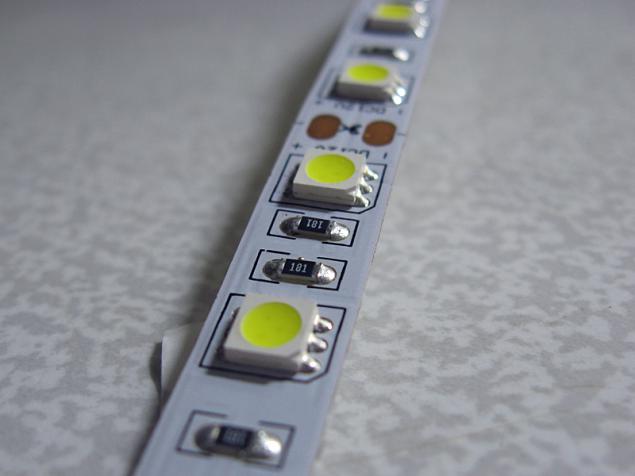
LEDs took two kinds to experiment. On this ice belt 90 on the meter. It consumes 8 watts per meter.

On this tape 60 ice per meter, light shines warmer than tape above. Just consuming 8 watts per meter.
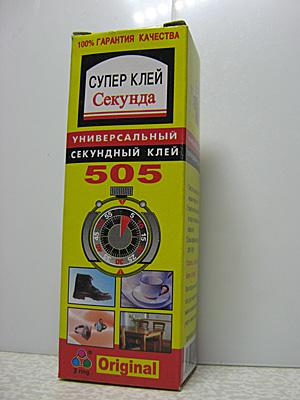
That will be so uncomplicated superglue to glue our billet Plexiglas.
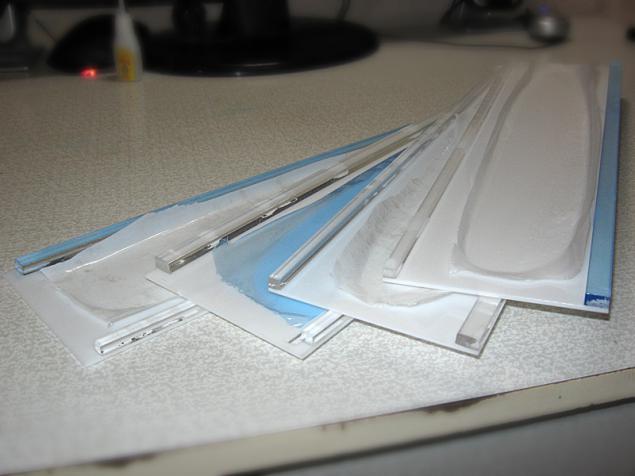
Billets ...
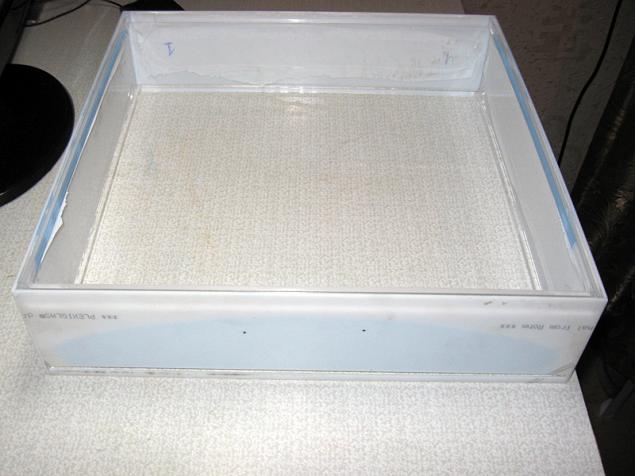
And actually these blanks are transformed into the box ...

Places joints sticking thoughtfully, not obum but anyhow

Actually that's what happened with us in our preparations
Then I bought at the mirror glass factory here is the size of 400 mm by 400 mm.

So it looks at the background to the future of the lamp box
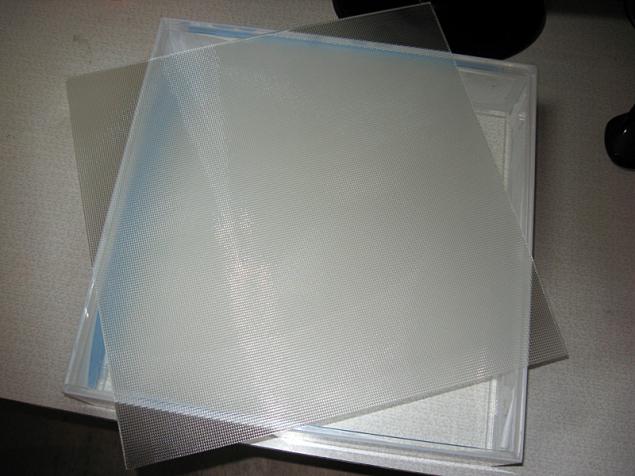
In the case of our boxes laid out an element as the slot. In it we suёm our glass to make sure that it goes in and out to not vylamyvaya wall boxes
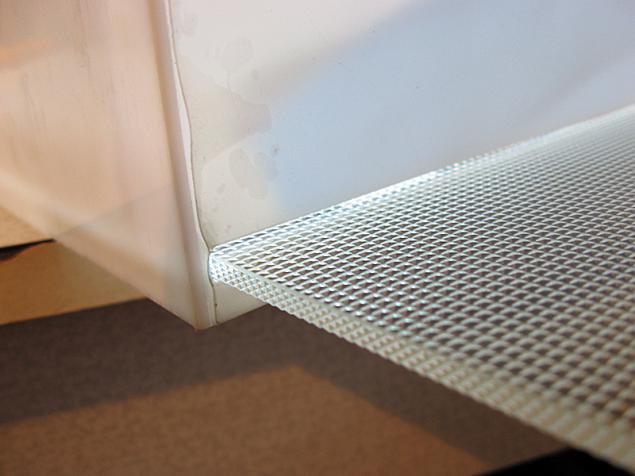
In our glass half gone ...
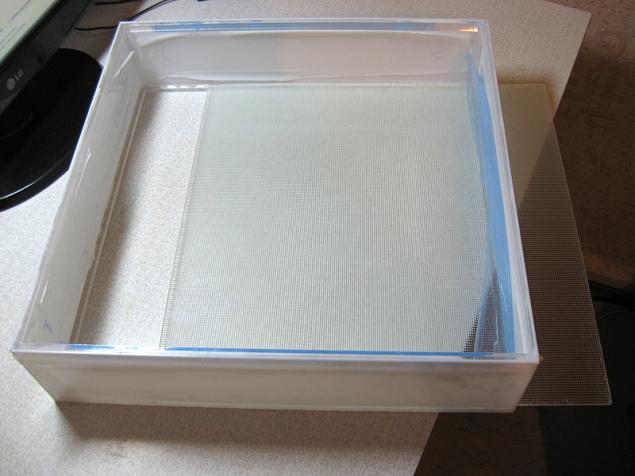
And completely. Excellent

Then I found a piece of the so-called in the near DIBOND advertising agency. And from waste plastic business cards sliced strips of width 10 mm.
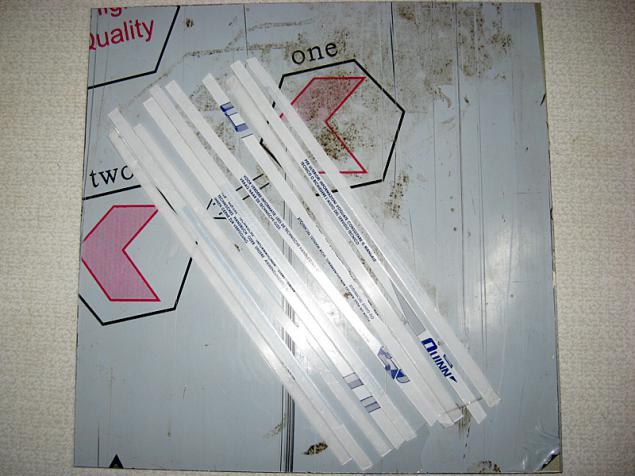
These stripes do I need to stick them on the LED tape. Since the manufacturer does not recommend gluing lentk metal.

Strip off the protective film from dibond ...

Draw in Corele how we want to see our LEDs in the inside of the lamp. I thought the whole thing split into 3 channels. So 3 square.
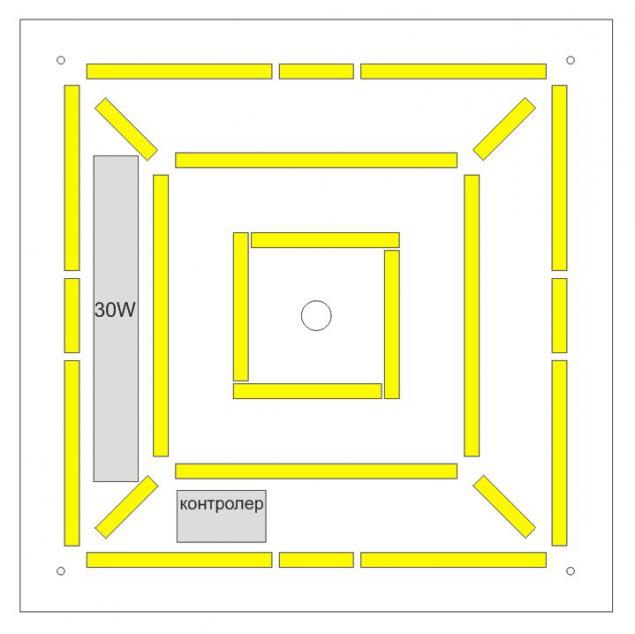
Make marks on dibonde ...
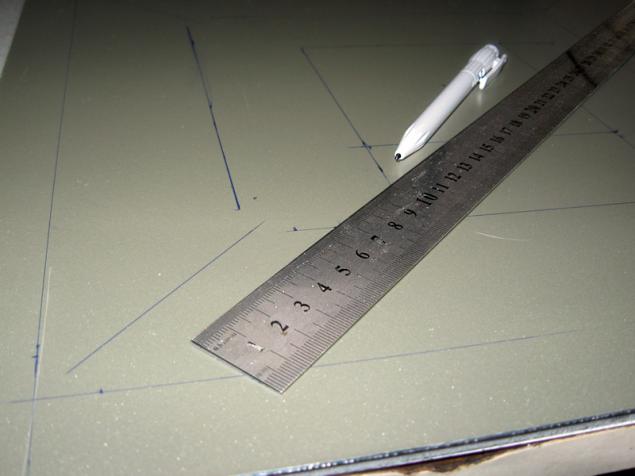
We cut our stripes. Clippers cut perfectly.

And glued with superglue to the DIBOND. In order to isolate them from the LED strip dibond. Dipond sdoev consists of two layers of aluminum and of the plastic between them.

We put the chopped LED strip into place to ensure proper calculations, calculations and in general ...

Glue ribbon and undertake the soldering iron ...

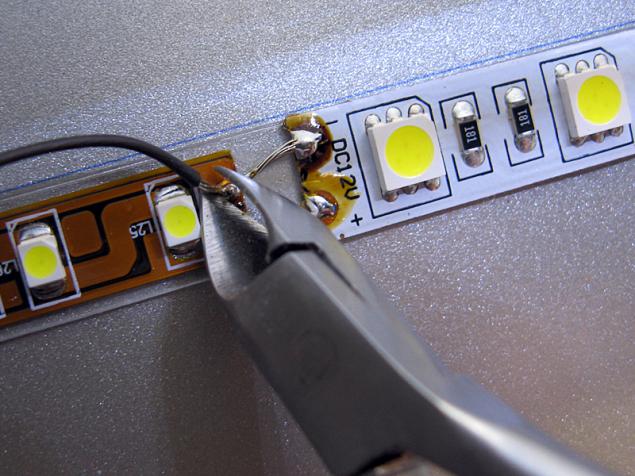
We clean the wire pripaevaem to one contact, then to another. I do not get enough attention from others. Hug me and sundry. to positive, I did not get enough attention from others. Hug me and sundry. to minus ...

The wife in the table we find miniature pliers, and use them on the sly ...
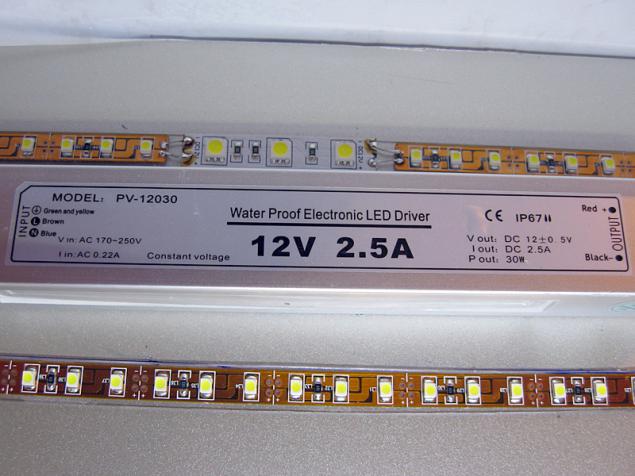
This is our power pack ...
And here our inspector. With this thing, I can turn on and off lights remotely. Also I have the opportunity to include a separate channel 3. Include simultaneously any two of the three channels. Change the brightness. Plus nagruzochku this thing is able to switch channels on their own in the house doing something like disco. Kids really like.

Here is a lamp in the form of sealed on.

It is time to test our creation ...
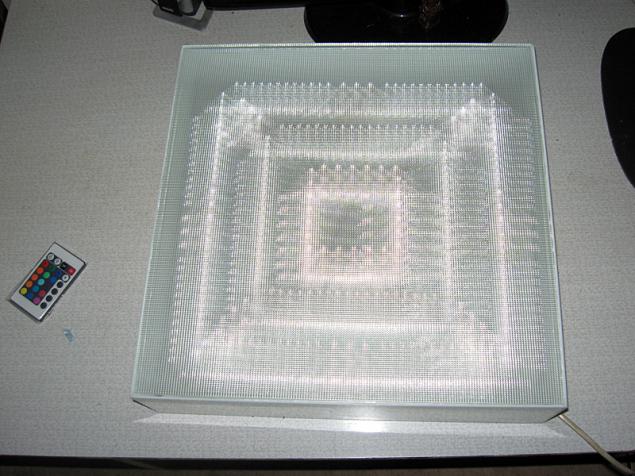
Glass put on, temporarily. And tested.
Close

Krasoten ...
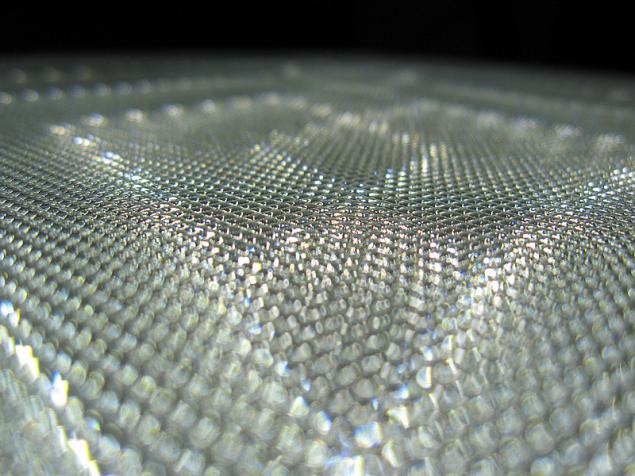
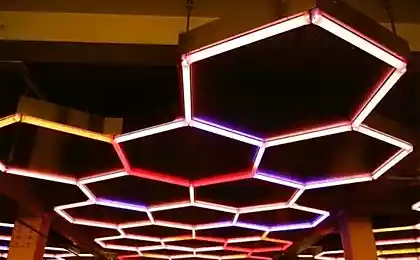
Actually right now upload videos ... tell in advance shines very brightly. It consumes only 30 watts and the light at exactly 120.

Source:

I decided to make a chandelier LED instead of incandescent boring.
I Bought LED strips and carved Lazr of org glass blanks for boxes.

LEDs took two kinds to experiment. On this ice belt 90 on the meter. It consumes 8 watts per meter.

On this tape 60 ice per meter, light shines warmer than tape above. Just consuming 8 watts per meter.

That will be so uncomplicated superglue to glue our billet Plexiglas.

Billets ...

And actually these blanks are transformed into the box ...

Places joints sticking thoughtfully, not obum but anyhow

Actually that's what happened with us in our preparations

Then I bought at the mirror glass factory here is the size of 400 mm by 400 mm.

So it looks at the background to the future of the lamp box

In the case of our boxes laid out an element as the slot. In it we suёm our glass to make sure that it goes in and out to not vylamyvaya wall boxes

In our glass half gone ...

And completely. Excellent

Then I found a piece of the so-called in the near DIBOND advertising agency. And from waste plastic business cards sliced strips of width 10 mm.

These stripes do I need to stick them on the LED tape. Since the manufacturer does not recommend gluing lentk metal.

Strip off the protective film from dibond ...

Draw in Corele how we want to see our LEDs in the inside of the lamp. I thought the whole thing split into 3 channels. So 3 square.

Make marks on dibonde ...

We cut our stripes. Clippers cut perfectly.

And glued with superglue to the DIBOND. In order to isolate them from the LED strip dibond. Dipond sdoev consists of two layers of aluminum and of the plastic between them.

We put the chopped LED strip into place to ensure proper calculations, calculations and in general ...

Glue ribbon and undertake the soldering iron ...

We clean the wire pripaevaem to one contact, then to another. I do not get enough attention from others. Hug me and sundry. to positive, I did not get enough attention from others. Hug me and sundry. to minus ...

The wife in the table we find miniature pliers, and use them on the sly ...

This is our power pack ...

And here our inspector. With this thing, I can turn on and off lights remotely. Also I have the opportunity to include a separate channel 3. Include simultaneously any two of the three channels. Change the brightness. Plus nagruzochku this thing is able to switch channels on their own in the house doing something like disco. Kids really like.

Here is a lamp in the form of sealed on.

It is time to test our creation ...
Glass put on, temporarily. And tested.

Close

Krasoten ...

Actually right now upload videos ... tell in advance shines very brightly. It consumes only 30 watts and the light at exactly 120.

Source:
