272
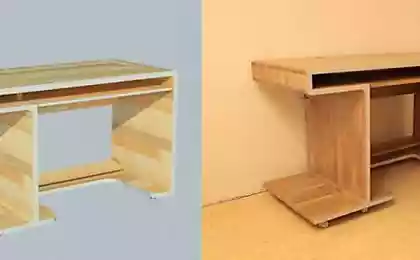
Birth of a computer table
Will be 20 photos + bukovki.
So there you go!
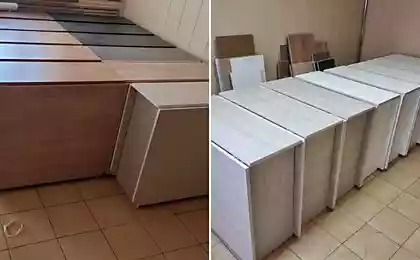
We saw off 01-all in size

02-Next-make-trim.

03-we clean sharp edges

04-sealed edges Ornamental ribbon

05-smoothing to speeding the process

06, cut off all unnecessary, we clean from sharp edges (again), and causes varnish (desirable NC)

07-All of the items are now taking home, if there are problems, it will be possible on the site and how ispravit.Nu here without carpet !!!

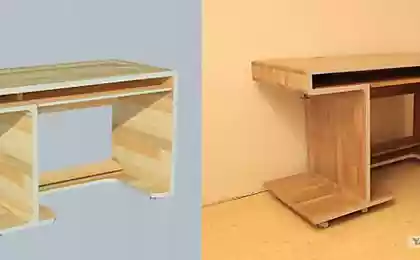
08-now connects the side walls of the rear wall.

09-Do compartment under sistemnik

10 forgot to write about the boxes! there will be 3

11 then collect compartment under the boxes.

12 approximately distribute boxes! and then ...

13 ... start dancing with a tambourine =) (three times peresverlivali to all exactly fell into place)

14-Hurray! Boxes ready!

15 is screwed to the side walls nozhki.eto gives stability and strength

16th Regiment Claudia

17 fasten the table top to the table!

18-hole conclusion Zasverlivaem wires and cooling system unit.

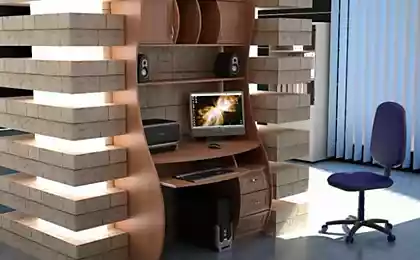
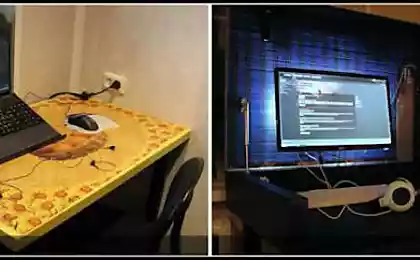
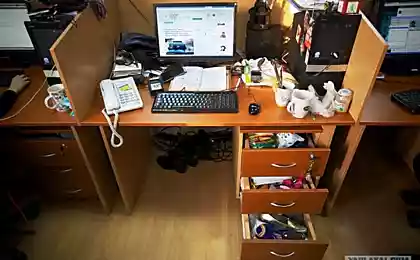
19 puts everything in its place!

20 Done! Thank you for attention!

Source:
So there you go!
We saw off 01-all in size

02-Next-make-trim.

03-we clean sharp edges

04-sealed edges Ornamental ribbon

05-smoothing to speeding the process

06, cut off all unnecessary, we clean from sharp edges (again), and causes varnish (desirable NC)

07-All of the items are now taking home, if there are problems, it will be possible on the site and how ispravit.Nu here without carpet !!!

08-now connects the side walls of the rear wall.

09-Do compartment under sistemnik

10 forgot to write about the boxes! there will be 3

11 then collect compartment under the boxes.

12 approximately distribute boxes! and then ...

13 ... start dancing with a tambourine =) (three times peresverlivali to all exactly fell into place)

14-Hurray! Boxes ready!

15 is screwed to the side walls nozhki.eto gives stability and strength

16th Regiment Claudia

17 fasten the table top to the table!

18-hole conclusion Zasverlivaem wires and cooling system unit.

19 puts everything in its place!

20 Done! Thank you for attention!

Source: