795
Fire in an apartment
I have a very good friends, about 5 years ago, we did it in an apartment repair, in their apartment a pleasure to work. And when they called me and asked them to make a fire, I immediately told them the agreement, although a lot of objects is now, but the good people can not refuse!
39 photos
So let's start.
Arriving to their house until I was shown a fireplace with which I will work! From the hostess, we long to decide what height he set (+ -5 cm played a role), whether to do it drovnitsa etc.
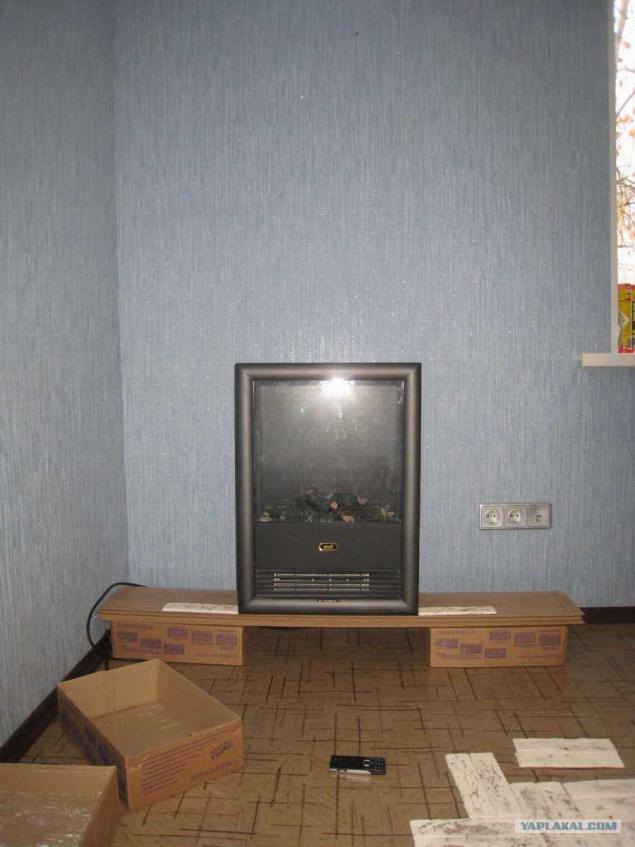
Photo 2
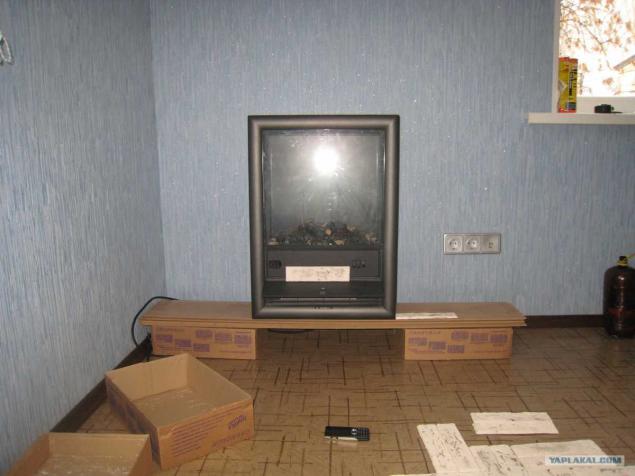
Photo 3
All made from the profile guides and drywall
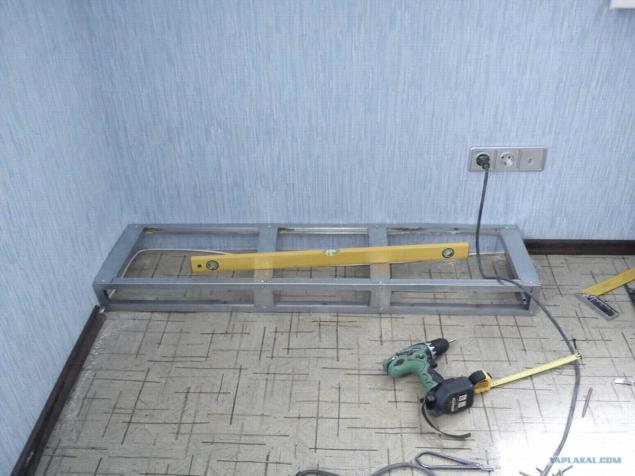
Photo 4
all done on a level
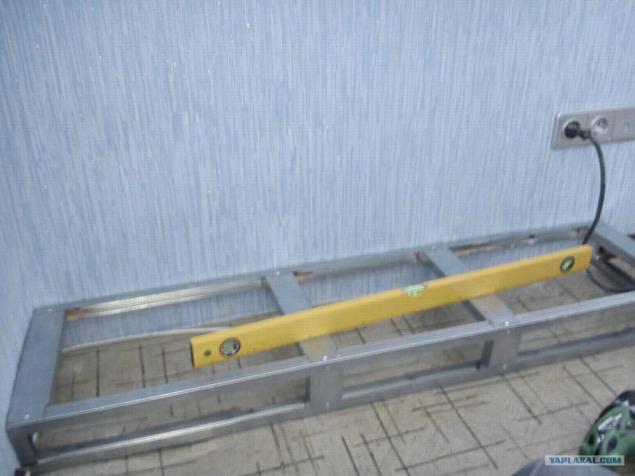
Photo 5
I collect the skeleton frame
I apologize for the photos (pictures made on sneakers)
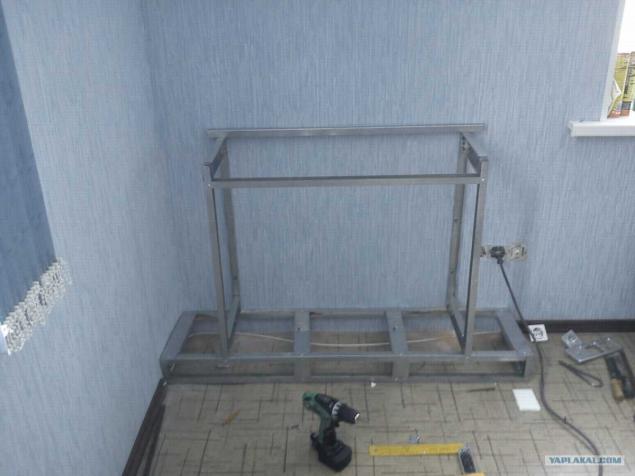
Photo 6
Holes were drilled in the wall very carefully, because we laid in the walls of the pipe heating
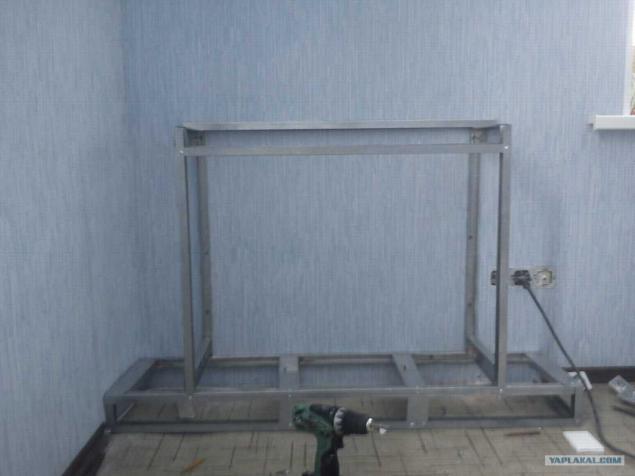
Photo 7
fitting fireplace
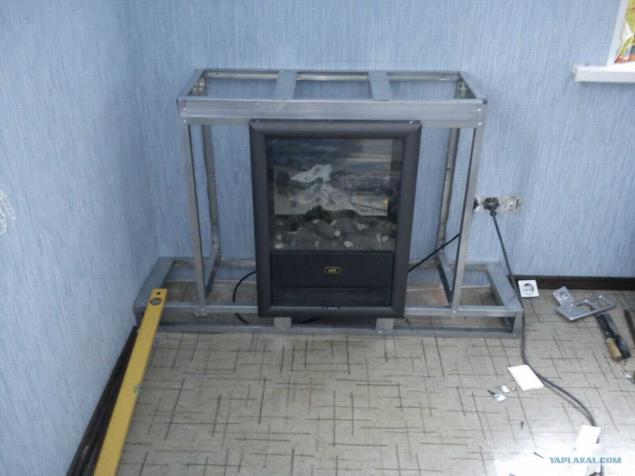
Photo 8
where it had to cut the profile since the fireplace inside the curve
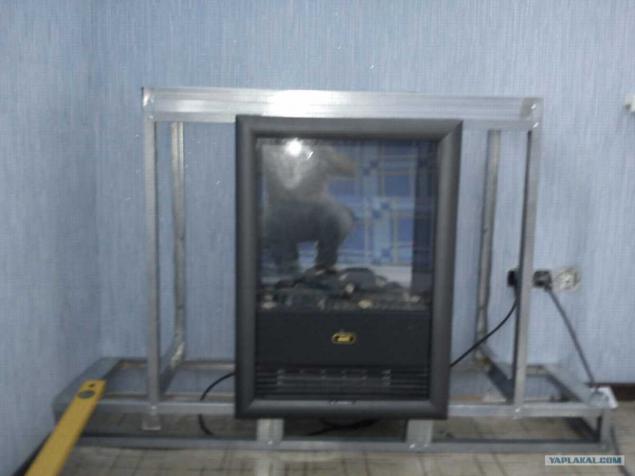
Photo 9
I began to fasten drywall
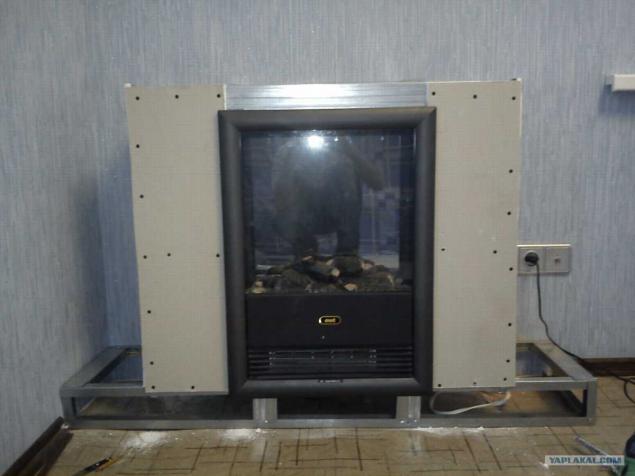
Photo 10
and so I began to look
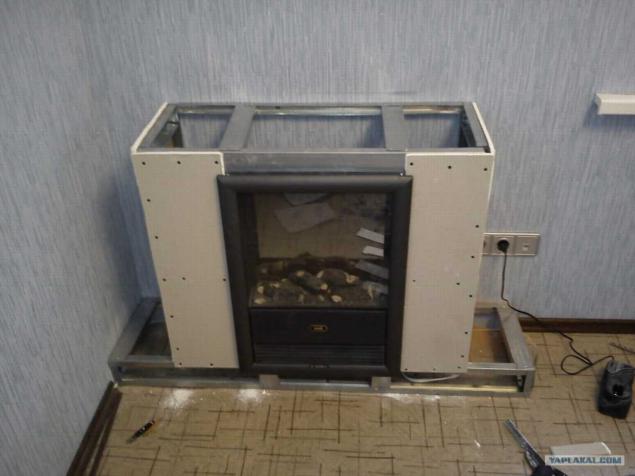
Photo 11
long with the owners decide what to do from the countertop, eventually we came to a consensus that can be bought in the store countertop and it just cut it, and the edge process.
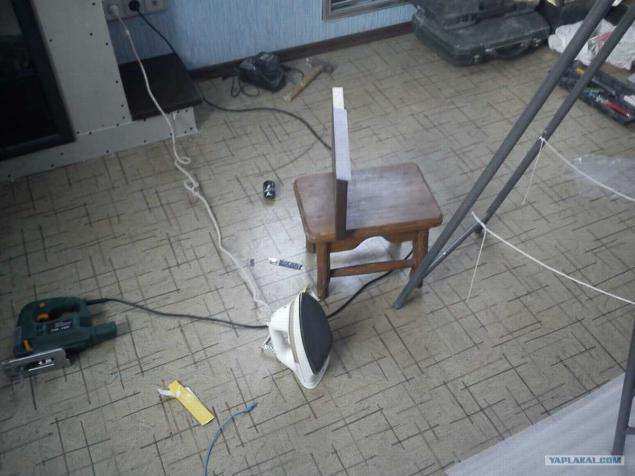
Photo 12
fitting countertop
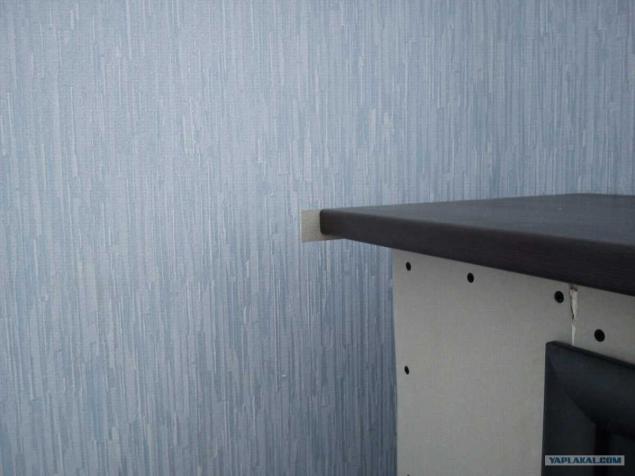
Photo 13
edge countertops cut office knife already in place
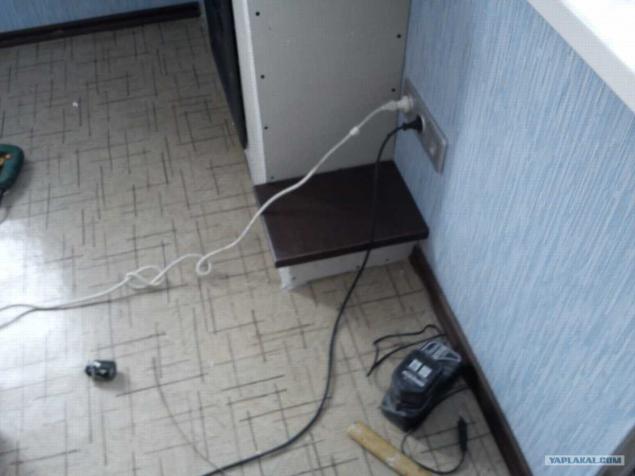
Photo 14
We decided to do the masters of the chimney)))
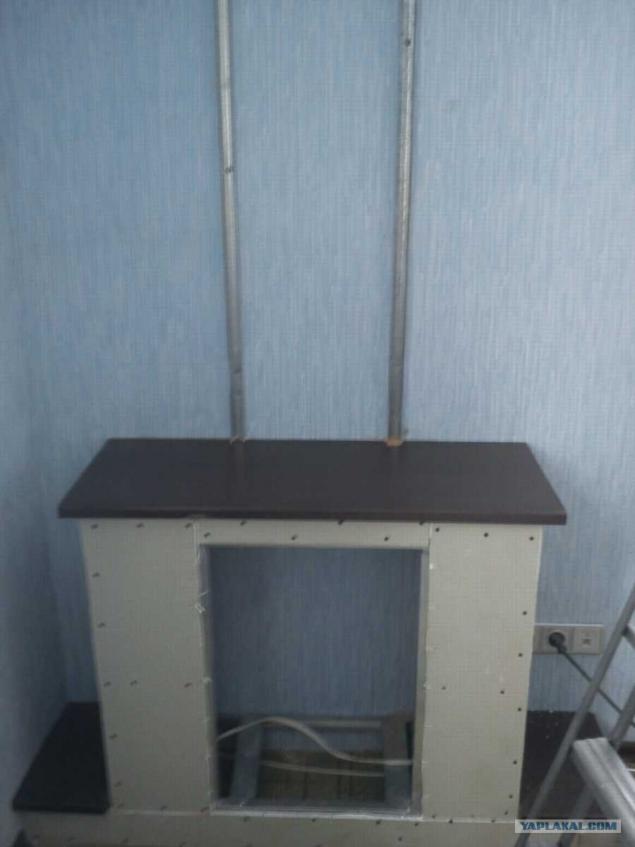
Photo 15
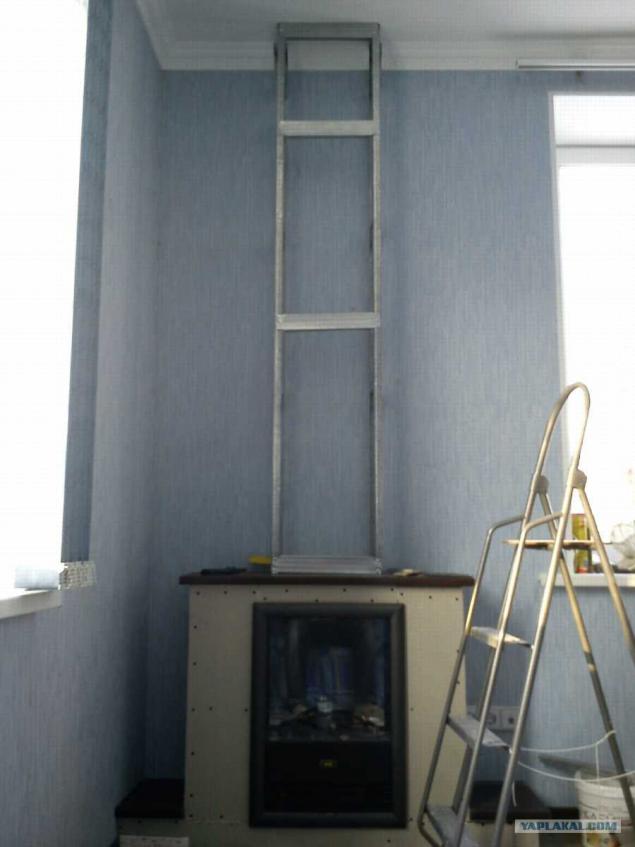
Photo 16
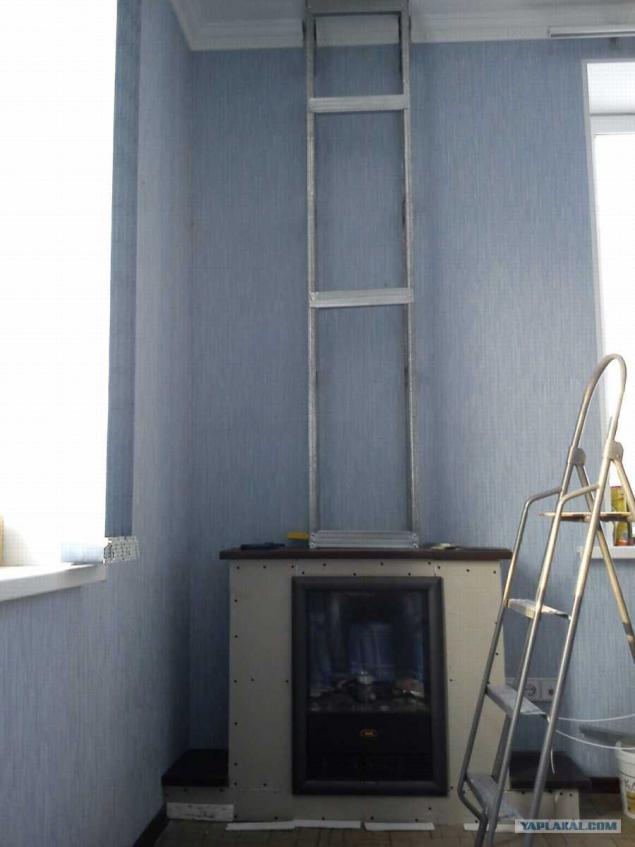
Photo 17
Fireplace decided obkladyvat artificial stone, but its varnished 2 times to become darker stone.
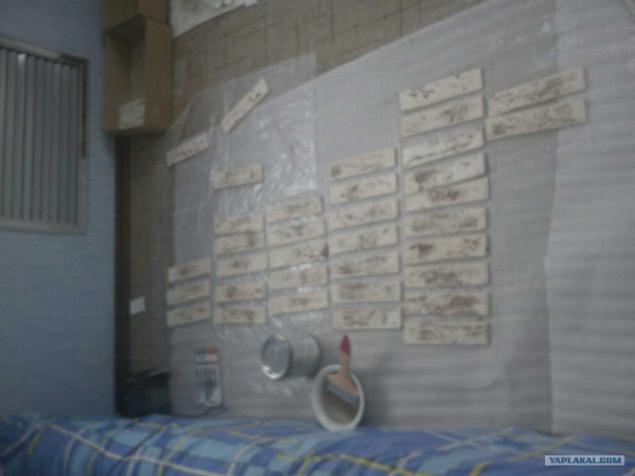
Photo 18
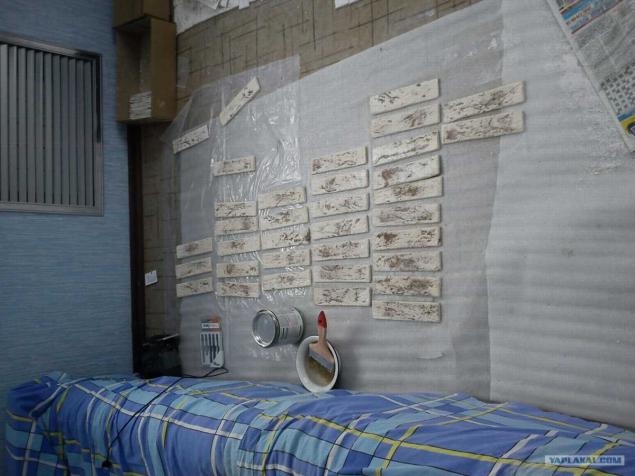
Photo 19
Stone put on a special mixture then is overwritten grout joints
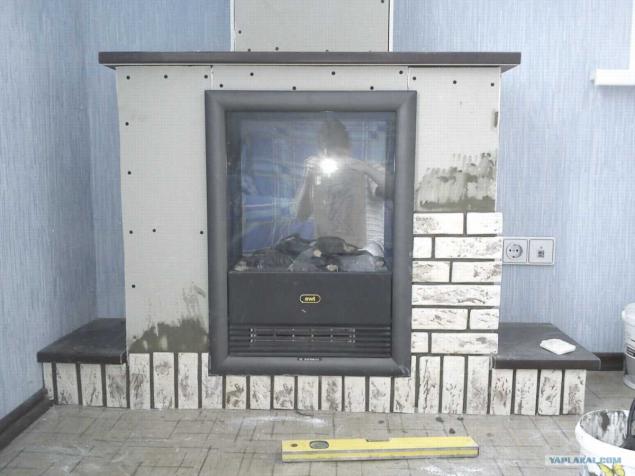
Photo 20
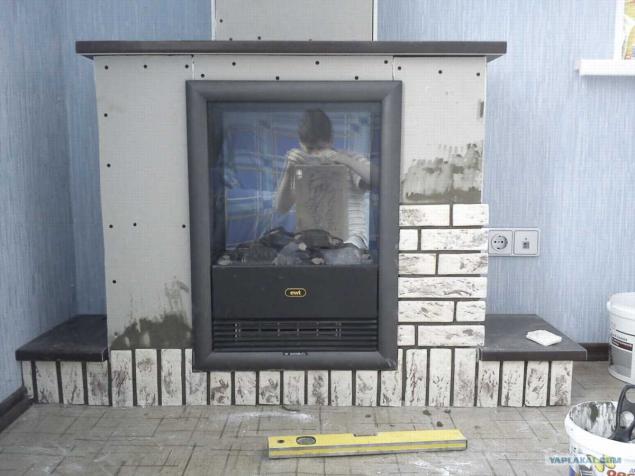
Photo 21
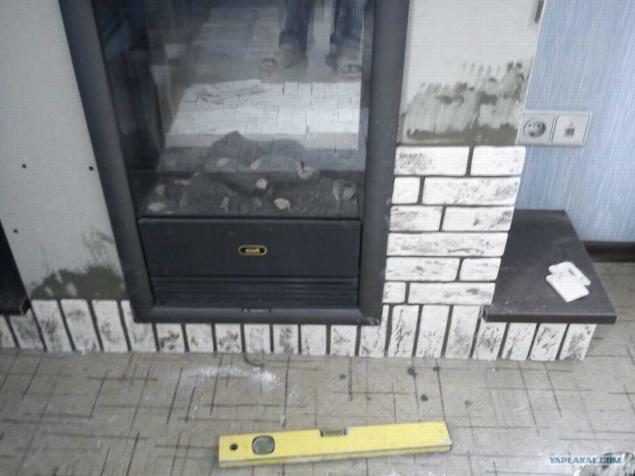
Photo 22
so began to look lower part of the fireplace)
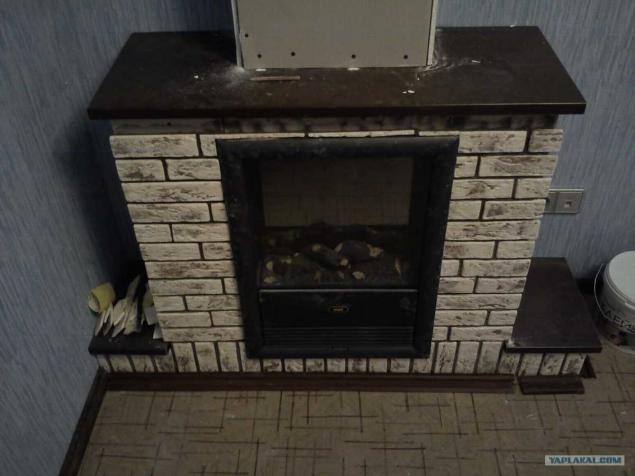
Photo 23
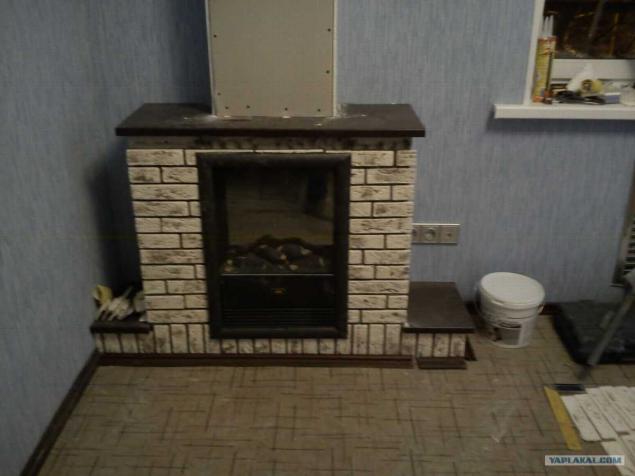
Photo 24
fully sheathed plasterboard
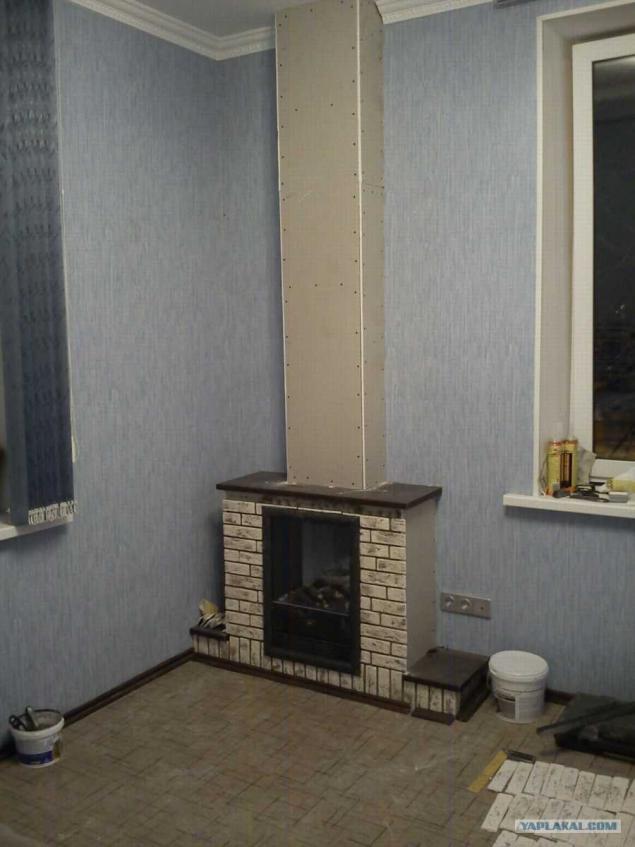
Photo 25
pipe spread on tighter mix that down, put only without the seams and other masonry!
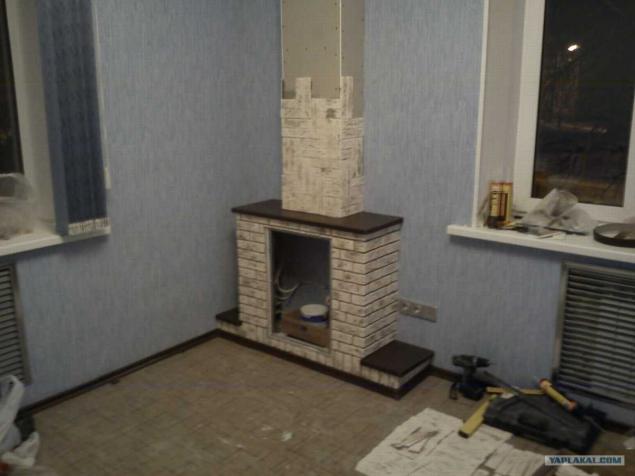
Photo 26
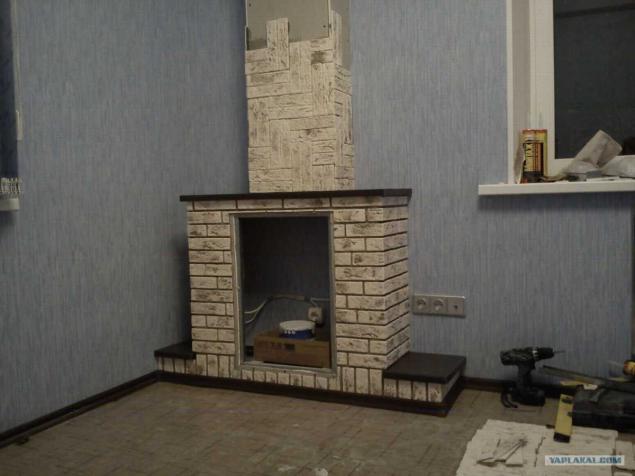
Photo 27
I understand not look bad
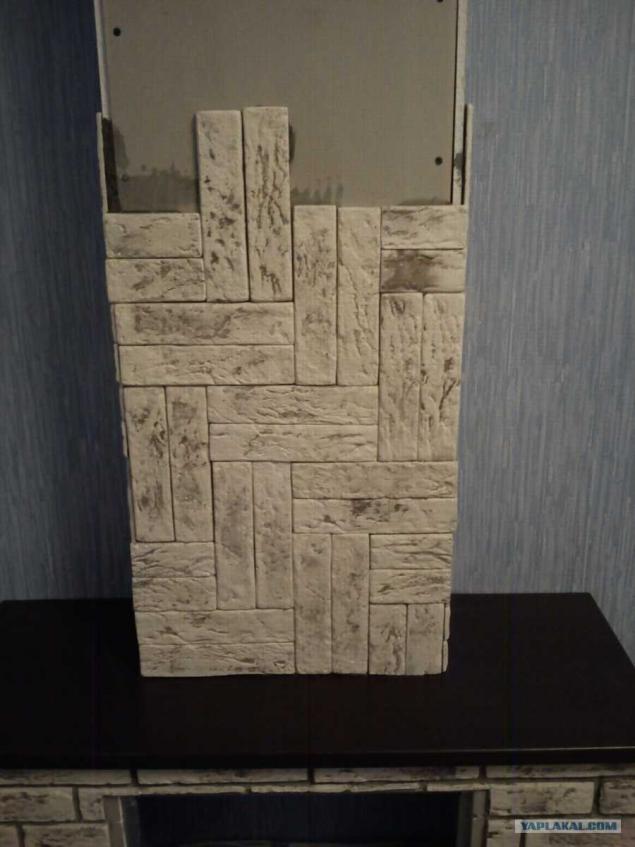
Photo 28
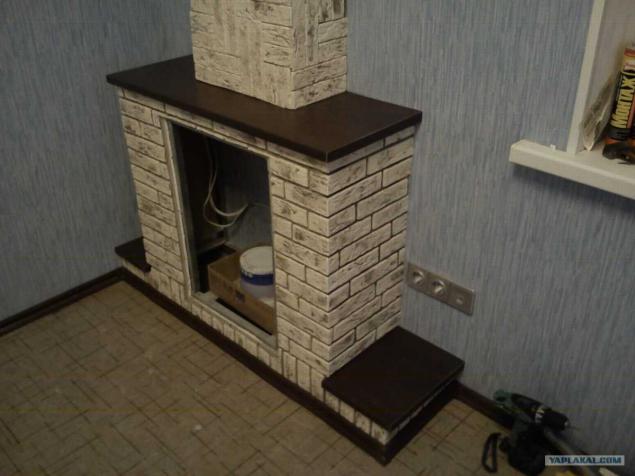
Photo 29
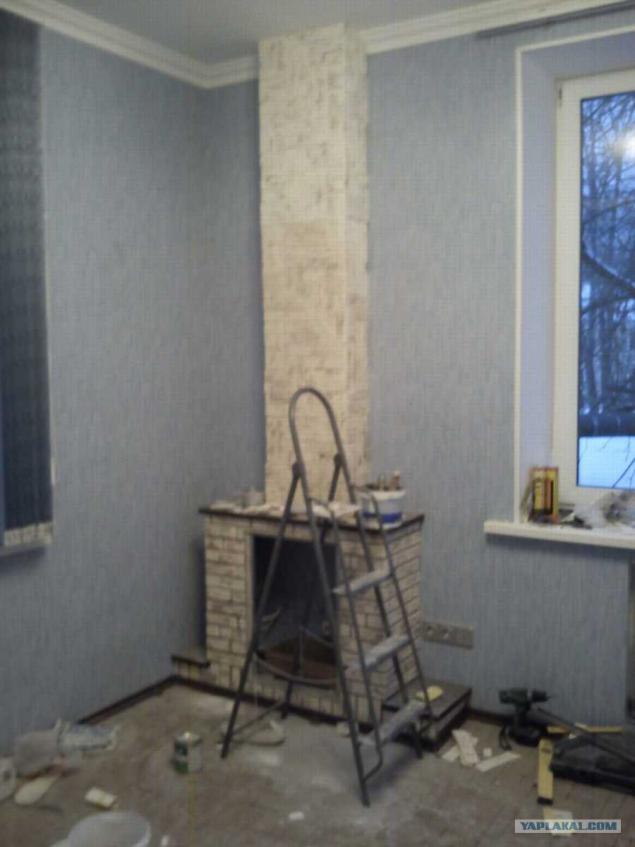
Photo 30
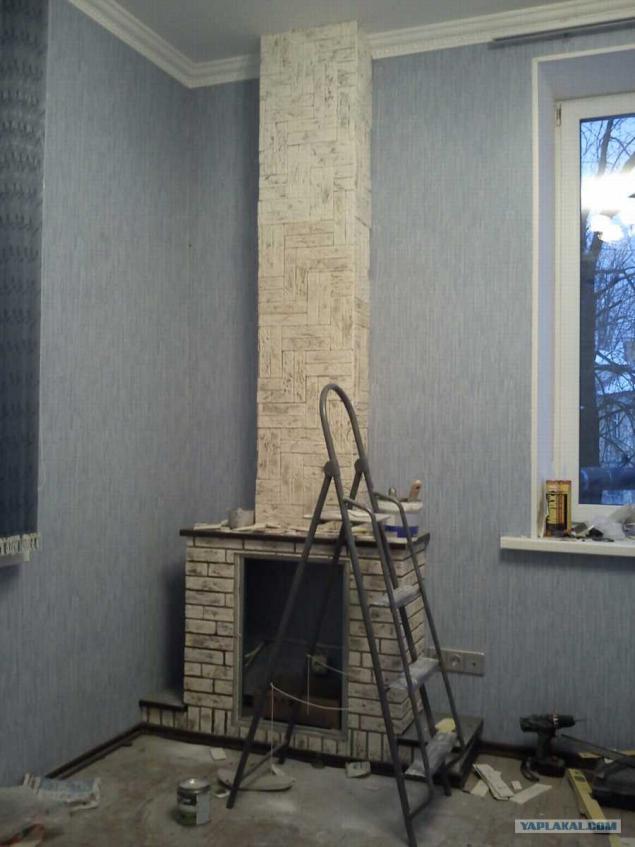
Photo 31
Dust very much, because each stone processed edge, the stone was not all smooth
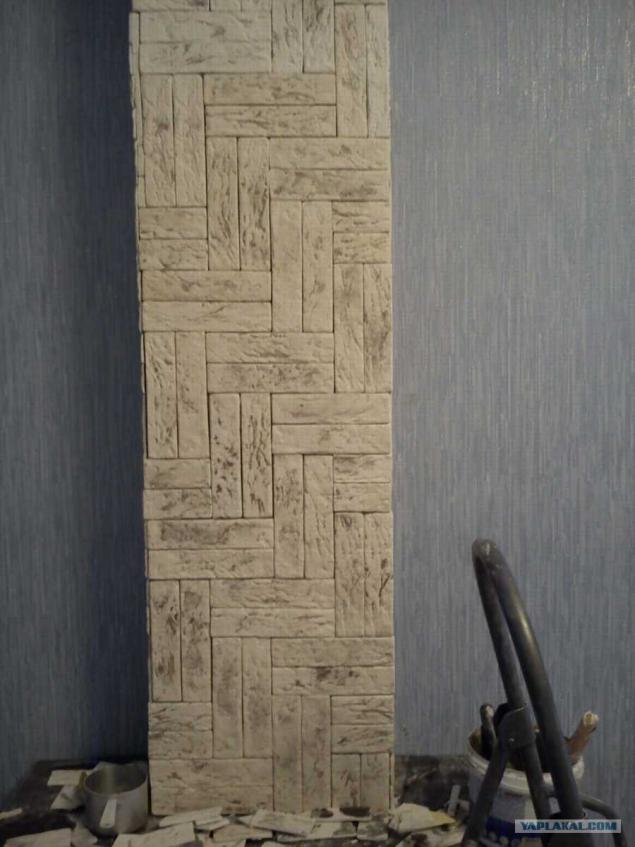
Photo 32
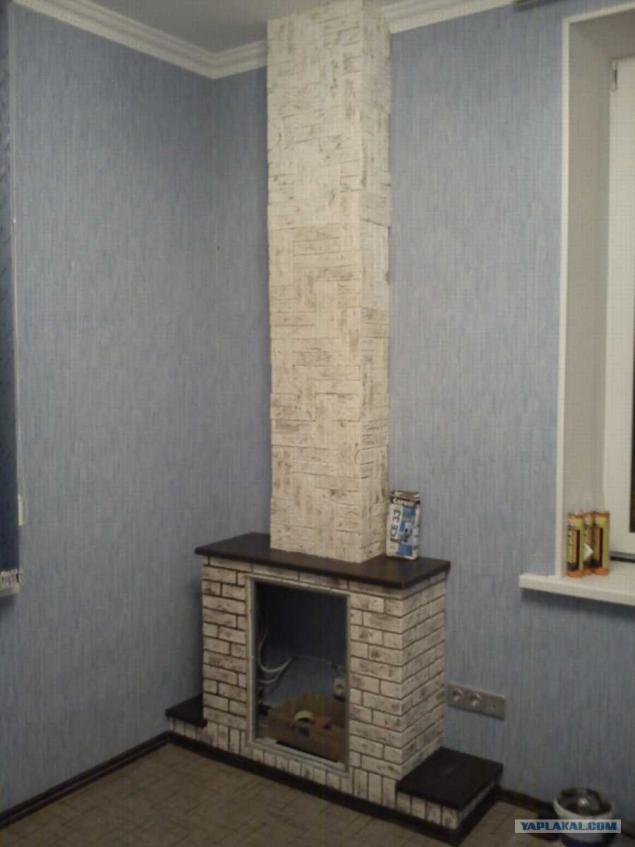
Photo 33
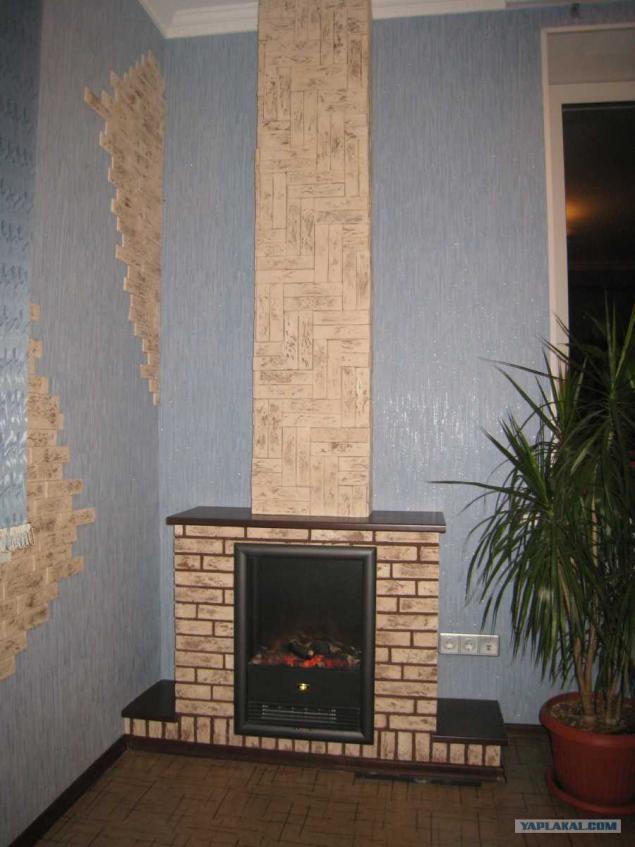
Well, actually what happened
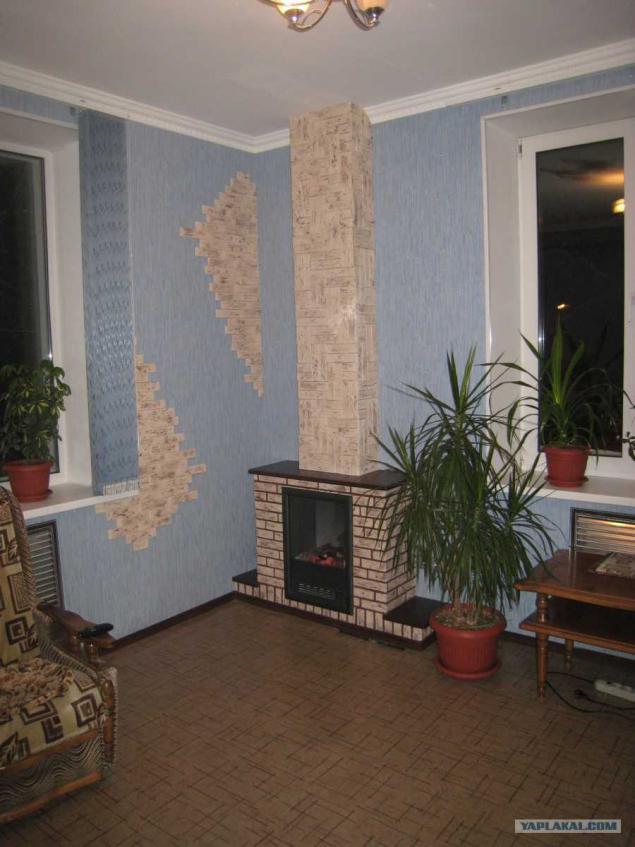
Photo 34
Stone remained and decided to put it on the wall
Source:
39 photos
So let's start.
Arriving to their house until I was shown a fireplace with which I will work! From the hostess, we long to decide what height he set (+ -5 cm played a role), whether to do it drovnitsa etc.

Photo 2

Photo 3
All made from the profile guides and drywall

Photo 4
all done on a level

Photo 5
I collect the skeleton frame
I apologize for the photos (pictures made on sneakers)

Photo 6
Holes were drilled in the wall very carefully, because we laid in the walls of the pipe heating

Photo 7
fitting fireplace

Photo 8
where it had to cut the profile since the fireplace inside the curve

Photo 9
I began to fasten drywall

Photo 10
and so I began to look

Photo 11
long with the owners decide what to do from the countertop, eventually we came to a consensus that can be bought in the store countertop and it just cut it, and the edge process.

Photo 12
fitting countertop

Photo 13
edge countertops cut office knife already in place

Photo 14
We decided to do the masters of the chimney)))

Photo 15

Photo 16

Photo 17
Fireplace decided obkladyvat artificial stone, but its varnished 2 times to become darker stone.

Photo 18

Photo 19
Stone put on a special mixture then is overwritten grout joints

Photo 20

Photo 21

Photo 22
so began to look lower part of the fireplace)

Photo 23

Photo 24
fully sheathed plasterboard

Photo 25
pipe spread on tighter mix that down, put only without the seams and other masonry!

Photo 26

Photo 27
I understand not look bad

Photo 28

Photo 29

Photo 30

Photo 31
Dust very much, because each stone processed edge, the stone was not all smooth

Photo 32

Photo 33
Well, actually what happened

Photo 34
Stone remained and decided to put it on the wall

Source:
