820
Model Stirling engine from a tin can.
Will be 17 photos and 1 video. Please do not break.
Today, dear friends, I'll show you how to make a model of one of the varieties of external combustion engine. The practical use of such a small crafts of course, but quite enough to surprise friends. To do this, it took me just simply a tin can, a piece of foam, CD blank couple of screws and a few staples.
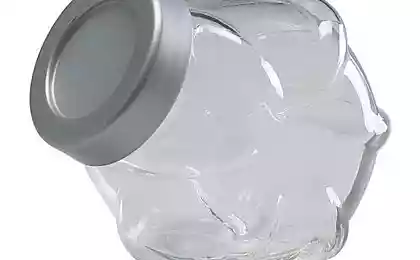
So it was acquired by Bank of sardines in tomato sauce.
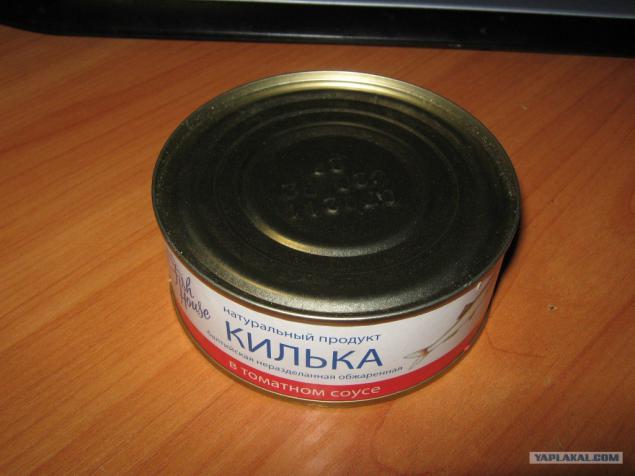
The contents of the pleasure was eaten with potatoes and a glass of.
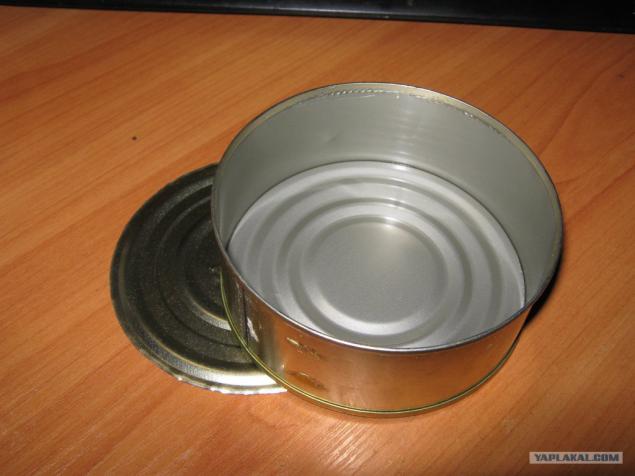
After the meal jars and lids have been thoroughly washed.
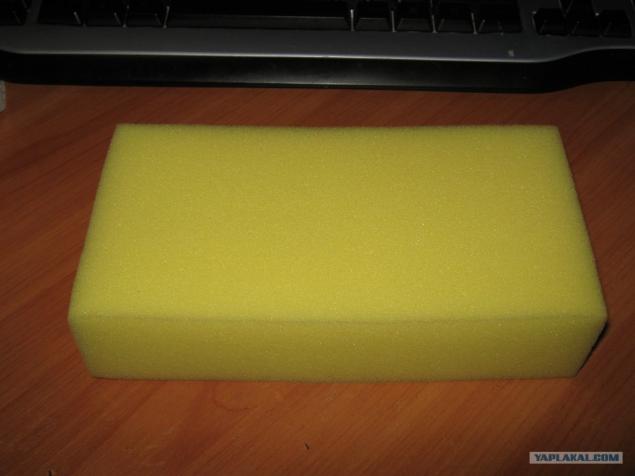
In order to make propellant engine we take a sponge.
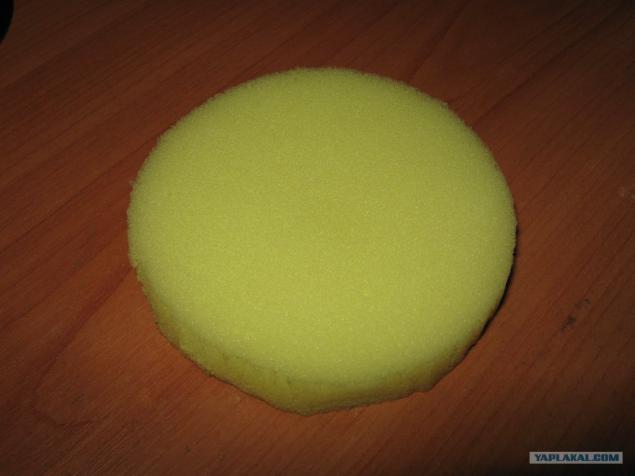
And cut a circle with a diameter of it a couple of millimeters smaller than the inner diameter of the banks and the height of a little more than half of it.
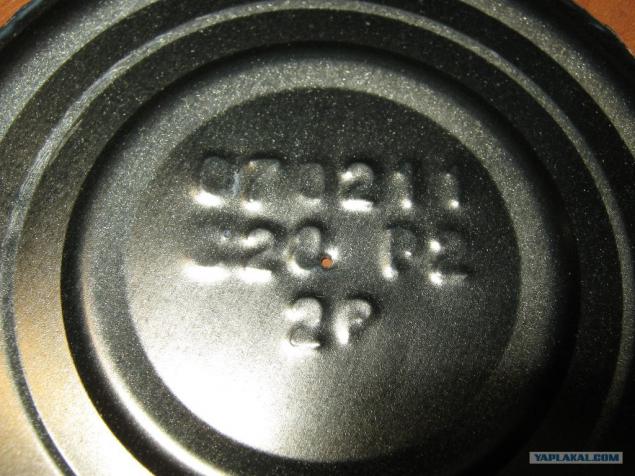
In the center of the lid Do the banks have a small hole at the connecting rod.
And for him to have gone smoothly from the spiral wound paper clip and solder it to the lid.

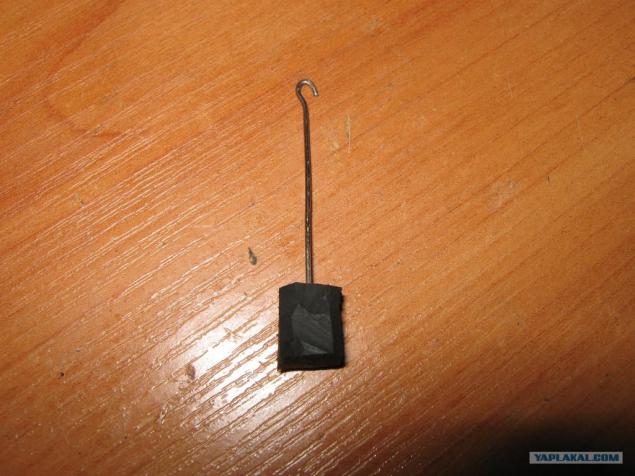
Circle of foam pierces the center of the cog and that he have not taken off the top and bottom dress washers and tighten the nut. Then solder a piece of a straightened paper clip.
Insert the displacer into the prepared hole in the lid and hermetically sealed jar. At the end of a paper clip makes a small loop, and cover We perform another hole, but a little more than the first.
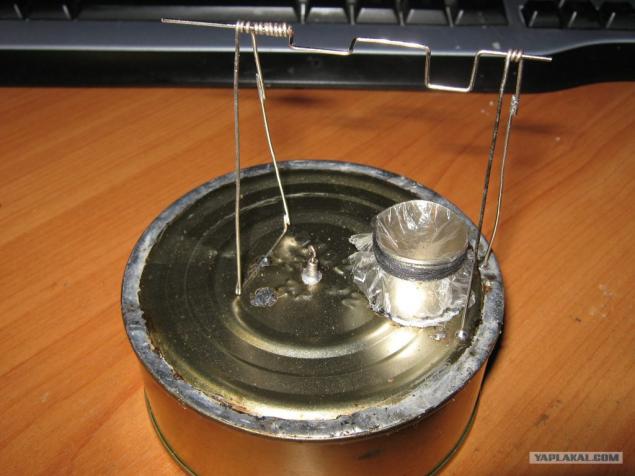
From a piece of tin making cylinder by soldering its edges.
Then solder sealed to the cylinder bank.

From paper clips do crankshaft. Spacing knees 90 degrees. Knee, which is above the cylinder by a height of 1-2 mm larger than the other.
From paper clips to a point under the shaft. A stretch the cylinder on a piece of plastic film a little forced her inside the finger and zamatyvaem thread. It will membrane.
Rod that will be attached to the membrane do from a piece of paper clips and insert it into the scrap rubber stopper. The length of the rod is chosen so that in the bottom dead center position of the shaft the membrane is drawn into the cylinder and conversely essentially elongated. A second rod is the same, the lower displacer MT down (but slightly touches the bottom so that the foam does not melt) and on the top in the upper MT respectively.
As the rods which are made with cork glued to the membrane, and the second to connect the propellant.
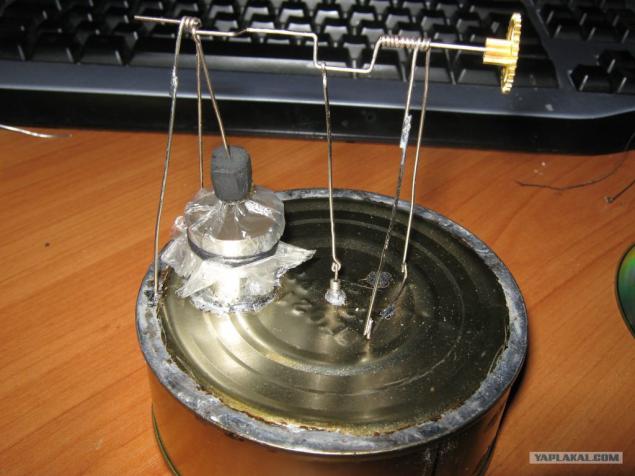
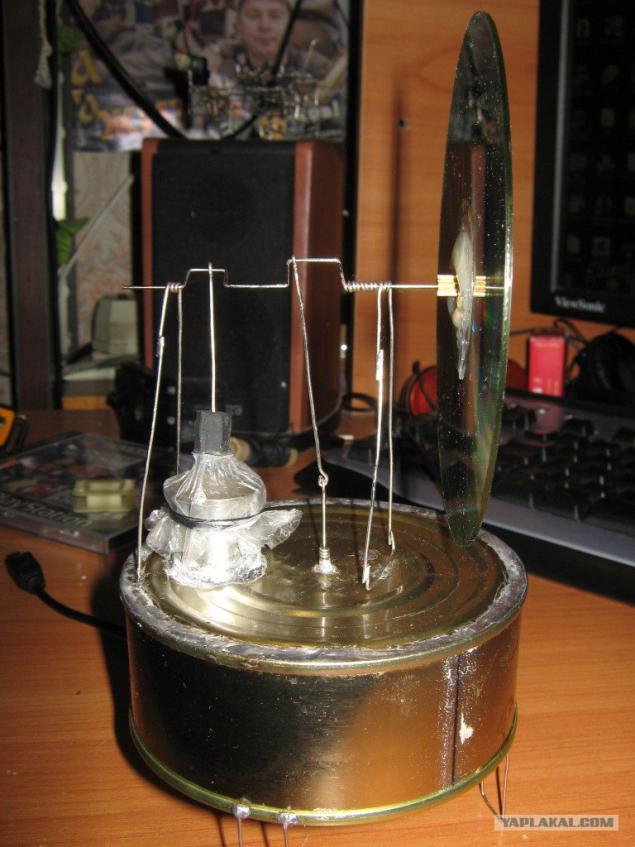
Finally, solder the small legs of the staple to the bank and attach a crank in any way possible flywheel. As the flywheel I made a CD planted in the hot melt adhesive.
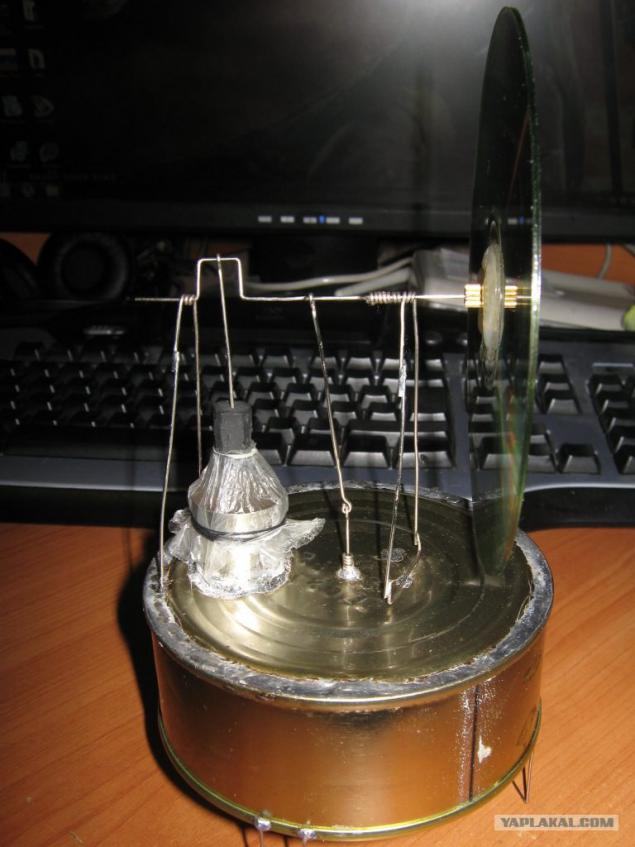
From a different angle.
Posted in [mergetime] 1331056766 [/ mergetime]
That's all. It remains to light a candle or spirit lamp, substitute it for the bank, wait a few seconds to spin the flywheel. If everything is more or less done carefully our engine puffing membrane fun starts.

Source:
Today, dear friends, I'll show you how to make a model of one of the varieties of external combustion engine. The practical use of such a small crafts of course, but quite enough to surprise friends. To do this, it took me just simply a tin can, a piece of foam, CD blank couple of screws and a few staples.

So it was acquired by Bank of sardines in tomato sauce.

The contents of the pleasure was eaten with potatoes and a glass of.
After the meal jars and lids have been thoroughly washed.

In order to make propellant engine we take a sponge.

And cut a circle with a diameter of it a couple of millimeters smaller than the inner diameter of the banks and the height of a little more than half of it.

In the center of the lid Do the banks have a small hole at the connecting rod.

And for him to have gone smoothly from the spiral wound paper clip and solder it to the lid.

Circle of foam pierces the center of the cog and that he have not taken off the top and bottom dress washers and tighten the nut. Then solder a piece of a straightened paper clip.

Insert the displacer into the prepared hole in the lid and hermetically sealed jar. At the end of a paper clip makes a small loop, and cover We perform another hole, but a little more than the first.

From a piece of tin making cylinder by soldering its edges.

Then solder sealed to the cylinder bank.

From paper clips do crankshaft. Spacing knees 90 degrees. Knee, which is above the cylinder by a height of 1-2 mm larger than the other.

From paper clips to a point under the shaft. A stretch the cylinder on a piece of plastic film a little forced her inside the finger and zamatyvaem thread. It will membrane.

Rod that will be attached to the membrane do from a piece of paper clips and insert it into the scrap rubber stopper. The length of the rod is chosen so that in the bottom dead center position of the shaft the membrane is drawn into the cylinder and conversely essentially elongated. A second rod is the same, the lower displacer MT down (but slightly touches the bottom so that the foam does not melt) and on the top in the upper MT respectively.

As the rods which are made with cork glued to the membrane, and the second to connect the propellant.

Finally, solder the small legs of the staple to the bank and attach a crank in any way possible flywheel. As the flywheel I made a CD planted in the hot melt adhesive.

From a different angle.
Posted in [mergetime] 1331056766 [/ mergetime]
That's all. It remains to light a candle or spirit lamp, substitute it for the bank, wait a few seconds to spin the flywheel. If everything is more or less done carefully our engine puffing membrane fun starts.

Source: