728
Construction of the ship
I decided now to supplement the heading "DIY».
Since childhood, fond of ship modeling and collected small plastic ships, but has recently begun to appear in the sale of wood. Why not try? Picked up in the internet model, I went to the store to the other end of Moscow (before the choice was less) and still in the shop realized that I have to ... all sorts of small pile of plastic and iron zagotovochek and bundles of logs ... As a result, the construction itself took me a year and a half. Maybe it was possible to quickly, but had to gather in the evenings only. And it is not every day.
In advance I apologize for the quality of some pictures. It is not always at hand, and had a camera had photographed on file.
Will ph 66, please do not break.
So,
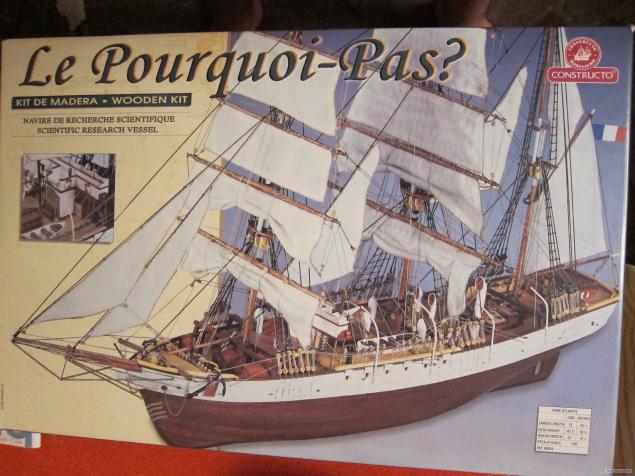
1. The box itself
2. harvested sawed plywood skeleton of future spacecraft
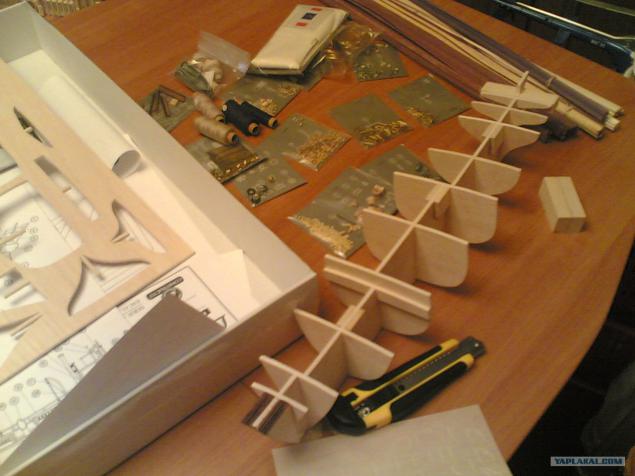
3. nailed deck

4. On the deck is laid parquet (5 mm), the sides are trimmed from the top light board

5. Further down neatly nailed directly aboard. One of the stages gemorno since it is still a tree and it has the ability to break down. And there are many folds, especially on the stern. In general, using the soaking and some mother that something happened.

6. Cut off all unnecessary edges are smoothed and
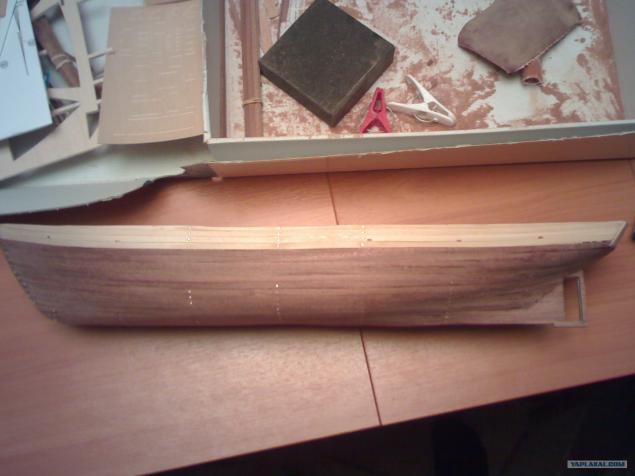
7. On the deck begin to hang all sorts of delights. On either side of the future stick attachment anchors. At the time cutting out a good anchorage drill holes and was not necessary to do a mini-file. Also there are defects in painting. Then disappear
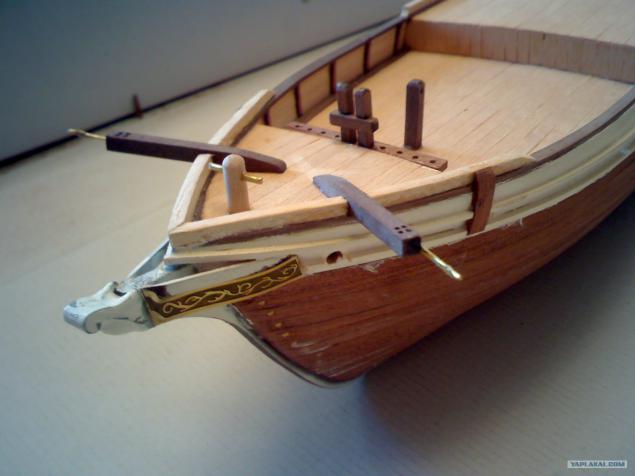
8. To the sides are mounted railings and portholes. Iron roundels set.

9. Start the bridge

10. Something like hold. Doors too hard to cut with a small forceps exclusively. The pipes were painted by hand.
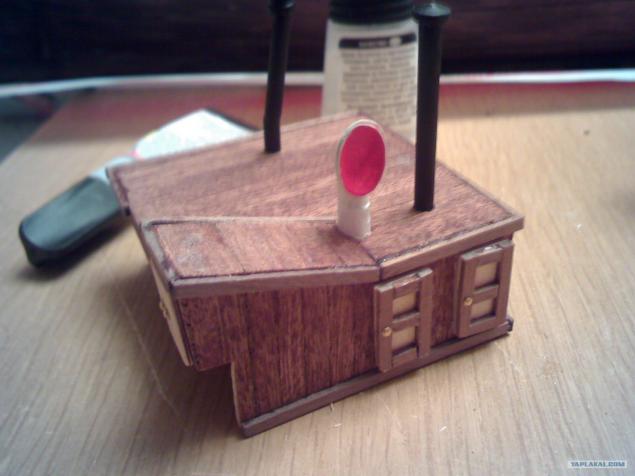
11. Another room. Most pipe going from a piece of timber and the uterus wire
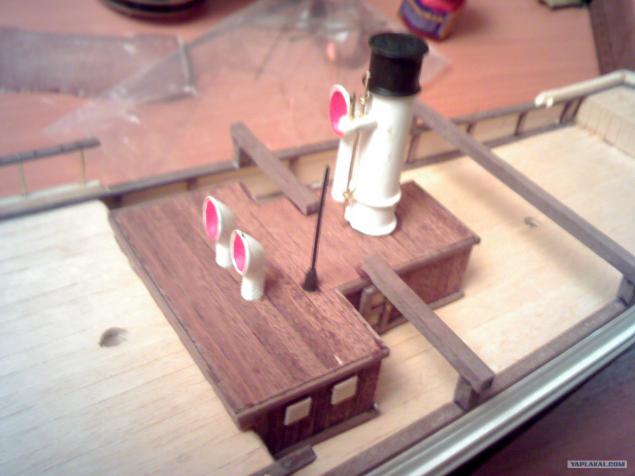
12. Slowly we put all gathered on deck. Without pint dick understand where Che put, the more that instruction in 3 small pages ...

13. From these pieces are starting to cut the inputs into the hold

14. Here's what happened

15. And still a lot of melochevok. Bench killed

16. And all this is put on the deck. Inexperience is not very nice. Glue a bit overdone, and in general ... but Nitsche, then correct.

17. The same thing from a different angle

18. More. With long coil kalupalsya but Nitsche, Th something happened

19. The same bench

20. The coil on the other side

21. All this is on top

22. We bring to mind small errors, minor bumps and grind varnish

Source: ">