721
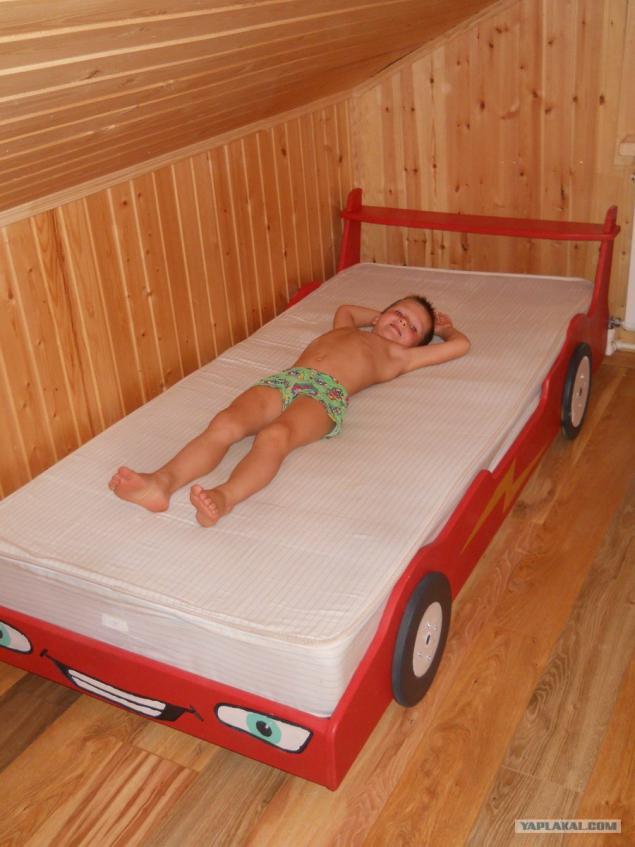
A bed in the shape of the car.
For a long time I read Yaplakal. This the site where interesting read reviews of the topic itself. Seeing the artifacts of other participants, and I decided to post it. Please do not break. 53. How gallery will finish - I will inform you.
So, there is a need in the crib to eldest son. In the country do everything with their hands, we decided not to break with tradition and make the bed myself. Especially since it's cheaper.
Issued task son on the bed drawing. The initial size of 200 cm by 90 cm.
Drawings were many, but it was not feasible. That bed linen bed is not able to, then read the book together fail. So we decided to stay at the bottom ... You'll see.
Raw materials: plywood (left over from the construction of the house), 9 mm and 18 mm, dimensions 1525h1525mm.
All other materials were then dokupleny.
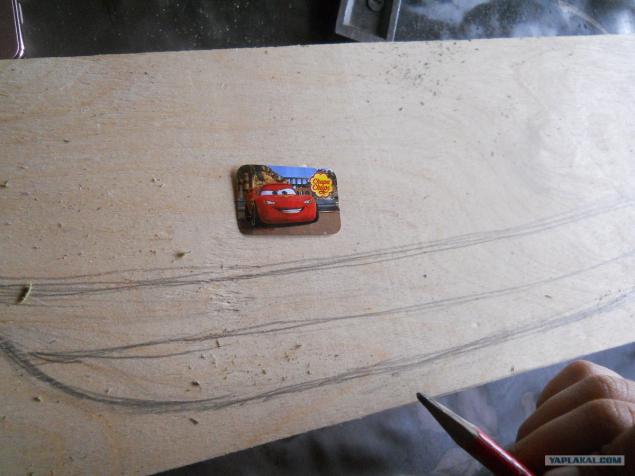
1. Outline of the bed on the plywood.
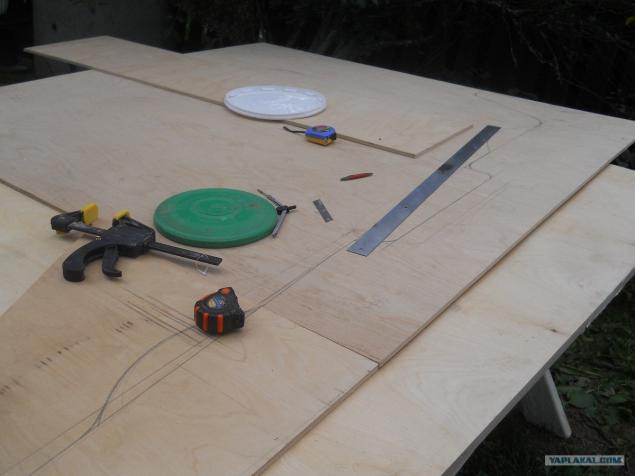
2. Even with wheels.
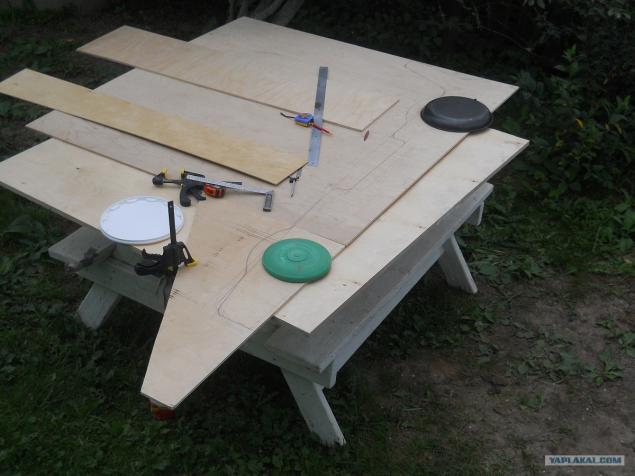
3. Cut.
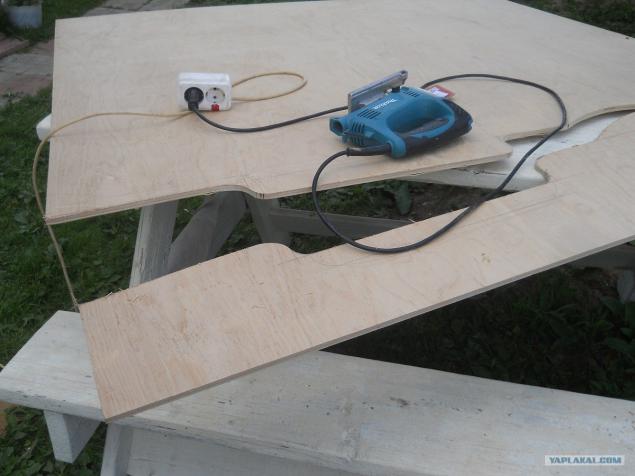
4. Since 2m bed and plywood 1, 5 m. has decided to glue plywood 2h9mm.
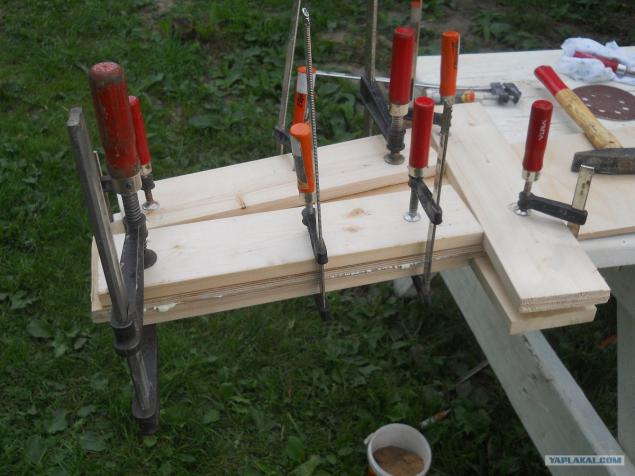
Sticking
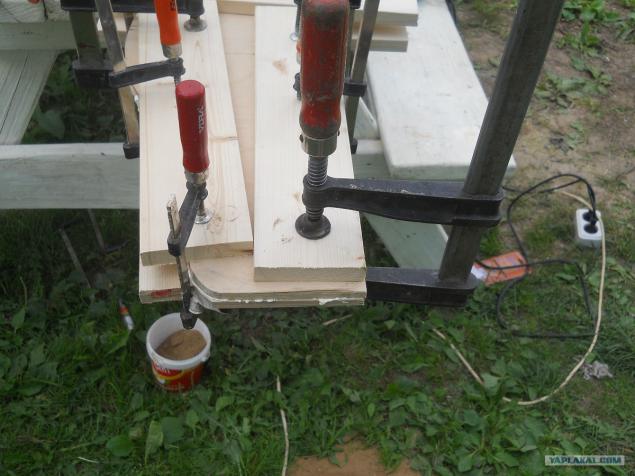
5. According to the first sample preparing the second part of the future crib.
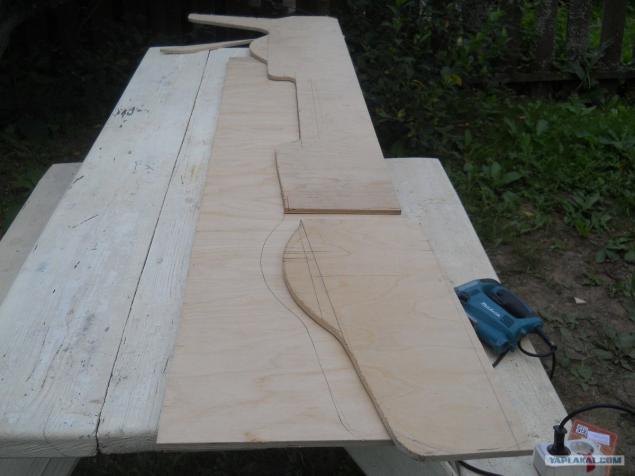
6. Cut.
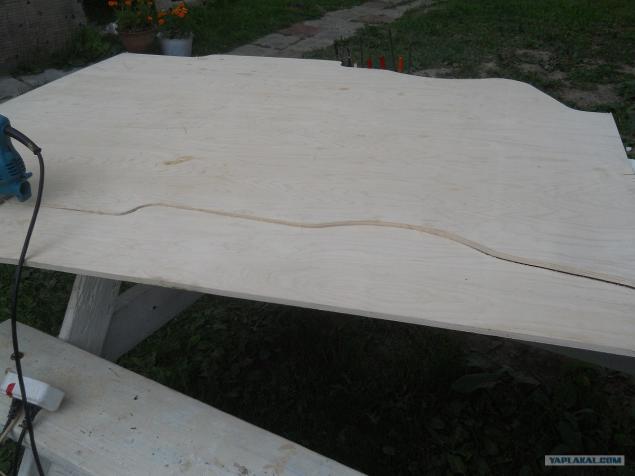
Cut
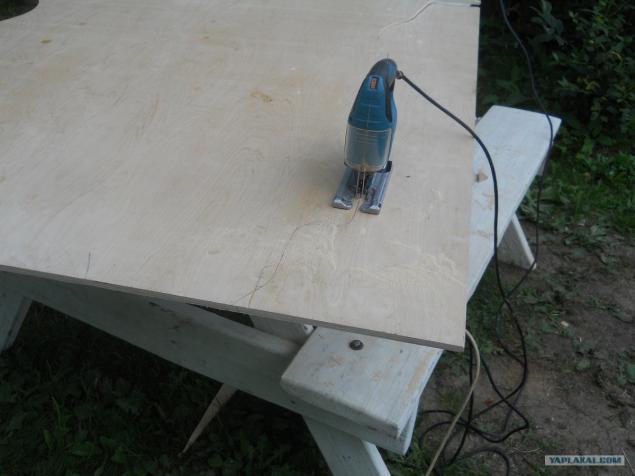
7. Sticking.
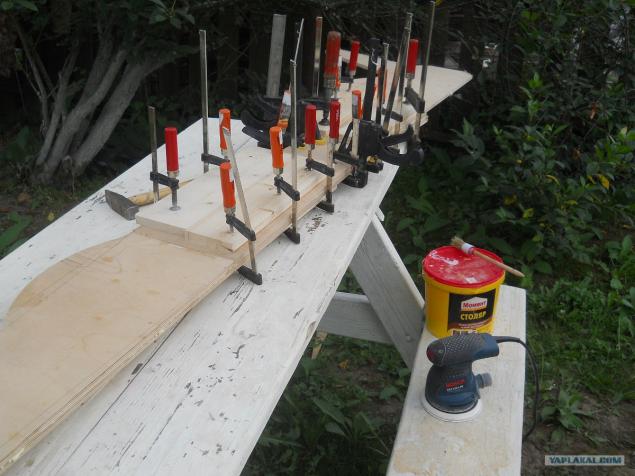
Sticking
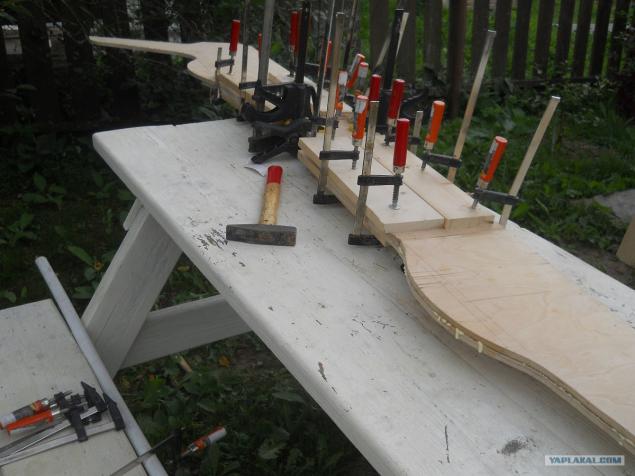
8. At the same time (while glued) make wheels for cars. Front smaller and larger rear (as befits a race car). The wheels cut out of 18mm plywood.
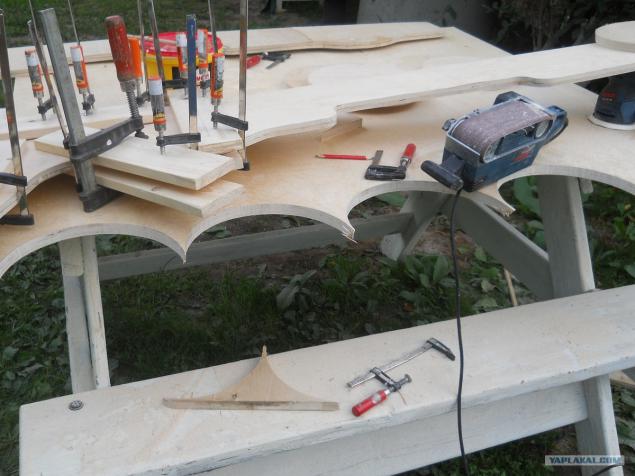
9. We put the wheels.
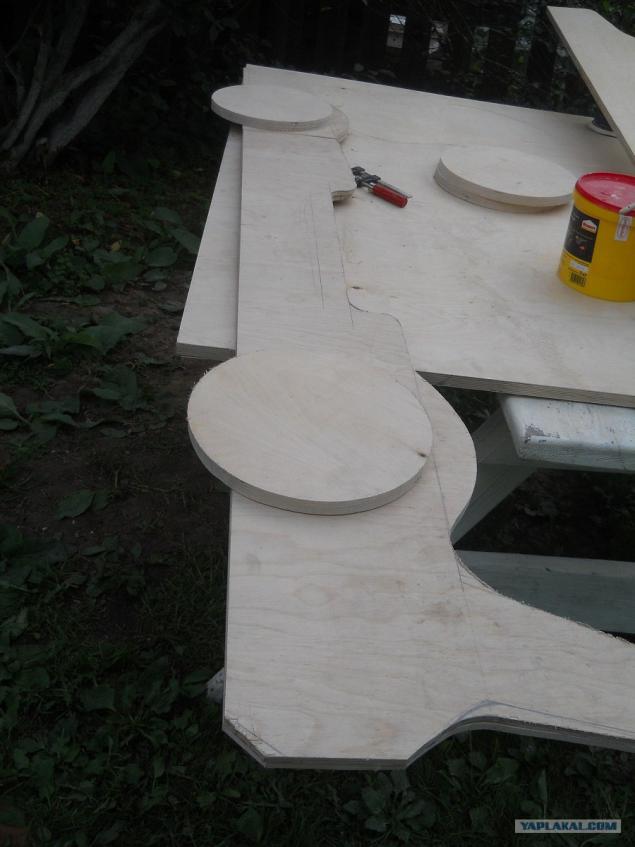
10. Continue to glue.
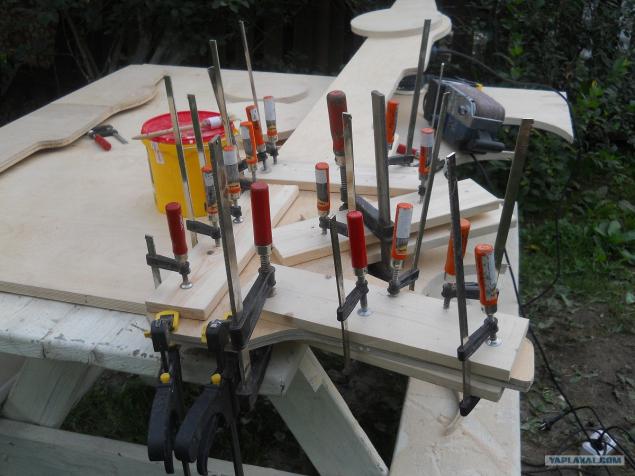
Sticking
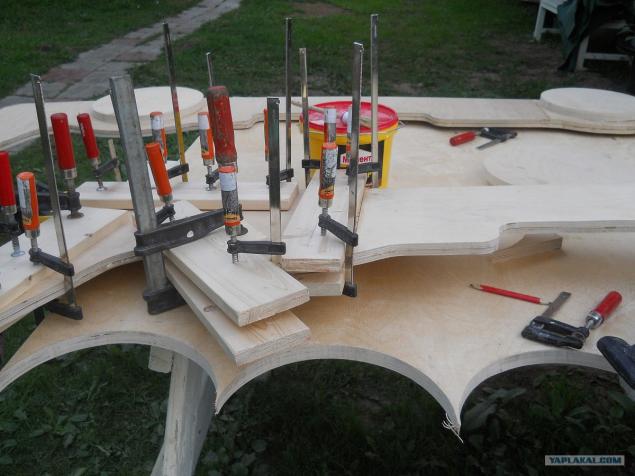
11. When everything is glued together. Fastening clamps two parts and skins for symmetry. Process dusty.
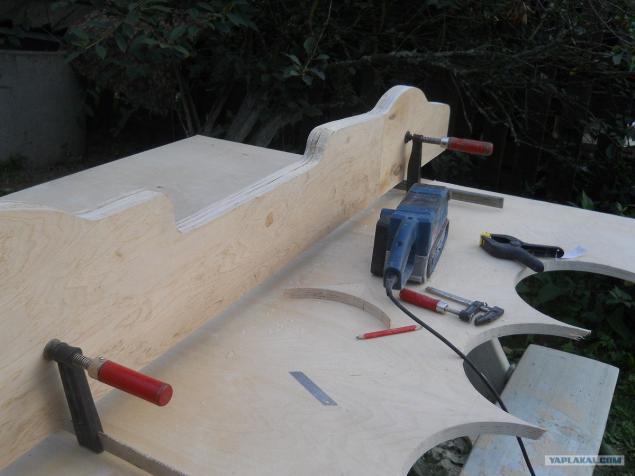
12. It turns out cute.
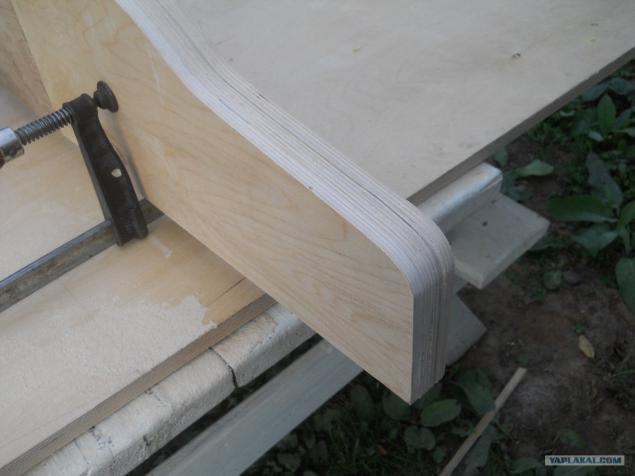
More
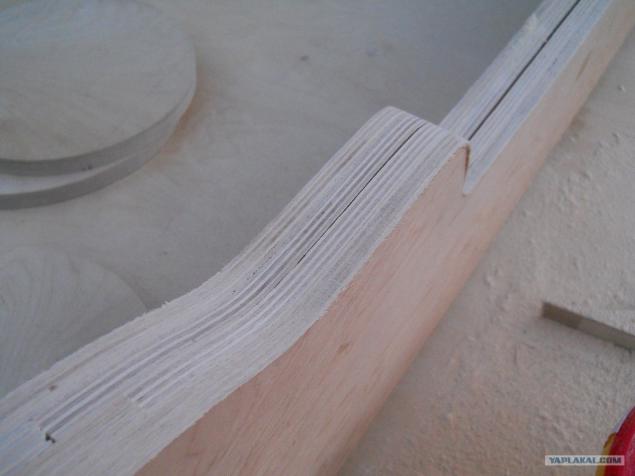
13. On this one day of the day went. He continued through the week. To avoid soaking - brought home.
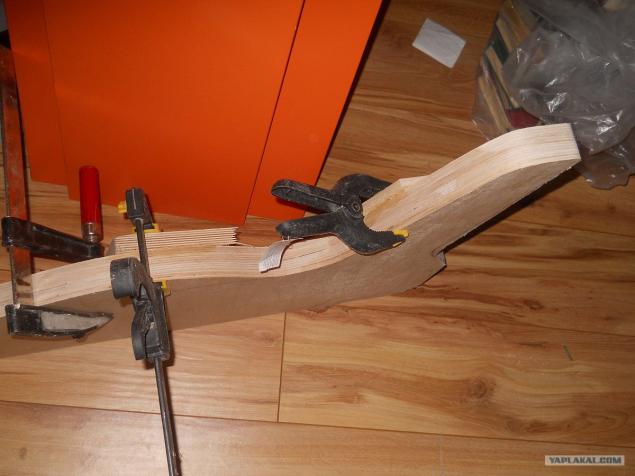
14. After the week. They brought paint, bars and a new charge of enthusiasm to continue.
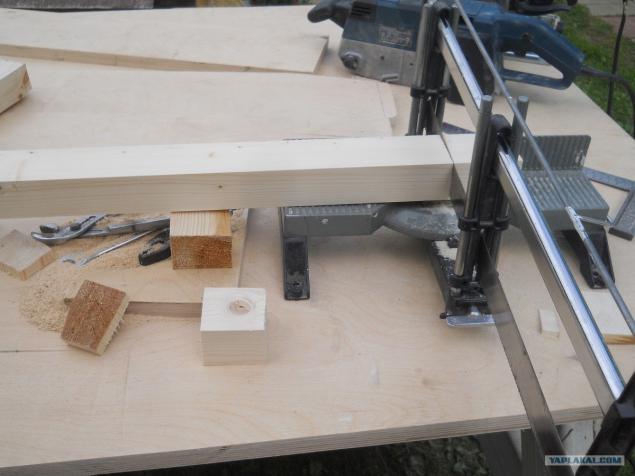
More
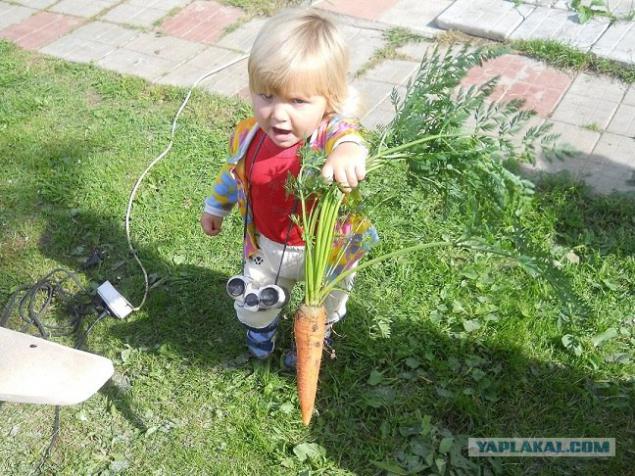
15. As long as a son and niece working daughter drags us nishtyachki from the garden.
16. But who do cot.
17. plemyashki and son painted parts of the machine and the lights.
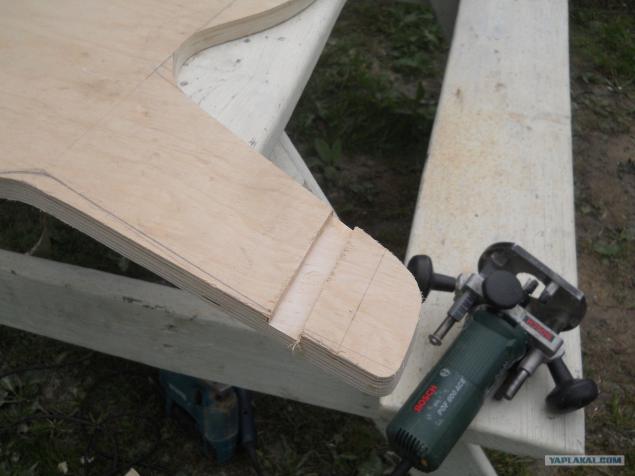
18. Cut a router.
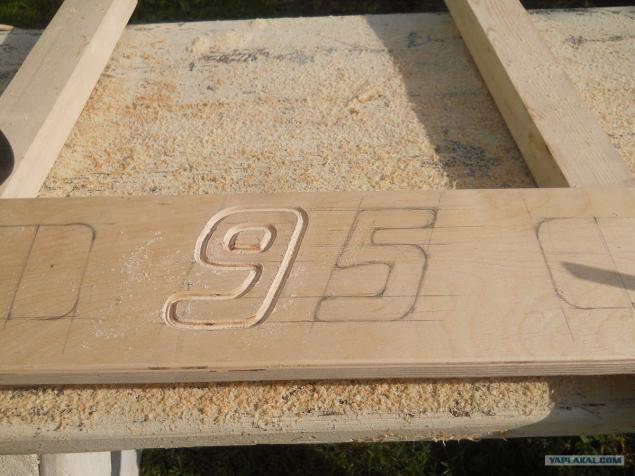
More
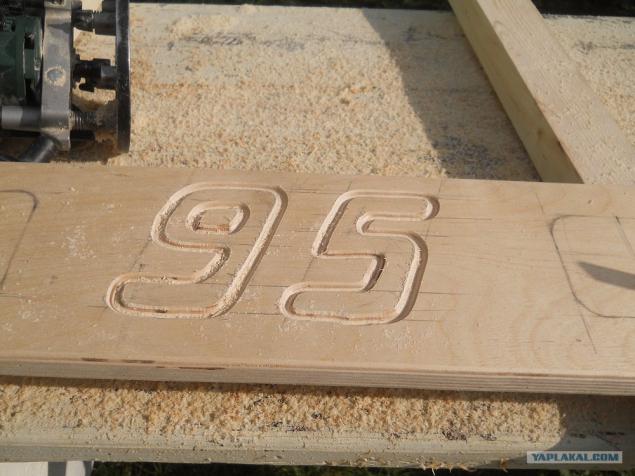
More
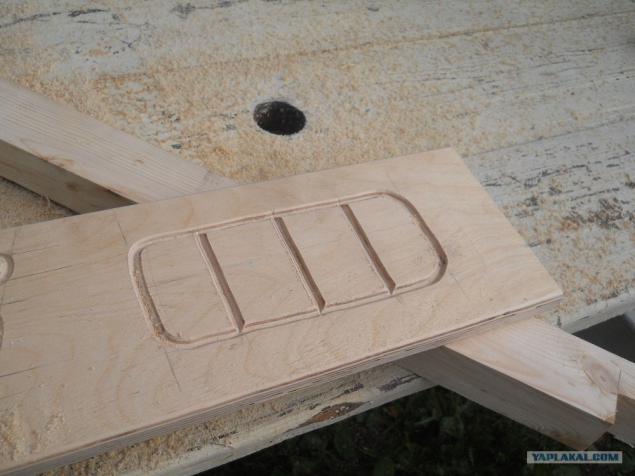
19. Also, a router rounded ends on all surfaces.
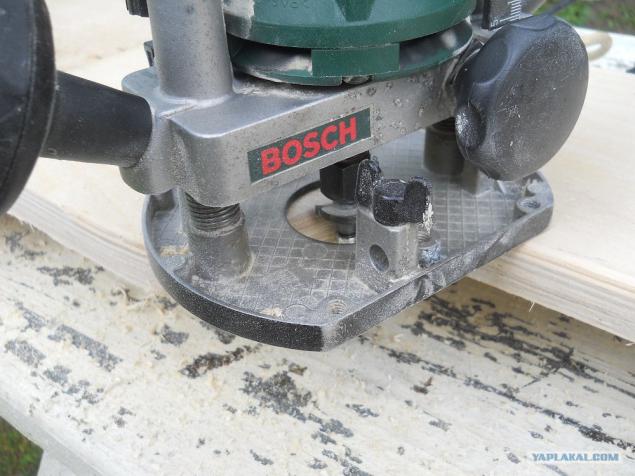
20. Putting it.
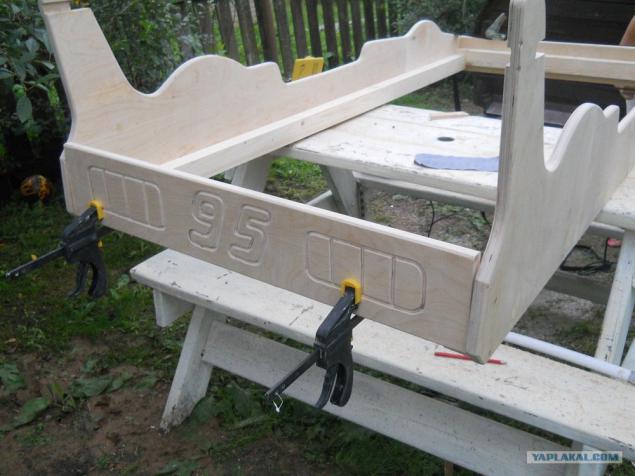
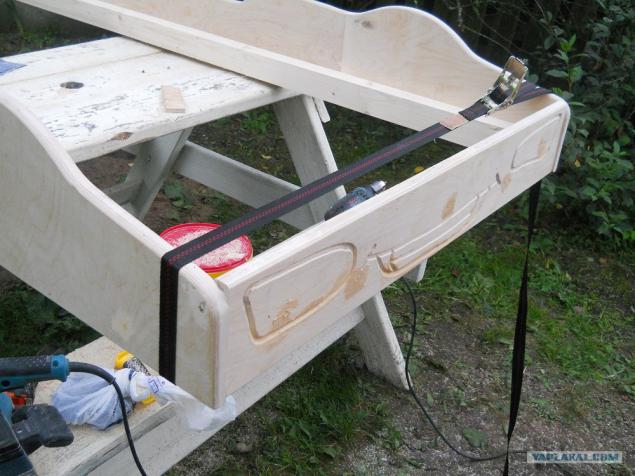
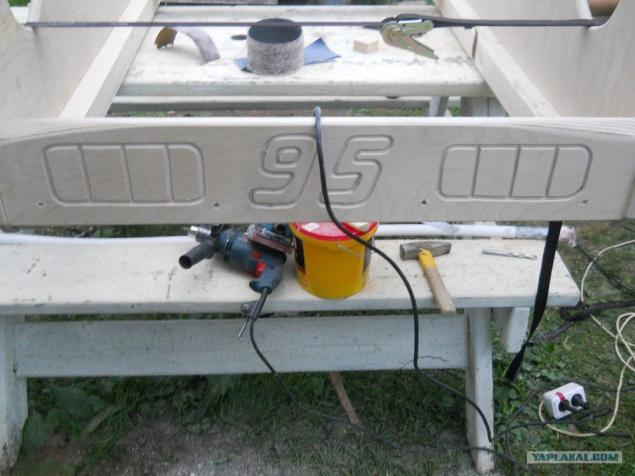
21. We continue to collect. In order not to be seen screws, deepening a hole under the hat, and then plastered on wood putty. Be sure all joints and glue sticks.
More
More
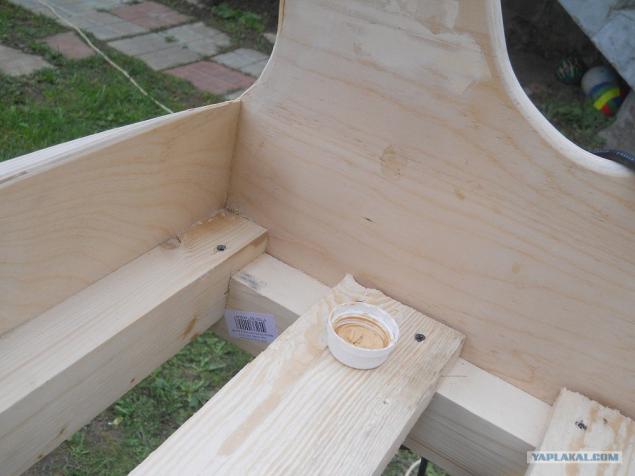
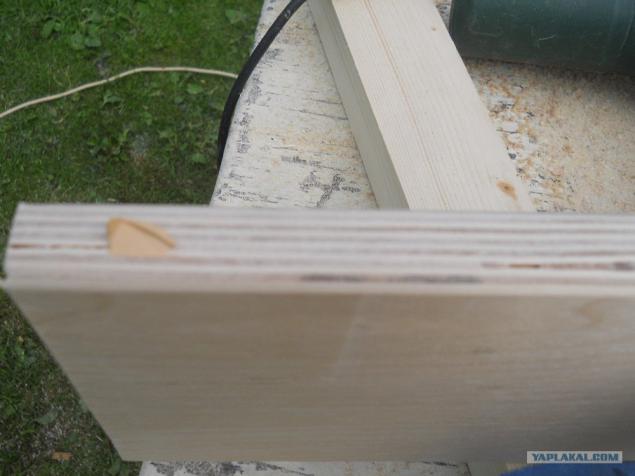
22. Plywood, I had not really high quality, so was forced to putty and ends of plywood since some places where there were no layers of veneer. (photo of poor quality, so you can see bad).
23. skins.
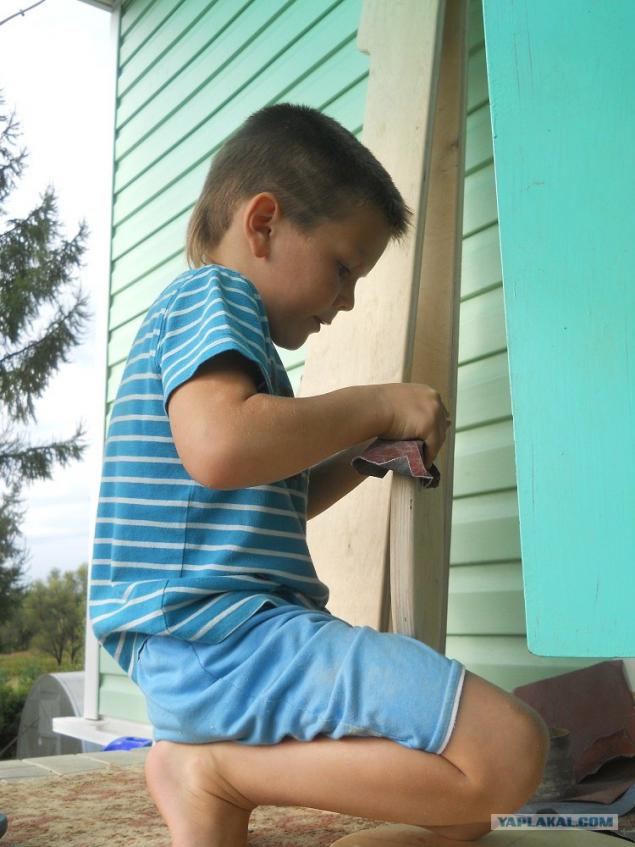
More
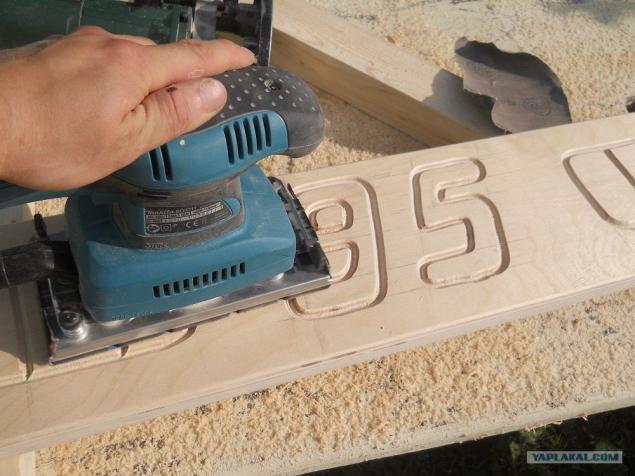
and more
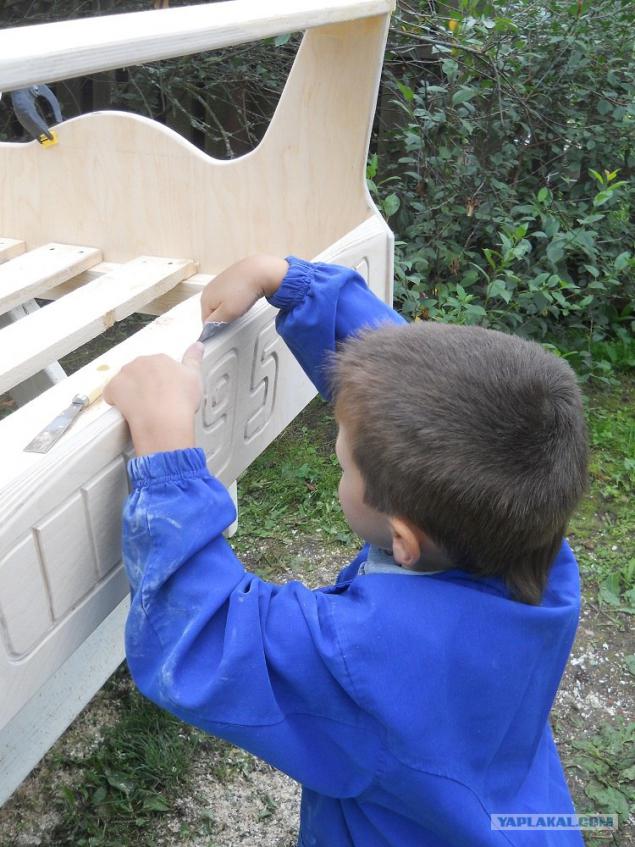
24. Again shpatlyuem and skins. A parallel do crate cots.
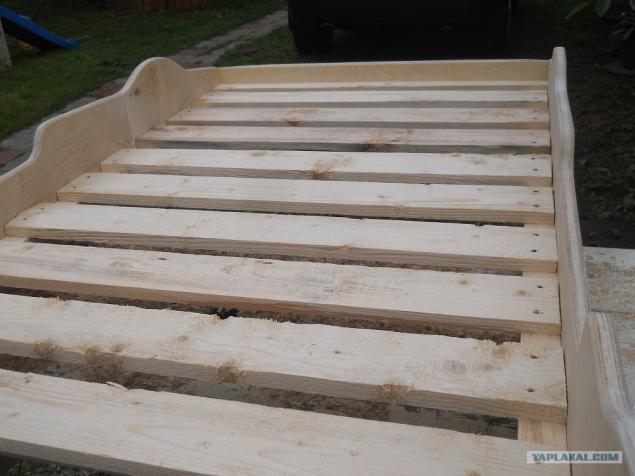
25. Try on wheels and cut out holes for mounting. Set the wheels going after painting.
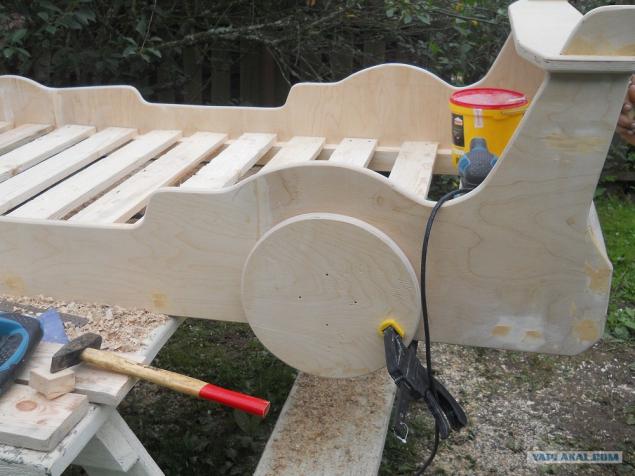
More
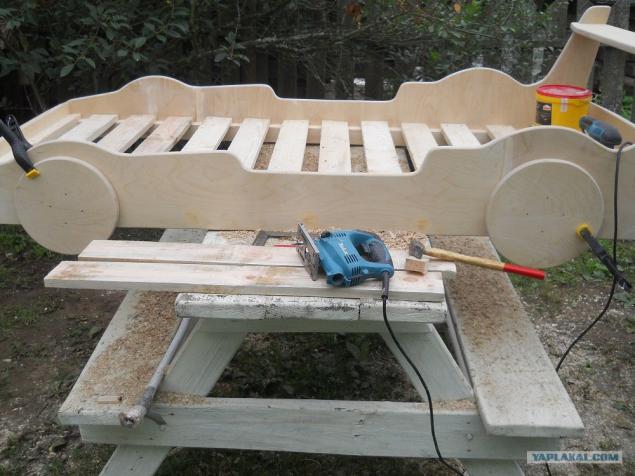
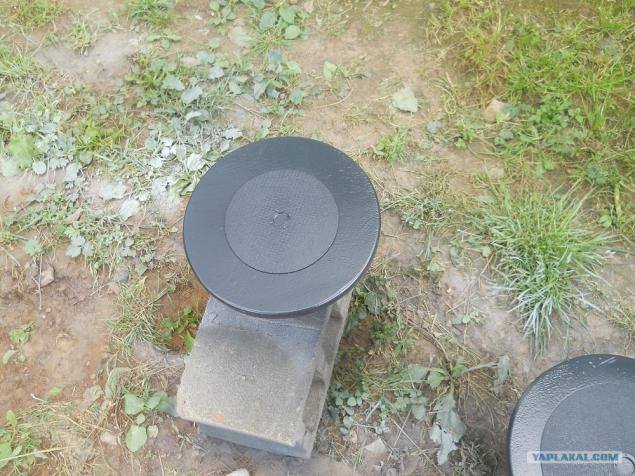
26. All sanded, sanded and otshpaklevali etc. Children zamayalis and started shouting that we quickly began to paint. We begin to paint the wheels. Please wheels painted in white, put a circle from the LNA and painted black.
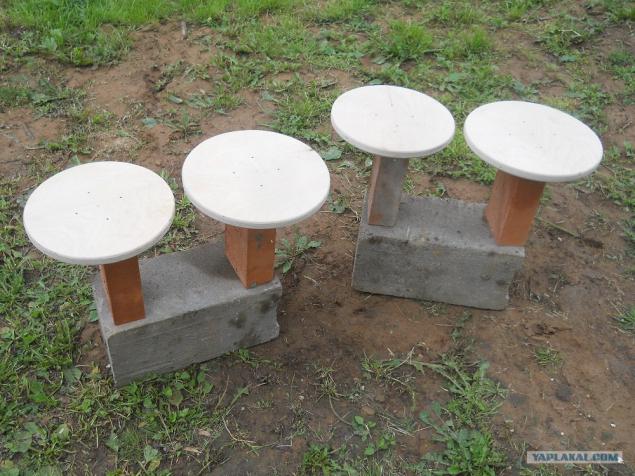
More
27. Now paint the bed. 4 colored layer.
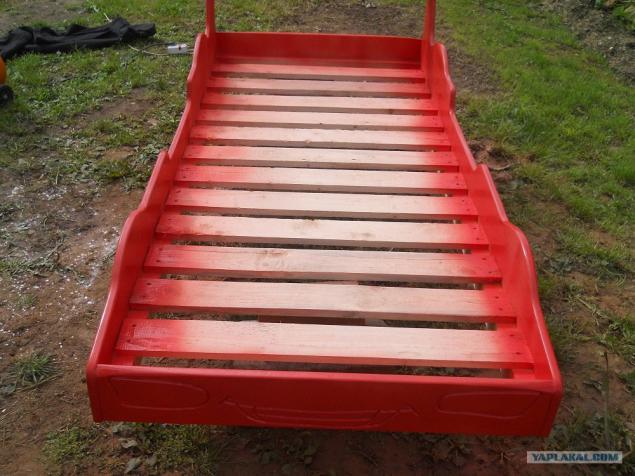
More
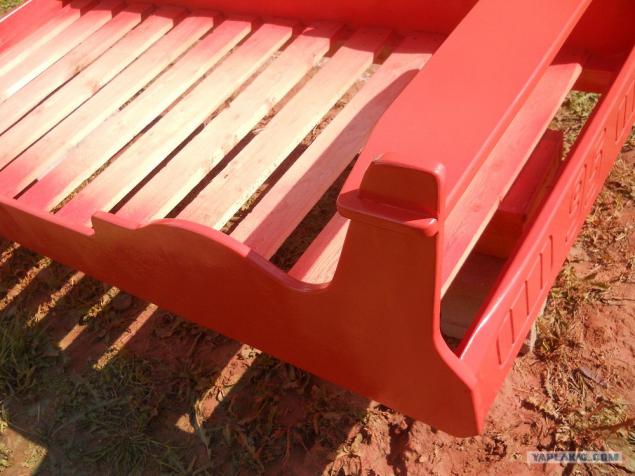
and more
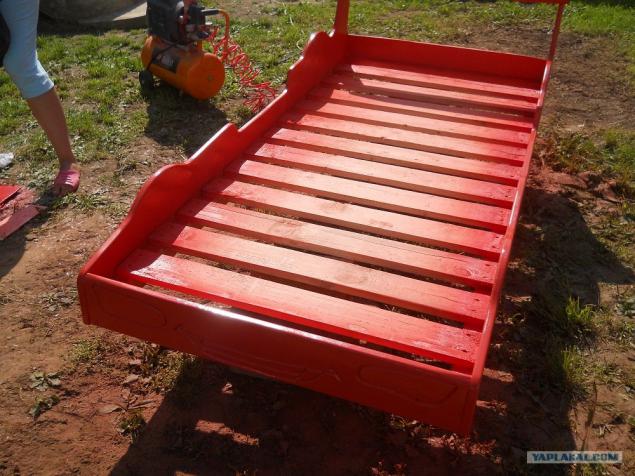
28. Paint the back.
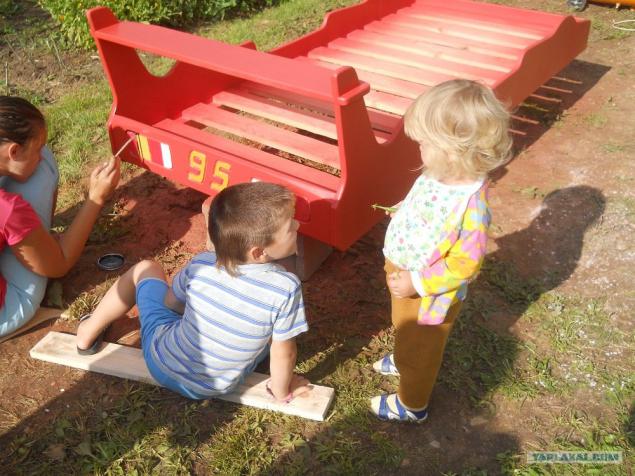
More
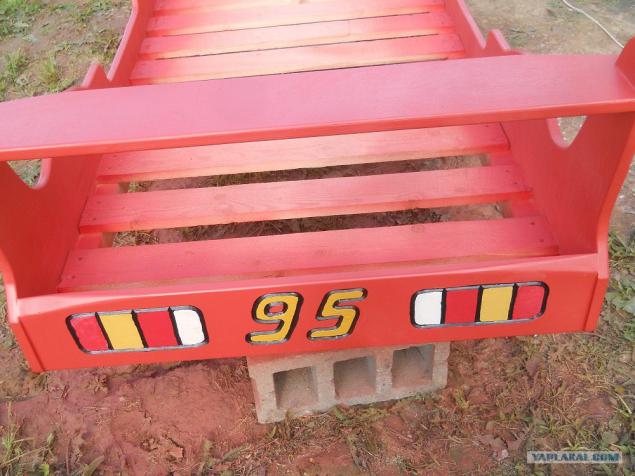
29. Paint the front part.
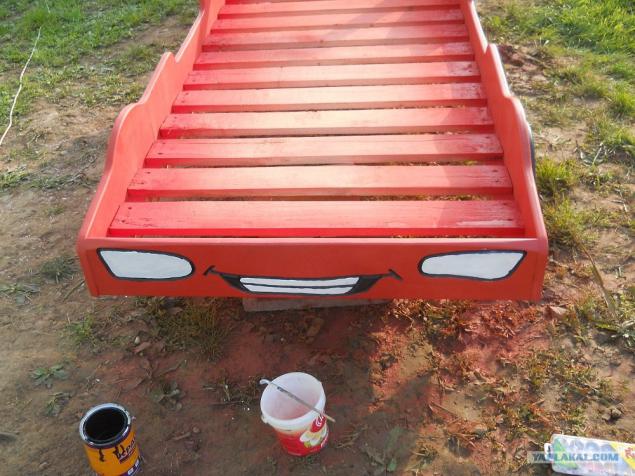
More
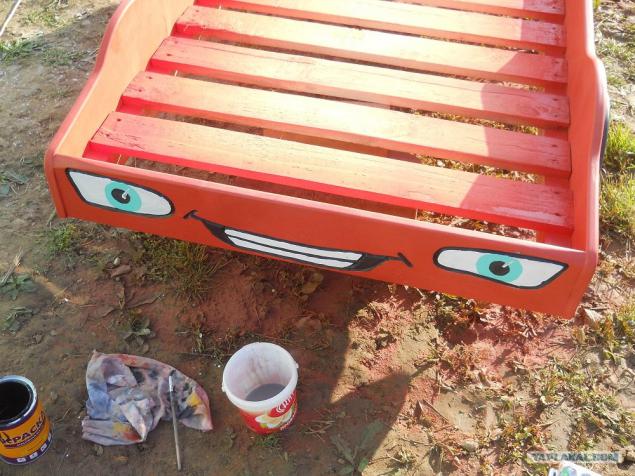
30. Fasten the wheels.
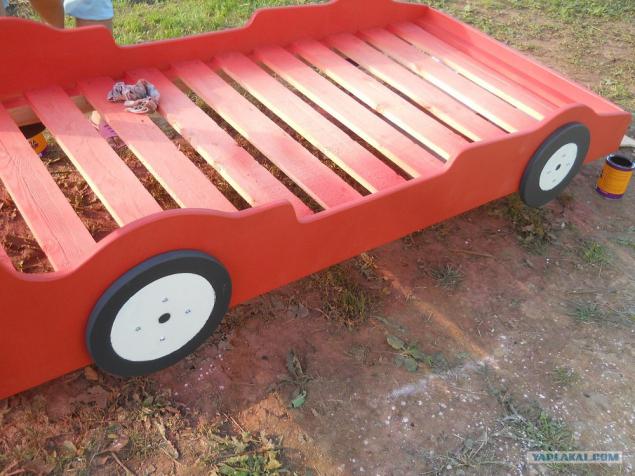
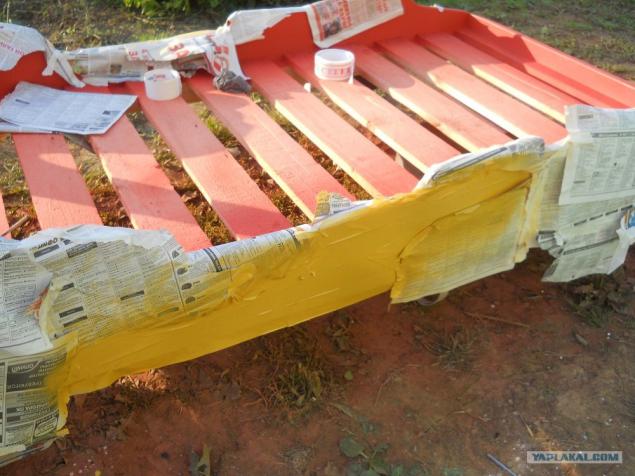
31. Paint the sides. Remembering that first it was necessary to paint the sides, and then install the wheels.
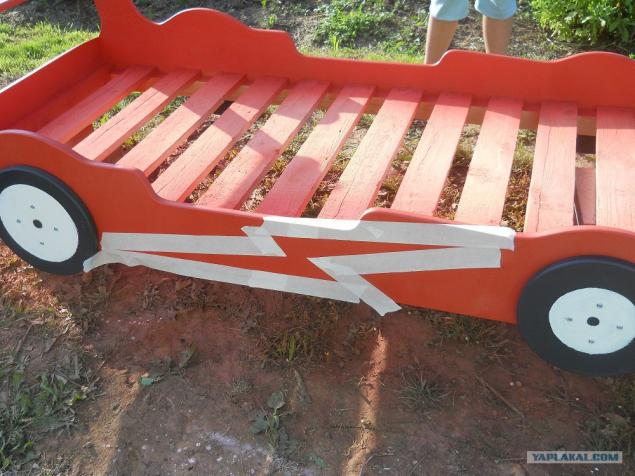
More
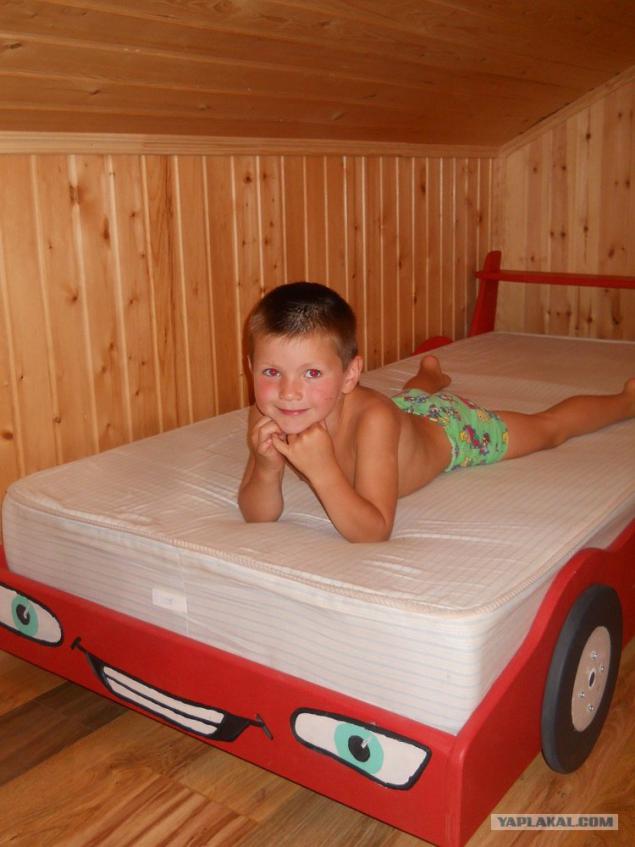
32. Voila. Beds machine is ready.
Results:
On Budget:
- Plywood remained but one sheet of plywood 9 mm hvatiloby - about 600 rubles.
- Glue was let another 150 rubles.
- Boards on the crate were RUR 400.
- Two bars 60h45 on 95 rub. 190 rub.
- Screws on the weight of 38 rubles.
- Putty 40 rubles.
- Paint - 4 cans of 60 rubles., 240 rubles.
- Out spirit of 35 rubles.
- Brush 2h16rub. 32 rubles.
- Skin was let another 100 rubles.
- Bolts for wheels - 80 rubles.
Total spent 655 rubles.
If you buy plywood and boards, the 1905 rubles.
By the time three days.
I still go to the top of the transparent varnish.
Disadvantages:
- I do not CNC and children too, so drawing, cutting and prettification elements beds are not very smooth.
- Troublesome, regular bed is put 1 + 0, 5 days varnishing.
- The apartment I probably would not put the bed.
- Requires a different tool.
- I'm not a painter of important.
Advantages:
- The joy of the children and the charge of enthusiasm for other crafts, as well as an understanding of the complete cycle of production. Spray guns have learned to use.
- Low, even if you buy all the stuff.
- Unusual.
- Who could be useful as a guide for the construction of other cots.
- Is to start registration on Yar.
Posted in [mergetime] 1344876030 [/ mergetime]
All
Source: ">