634
"Children's knife"
At the time, I got carried away a little "nozhedelanem." Lesson these things very meditative and very addictive. Daughter (8 years) has always been lively curiosity to my products periodically and begged something for yourself. But age has not been the one to play with knives, then simply had no time to write, "Children's knife" - shirked a word. And this summer, stayed with my parents and in search of a tool, came across a tiddly folding knife. More precisely on what was left of it.
Acquired it was me - vtoroklashkoy in the distant 80th for pocket money at the nearest "sporting goods". He served faithfully in my yard games (and even kid sho yes without knife), then another, and his father in his fishing kit for 20 years, but everything comes to an end - rusted, become loose, and he rested on the Bose box with all the iron trash ...
Docha once saw - grabbed my supposedly will be repaired - you know how. In short, children's flattery Dad's heart melted. They took him with us, and next weekend I tried to revive entot device. What happened - I'll show you.
Will be 14 photos and a little explanatory text.
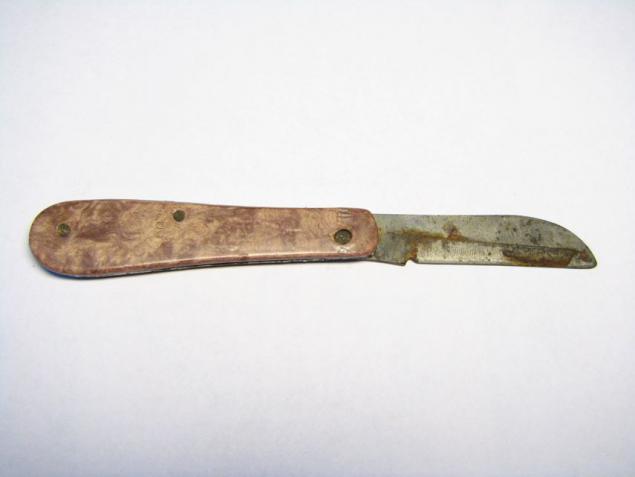
That's what he brought to us, recovered at the light.
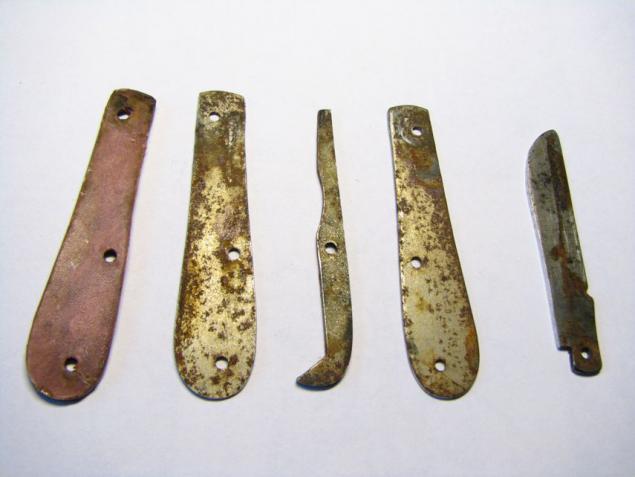
First of all - apart. I knock the pins and appreciate the amount of work.
To start Clean all rust, little podshlifuem (using such a device and bourgeois different grain sandpaper).
Sharpen the blade slightly (do not forget that it's more a toy rather than a cutting tool) and otpoliruem (felt circle and paste GOI).
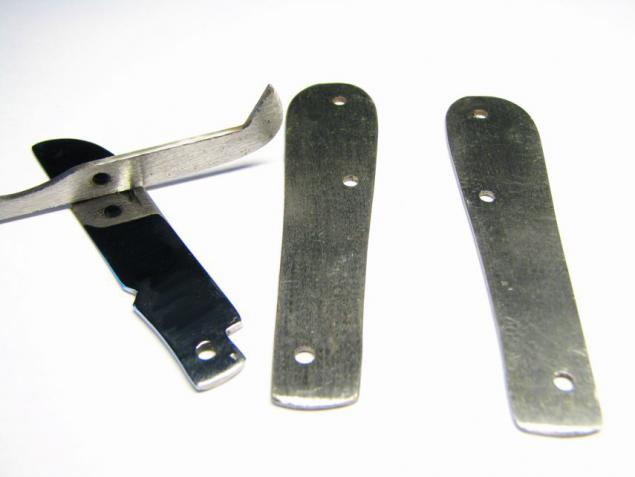
Looking closely, it encounters a corrupted spring - during the years of operation of the blade "vygryzlo" serious enough sink. In fast from the first resembling a piece of iron to cut replacement. Lessons barely remember? (Vise, hacksaw and NADP)
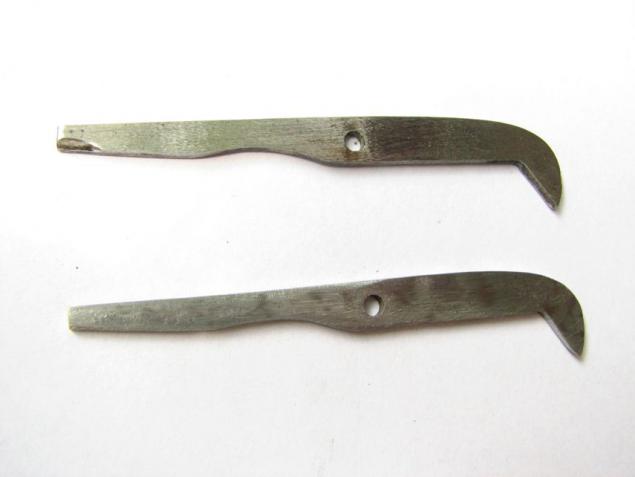
Collects, corrects where necessary. We score and clench new pins.
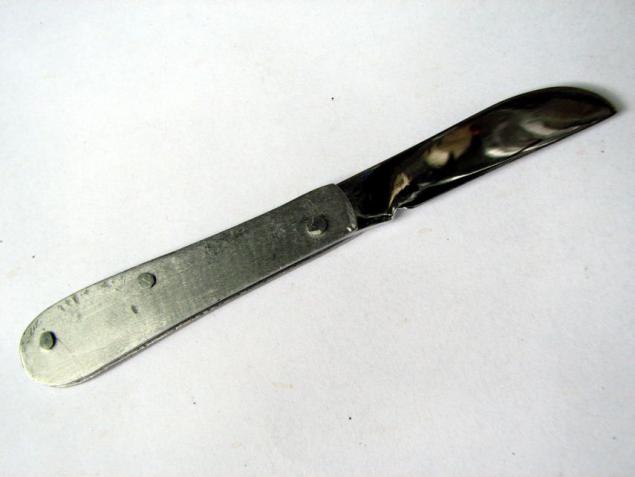
It remains to make a lining on the handle. I find in my vaults of laminated bamboo plate separation from the old kitchen - the most it. The farm is all useful. Especially since a piece of wood with interesting texture ...
Cut suitable wedges, do engraver slots for the rivets. And notches on the metal of the future and linings for better bonding with the coupling. The blade is wrapped with tape so as not to scratch or stain the glue.
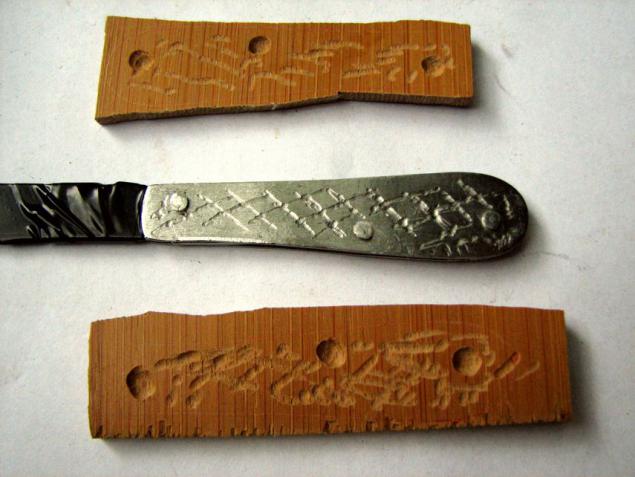
Then we prepare epoxy, all thoroughly and coat with clamps until the next day.
It is advisable to wrap all film clip before - it does not cling epoxy.
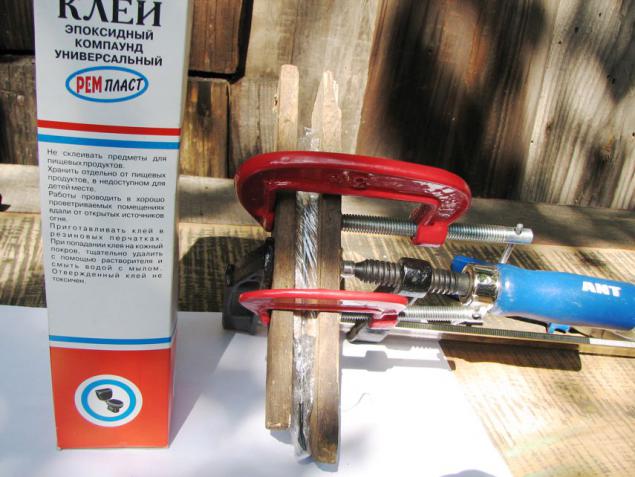
The next morning, we obtain the assembled knife, obpilivaem wedges overlap in size.
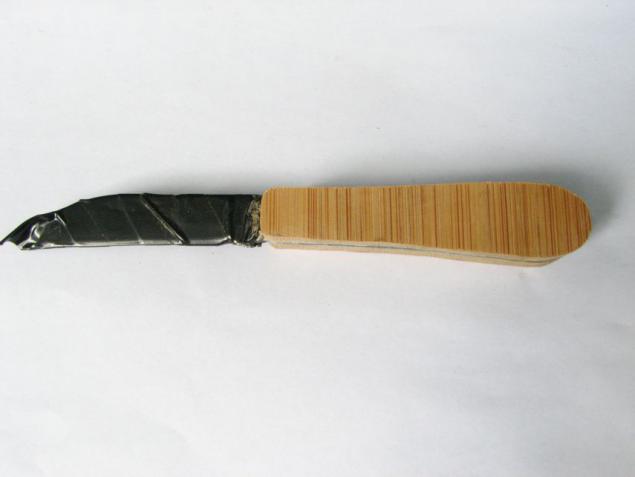
Mark up the caliper uniform margins for further development overlays.
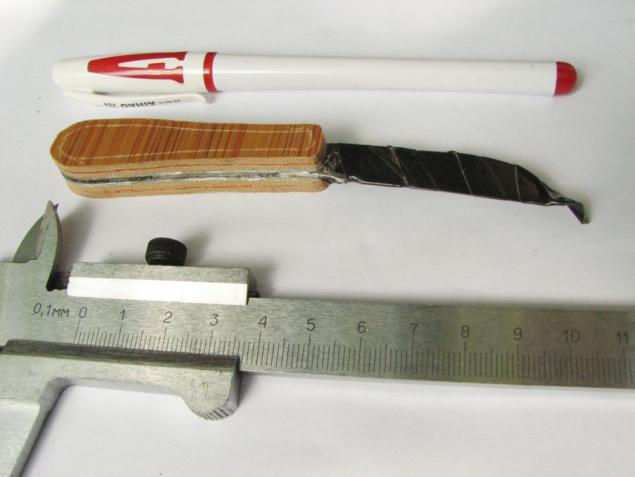
And then the engraver or file in his hands and slowly form a handle.
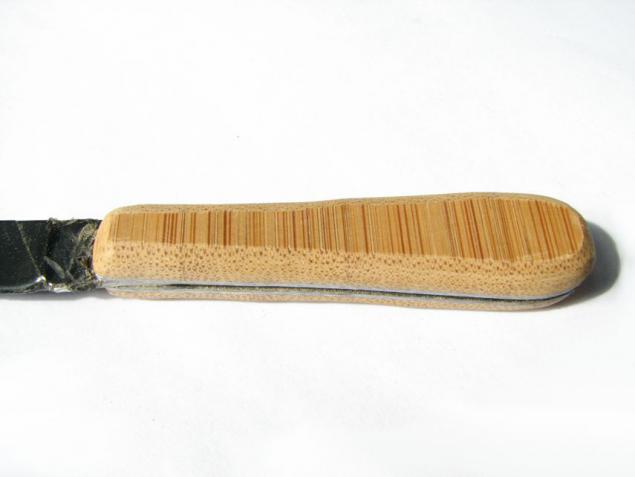
The final treatment is carried out using emery of different grain - from low to high.
For example: 60 - 150 - 320 - 500 - 800 - 1200
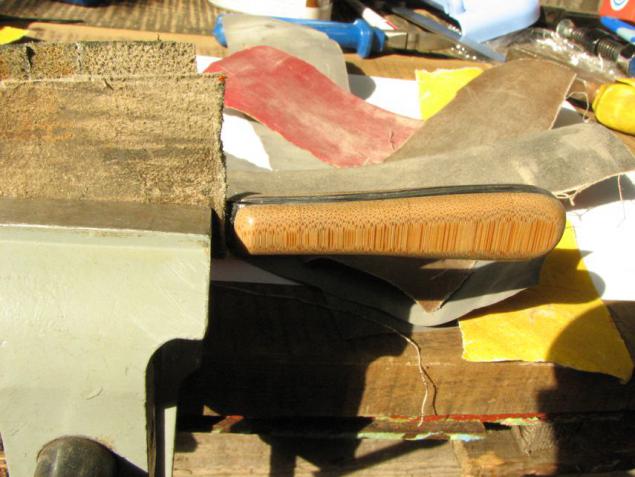
Since tchotchke will be used in the most that neither is on the field, it is necessary to protect the handle.
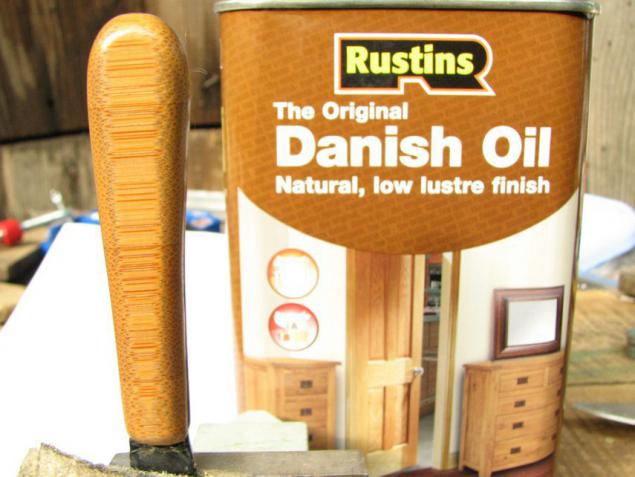
The first step - Danish oil impregnation. Rubbed c / b is absorbing cloth. Give dry.
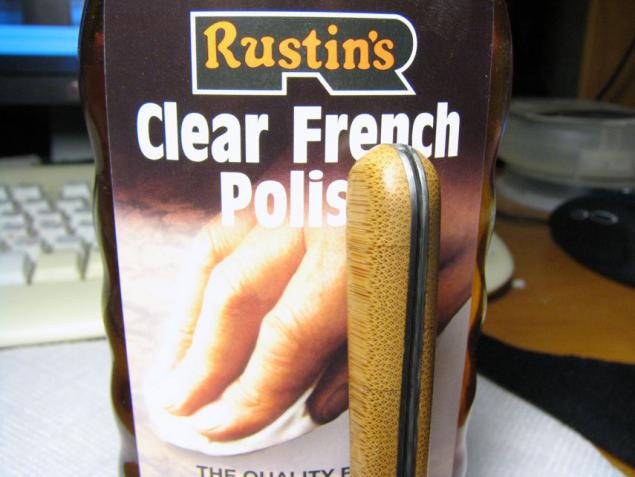
Second, the final step - impregnation with a solution of shellac. All this will provide nesmachivaemost wood and its "trademark" look.
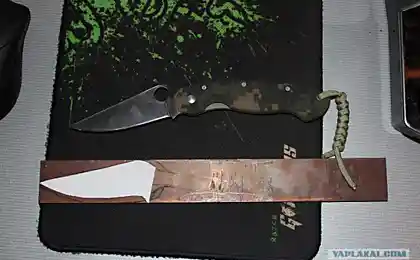
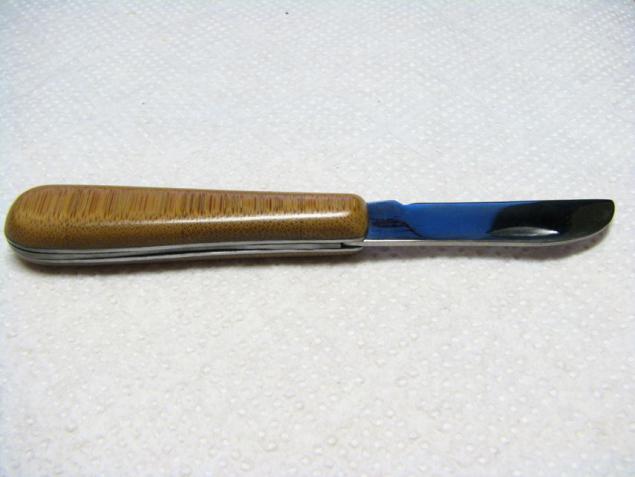
And what we have as a result. Old knife found new life and serve as a new owner.
That's all I wanted to say.
Source:
Acquired it was me - vtoroklashkoy in the distant 80th for pocket money at the nearest "sporting goods". He served faithfully in my yard games (and even kid sho yes without knife), then another, and his father in his fishing kit for 20 years, but everything comes to an end - rusted, become loose, and he rested on the Bose box with all the iron trash ...
Docha once saw - grabbed my supposedly will be repaired - you know how. In short, children's flattery Dad's heart melted. They took him with us, and next weekend I tried to revive entot device. What happened - I'll show you.
Will be 14 photos and a little explanatory text.
That's what he brought to us, recovered at the light.

First of all - apart. I knock the pins and appreciate the amount of work.

To start Clean all rust, little podshlifuem (using such a device and bourgeois different grain sandpaper).
Sharpen the blade slightly (do not forget that it's more a toy rather than a cutting tool) and otpoliruem (felt circle and paste GOI).

Looking closely, it encounters a corrupted spring - during the years of operation of the blade "vygryzlo" serious enough sink. In fast from the first resembling a piece of iron to cut replacement. Lessons barely remember? (Vise, hacksaw and NADP)

Collects, corrects where necessary. We score and clench new pins.

It remains to make a lining on the handle. I find in my vaults of laminated bamboo plate separation from the old kitchen - the most it. The farm is all useful. Especially since a piece of wood with interesting texture ...
Cut suitable wedges, do engraver slots for the rivets. And notches on the metal of the future and linings for better bonding with the coupling. The blade is wrapped with tape so as not to scratch or stain the glue.

Then we prepare epoxy, all thoroughly and coat with clamps until the next day.
It is advisable to wrap all film clip before - it does not cling epoxy.

The next morning, we obtain the assembled knife, obpilivaem wedges overlap in size.

Mark up the caliper uniform margins for further development overlays.

And then the engraver or file in his hands and slowly form a handle.

The final treatment is carried out using emery of different grain - from low to high.
For example: 60 - 150 - 320 - 500 - 800 - 1200

Since tchotchke will be used in the most that neither is on the field, it is necessary to protect the handle.
The first step - Danish oil impregnation. Rubbed c / b is absorbing cloth. Give dry.

Second, the final step - impregnation with a solution of shellac. All this will provide nesmachivaemost wood and its "trademark" look.

And what we have as a result. Old knife found new life and serve as a new owner.
That's all I wanted to say.

Source:
