800
Garage for machines
After another seen mess of the toys in the children's room, it was decided to build something of such things, so that even small cars were not under his feet, and in his place. Yes, and a game element to be present, and that we all remember what, when you're a child forced to leave. Especially if you're a boy and you are 5 years old.
24 frames
My first thought was to do something like 2-storeyed outdoor shelves. With the rise and possibly lift (on a rope-drawn). On the likeness of multi-level parking. But the idea began to develop, and it has evolved into
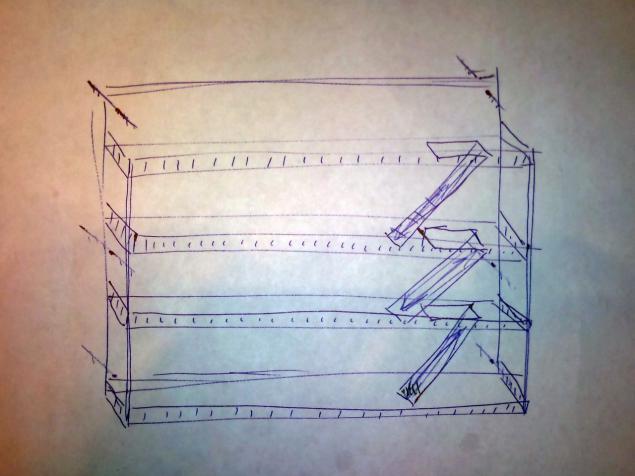
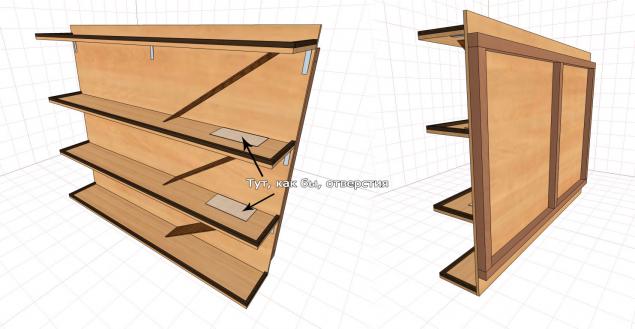
The idea was definitively established. I got a good boy from his mother, and away we go. As a sketch on paper, it's just a sketch, and the plans and drawings of all sorts like I've never not be able to, I decided to find an appropriate software to help. Means and was created a project plan for future construction. I get almost what was planned, adjusted for size.
Then to my process, my father joined. His help has been invaluable both in word and deed. I thank him for this huge !!!
Next, we go to the store for the material.
Were purchased:
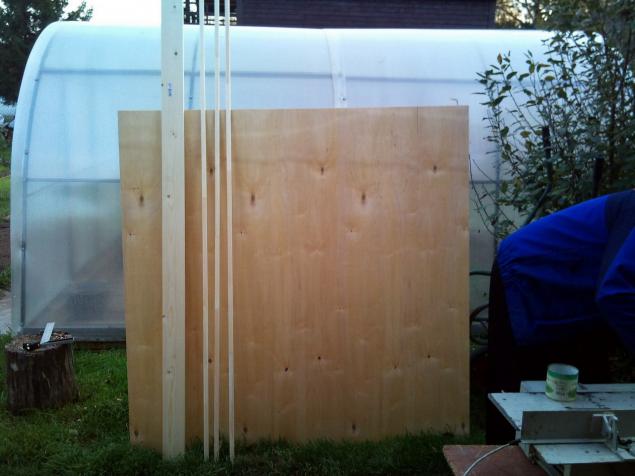
1. The sheet of plywood 10h1525h1525 - here and for the main canvas and enough shelf;
2. 3 pieces layout smooth (CSG-20) - for the lateral side;
3. Planed under cut into bars. To the rear of the structure.
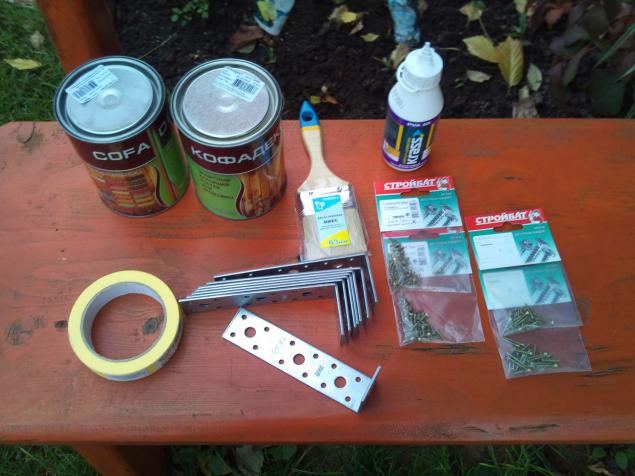
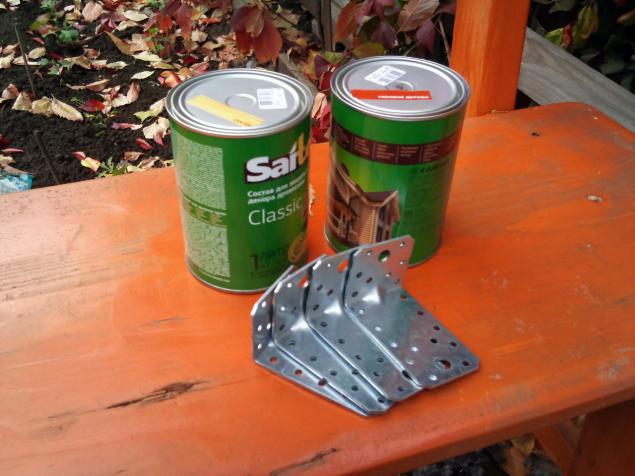
4. 2 cans of paint (various colors). As it turned out later, the choice was not true, because dried up this stuff for a long time and smelled terribly.
5. Brush
6. Glue for wood (based on PVA)
7. Painting ribbon. I do not know the hell it is we (or rather guessed, but no more), but Dad said - take it! And took Cho)
8. Self
9. Angles, 8 pcs.
All the action (cut, trimming, assembly, painting) took place in the country with my parents.
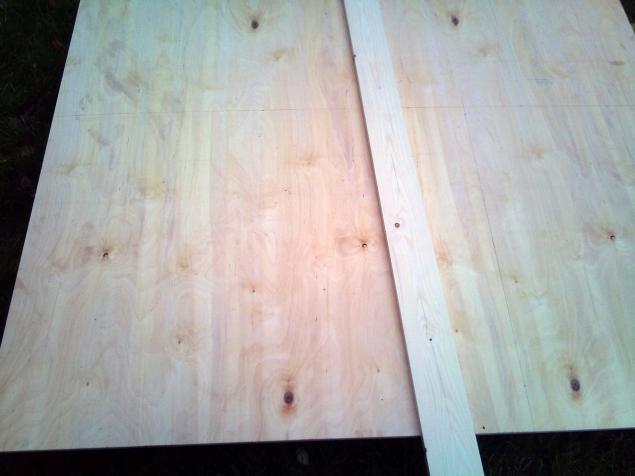
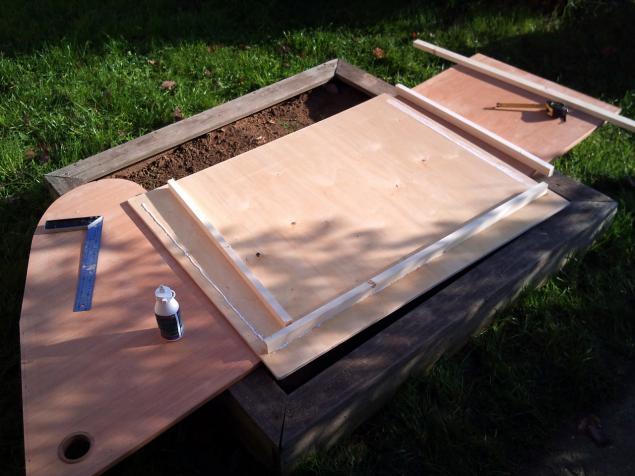
On a sheet of plywood do the layout of the future garage (80x100)
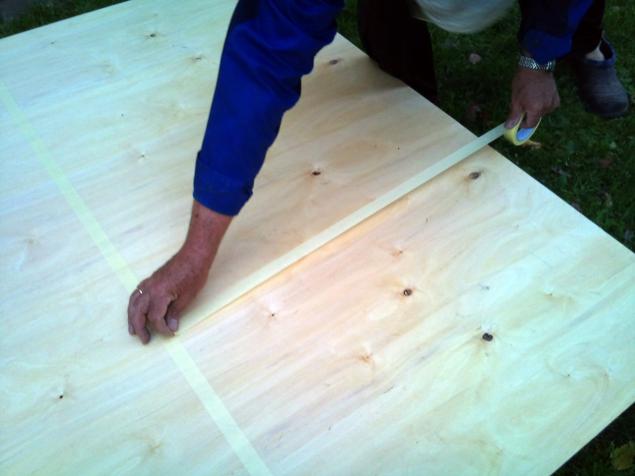
In place of cutting paste the masking tape. In my silent question in the eyes of the father of a sly wink. Like, learn, small. Okay, I thought, "giraffe big, he knows better»
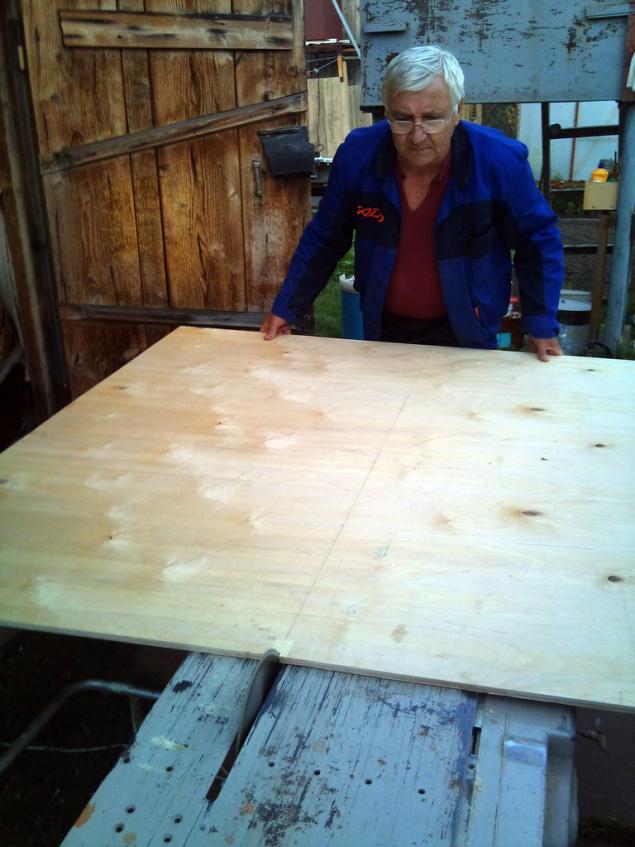
Plywood under the knife. Following and shelves sawed.
(In the photo is my Dad))
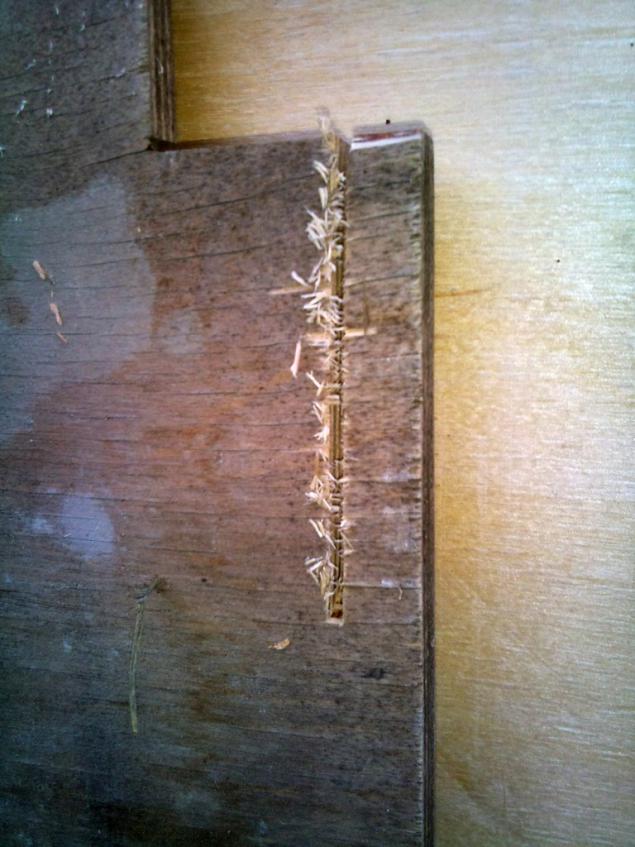
Well, actually, that's what was needed this tape. Compared with the following picture shows the difference particularly
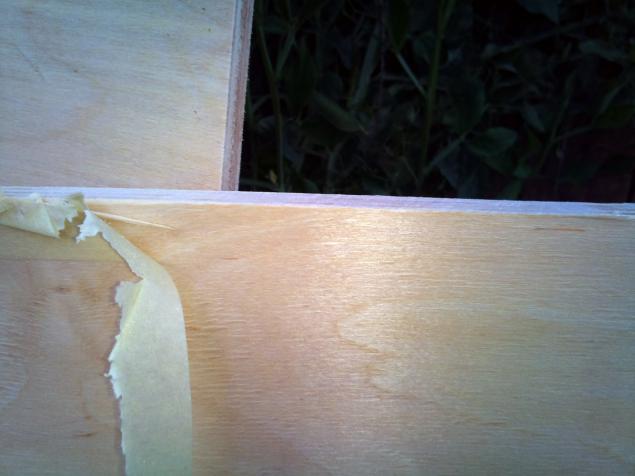
But here I confess at once. The cuts are somewhat different. In the previous photo knife went through the fiber, and this against. But in any case, masking tape greatly helps to avoid such chips.
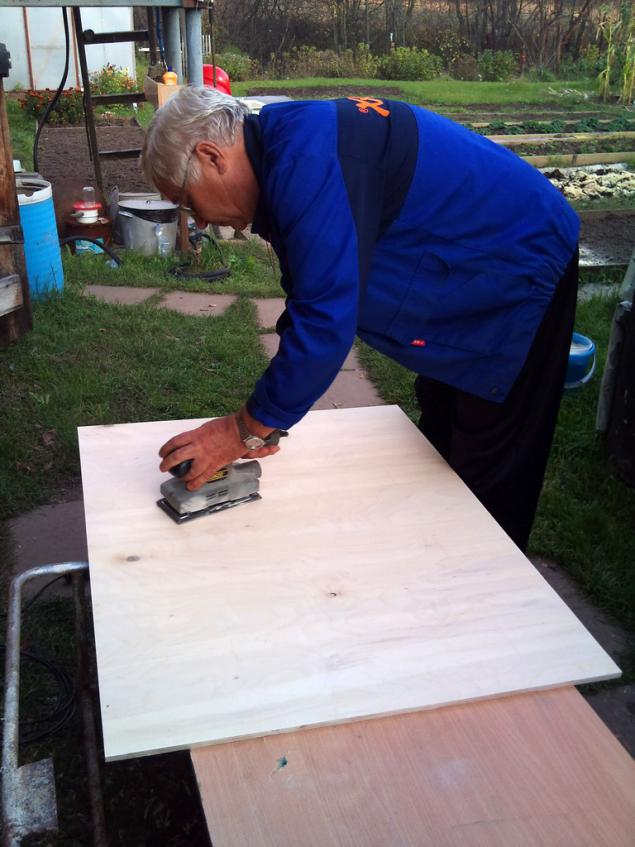
Then start shkurit.
No, you do not think that everything my father did, and I just photographed. Not at all! He just does not know how so beautiful and highly artistic Fota)))
So I only interrupted for a few minutes, making the frame, and back to work.
So, using a grinder here I am "abraded heavily" the entire surface of the web and flanges. Without it, the work would be delayed indefinitely. The machine really helped.
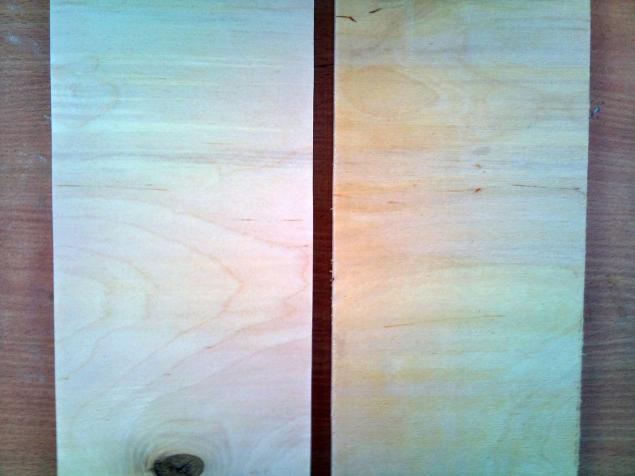
For comparison, the left - the treated surface, right - pristine. (Well, not entirely successful photo, live to see better)
From plank making bars.
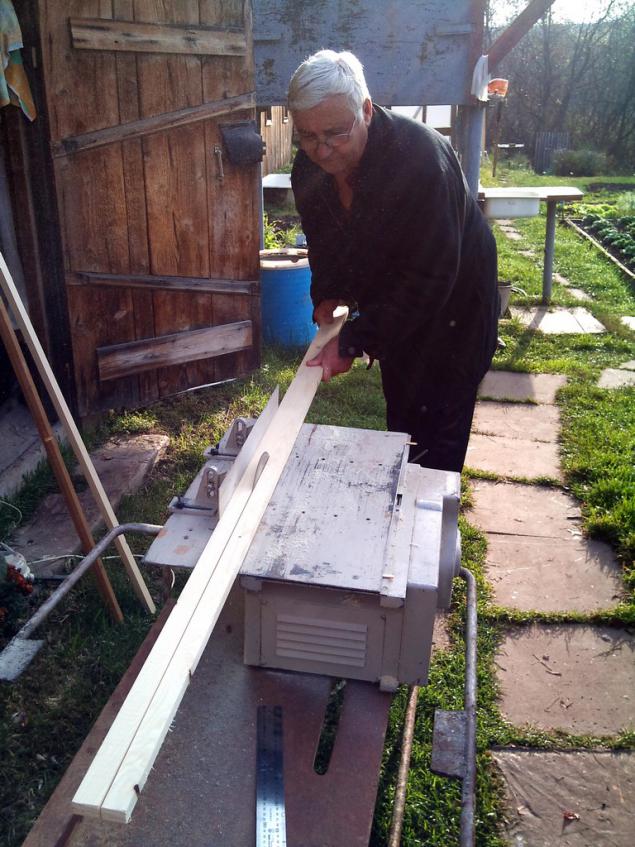
Of chopped bars collect enhancement structure to the main sheet is led over time, and so the wall was rovnenko garage. And then, you know, there are such insidious plinth))
For coupling use glue and screws at the joints.
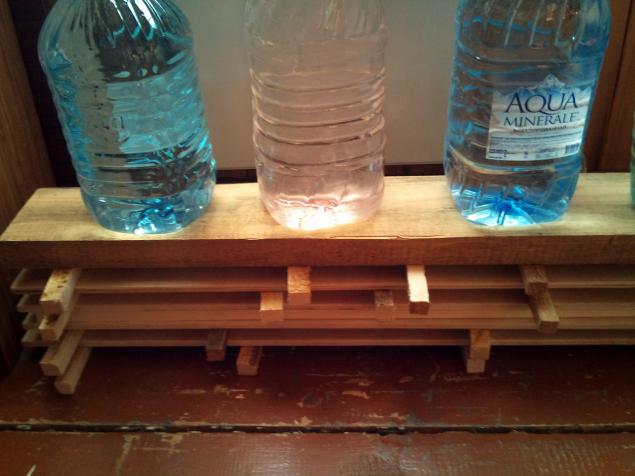
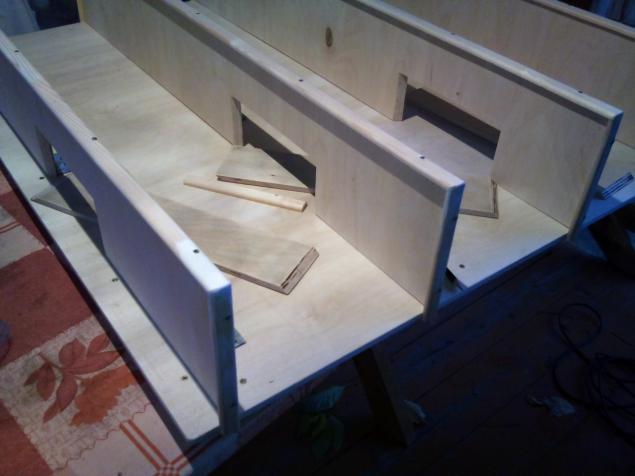
And then we still did podlyanku Her Majesty nature. Plywood was quite damp and it led. Shelves steel arched angle was small but unpleasant. The main fabric of the size remains virtually perfect. It was decided to put a shelf under the oppression and leave them there for at least a week. I'll tell you that a week was not enough. Though they were stored in a heated building and near the battery, but do not bend almost disappeared. It was decided to buy more corners, that they rectify flaws
While wood is dried up again, I went to the store for paint and corners.
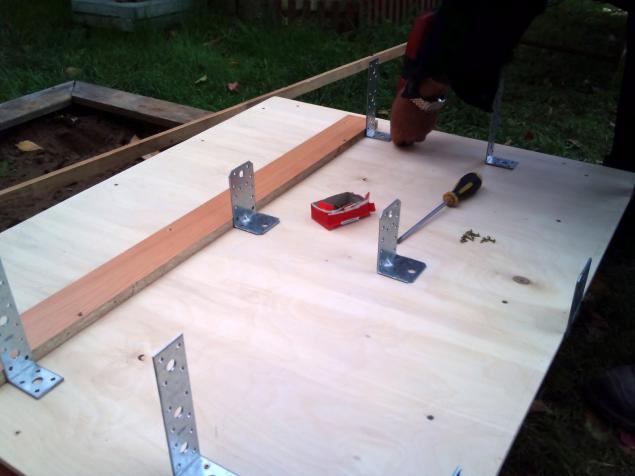
Fasten the corners to the web. Here, too, the father has sown reasonable: a dark plate on the canvas attached to a pair of screws to secure the smooth corners. You can, of course, was just otchertit line and drawn to strengthen, but, believe me, more reliable.
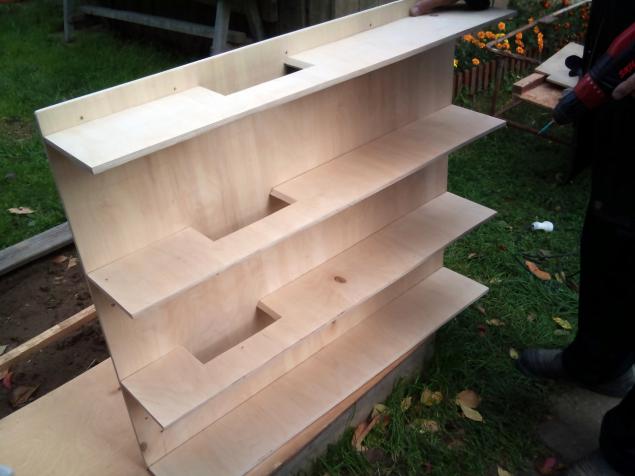
Putting basis. Already something emerges. Holes cut by ramps.
Mount bumpers
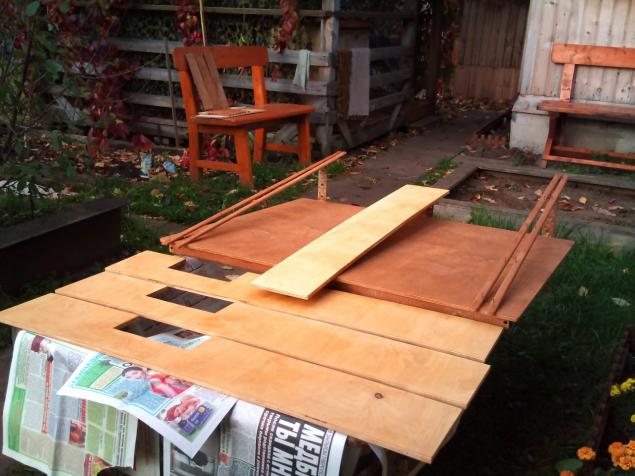
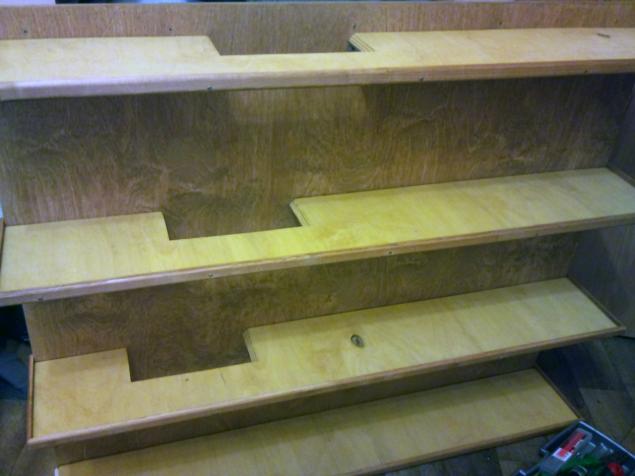
Drying after painting.
Week lay on the 2nd floor garden, where warm and dry. Smell virtually zero. Brought home to the city. Sobral.
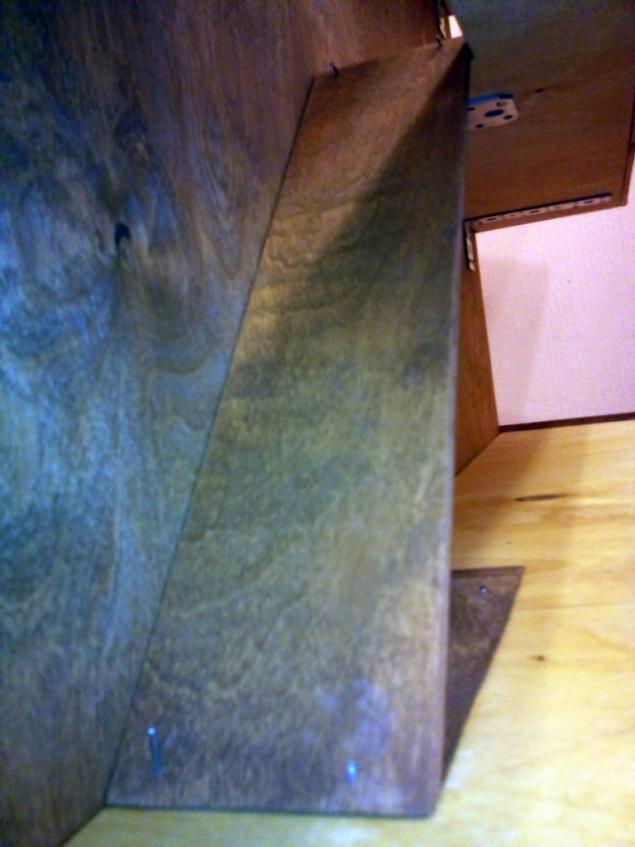
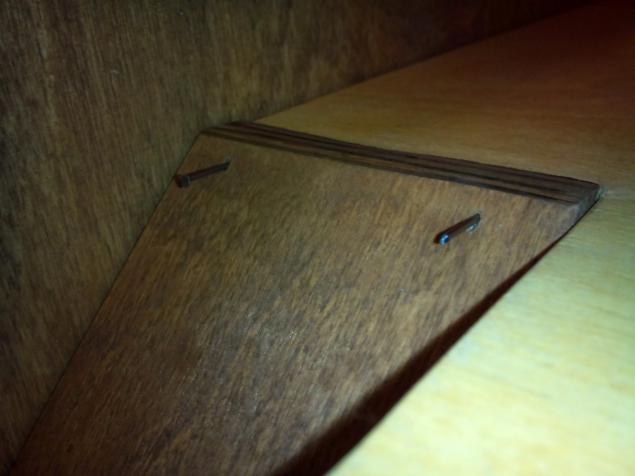
Ramps on the glue and a pair on each side, with studs otkusannymi hats.
Approximately
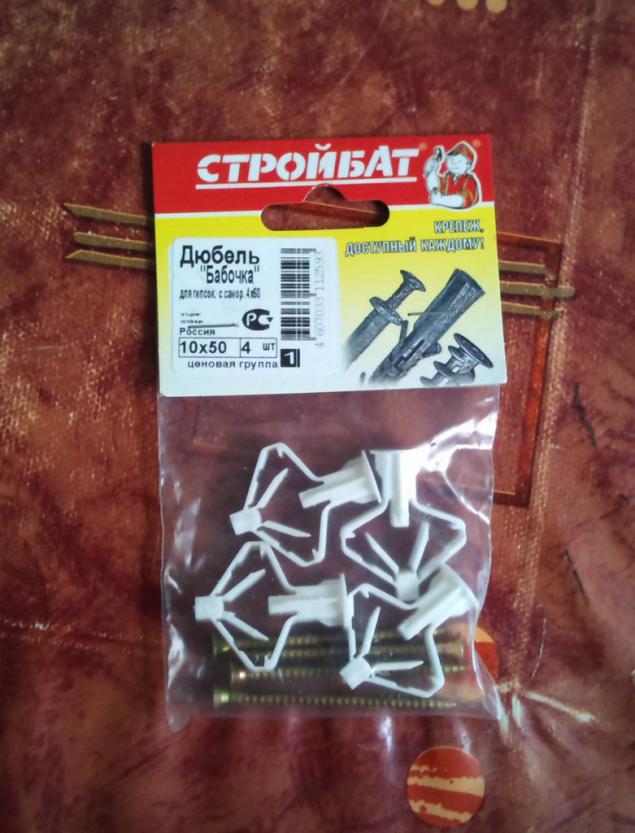
And since the whole pandora must be attached to the wall, and the walls are drywall coating that were bought here are dowels.
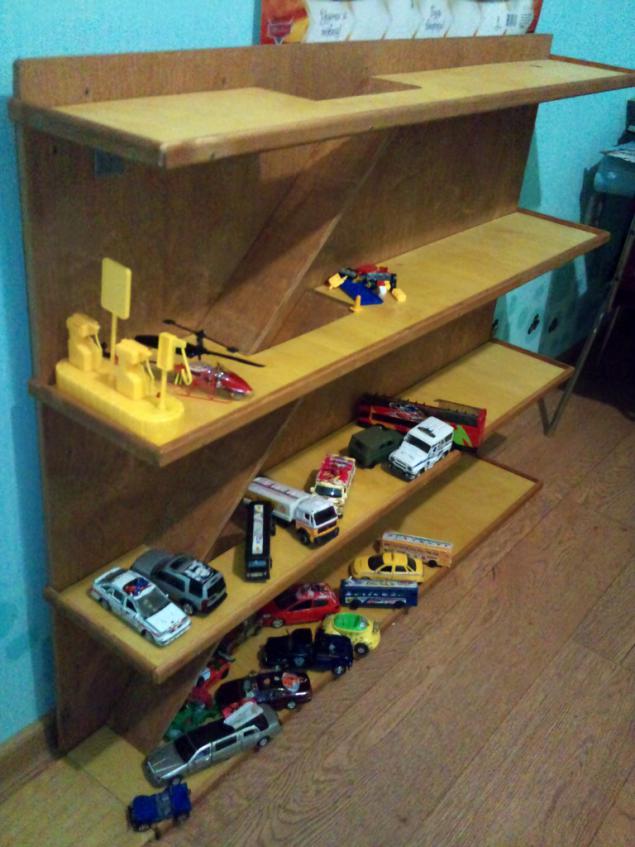
Construction is set. Cars slowly fill their new abode. Dite delighted!
What the money went:
- Coatings base - 2x75 = 150 rubles. (Not suitable)
- Paint - 2h140 = 280 rubles.
- Glue - 89 rubles.
- Masking tape - 35 rubles.
- Brush - 25 rubles.
- Self - 4h13, 10 = 52, 4 rubles.
- Corner - 12h37, 9 = 454, 8 rubles.
- The layout of the CSG-20 (under the bumpers) - 3h69 = 207 rubles.
- Classified under the bars - 85 rubles.
- Plywood - 535 rubles.
- Plugs (kit with screws) - 19 rubles.
Total: 1932, 2 rubles.
That's all I wanted to say.
Source:
24 frames
My first thought was to do something like 2-storeyed outdoor shelves. With the rise and possibly lift (on a rope-drawn). On the likeness of multi-level parking. But the idea began to develop, and it has evolved into

The idea was definitively established. I got a good boy from his mother, and away we go. As a sketch on paper, it's just a sketch, and the plans and drawings of all sorts like I've never not be able to, I decided to find an appropriate software to help. Means and was created a project plan for future construction. I get almost what was planned, adjusted for size.

Then to my process, my father joined. His help has been invaluable both in word and deed. I thank him for this huge !!!
Next, we go to the store for the material.
Were purchased:
1. The sheet of plywood 10h1525h1525 - here and for the main canvas and enough shelf;
2. 3 pieces layout smooth (CSG-20) - for the lateral side;
3. Planed under cut into bars. To the rear of the structure.

4. 2 cans of paint (various colors). As it turned out later, the choice was not true, because dried up this stuff for a long time and smelled terribly.
5. Brush
6. Glue for wood (based on PVA)
7. Painting ribbon. I do not know the hell it is we (or rather guessed, but no more), but Dad said - take it! And took Cho)
8. Self
9. Angles, 8 pcs.

All the action (cut, trimming, assembly, painting) took place in the country with my parents.
On a sheet of plywood do the layout of the future garage (80x100)

In place of cutting paste the masking tape. In my silent question in the eyes of the father of a sly wink. Like, learn, small. Okay, I thought, "giraffe big, he knows better»

Plywood under the knife. Following and shelves sawed.
(In the photo is my Dad))

Well, actually, that's what was needed this tape. Compared with the following picture shows the difference particularly

But here I confess at once. The cuts are somewhat different. In the previous photo knife went through the fiber, and this against. But in any case, masking tape greatly helps to avoid such chips.

Then start shkurit.
No, you do not think that everything my father did, and I just photographed. Not at all! He just does not know how so beautiful and highly artistic Fota)))
So I only interrupted for a few minutes, making the frame, and back to work.
So, using a grinder here I am "abraded heavily" the entire surface of the web and flanges. Without it, the work would be delayed indefinitely. The machine really helped.

For comparison, the left - the treated surface, right - pristine. (Well, not entirely successful photo, live to see better)

From plank making bars.

Of chopped bars collect enhancement structure to the main sheet is led over time, and so the wall was rovnenko garage. And then, you know, there are such insidious plinth))
For coupling use glue and screws at the joints.

And then we still did podlyanku Her Majesty nature. Plywood was quite damp and it led. Shelves steel arched angle was small but unpleasant. The main fabric of the size remains virtually perfect. It was decided to put a shelf under the oppression and leave them there for at least a week. I'll tell you that a week was not enough. Though they were stored in a heated building and near the battery, but do not bend almost disappeared. It was decided to buy more corners, that they rectify flaws

While wood is dried up again, I went to the store for paint and corners.

Fasten the corners to the web. Here, too, the father has sown reasonable: a dark plate on the canvas attached to a pair of screws to secure the smooth corners. You can, of course, was just otchertit line and drawn to strengthen, but, believe me, more reliable.

Putting basis. Already something emerges. Holes cut by ramps.

Mount bumpers

Drying after painting.

Week lay on the 2nd floor garden, where warm and dry. Smell virtually zero. Brought home to the city. Sobral.

Ramps on the glue and a pair on each side, with studs otkusannymi hats.

Approximately

And since the whole pandora must be attached to the wall, and the walls are drywall coating that were bought here are dowels.

Construction is set. Cars slowly fill their new abode. Dite delighted!
What the money went:
- Coatings base - 2x75 = 150 rubles. (Not suitable)
- Paint - 2h140 = 280 rubles.
- Glue - 89 rubles.
- Masking tape - 35 rubles.
- Brush - 25 rubles.
- Self - 4h13, 10 = 52, 4 rubles.
- Corner - 12h37, 9 = 454, 8 rubles.
- The layout of the CSG-20 (under the bumpers) - 3h69 = 207 rubles.
- Classified under the bars - 85 rubles.
- Plywood - 535 rubles.
- Plugs (kit with screws) - 19 rubles.
Total: 1932, 2 rubles.
That's all I wanted to say.

Source: