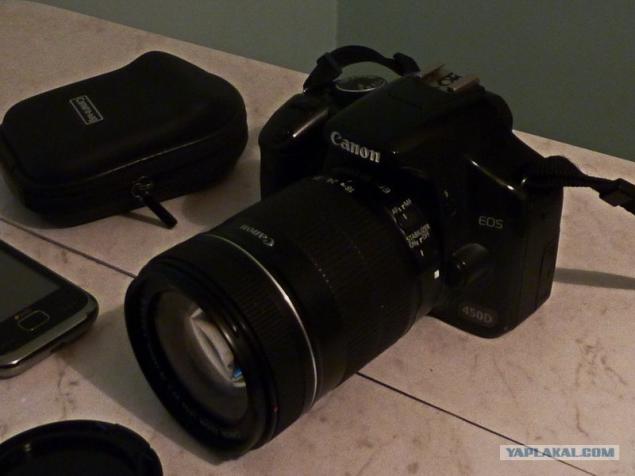
642
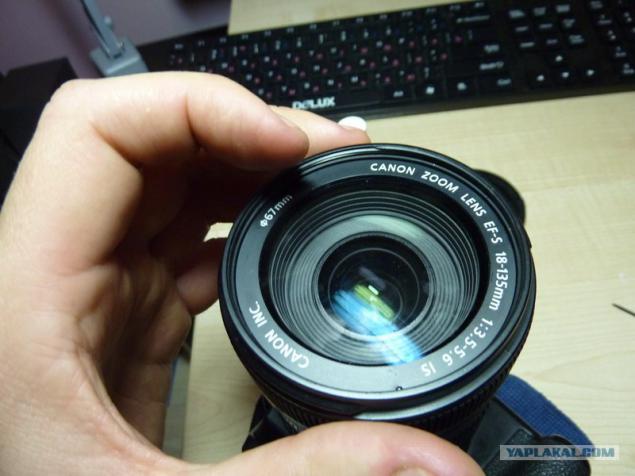
Remove the dust on the lens Canon EF-S 18-135
It's about how to remove dust from the lens Canon EF-S 18-135, in common - "Vacuum» :)
According to the glass I have been actively used in the campaigns and a half years there crammed so much dust that I have just become scared to look at him - the starry sky, rukalitso ...
With this must somehow fight ...
There are 2 classic solutions:
The first - to go to a service center. to pay $ 125 and you clean the glass, not giving a guarantee of efficiency and downed focus.
Second - buy the new glass
But there is a third option - you can just pull the hands of assholes and do everything myself ... :)
In fact, all elementary. The first step is to tear off by slipping over the hole, a plastic sticker labeled. It all rests on something such as the bilateral scotch ...
Cooking tool - in my case a small Phillips screwdriver multitool and help another flat ...

Carefully unscrew the 3 screws, glued varnish

Note the position of the glass - it tighten visual memory - on the spot to turn away screws remain traces of paint and clips :)

We take out the top lens

Net domestic dust lendsstikerom or, failing him, a cloth for cleaning glasses

Then put the top lens in place (if there is no dust on it, it does not need to be cleaned if there is - it also set aside). Remember I said then, the label? Stay on him:

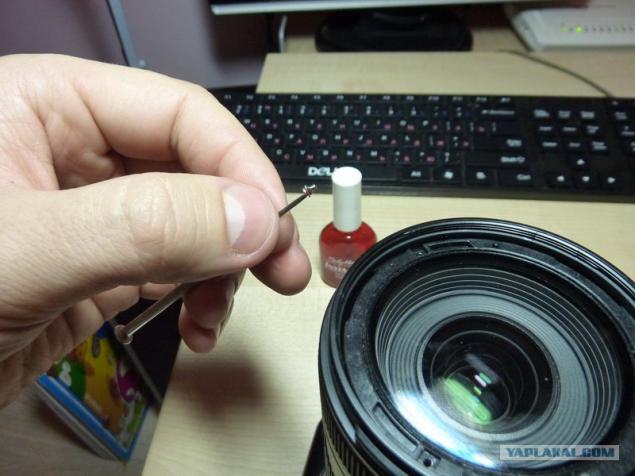
Twists the screws pre dropping every drop of nail polish
And on top of close back label ...
Wipe and ...
Voila! You just saved 100 to 350 bucks :)

Test for sharpness after assembly
1

2.

3.

Thank you all for your attention :)
Source:
According to the glass I have been actively used in the campaigns and a half years there crammed so much dust that I have just become scared to look at him - the starry sky, rukalitso ...
With this must somehow fight ...
There are 2 classic solutions:
The first - to go to a service center. to pay $ 125 and you clean the glass, not giving a guarantee of efficiency and downed focus.
Second - buy the new glass
But there is a third option - you can just pull the hands of assholes and do everything myself ... :)

In fact, all elementary. The first step is to tear off by slipping over the hole, a plastic sticker labeled. It all rests on something such as the bilateral scotch ...

Cooking tool - in my case a small Phillips screwdriver multitool and help another flat ...

Carefully unscrew the 3 screws, glued varnish

Note the position of the glass - it tighten visual memory - on the spot to turn away screws remain traces of paint and clips :)

We take out the top lens

Net domestic dust lendsstikerom or, failing him, a cloth for cleaning glasses

Then put the top lens in place (if there is no dust on it, it does not need to be cleaned if there is - it also set aside). Remember I said then, the label? Stay on him:

Twists the screws pre dropping every drop of nail polish

And on top of close back label ...
Wipe and ...
Voila! You just saved 100 to 350 bucks :)

Test for sharpness after assembly
1

2.

3.

Thank you all for your attention :)

Source: