904
Replacing trim seats.
In general, the situation is bought in the autumn of 2109 cars (first learn to drive, it's the ). Almost killed in the state, but oh well. The front seats there were in poor condition, back in comfort. I decided to restore them. At first he planned to sew upholstery, have even decided on the color scheme, but accidentally hitting the car market saw a native, the factory trim for 1800rub. Having estimated the cost of materials (roughly about 1000rub on the front passenger seat + a ton of time and nerves for tailoring), it was decided to buy it and pull it.
So: We remove, dismantle seat. The first victim of driver's seat.
But in this state it was back
31 photo.
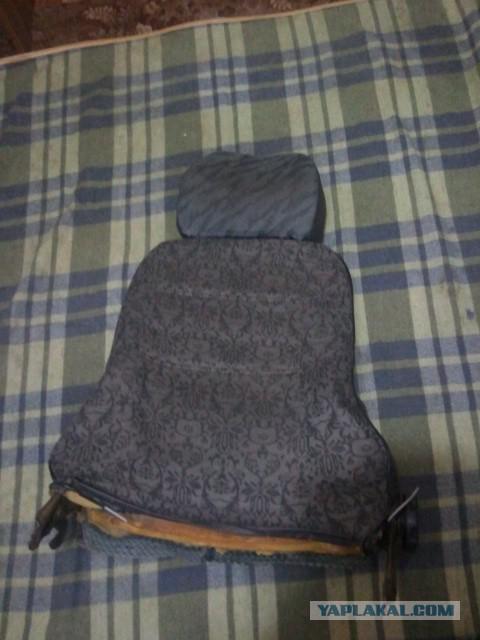
Here it is the same, but without upholstery. Frame crushed just horror. How did that?
2foto
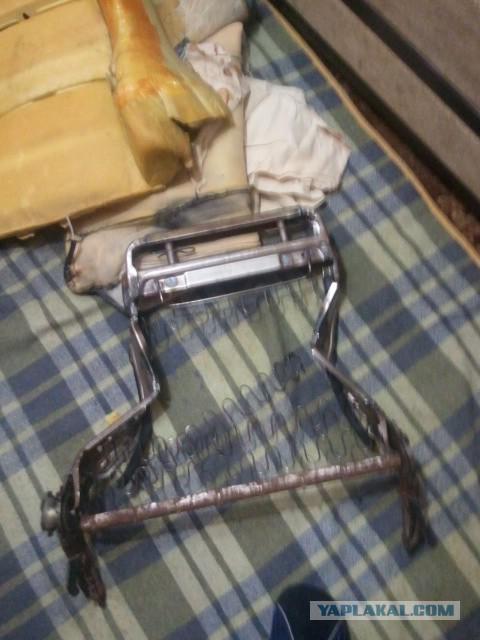
Take donor strengthen it by welding of the cross-bar.
3 photo
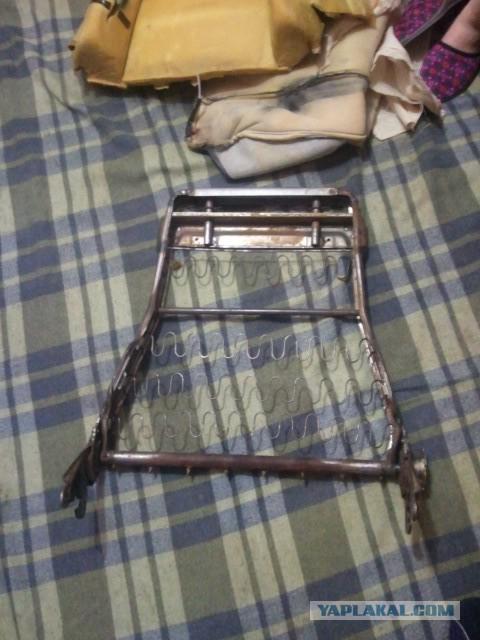
Since the driver's seat penolitё turned into dust, then the market take new penolite
4 photo
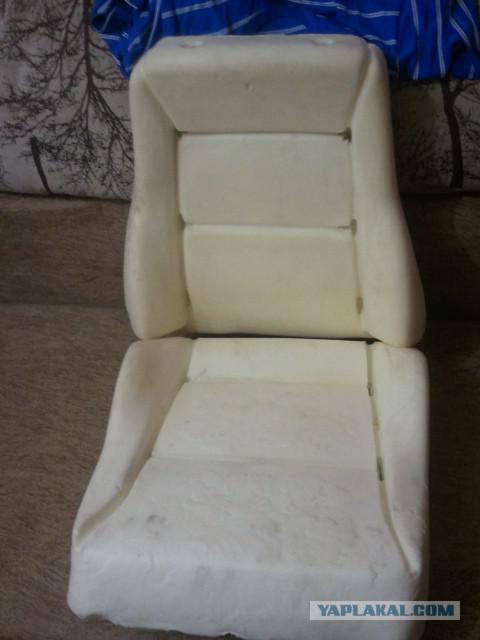
Next impose penolite back and dress upholstery. We stretch for the left end of the matter specifically. That they reached the stretch and shaping in the middle of the back and seat
5 photos
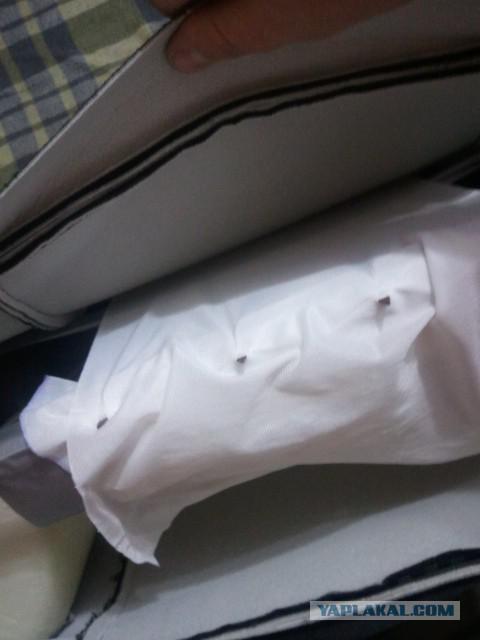
We stretch, we stretch the meshing teeth of the edge trim, and eventually get back.
6 photo
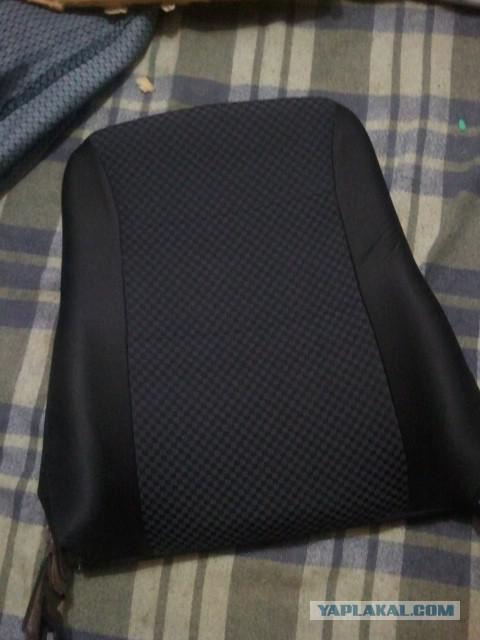
Further, the seat itself. On plating under the wire loop are present at the expense of which is a stretch. Insert the wire
7 photo
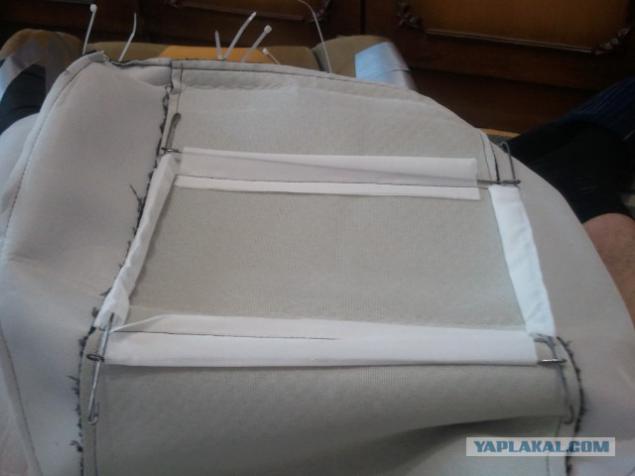
We are putting a penolityu. On penolite seats have already inserted the wire and it is to her, and we attach a wire that was inserted into the upholstery and stretch the wire ties. The original upholstery stretched steel rings, but they have a long and tedious.
8 photo
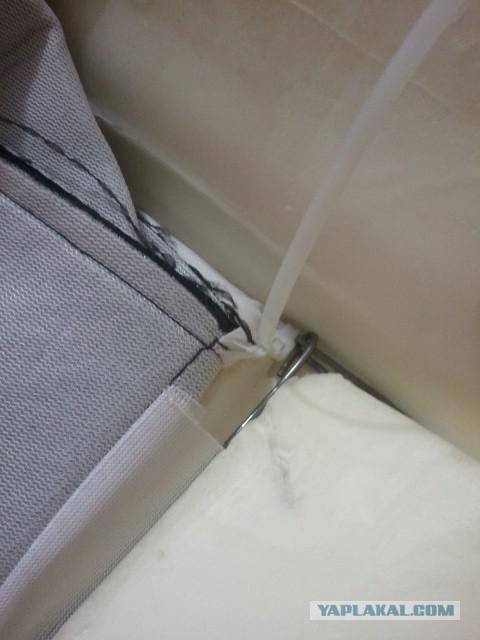
9 photo
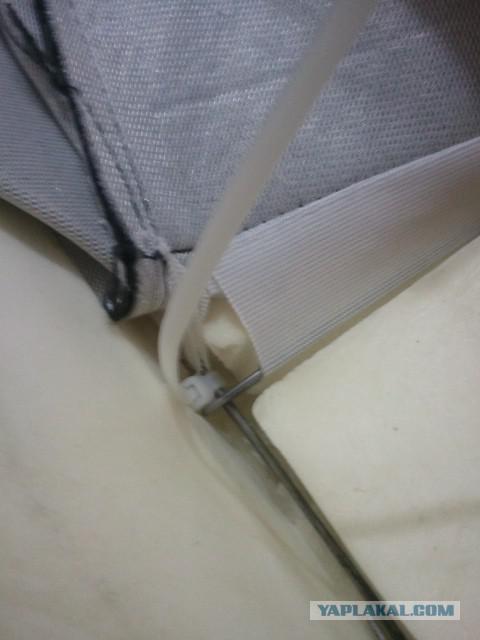
Now it look like a stretch from
10 photos

We pull on the teeth, check the symmetry. Ready seat.
11 photos
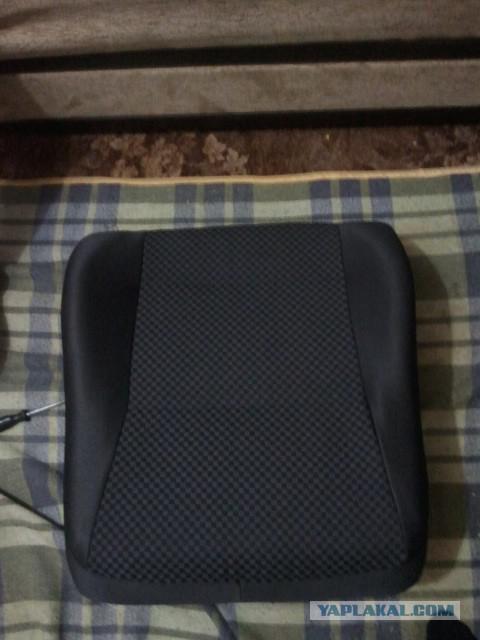
That finished first driver's seat
12 photos
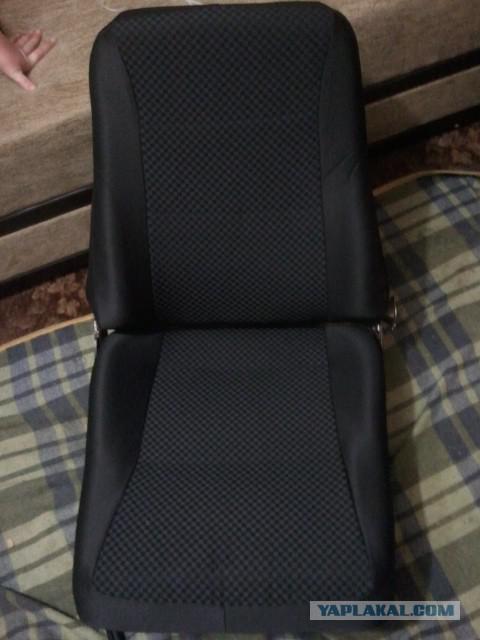
Next in line the passenger seat. It is in good condition, and a frame and will work penolite yet.
13 photos
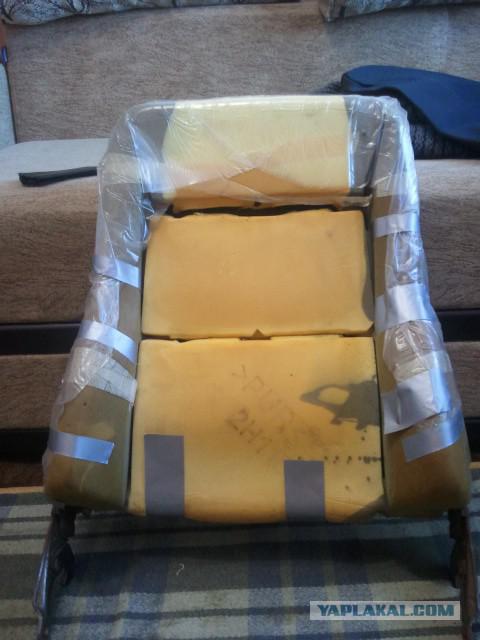
By the way, before I forget, collecting all the back, you do not forget to dress the lower part of the headrest sleeve. The driver, I forgot to put in the assembly, and already on the assembly back neatly cut a hole put them in place, blogs upholstery material stretches.
14 photos
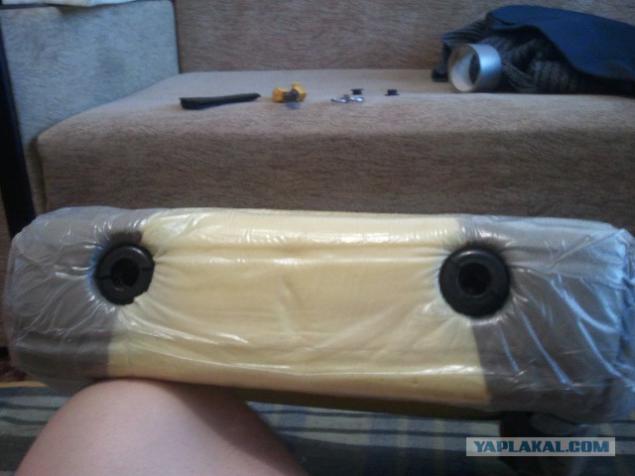
finished folding passenger seat
15 photos
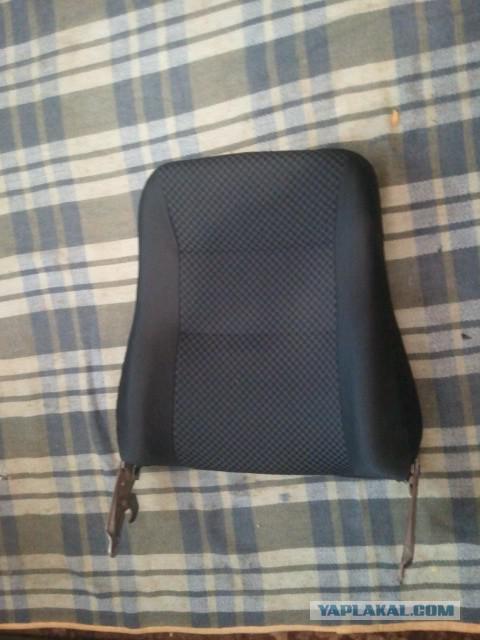
penolite very tired of sitting, but in the normal state where penolitё torn, glued glue
16 photos
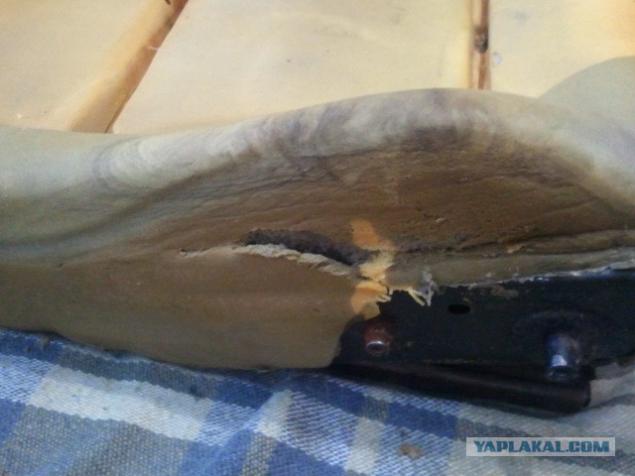
the patch is put on the glue, reinforced reinforcement tape.
17 photos
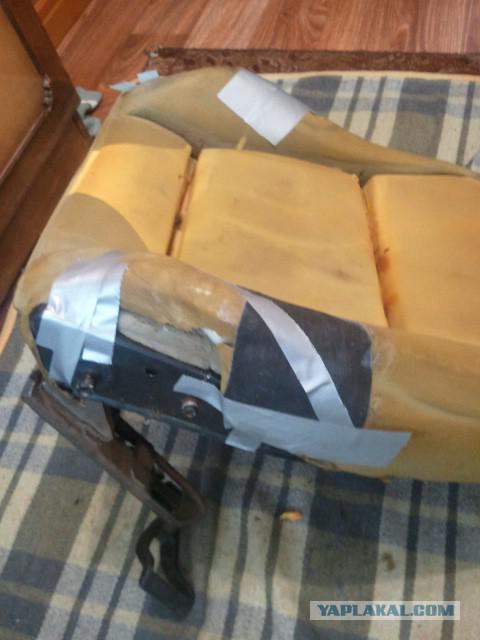
here they are, those ties in penolite seats
18 photos
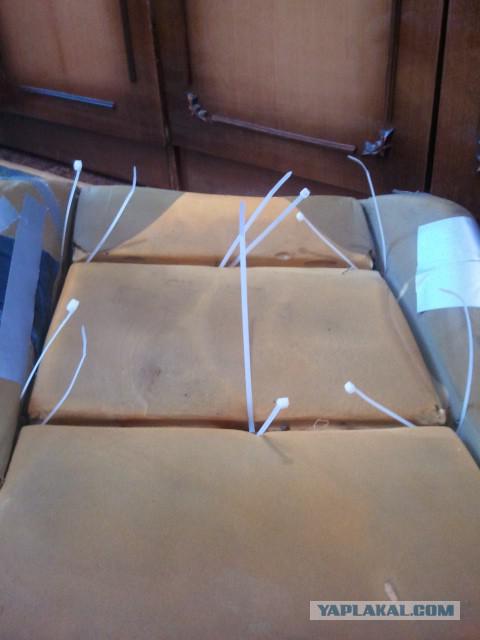
By analogy with the first seat stretch the lining on the second seat. We make an incision in the skin of a protruding parts.
19 photos
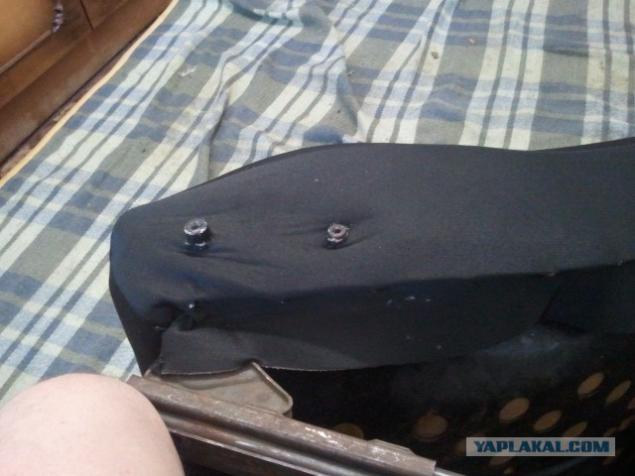
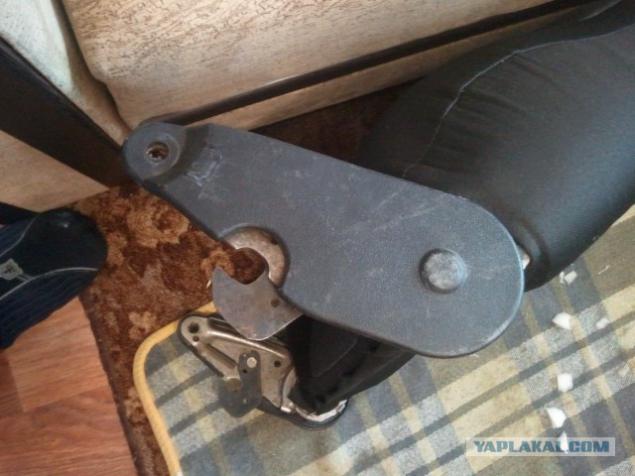
side handle tilting back often rattles as sitting in his place neplotno.Izbavlyaemsya noise tucked inside a piece porolonai putting it in place.
20 photos
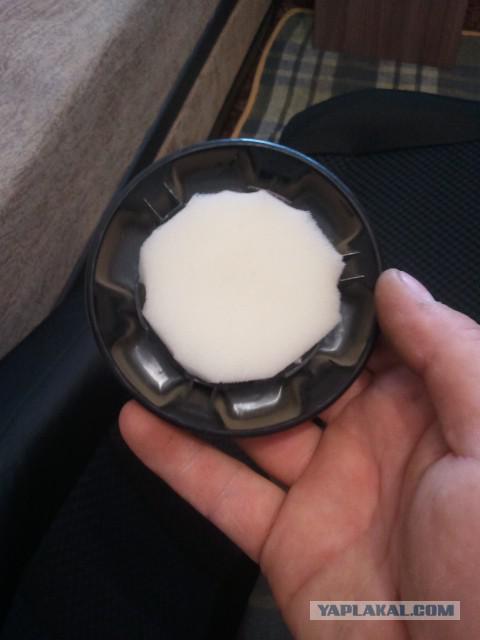
We put in place laths.
21 photos
In turn back sofa. That such it was able
22 photos
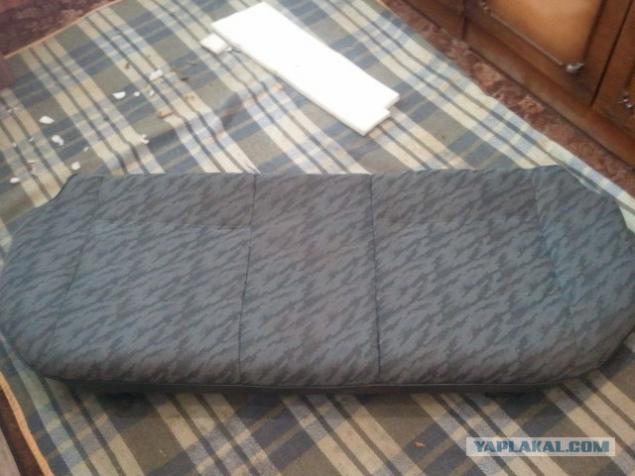
Remove the upholstery, stretch tie.
23 photos
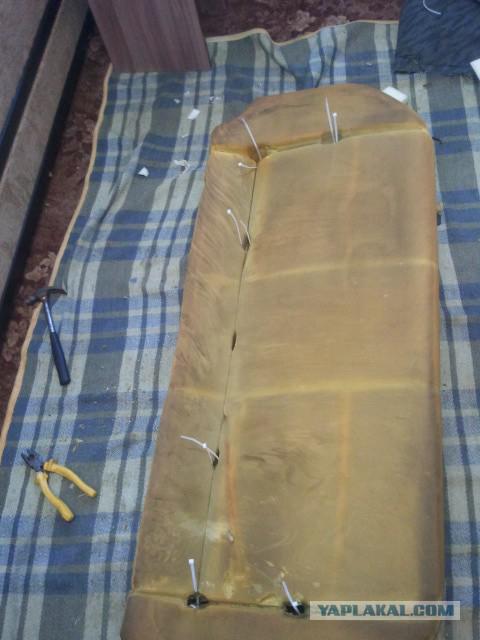
As with the front seats, contractible, pulls
24 photos
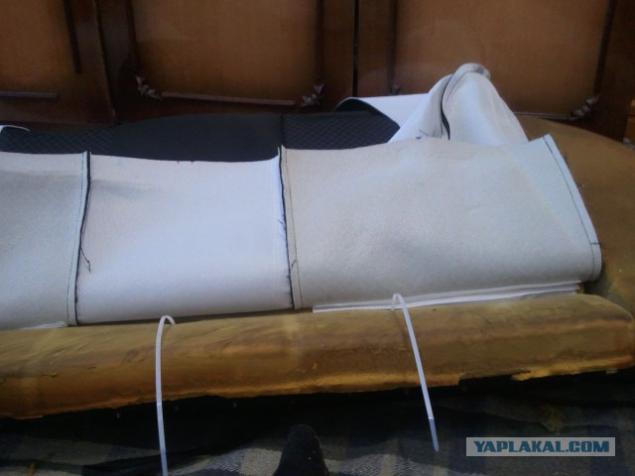
And that's how he became
25 photos
Posted in [mergetime] 1394798198 [/ mergetime]
photographed overtighten as the backrest and head restraint did not.

But sitting in his place.
26 photos
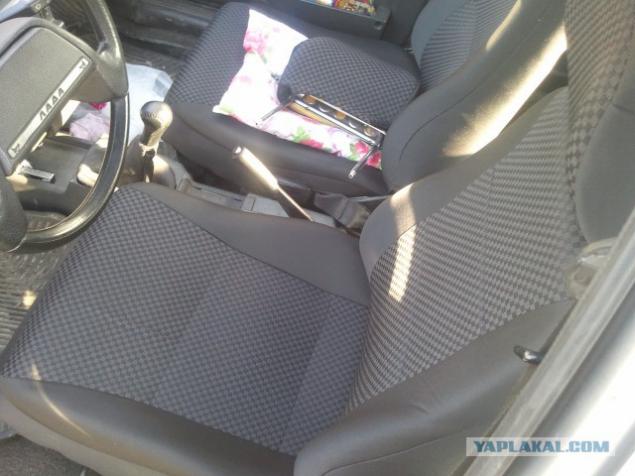
27 photos
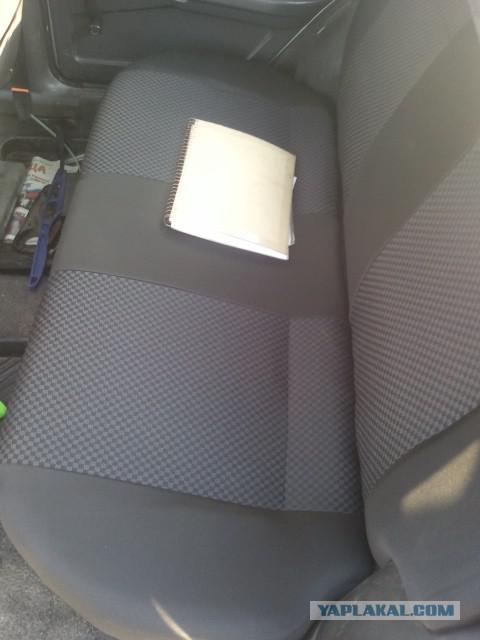
Now, inside the car it was fun, something warmer and people are not ashamed to put in cars
That's all I wanted to say. With the number of photos a mistake.
28 photos

Source: ">