1788
Bumper Repair
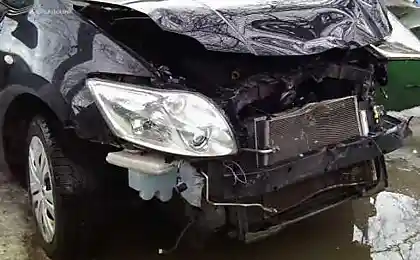
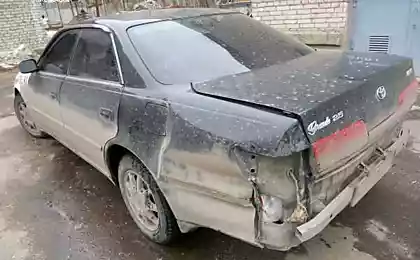
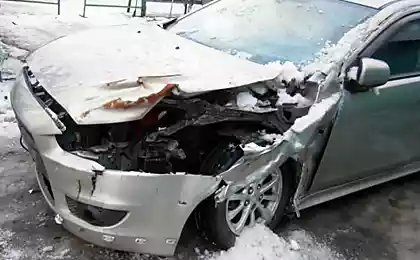
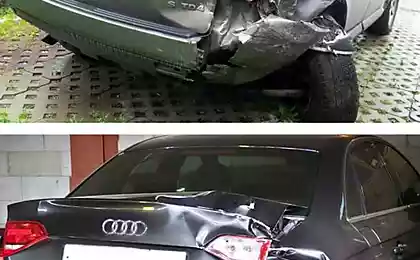
Quite often there are minor accident, which tend to suffer the bumper, in connection with what is proposed and the post-read.
All work carried out in the usual and ordinary garage, available materials and tools. For this example, use the bumper of the car Mitsubishi Lancer 9.
We remind you that the article does not claim to truth and is advisory in nature, listening to that, you will get the desired result.
So let's start.
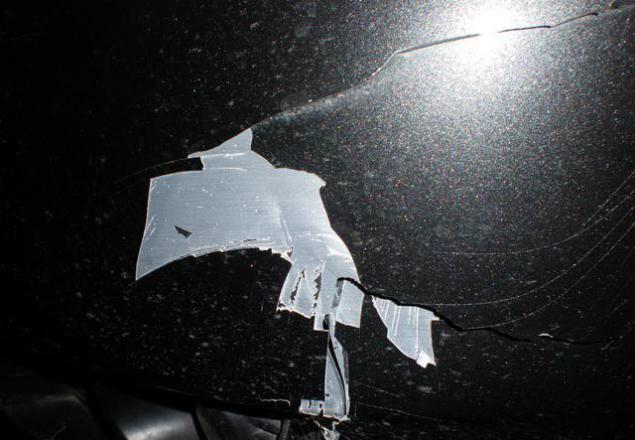
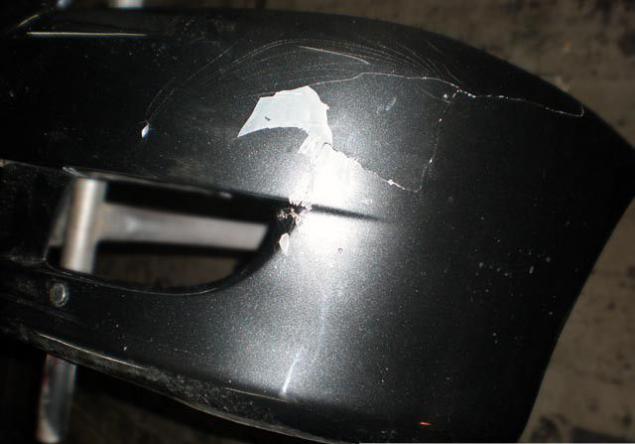
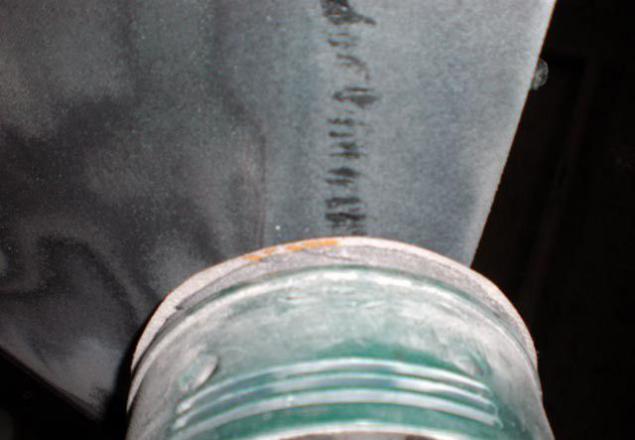
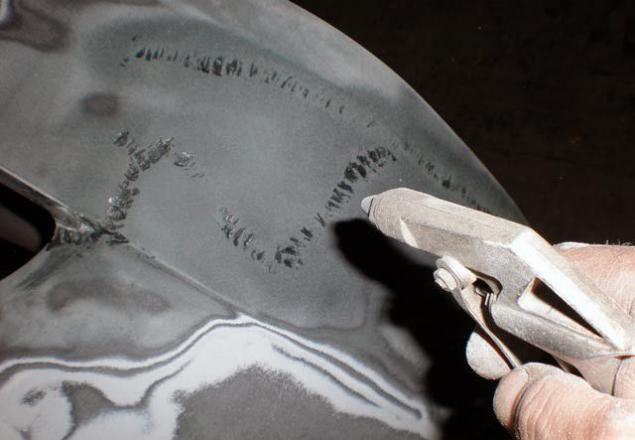
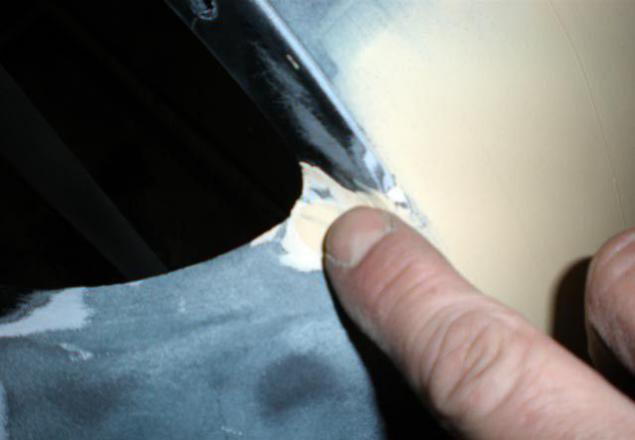
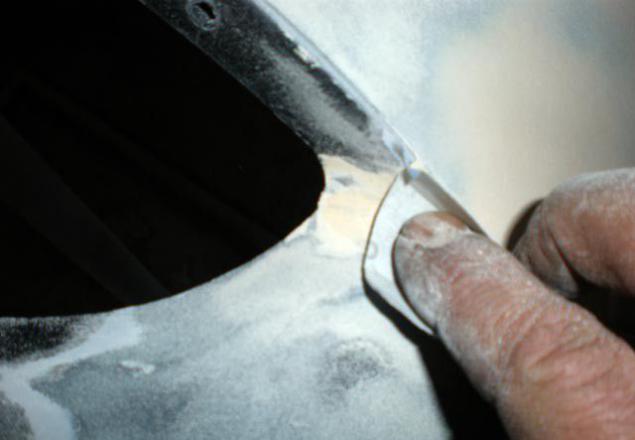
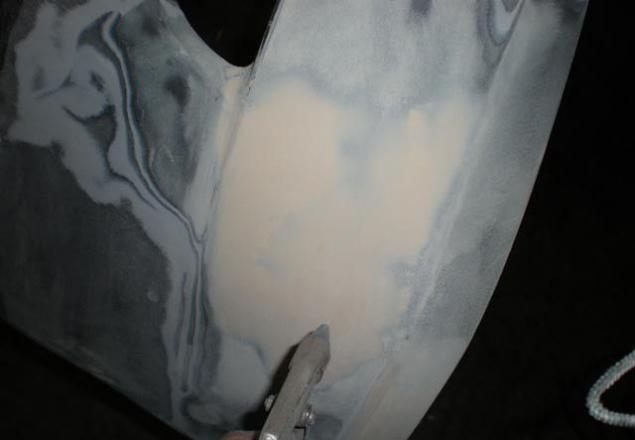
Bumper unscrewed, comfortable bed and the first thing we need is as close as possible to dock "fragments". It is convenient to use the clamp. Of course the nature of chips will be different, in this case, a sufficient stubtsiny on the edge of the edge.
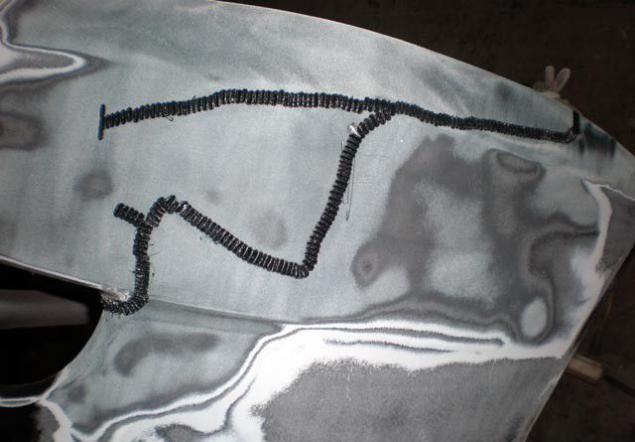
On the inner side seam propaivaem usual (60 W) soldering iron.
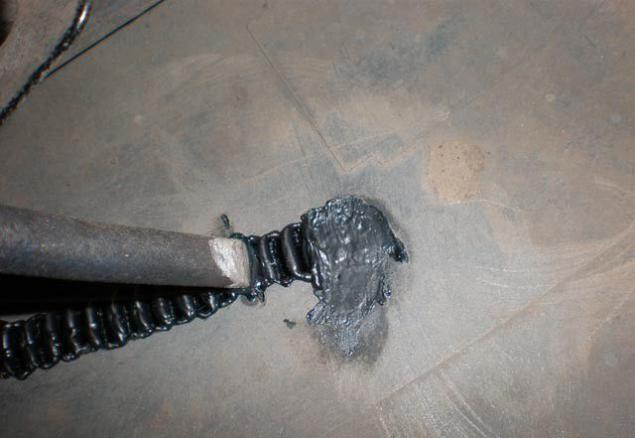
As armaturki use staples. Soldered them at a distance of 3 mm and fused seam
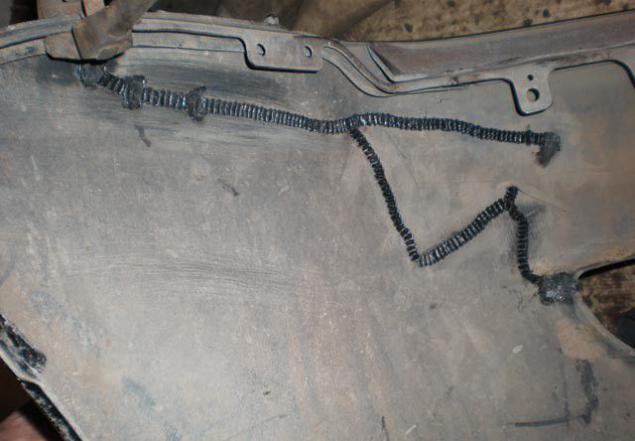

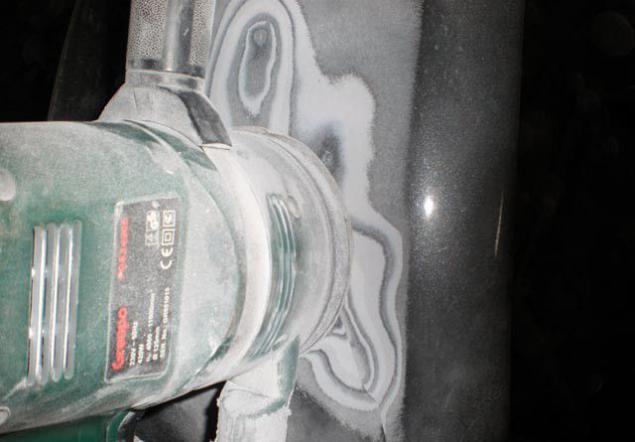
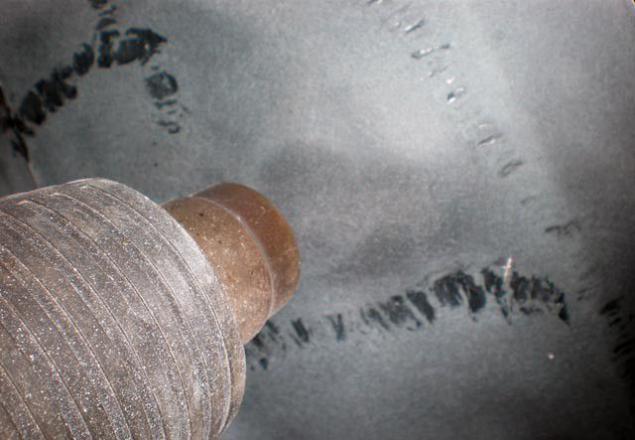
From the outside, on the seam, remove the paint "orbitalkoy." Circle P240

We produce solder outside, in the same sequence
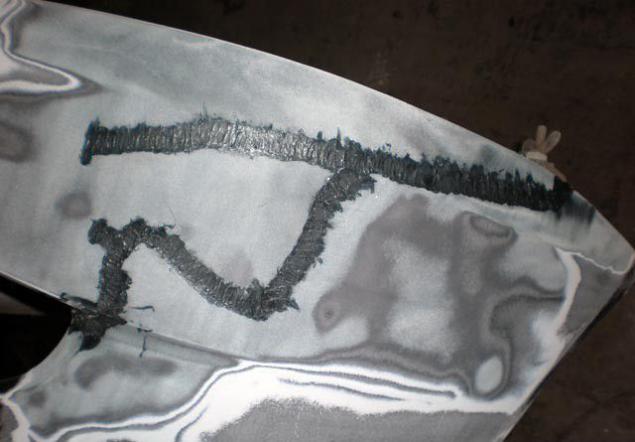
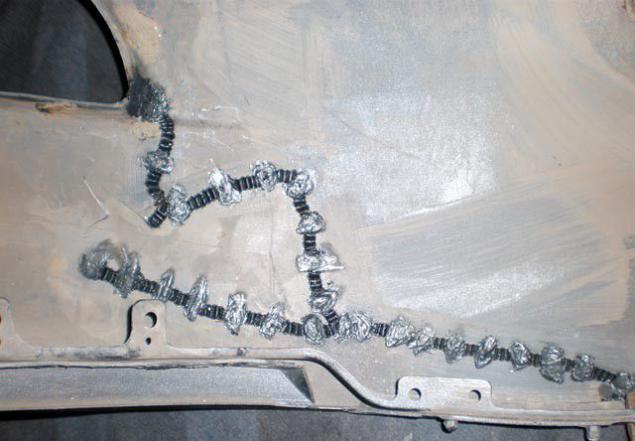
Well the whole thing is blown with compressed air. Then take a hair dryer and podplavlyaem formed villi on plastic
We clean solder and cooled =) seam, around the same grit (P240)
Further, the course is filler for plastic !!!
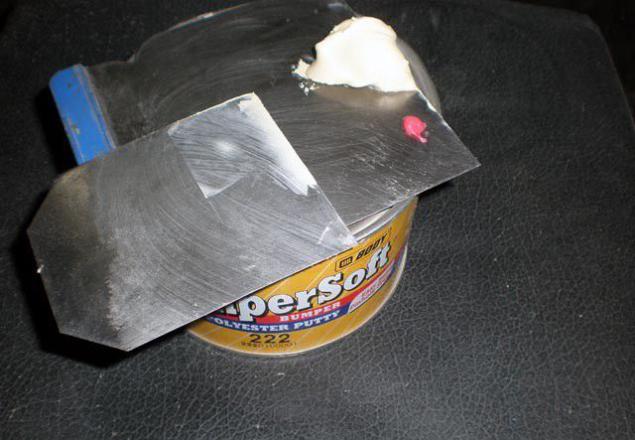
Nameshivaem, and we put a rubber spatula, because enough surface relief.
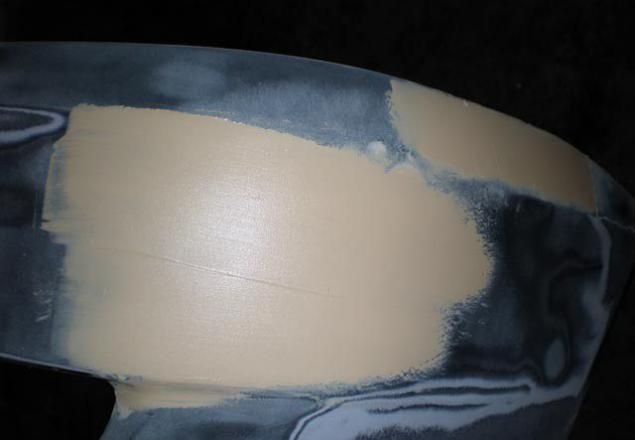
In trudnostupnyh places spatula is finger;)
Dry them.
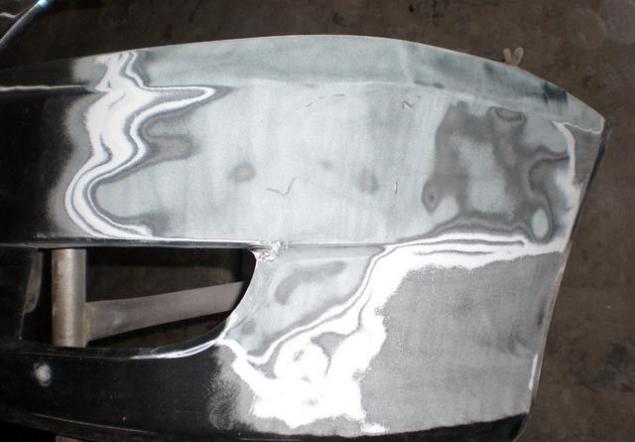
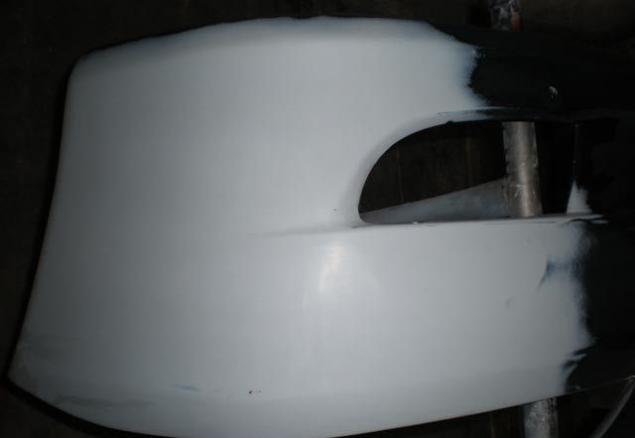
We produce grinding fillings range P120.
Under the terms of the ground change to P240.


Purged
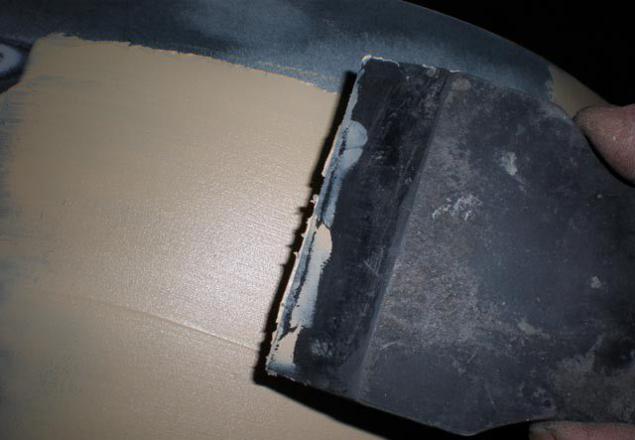
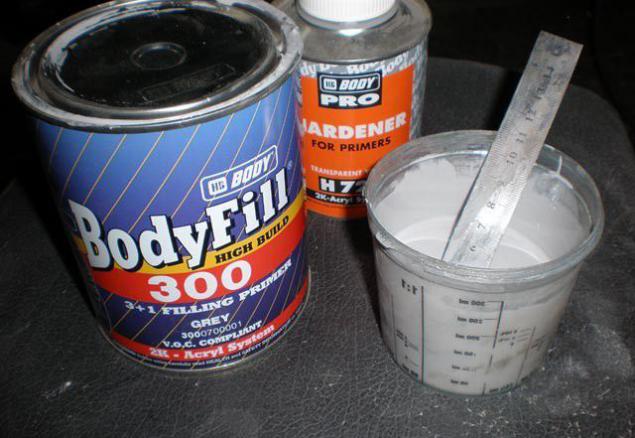
Direct the ground in a proportion of 3 to 1 (according to the manual). Gruntuem 2 layer with intermediate drying of 15 minutes
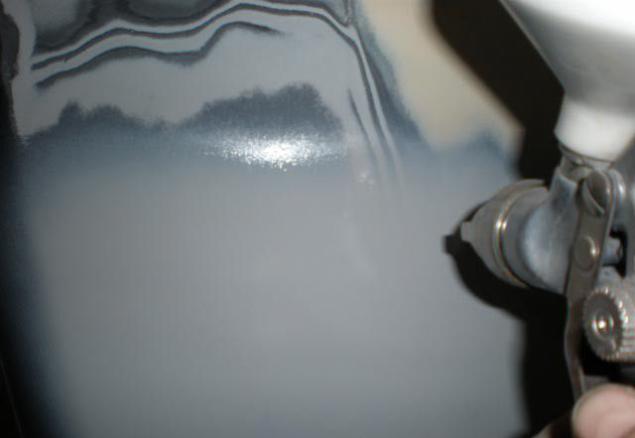
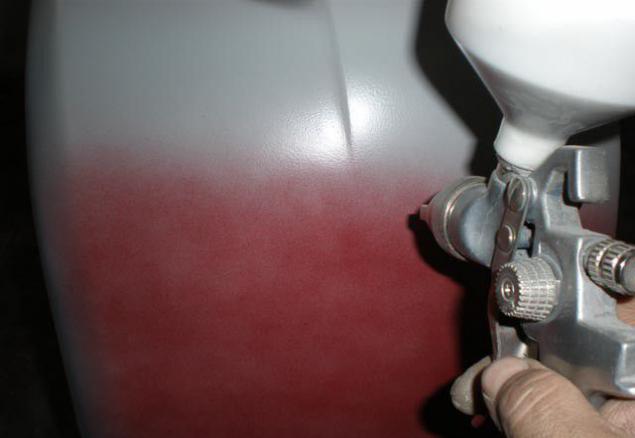
Next we put developing layer.
As a developer using the base color of cherries, or any other dark for light soil
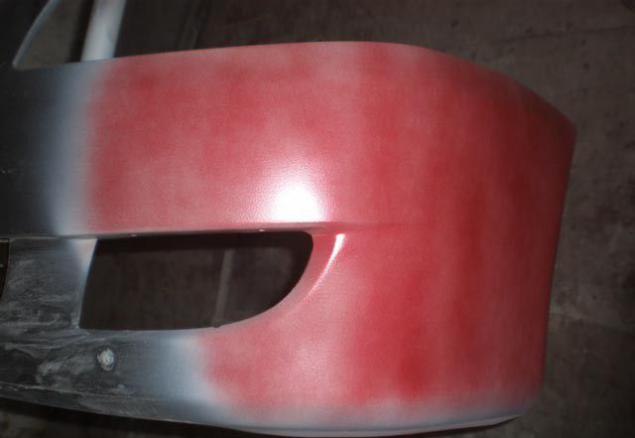
Sushim 30 minutes infrokrasny drying.
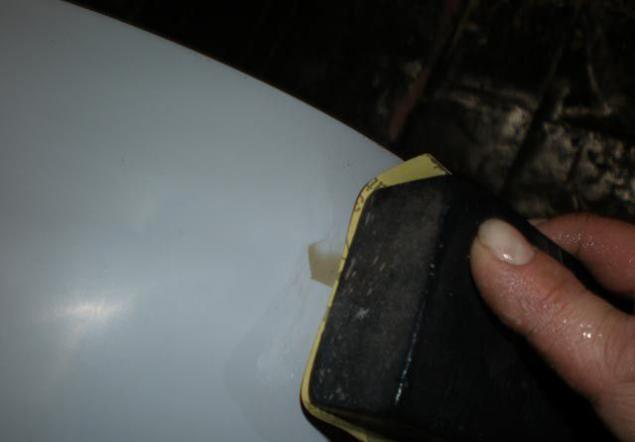
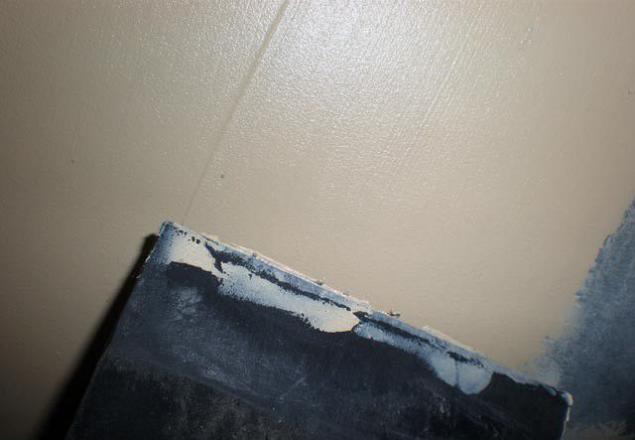
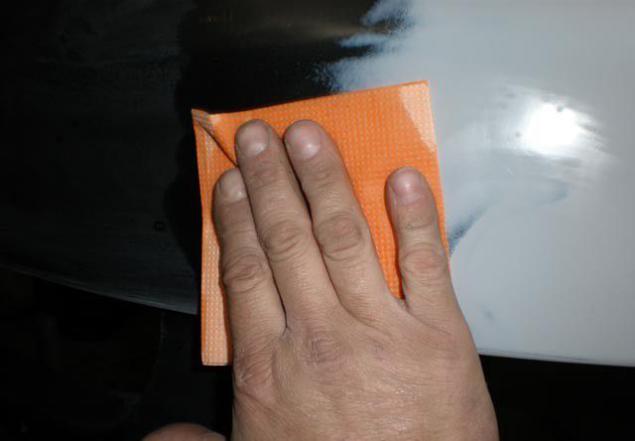
Zateraem developing layer first P800, finish - P1000

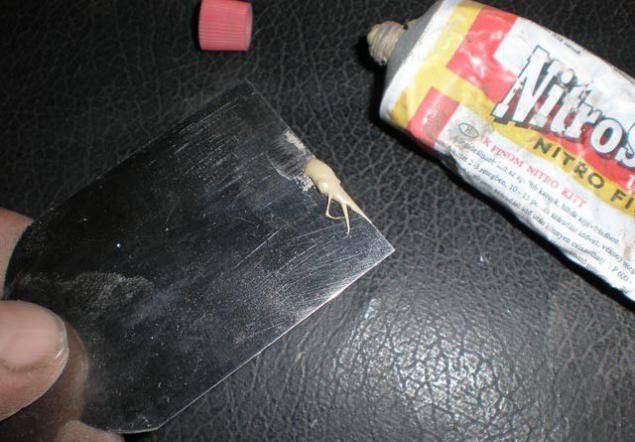
There are not derived bong, not seen on the putty. To eliminate it take nitroshpatlevku

There are not derived bong, not seen on the putty. To eliminate it take nitroshpatlevku
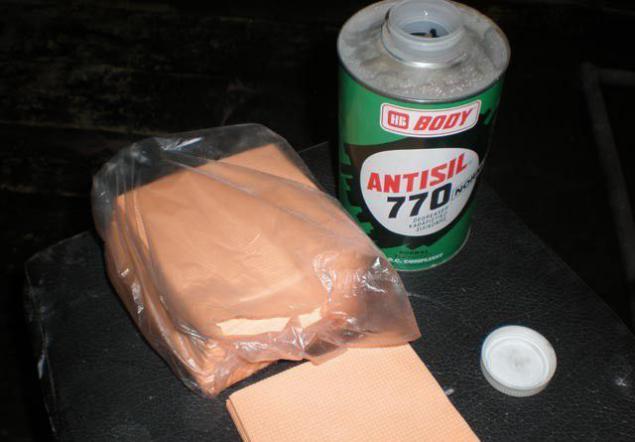
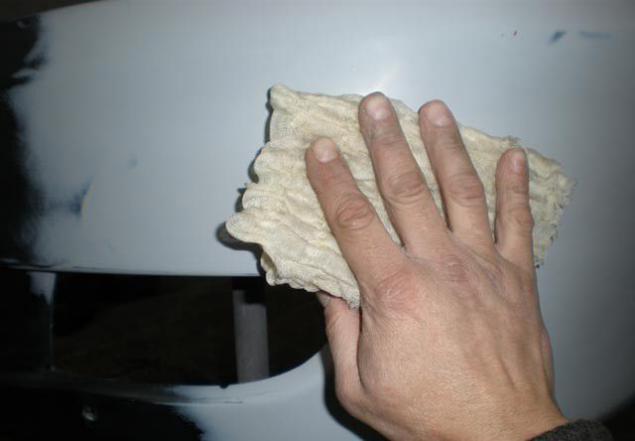
Degreased. Wipe sticky cloth dust.
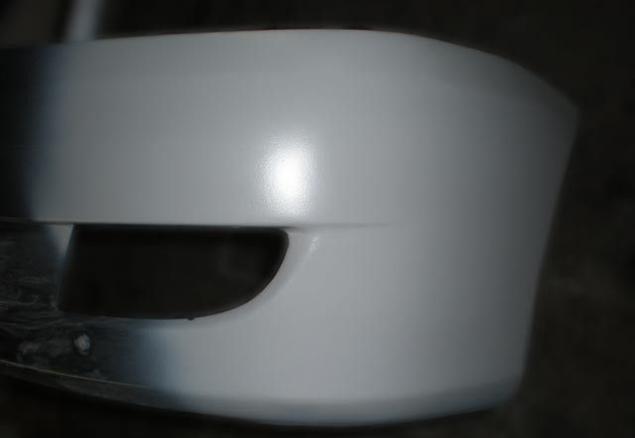
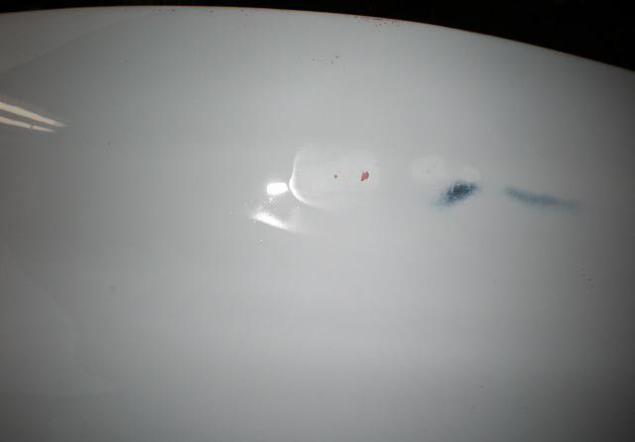
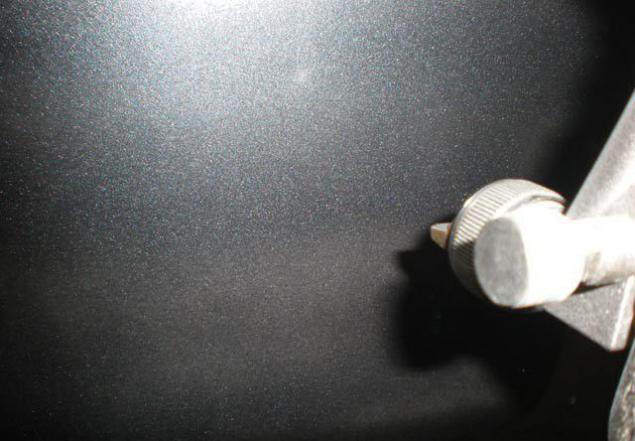
We put the base on the primed area, not focusing on the ground (ie, each one beyond the predyduzhy 5-10 cm). In our case, had the three layers (2 "gloss", 1 - "dry»).
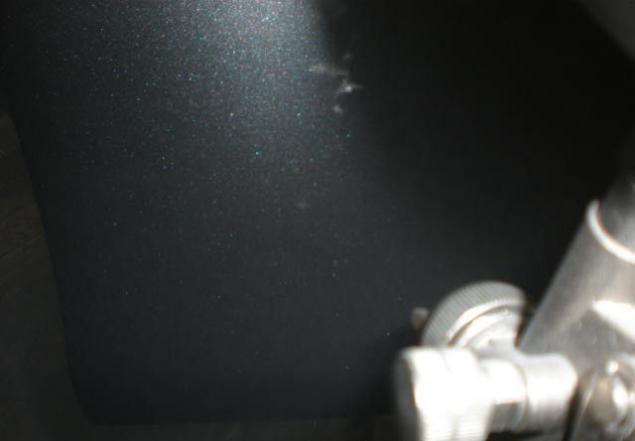
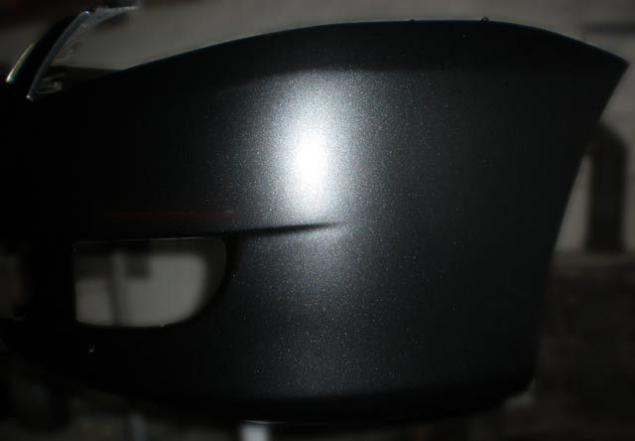
After standing for 20-30 minutes. Harboring the entire part varnish in 2 layers.
Done.

Source:
All work carried out in the usual and ordinary garage, available materials and tools. For this example, use the bumper of the car Mitsubishi Lancer 9.
We remind you that the article does not claim to truth and is advisory in nature, listening to that, you will get the desired result.
So let's start.

Bumper unscrewed, comfortable bed and the first thing we need is as close as possible to dock "fragments". It is convenient to use the clamp. Of course the nature of chips will be different, in this case, a sufficient stubtsiny on the edge of the edge.
On the inner side seam propaivaem usual (60 W) soldering iron.

As armaturki use staples. Soldered them at a distance of 3 mm and fused seam


From the outside, on the seam, remove the paint "orbitalkoy." Circle P240


We produce solder outside, in the same sequence


Well the whole thing is blown with compressed air. Then take a hair dryer and podplavlyaem formed villi on plastic
We clean solder and cooled =) seam, around the same grit (P240)


Further, the course is filler for plastic !!!

Nameshivaem, and we put a rubber spatula, because enough surface relief.


In trudnostupnyh places spatula is finger;)

Dry them.
We produce grinding fillings range P120.
Under the terms of the ground change to P240.


Purged

Direct the ground in a proportion of 3 to 1 (according to the manual). Gruntuem 2 layer with intermediate drying of 15 minutes


Next we put developing layer.
As a developer using the base color of cherries, or any other dark for light soil


Sushim 30 minutes infrokrasny drying.
Zateraem developing layer first P800, finish - P1000

There are not derived bong, not seen on the putty. To eliminate it take nitroshpatlevku

There are not derived bong, not seen on the putty. To eliminate it take nitroshpatlevku


Degreased. Wipe sticky cloth dust.


We put the base on the primed area, not focusing on the ground (ie, each one beyond the predyduzhy 5-10 cm). In our case, had the three layers (2 "gloss", 1 - "dry»).


After standing for 20-30 minutes. Harboring the entire part varnish in 2 layers.
Done.


Source: