3435
Phased renovation
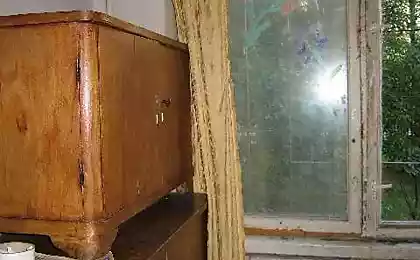
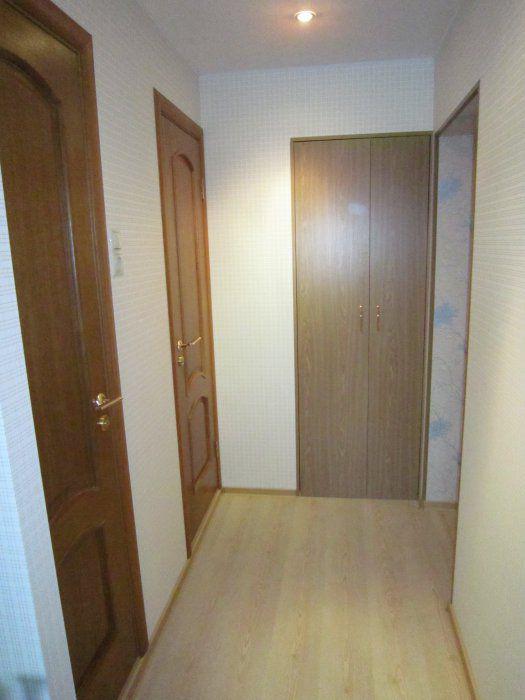
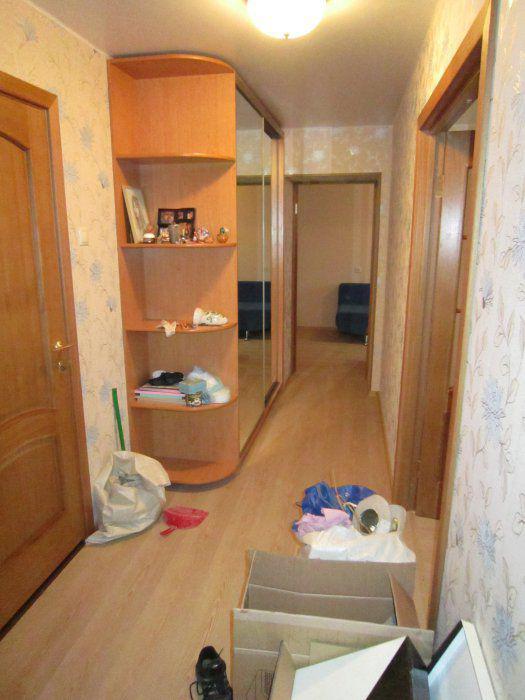
Dear readers, long time we did not have as extensive post-repair manuals apartment. I am pleased to offer one of the benefits to reading. This summer we did a phased finish one-bedroom apartment. First, all the furniture and things dragged into a room, locked and sealed. After repairing the adjoining room and kitchen, all dragged into the ready room and completed the rest of the room, corridor, bath and toilet. In general, not the most convenient option repair. Objective: to make Mighty inexpensive repair cost of materials. Dates: June 10-July 24 - the first stage, 4avgusta-10sentyabrya - the second stage. Estimate: 295800r (only work + ceilings) All work, except for the installation of interior doors and installation of two of the three windows, made their own. A lot of pictures, so I'll lay out as much and the emergence of free time. So, here is the form in which we have before us appeared "object»

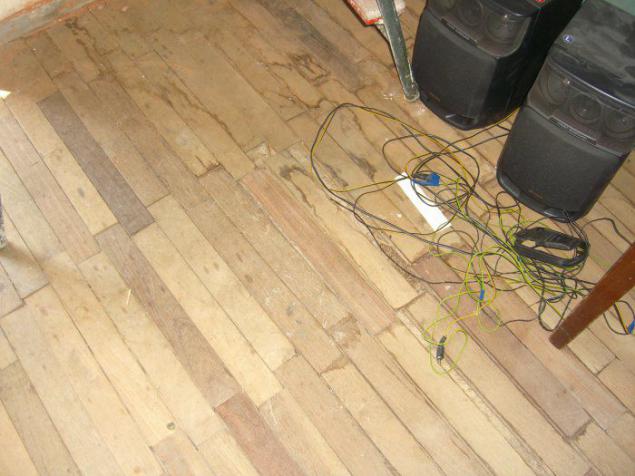
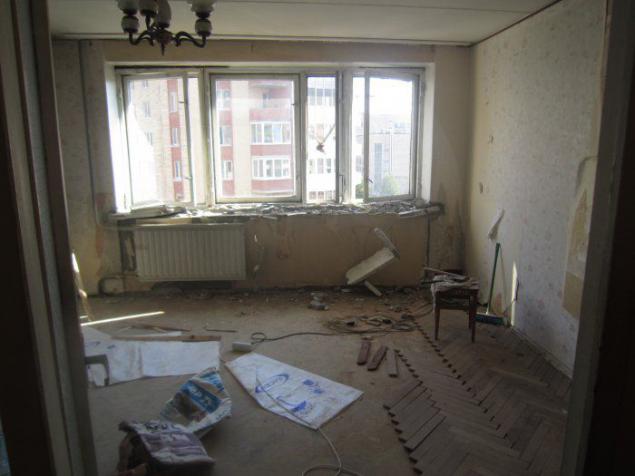
parquet fell off himself, dismantling was to collect it from the floor and folded into bags.
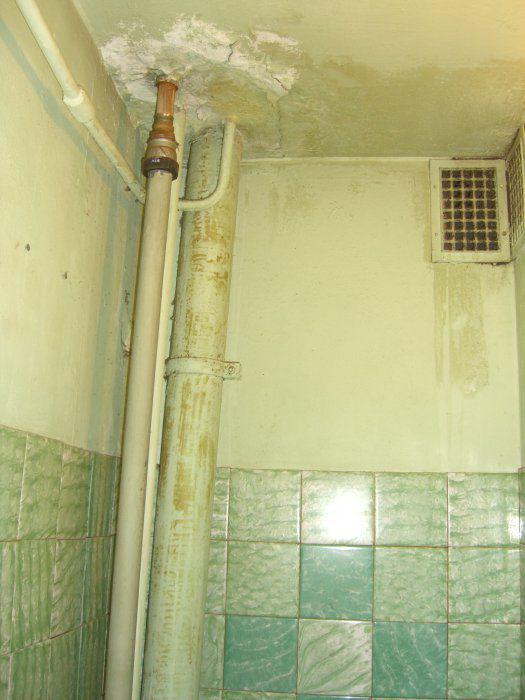
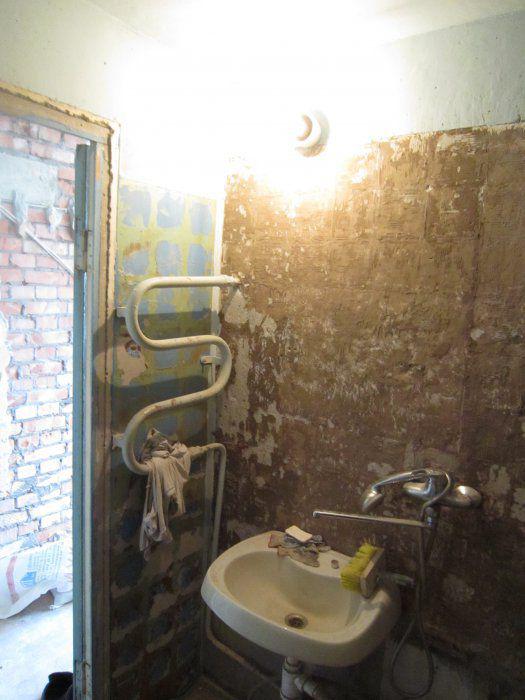
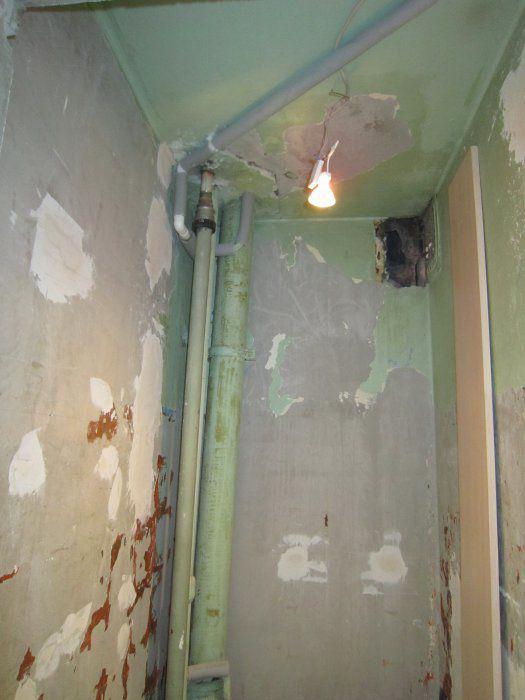
This pipe leads to the coil in the bathroom

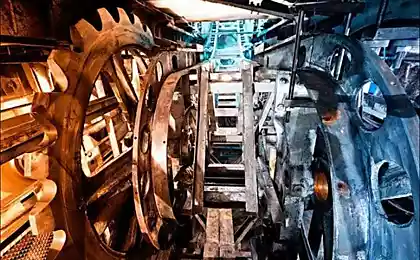
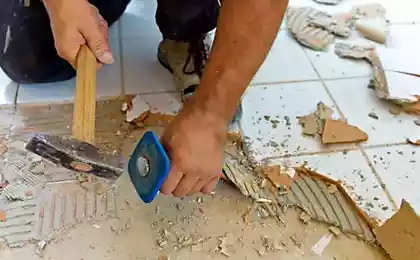
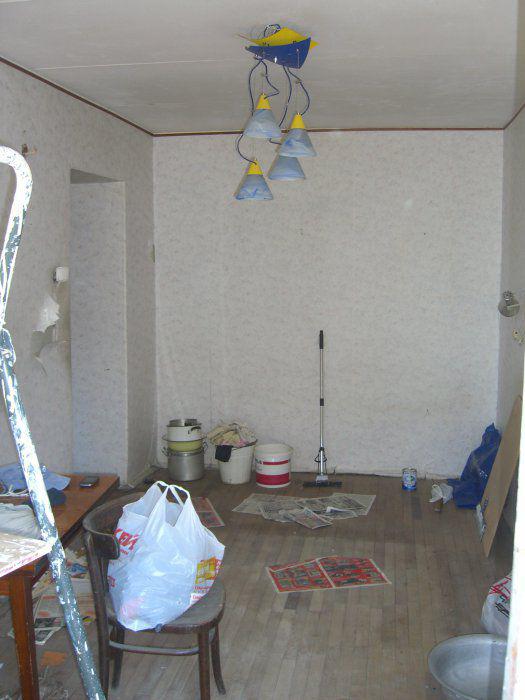
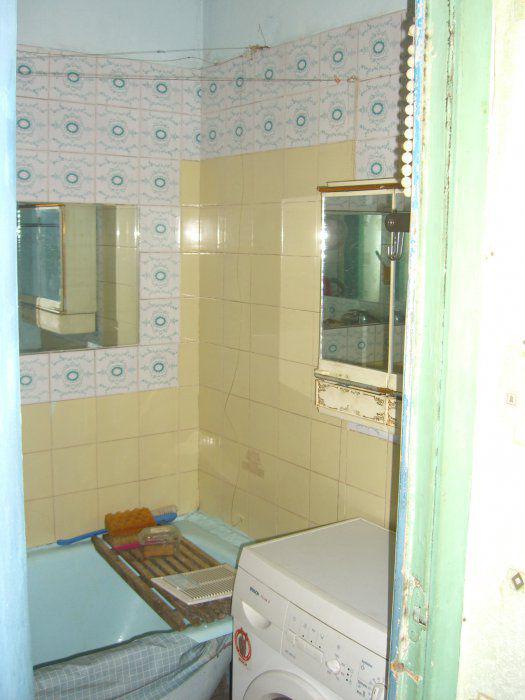
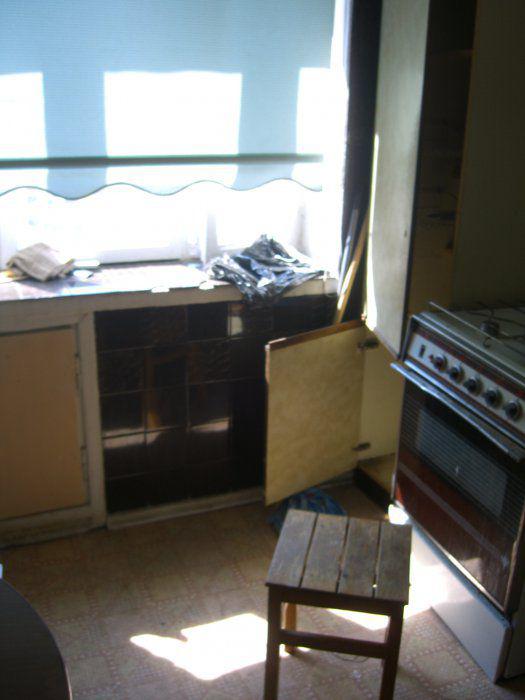
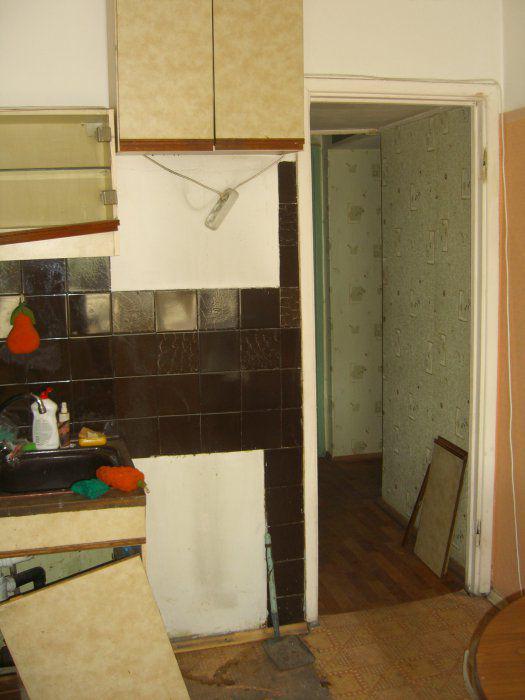
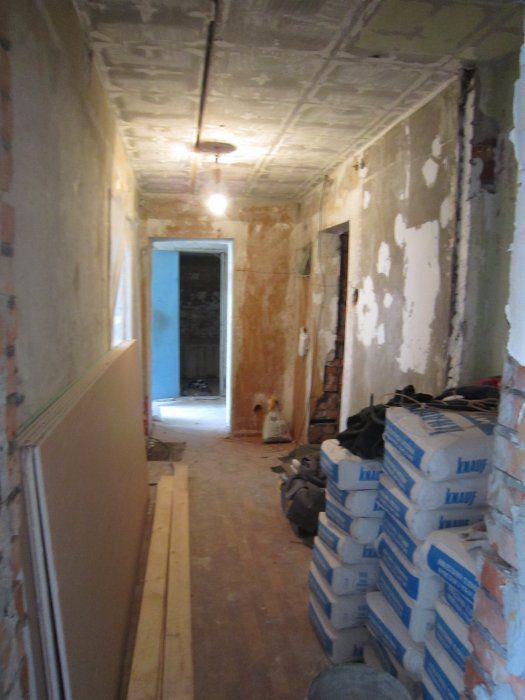
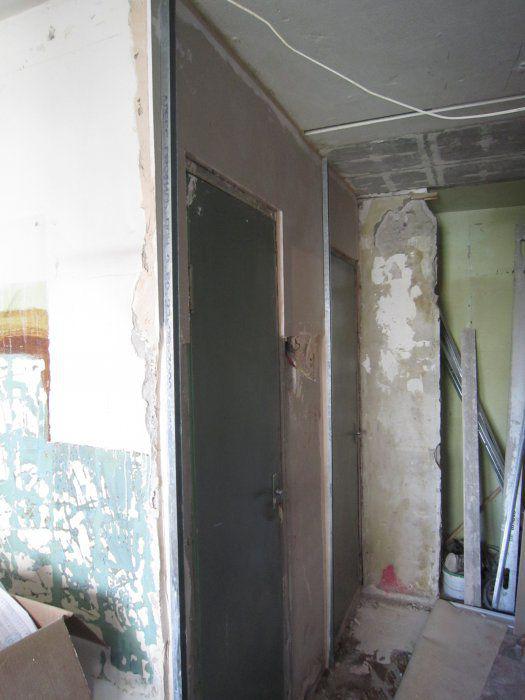
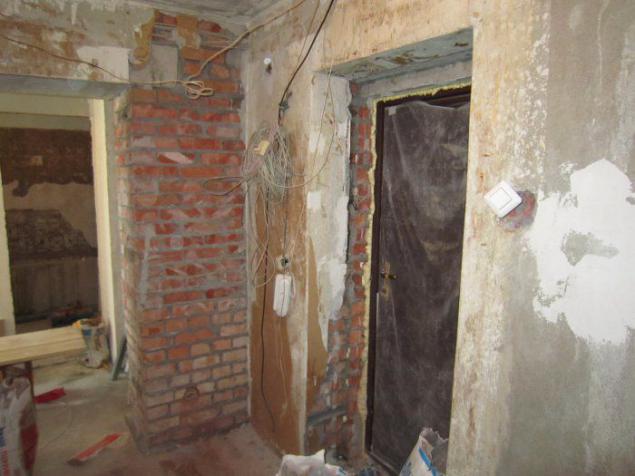
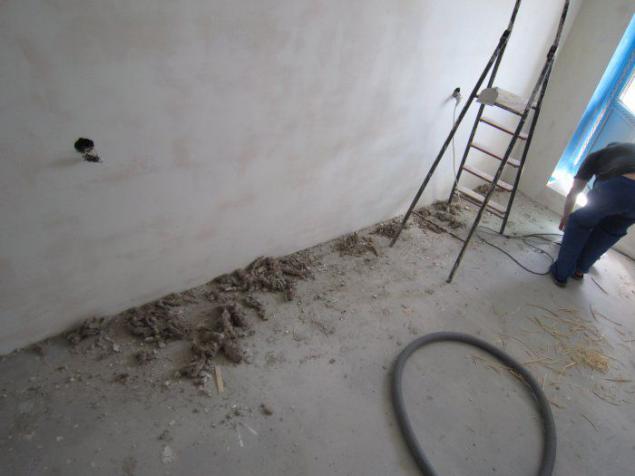
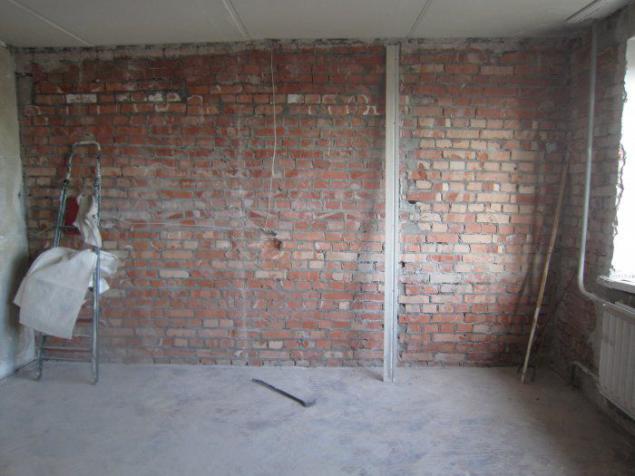
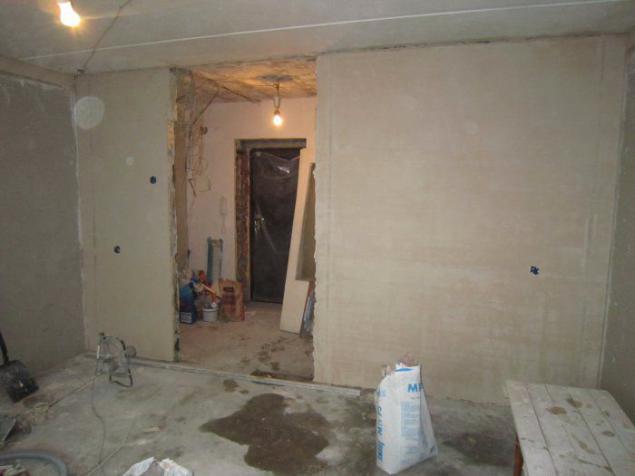
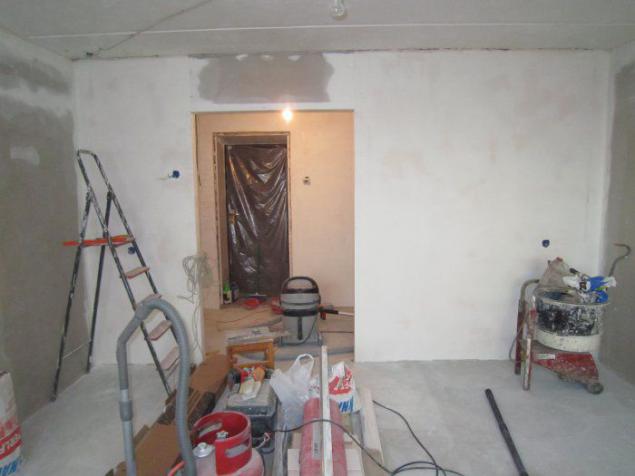
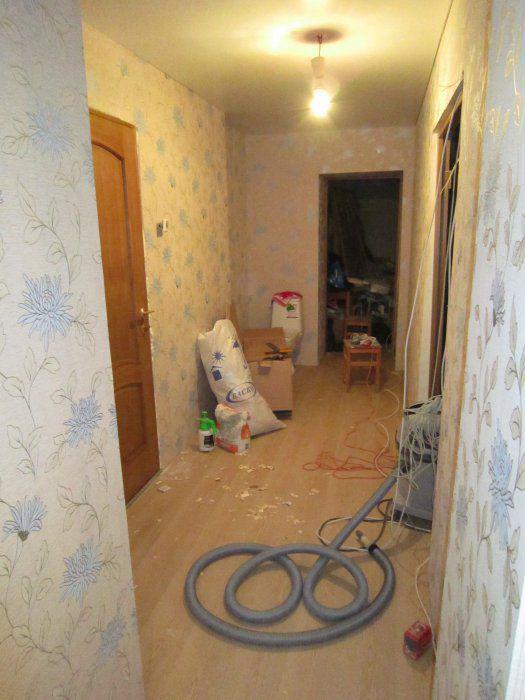
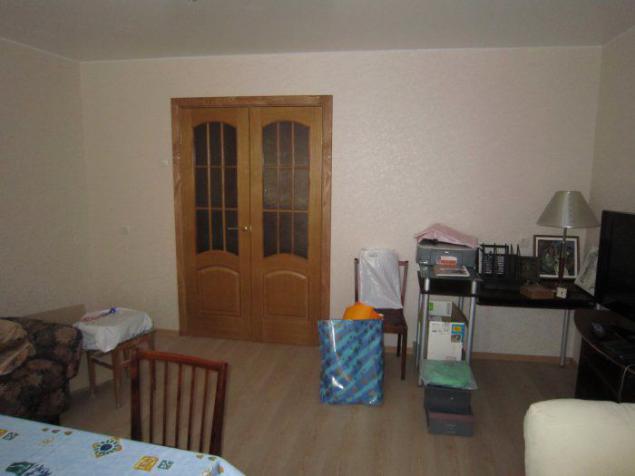
Here is an object-horror, dismantle all that is possible

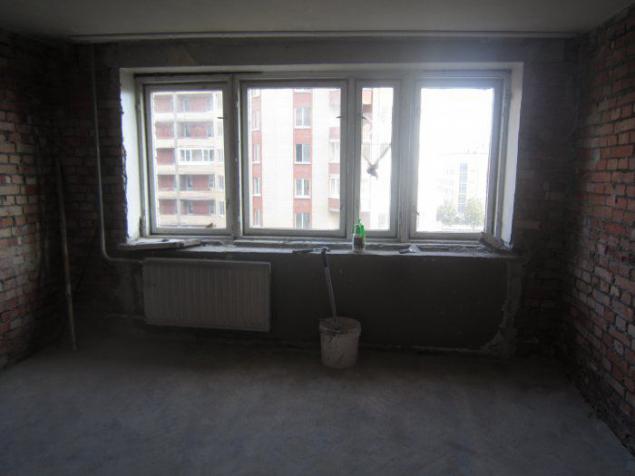
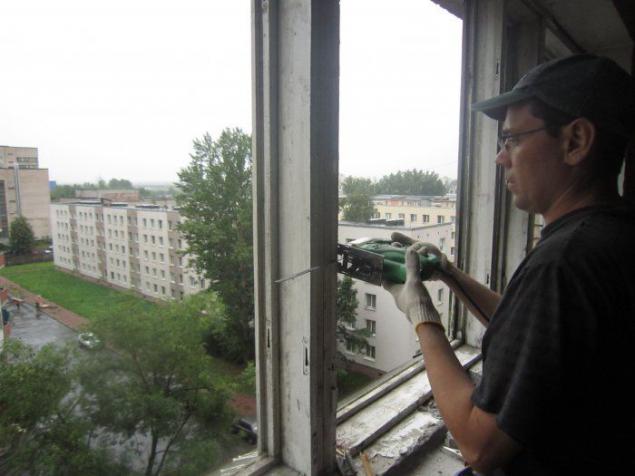
The first step is to install windows, window install other company with which the customer agreed earlier
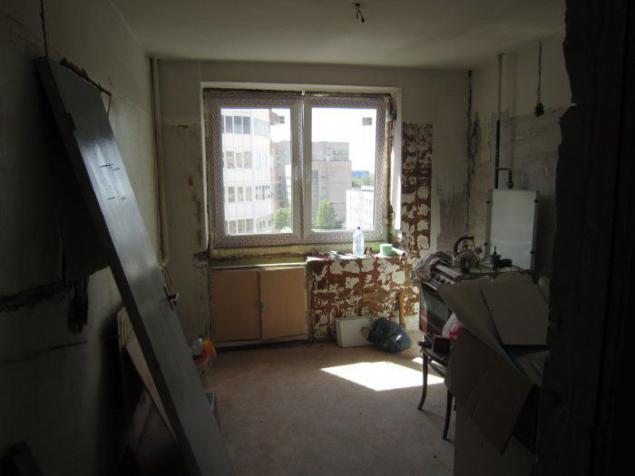
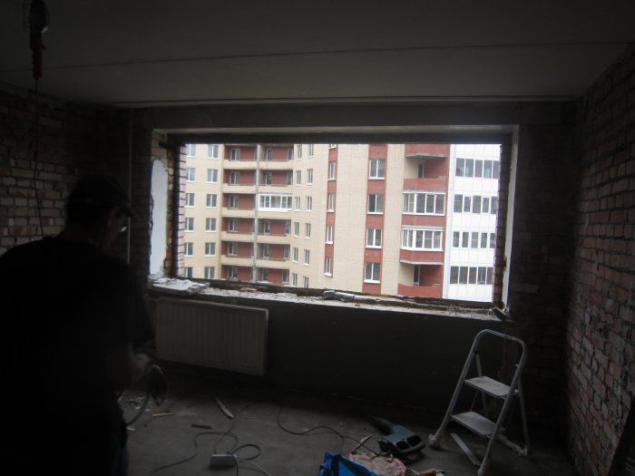
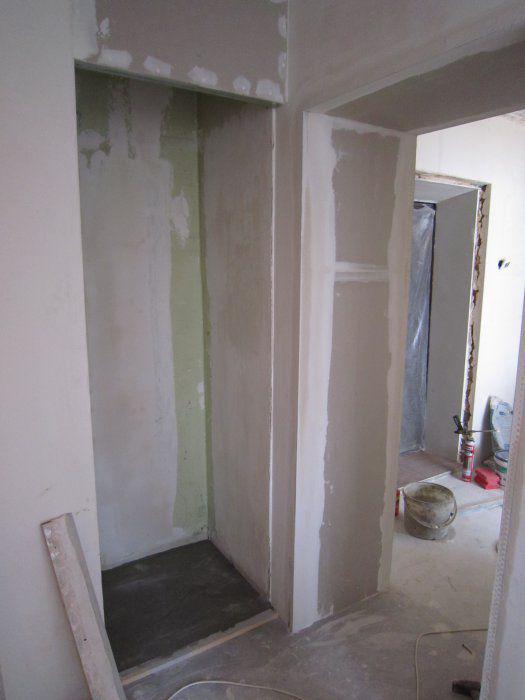
under the window you will notice the cold cabinet, and leaning against the wall behind the door hanging radiator. The logical solution was to insulate the cabinet and install in its place a new radiator
on mounting adhesive sticking Perlfiks extruded polystyrene, then the GCR to the same glue
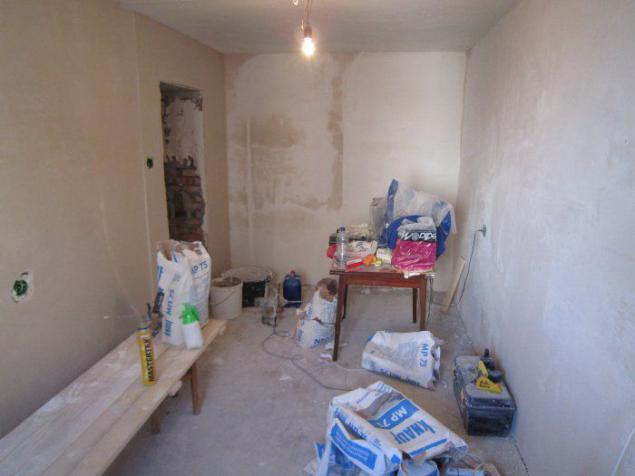
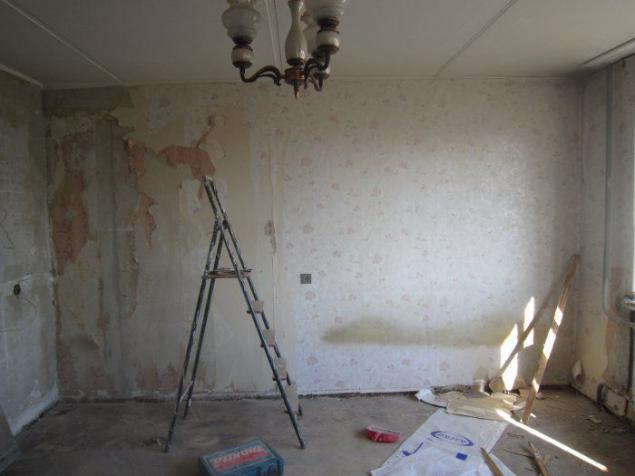
Getting plaster works
first of all put our brand beacons
some use a combination of technology where the alignment of walls, gypsum plasterboard is glued on top Perlfiks, and the bottom layer is smaller plastered
waste gypsum plasterboard can be to wall in a thick layer of plaster
change the DHW pipes and cold-water, eyeliner to the coil, Grooves fill plaster
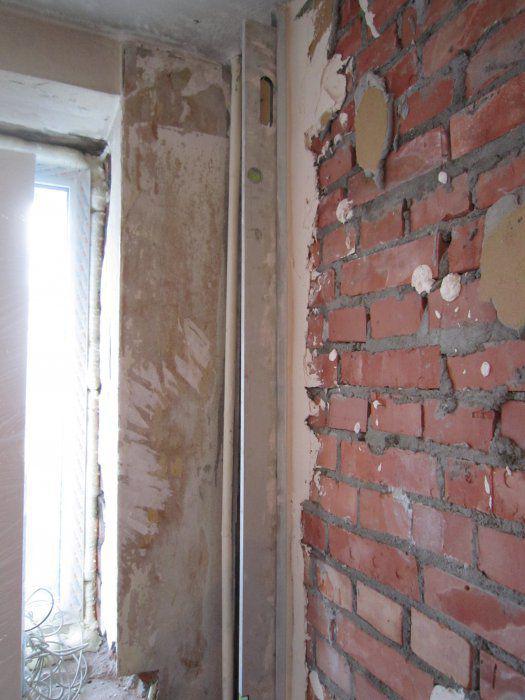
When the plaster angles do not forget about 90 degrees, and of course, vertical
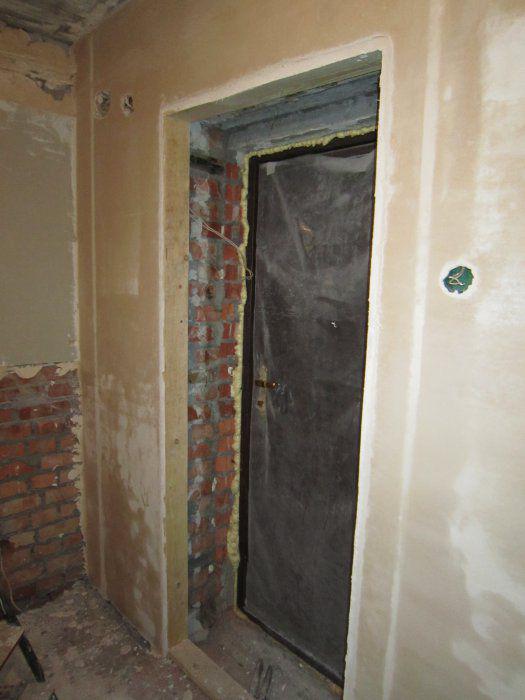
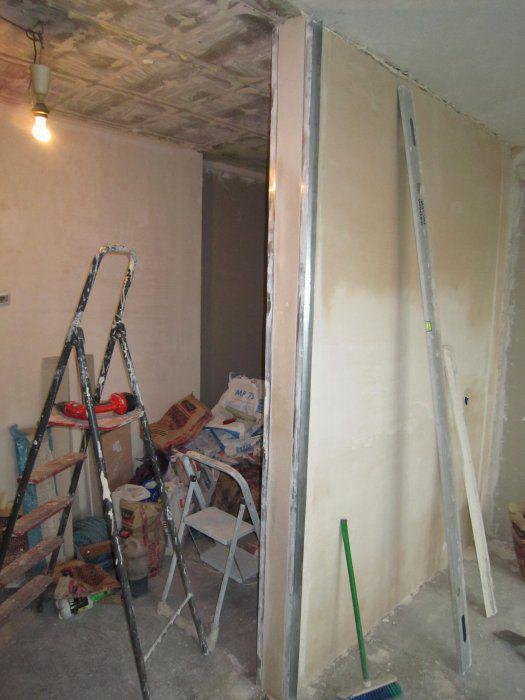
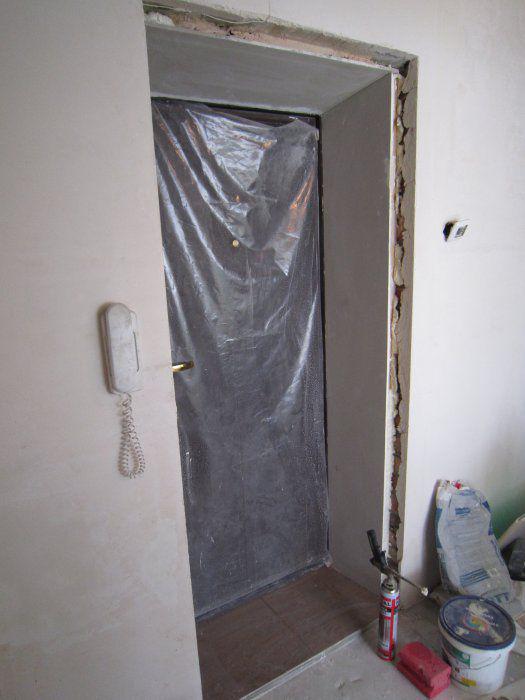
entrance aperture forming using Doschatoe box
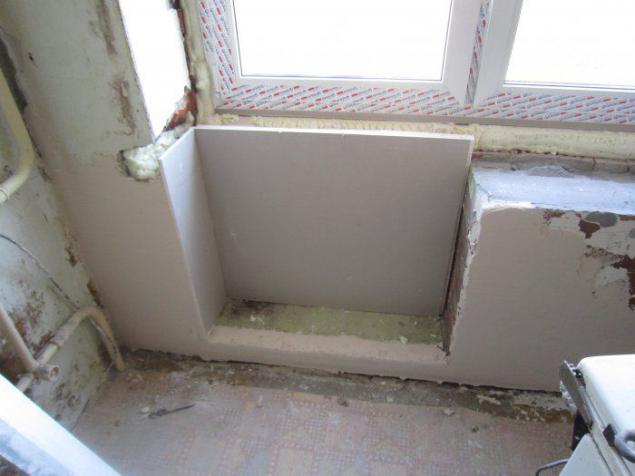
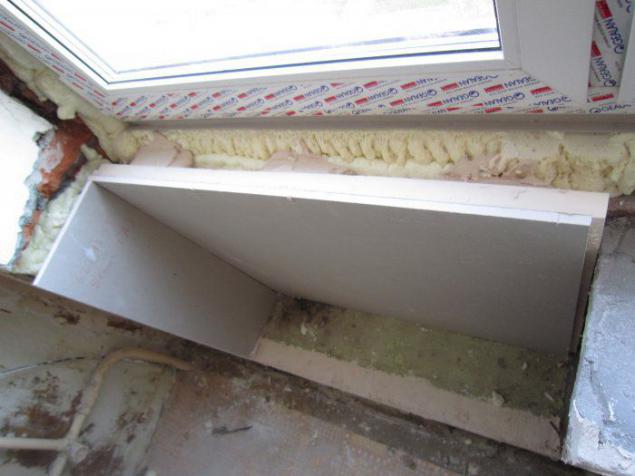
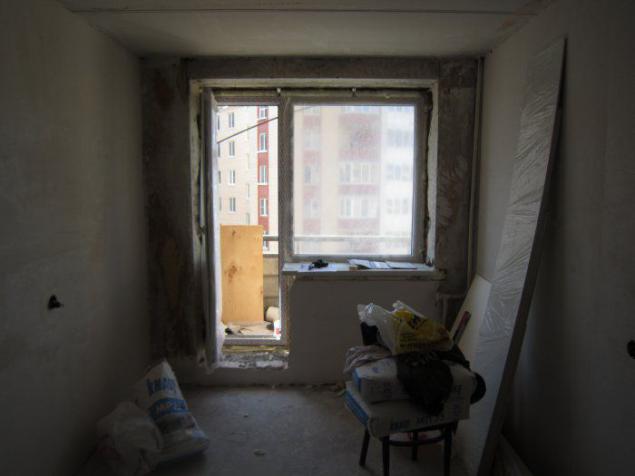
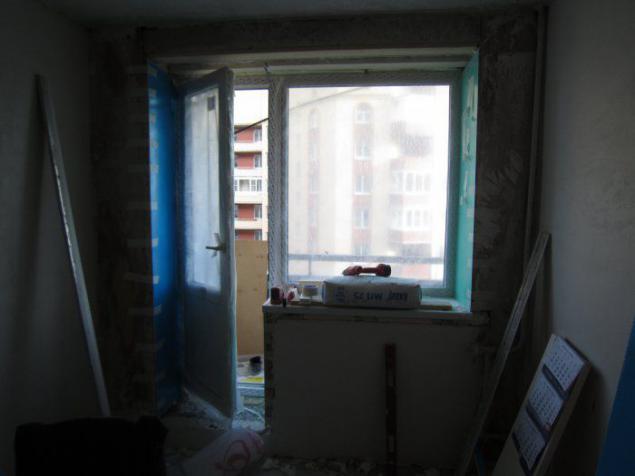
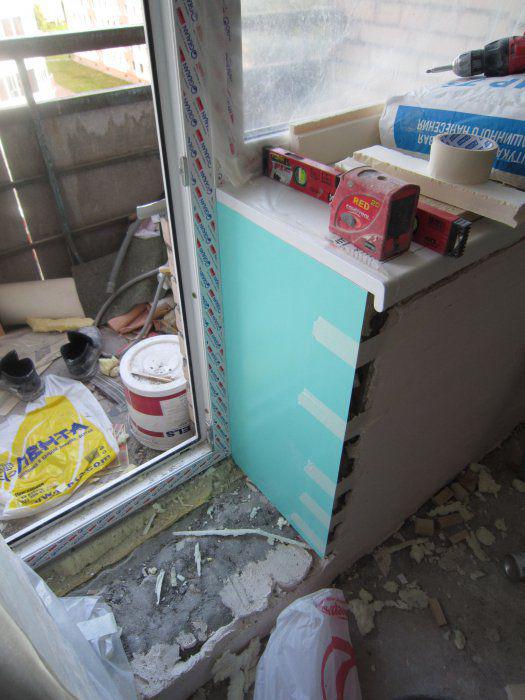
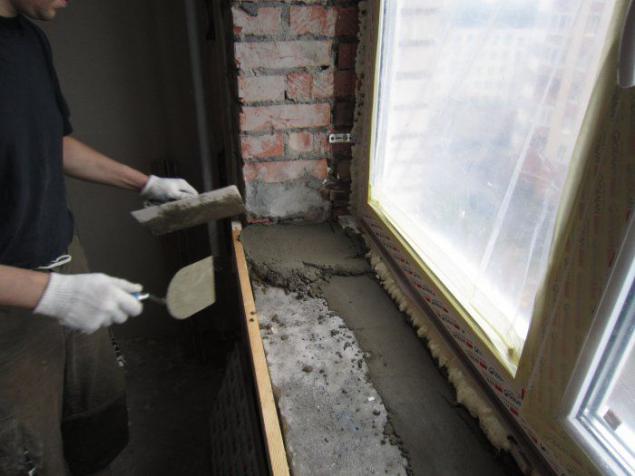
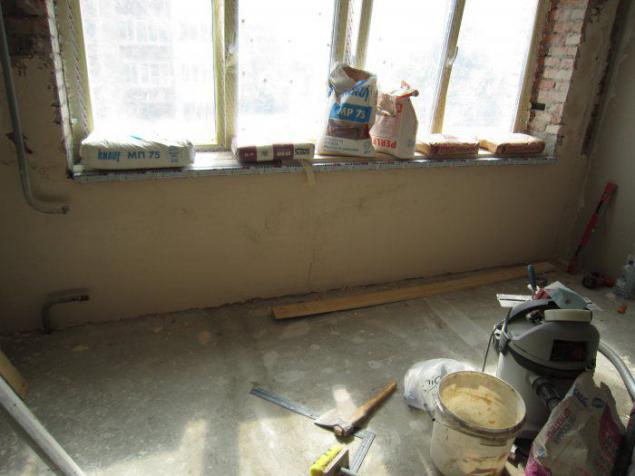
Set the window sill and slopes
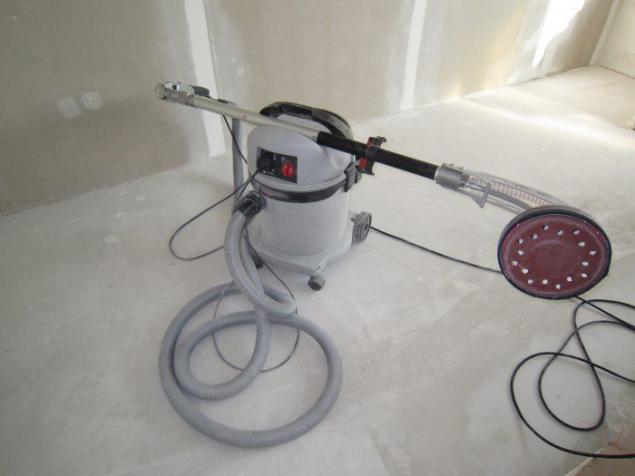
For grinding walls have acquired a special sander, it is connected to a vacuum cleaner, a great thing

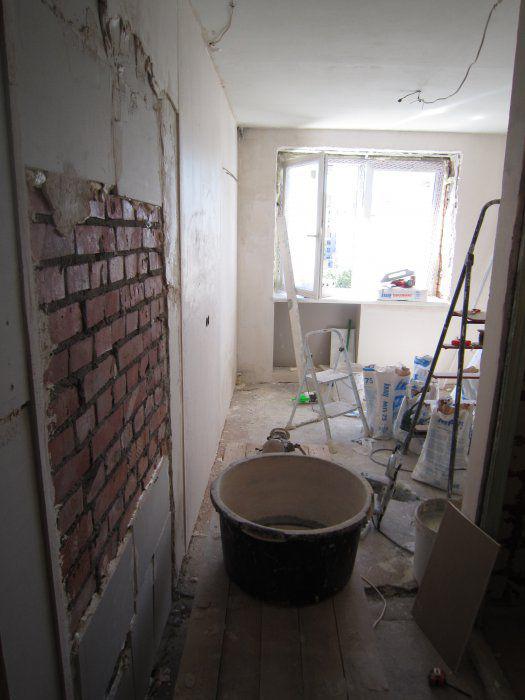
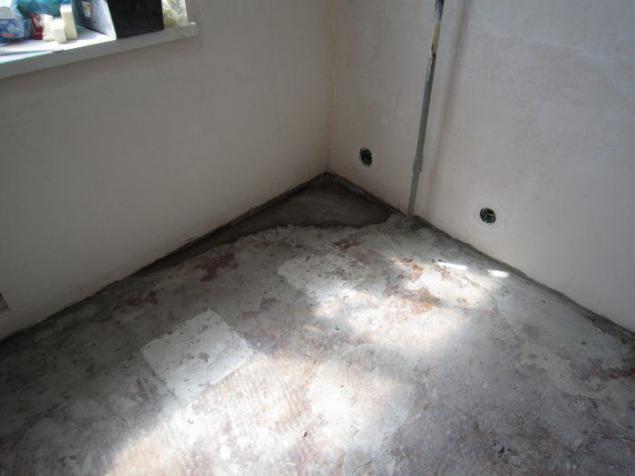
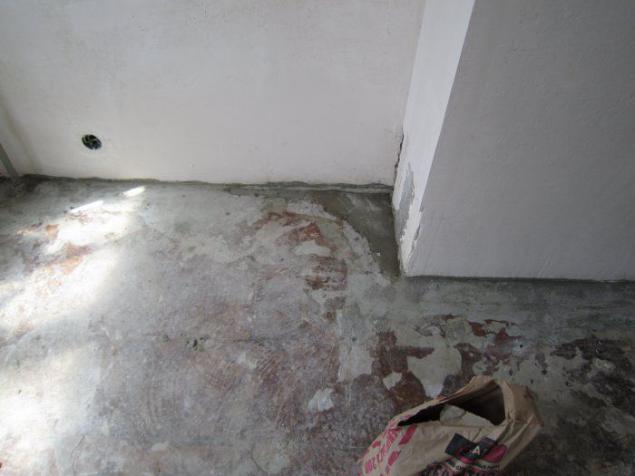
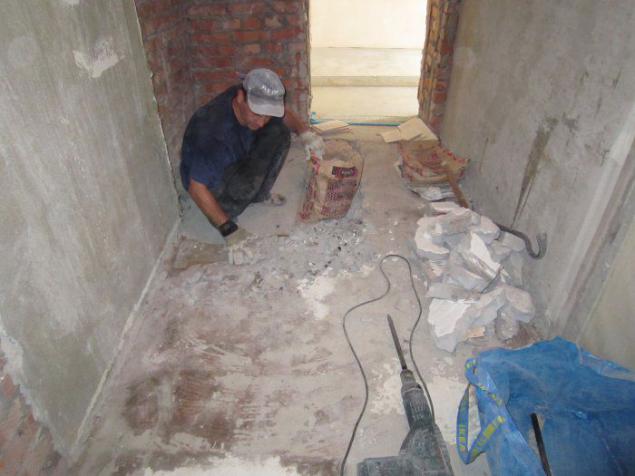
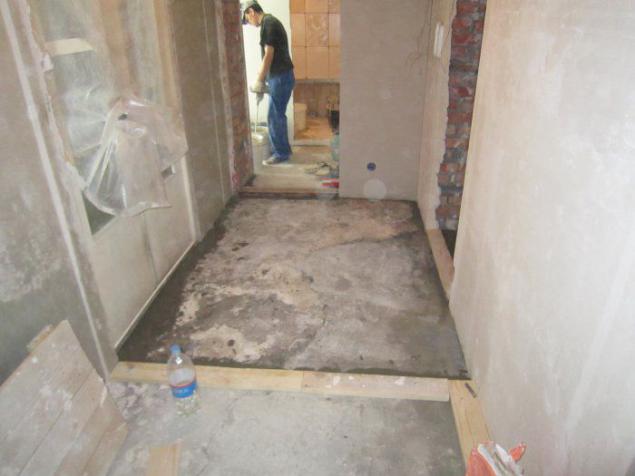
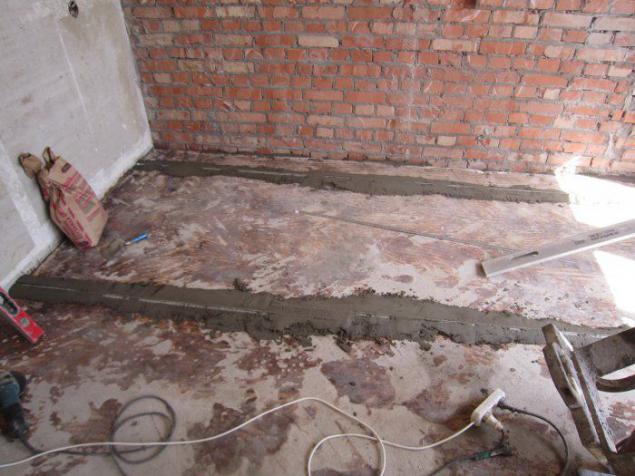
before leveling floors fill in all of the major defects of the floor DSP
Large swings align semi-dry screed without beacons
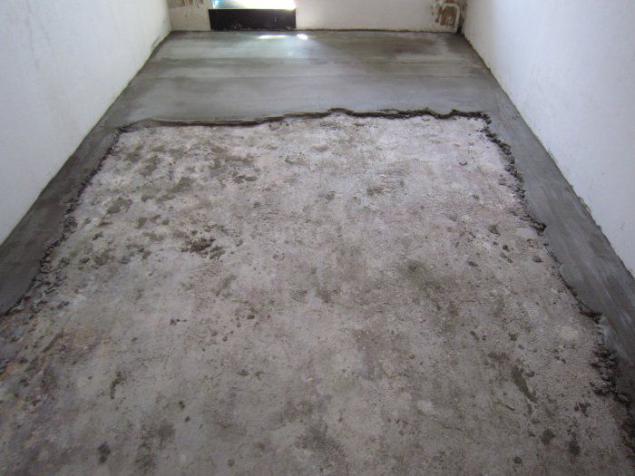
In the corridor of the old ties break offer large crusher
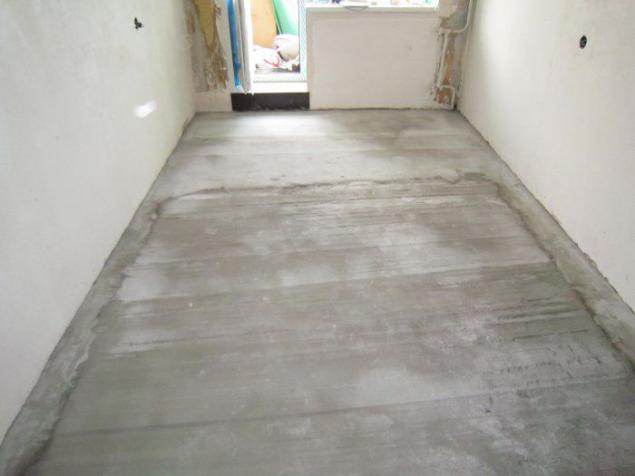
Vacuuming, gruntuem, do a rough alignment, vacuum cleaner gruntuem.
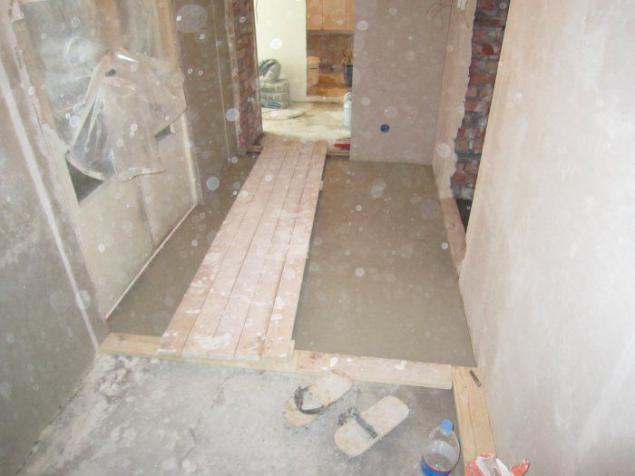
divide the corridor into pieces using materials at hand.
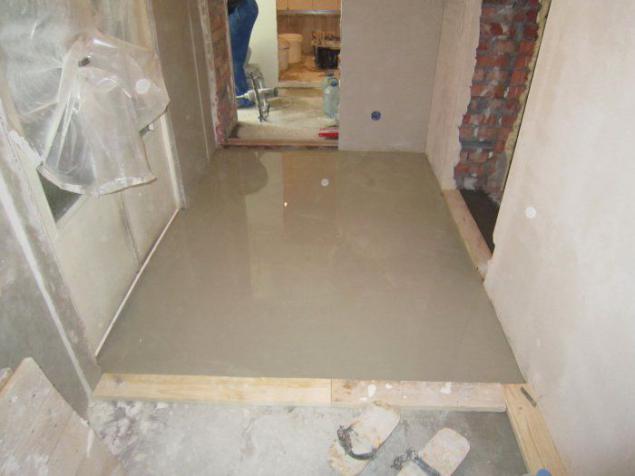
slippers for "walking on water" made of OSB, screws and glamorous strap with strazamii
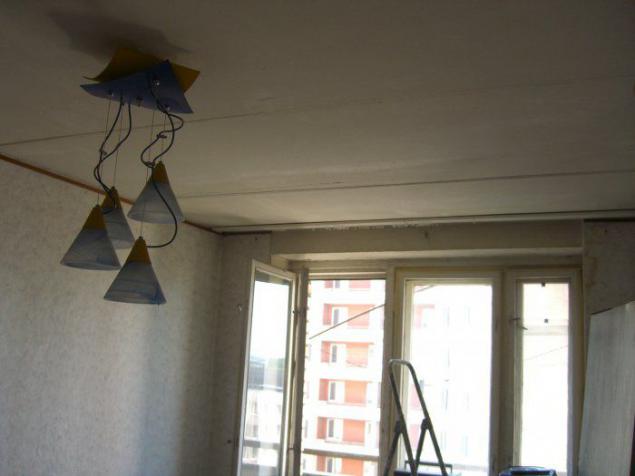
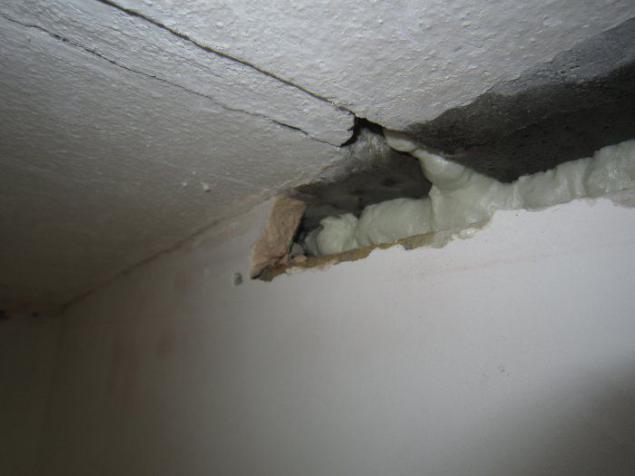
During installation of a stretch ceiling has arisen force majeure, baguette vomited out of the wall
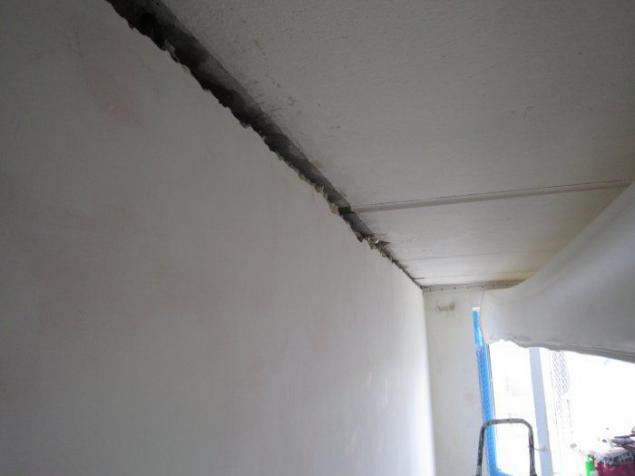
This happened due to the fact that between the wall and ceiling plaster was laid a thick layer of soft seal
After foaming voids ...
cracks patched perlfiksom, putty and pulled the same ceiling. That is why the ceiling is better to pull pasting wallpaper. Another reason for which should be tensioned ceiling to finishing walls is possible hit when installing moldings in wiring (eg, as in this video www.youtube.com/results?search_query=%D0%BF%D0%BE%D0%BF%D0%B0%D0%BB+%D0%B2+%D0%BF%D1%80%D0%BE%D0%B2%D0%BE%D0%B4%D0%BA%D1%83&aq=0L ) Finally, even with the most careful installation of the ceiling is a risk of damage to wallpaper, so we are sticking wallpaper only after a stretch ceiling, and floor coverings Staley also after them.
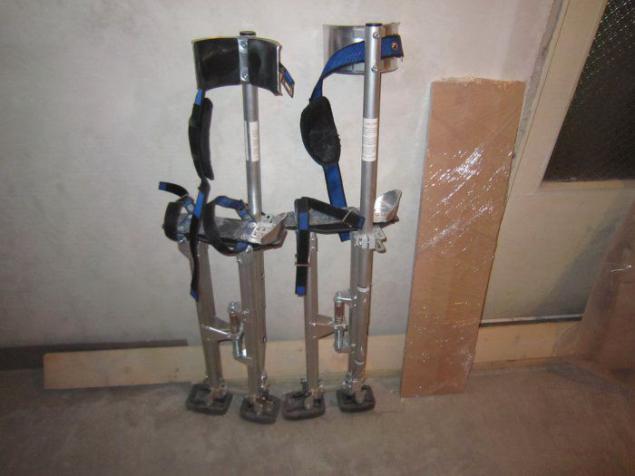
Here is a miracle of technology called the building stilts, with their help, all work at height, including the ceilings are made much faster. In Russia, these do not buy, and if you sell are expensive. Bought through e-bay. Then Yeshe want to buy something, but more on that later.
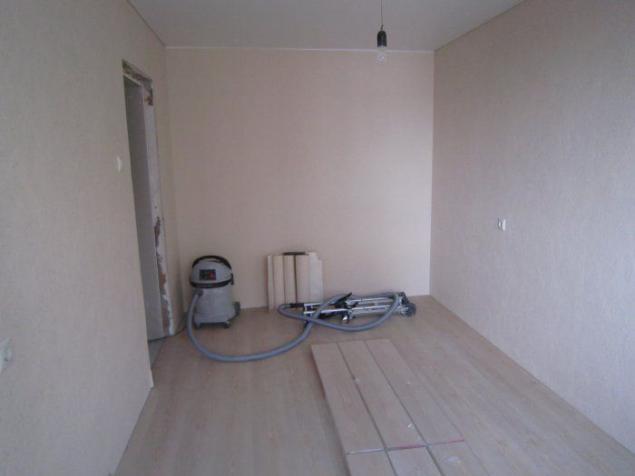
mandatory attribute when finishing this vacuum cleaner. As the saying goes, cleanliness - the key to quality
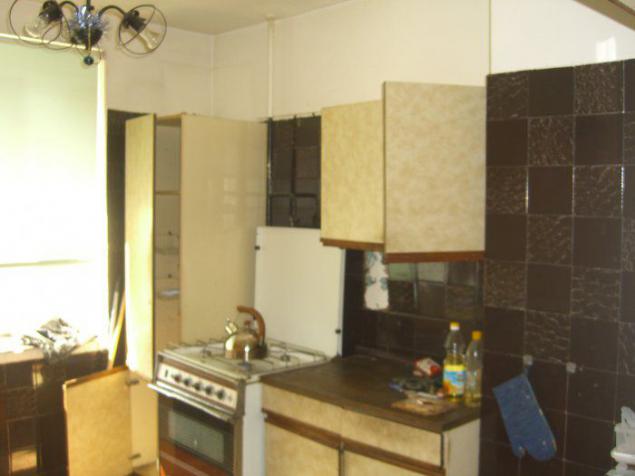
finishing kitchen
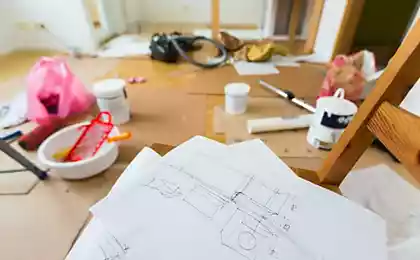
At this stage one end, open the sealed room, give the customer time to transfer things. Since the time the customer is small and it can do so only at the weekend, leaving to another facility for 10 days. The object is the kitchen in the old fund, where we did redecorating, later also lay fototchet.
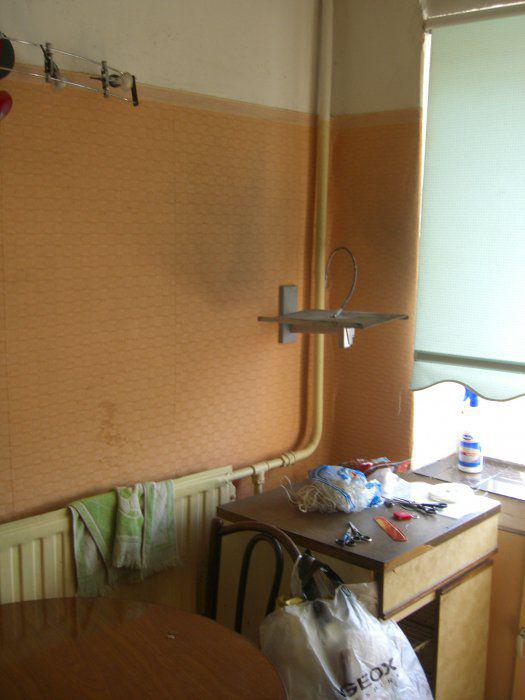
So, we came back, the middle room is empty again dismantling (((
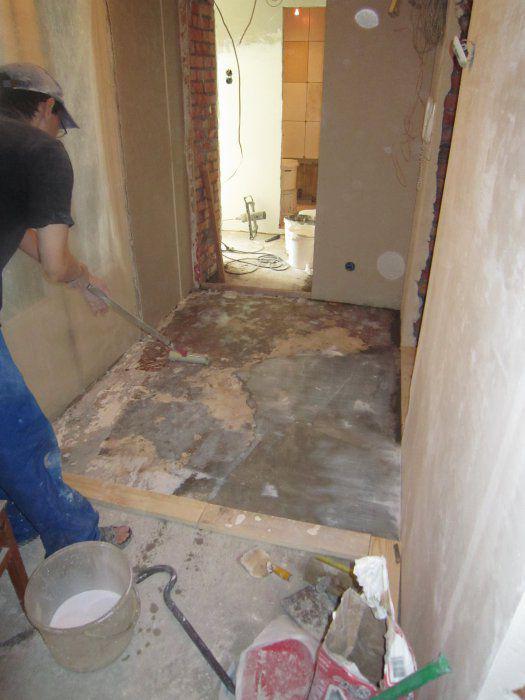
First removed the wallpaper, but then decided to dismantle and drywall, too, very much it buhtela
The first thing we level the floor beacons, it brought a special mixer
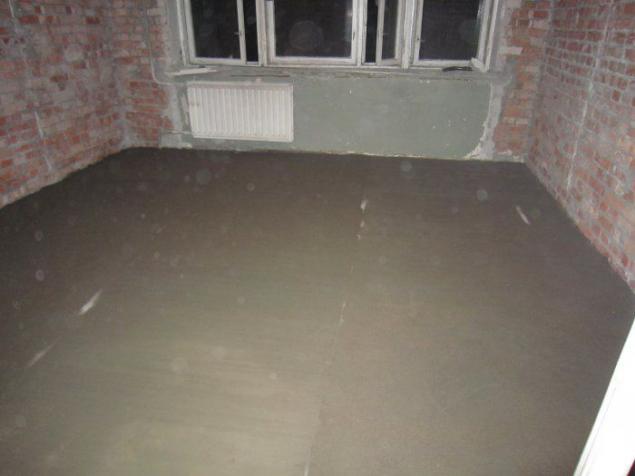
In this room, we will do without finishing rovnitelya since It is expensive, and cheap DSP 75 p / 25kg, so gruntuem and put beacons
Screed poured for several hours about how it prishodit watch the video www.youtube.com/watch?v=HscAJu5hEdU

and install new about this can be found here www.youtube.com/watch?v=VC2buiPi5_M

Align residues DSP base under the sill
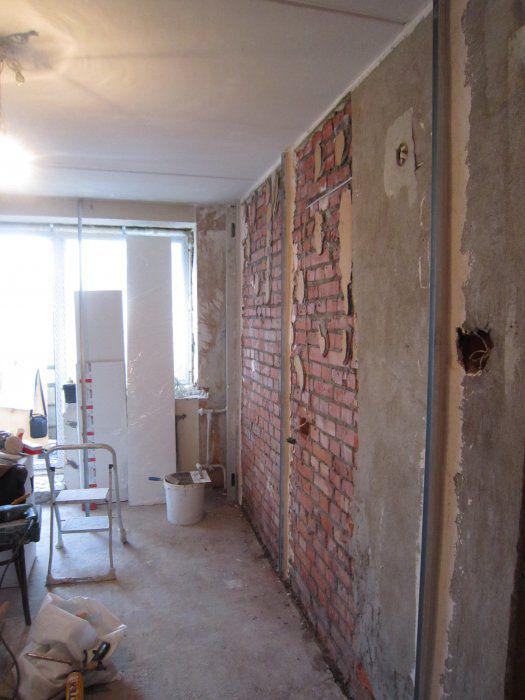
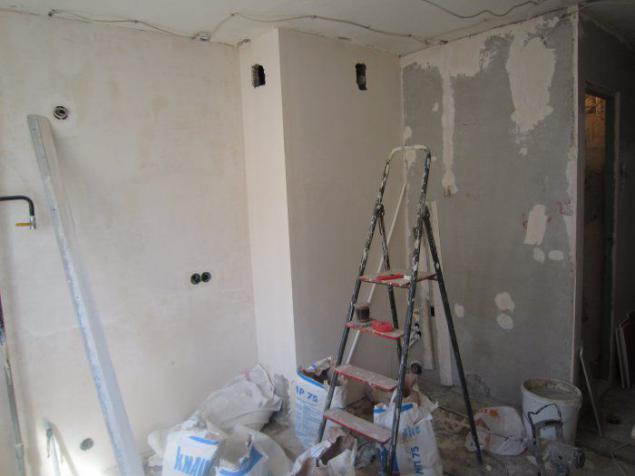
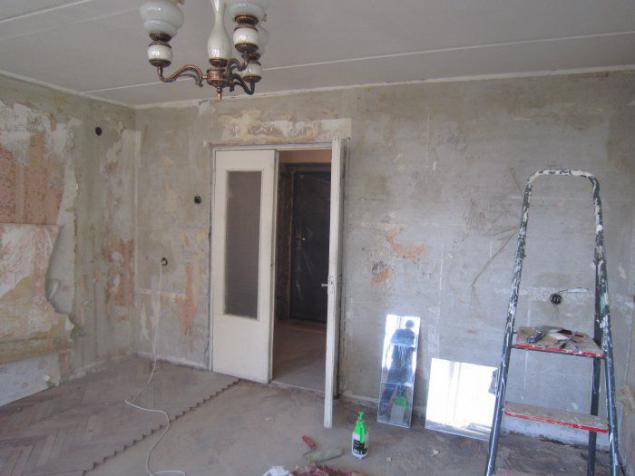
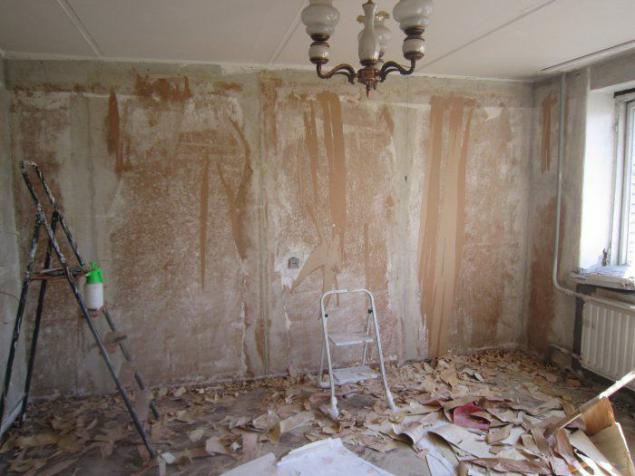
Plasterer Wall
and forming an opening
put sill length 3, 2m, more does not seem to happen
installation of slopes and sill elaborated on video www.youtube.com/watch?v=tcqq6QB3FdM
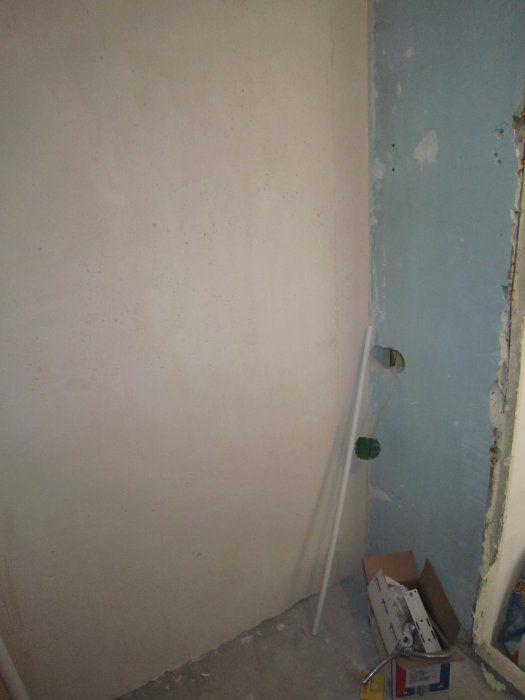
parallel do the bathroom, part of the walls plasterers, as they overwhelmed
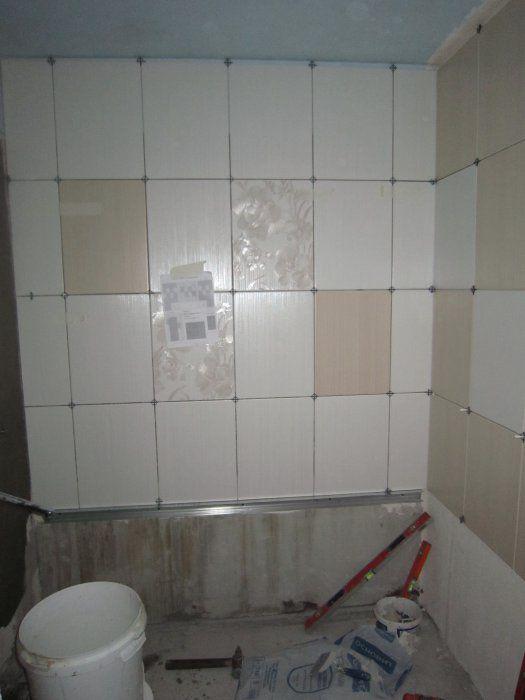
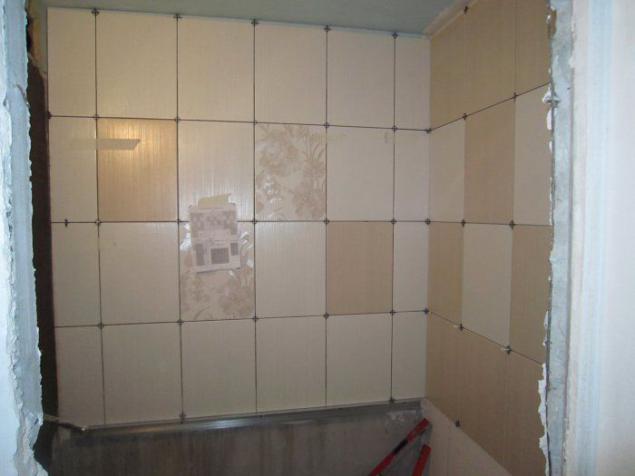
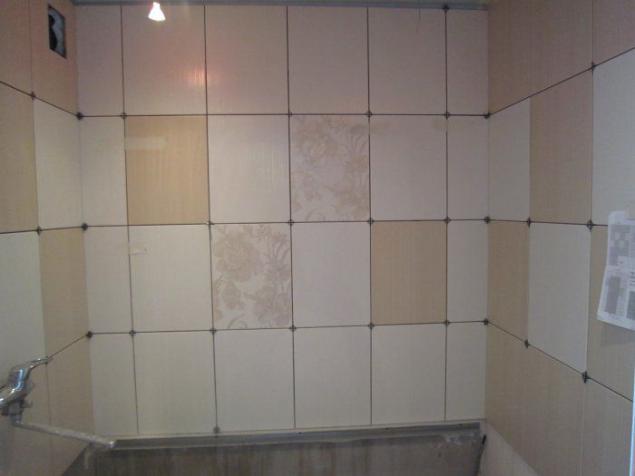
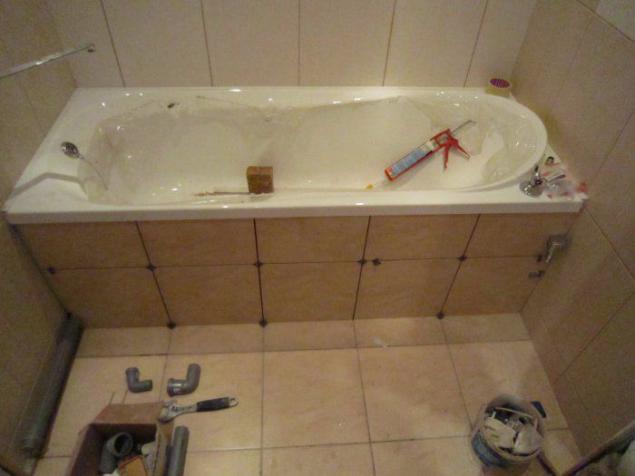
Tile large, inexpensive. Just specify a design I have nothing to do, so I ask this side of the issue is not evaluated. My goal - to show the process.
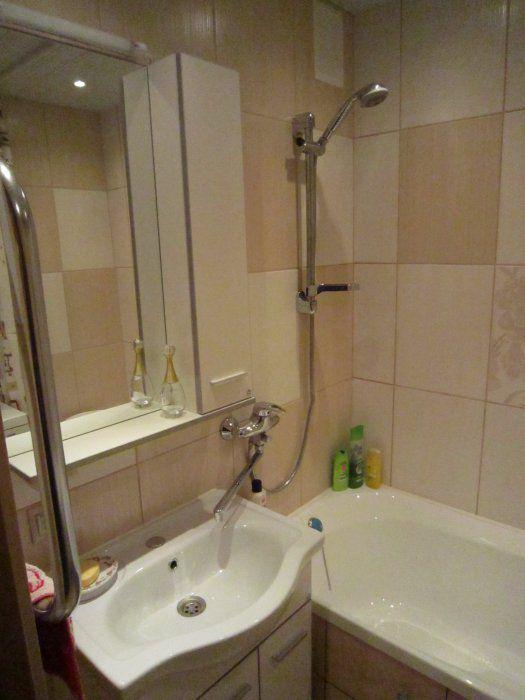
Bath frameless acrylic, mounted on concrete blocks and foam. Rim rests on a wooden board antiseptirovannnye attached perimeter
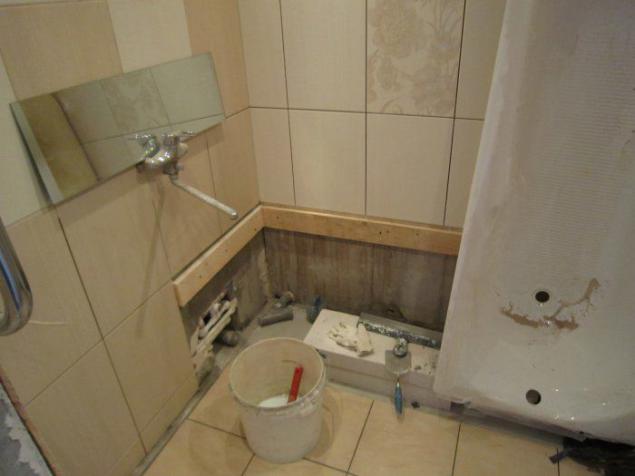
I want to clarify one point. In this house santehkabiny of gypsum panels mounted on a concrete support frame, the frame appears at the site of the threshold and the floor along the inside of the bathroom. After consulting with the customer decided not to cut down the projecting parts, and result in "a divine form»
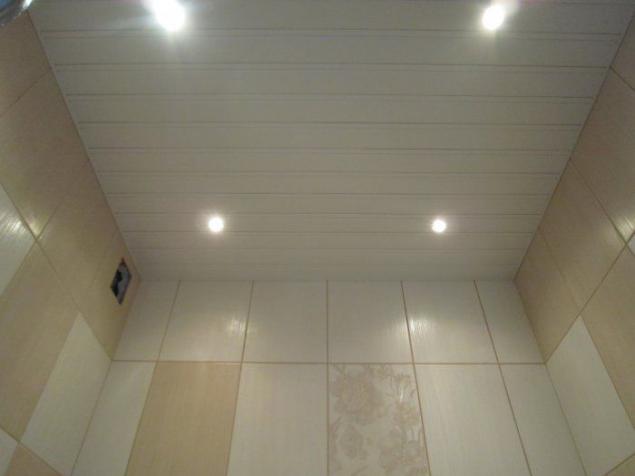
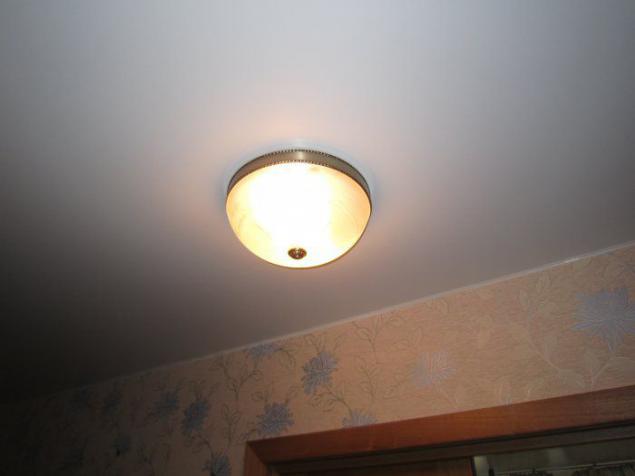
Derive the lighting on the ceiling using galogenok and block smooth start shetale, it hangs close to the near left lamp
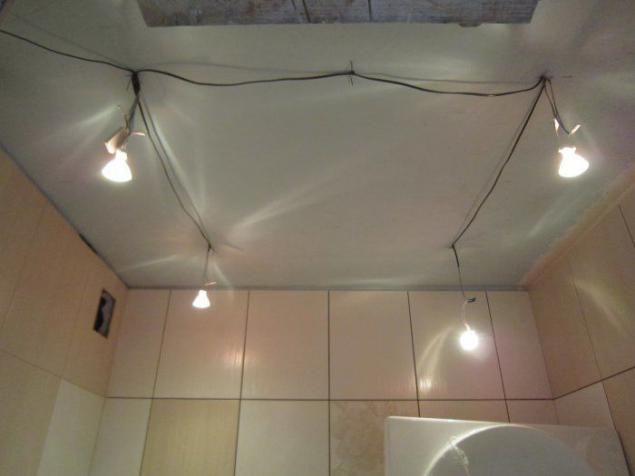
white matte ceiling batten
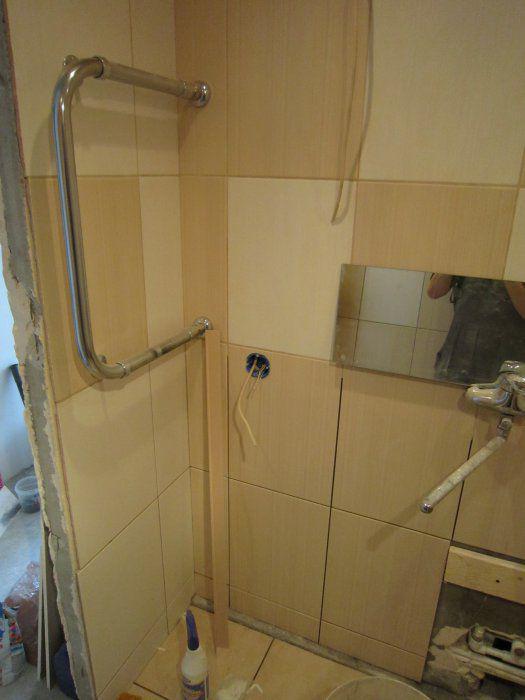
Bath screens of tiles on gypsum fiber board and metal frame with two removable hatches on magnets, removable middle part increases the rigidity of acrylic bath (on a side, you can get up)
opening hatch right
and left the door
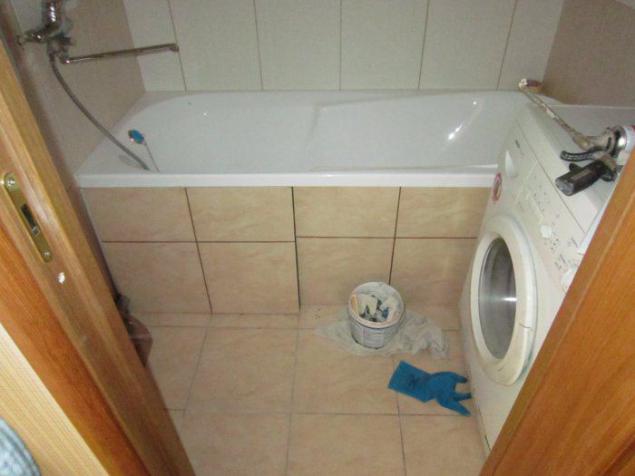
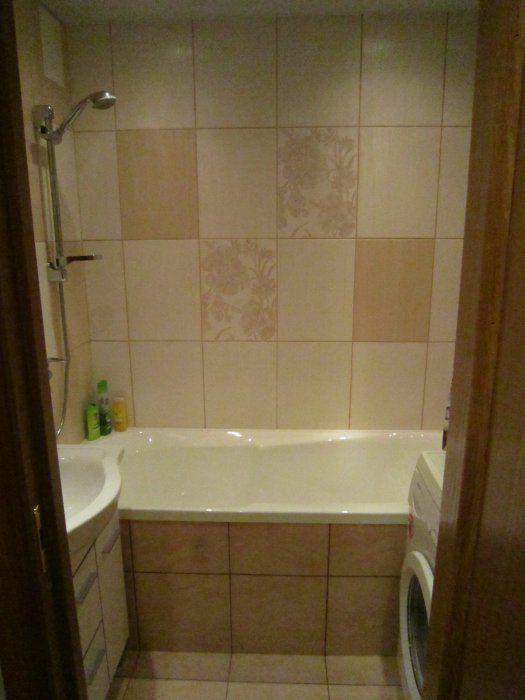
The doors are other masters, but the customer does not like the bathroom door trims and transoms, so we put plastic corners. On the threshold lies dosochki beech lacquered and bolted to the bottom of the glue + sikabond
Note that, as performed by contiguity acrylic baths to tile, this is the usual PVC corner 15x15. As its set- single technology. To install the bracket only masking tape, foam and sealant. As a lay out step by step instructions

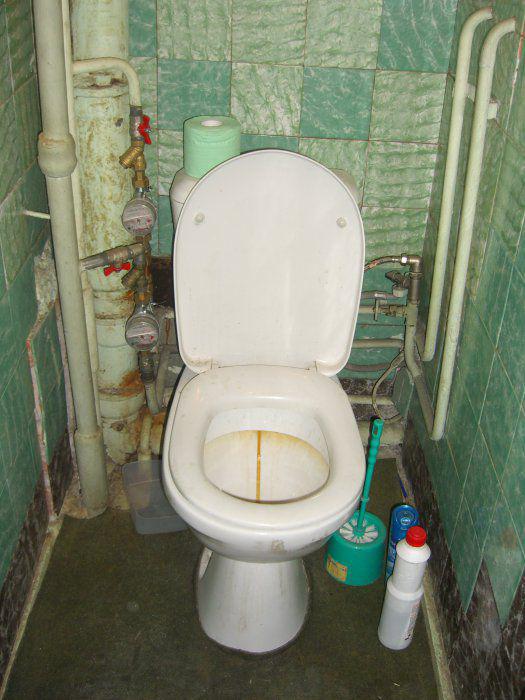
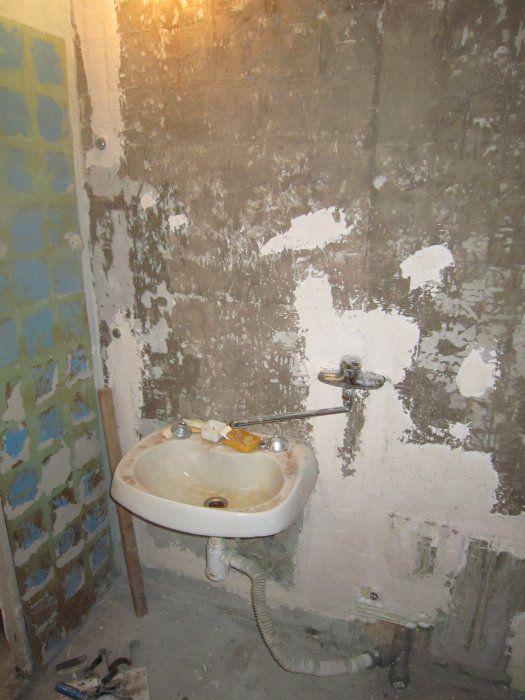
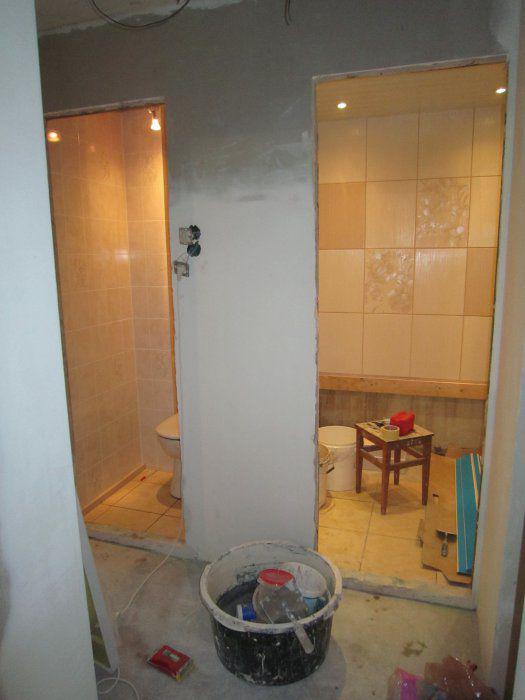
Getting to the finish toilets, to start to clean off the old paint from the walls
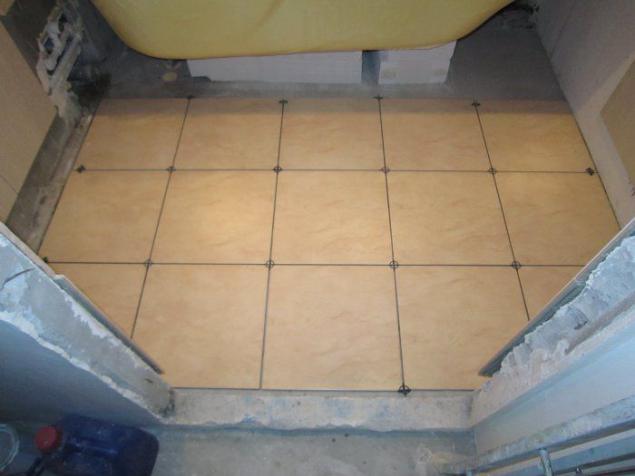
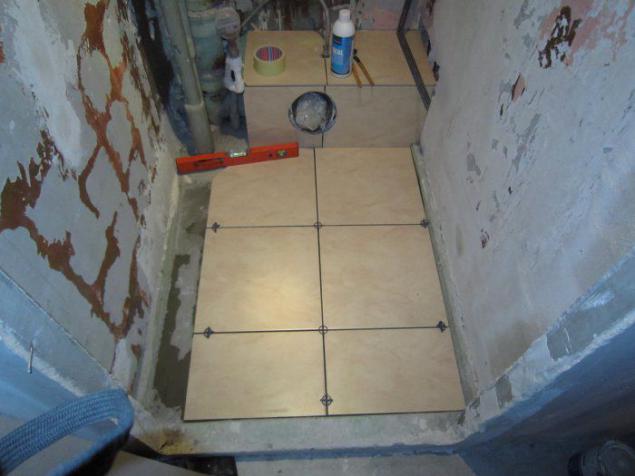
and floor tiles laid on a pre-leveled floor

the walls Klim moisture resistant MDF sheets "under the tile»
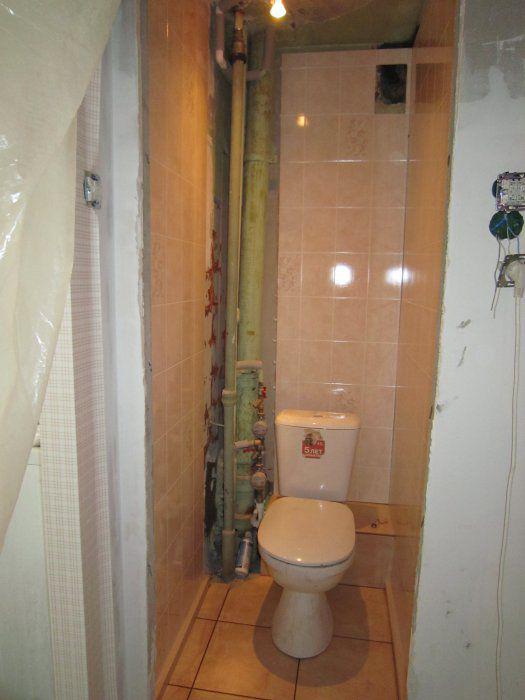
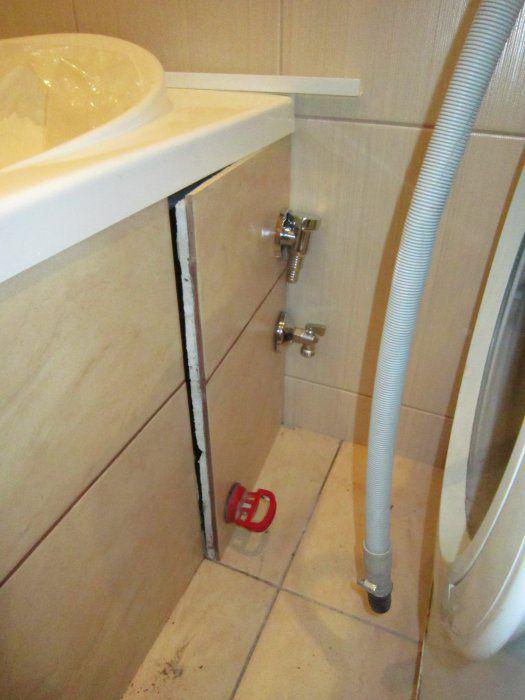
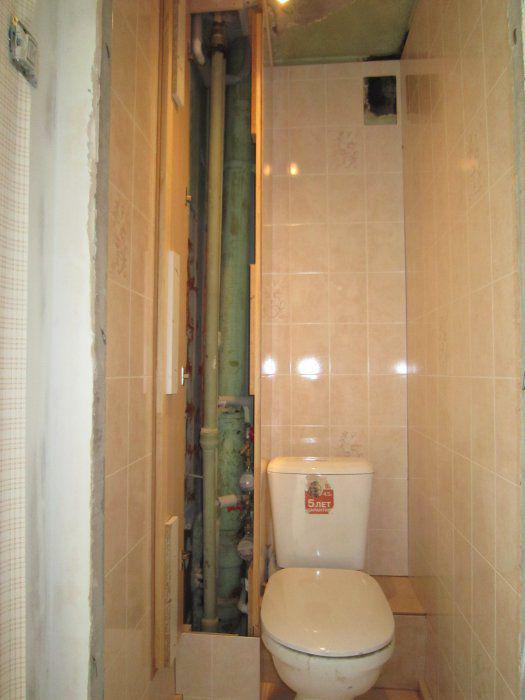
and collect folding box for pipes
The right wall of the box bolted to the floor, ceiling and back wall latches. The front wall at the furniture hinges open to the entire height. Thus, we have full access to the pipes for emergency cases
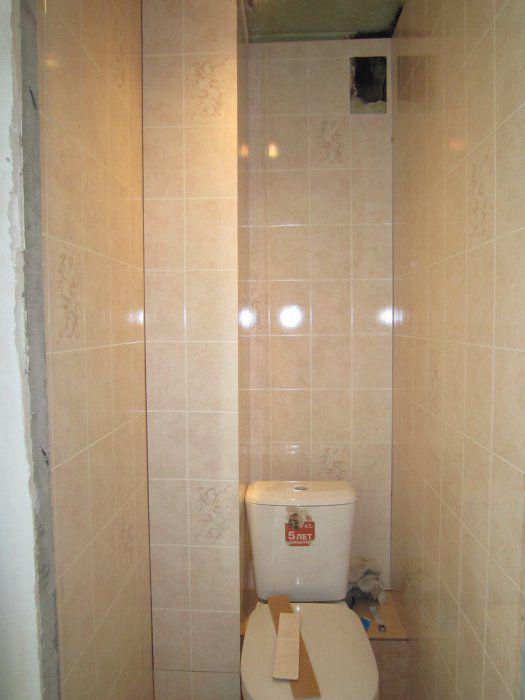
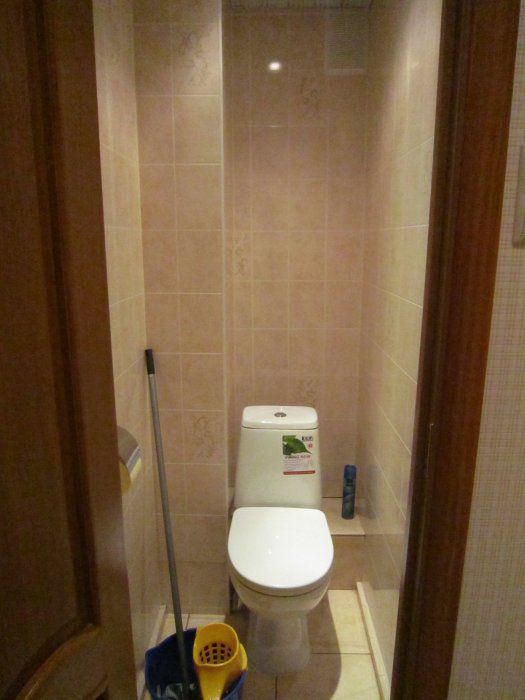
And so it became a new toilet ...
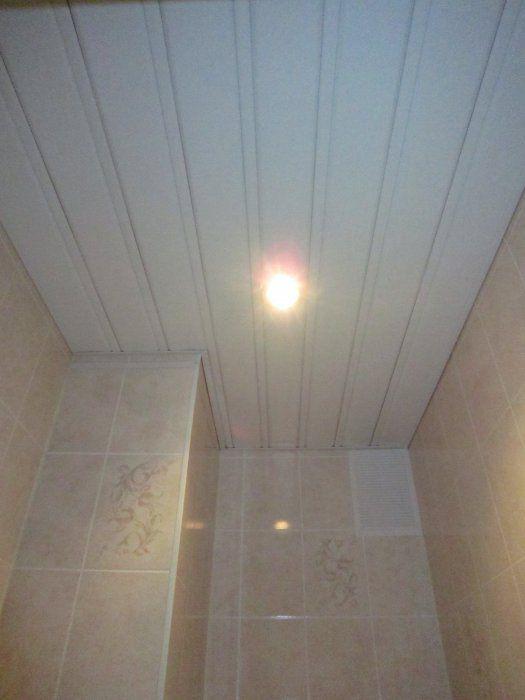
suspended ceilings and halogen lamps
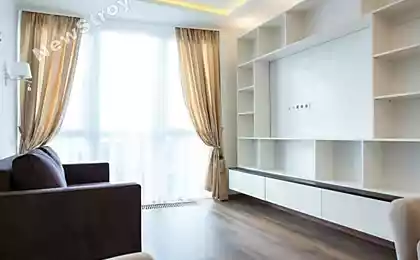
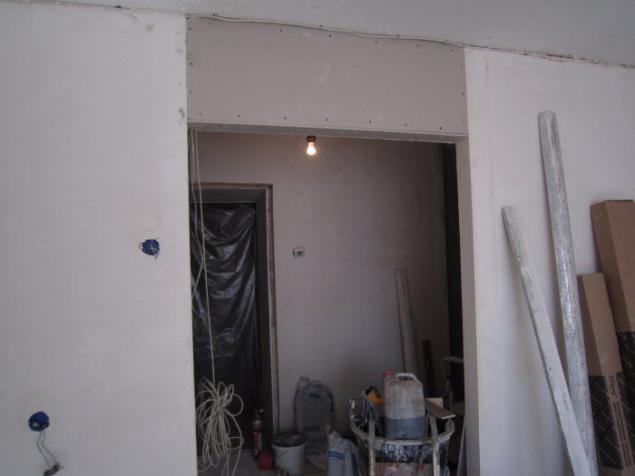
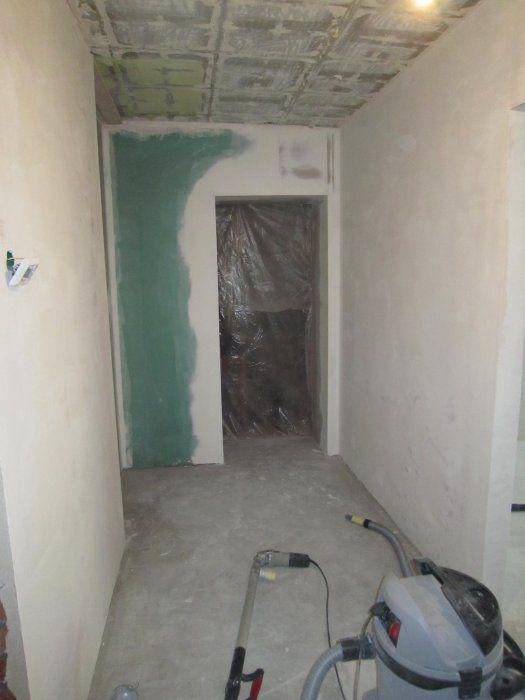
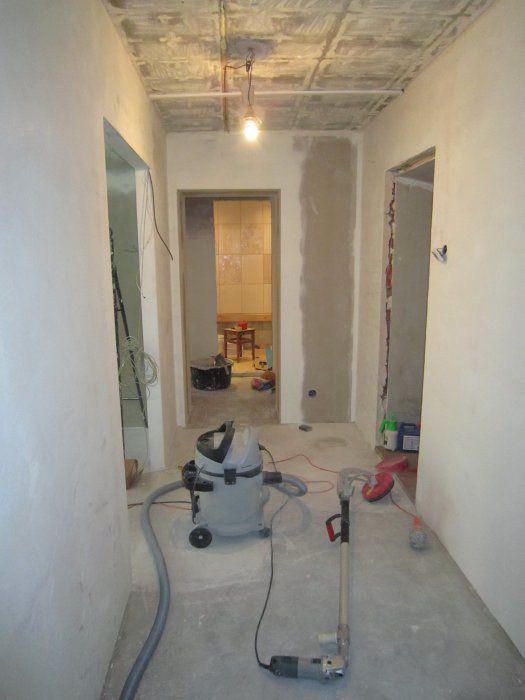
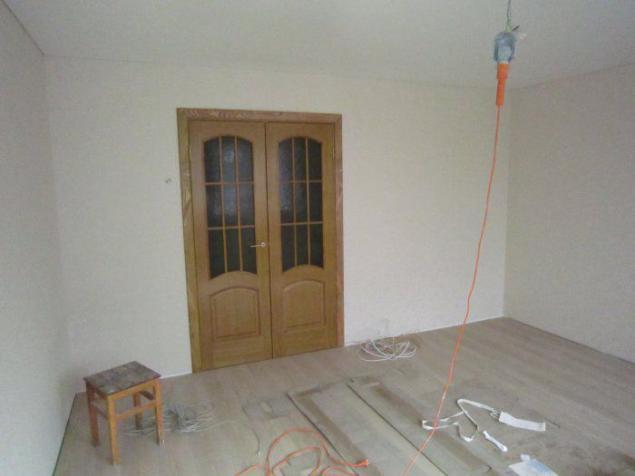
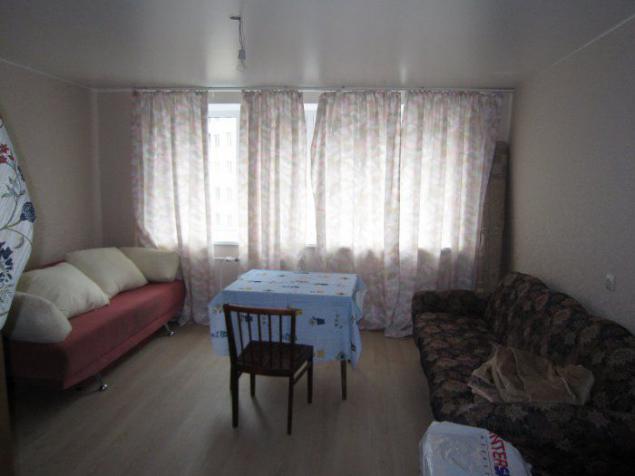
Parallel to the corridor and continue to furnish a large room. In the vestibule put drywall and a quarter into the second door
installation of galvanized corners at angles
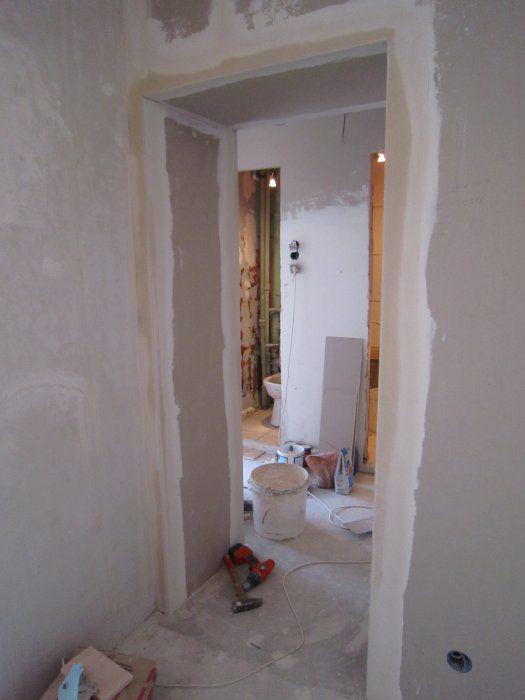
forming a doorway

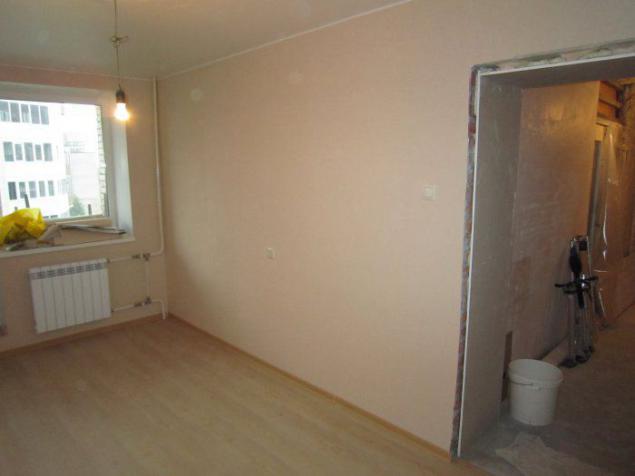
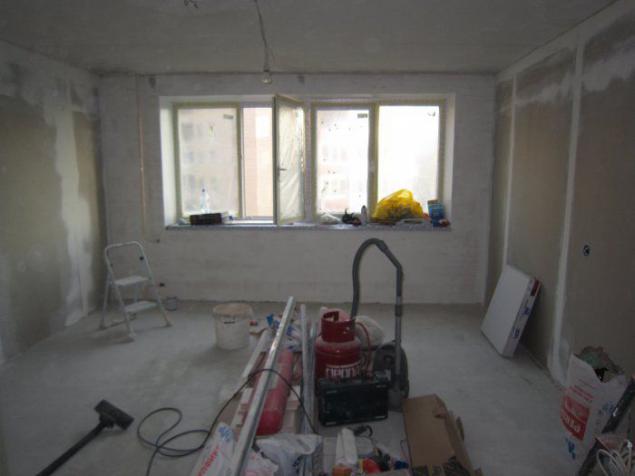
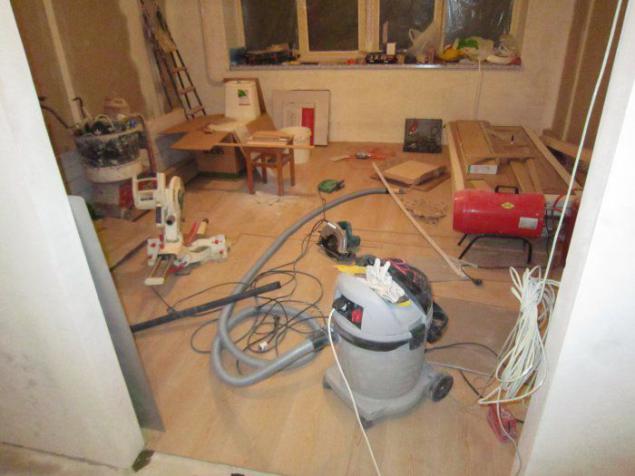
built-in cabinet is not particularly bother, but the floor is still align
putty, sanding dust
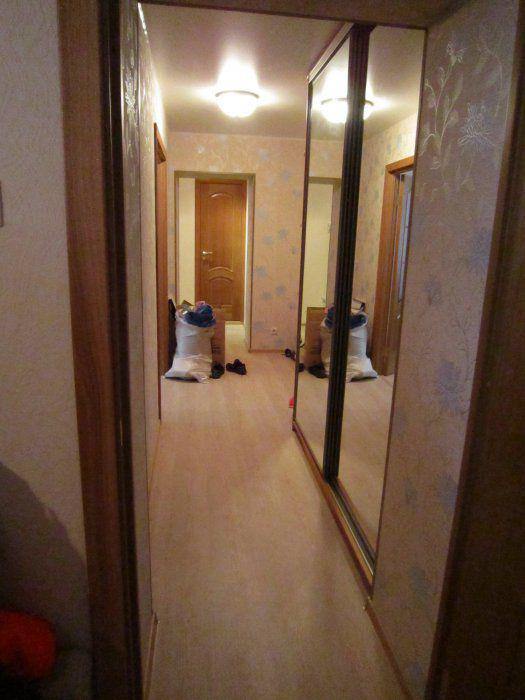
the installation of a stretch ceiling is on video in the same YouTube page, and now he was ready
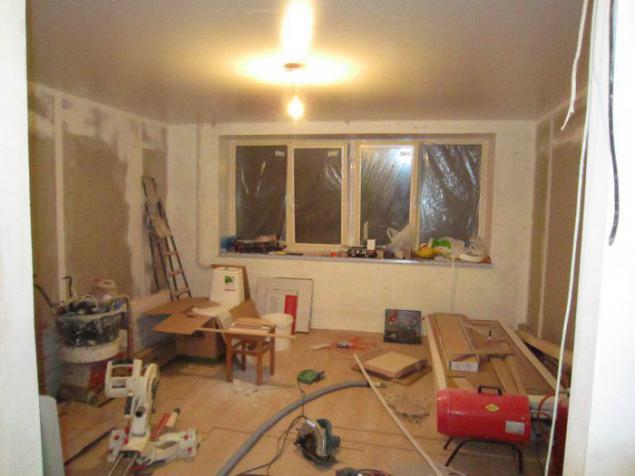
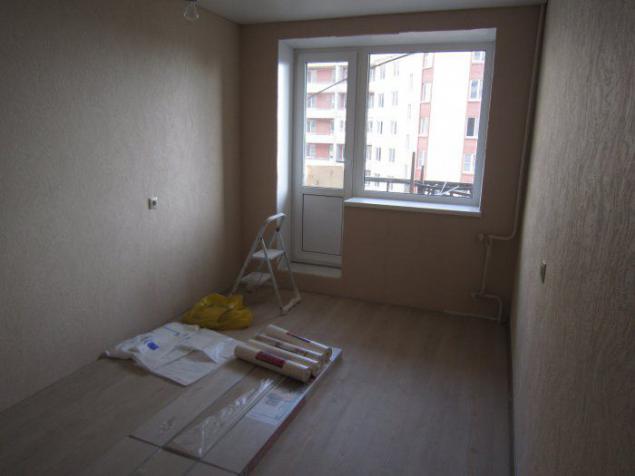
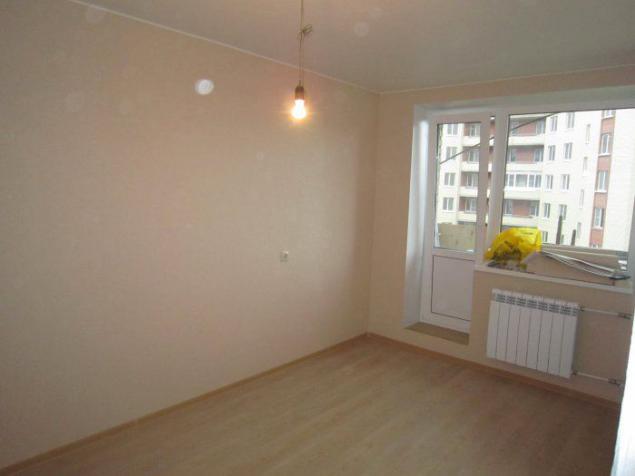
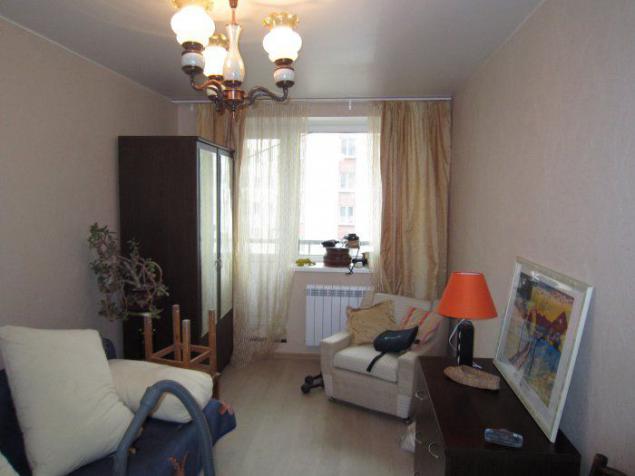
laminate flooring throughout the apartment the same


Kitchen. The furniture is very cheap "Spectrum". Approximate cost 12-14t.r for everything! I do not remember exactly.
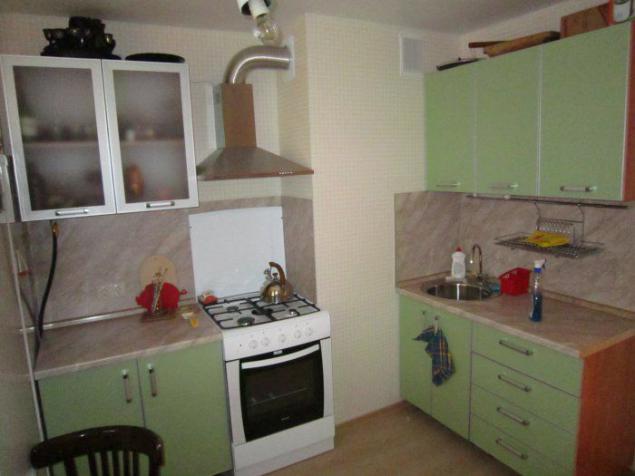
Old furniture has taken its place, but in the words of the customer "charm has not given»
Well, that, in principle, and all. Photographed in the process of cleaning, so I apologize for the mess.
Source:


parquet fell off himself, dismantling was to collect it from the floor and folded into bags.


This pipe leads to the coil in the bathroom


Here is an object-horror, dismantle all that is possible


The first step is to install windows, window install other company with which the customer agreed earlier

under the window you will notice the cold cabinet, and leaning against the wall behind the door hanging radiator. The logical solution was to insulate the cabinet and install in its place a new radiator

on mounting adhesive sticking Perlfiks extruded polystyrene, then the GCR to the same glue

Getting plaster works

first of all put our brand beacons


some use a combination of technology where the alignment of walls, gypsum plasterboard is glued on top Perlfiks, and the bottom layer is smaller plastered

waste gypsum plasterboard can be to wall in a thick layer of plaster

change the DHW pipes and cold-water, eyeliner to the coil, Grooves fill plaster

When the plaster angles do not forget about 90 degrees, and of course, vertical


entrance aperture forming using Doschatoe box

Set the window sill and slopes


For grinding walls have acquired a special sander, it is connected to a vacuum cleaner, a great thing


before leveling floors fill in all of the major defects of the floor DSP


Large swings align semi-dry screed without beacons


In the corridor of the old ties break offer large crusher

Vacuuming, gruntuem, do a rough alignment, vacuum cleaner gruntuem.

divide the corridor into pieces using materials at hand.


slippers for "walking on water" made of OSB, screws and glamorous strap with strazamii

During installation of a stretch ceiling has arisen force majeure, baguette vomited out of the wall

This happened due to the fact that between the wall and ceiling plaster was laid a thick layer of soft seal

After foaming voids ...

cracks patched perlfiksom, putty and pulled the same ceiling. That is why the ceiling is better to pull pasting wallpaper. Another reason for which should be tensioned ceiling to finishing walls is possible hit when installing moldings in wiring (eg, as in this video www.youtube.com/results?search_query=%D0%BF%D0%BE%D0%BF%D0%B0%D0%BB+%D0%B2+%D0%BF%D1%80%D0%BE%D0%B2%D0%BE%D0%B4%D0%BA%D1%83&aq=0L ) Finally, even with the most careful installation of the ceiling is a risk of damage to wallpaper, so we are sticking wallpaper only after a stretch ceiling, and floor coverings Staley also after them.
Here is a miracle of technology called the building stilts, with their help, all work at height, including the ceilings are made much faster. In Russia, these do not buy, and if you sell are expensive. Bought through e-bay. Then Yeshe want to buy something, but more on that later.


mandatory attribute when finishing this vacuum cleaner. As the saying goes, cleanliness - the key to quality


finishing kitchen

At this stage one end, open the sealed room, give the customer time to transfer things. Since the time the customer is small and it can do so only at the weekend, leaving to another facility for 10 days. The object is the kitchen in the old fund, where we did redecorating, later also lay fototchet.
So, we came back, the middle room is empty again dismantling (((


First removed the wallpaper, but then decided to dismantle and drywall, too, very much it buhtela


The first thing we level the floor beacons, it brought a special mixer

In this room, we will do without finishing rovnitelya since It is expensive, and cheap DSP 75 p / 25kg, so gruntuem and put beacons

Screed poured for several hours about how it prishodit watch the video www.youtube.com/watch?v=HscAJu5hEdU


and install new about this can be found here www.youtube.com/watch?v=VC2buiPi5_M


Align residues DSP base under the sill

Plasterer Wall

and forming an opening

put sill length 3, 2m, more does not seem to happen

installation of slopes and sill elaborated on video www.youtube.com/watch?v=tcqq6QB3FdM

parallel do the bathroom, part of the walls plasterers, as they overwhelmed

Tile large, inexpensive. Just specify a design I have nothing to do, so I ask this side of the issue is not evaluated. My goal - to show the process.


Bath frameless acrylic, mounted on concrete blocks and foam. Rim rests on a wooden board antiseptirovannnye attached perimeter

I want to clarify one point. In this house santehkabiny of gypsum panels mounted on a concrete support frame, the frame appears at the site of the threshold and the floor along the inside of the bathroom. After consulting with the customer decided not to cut down the projecting parts, and result in "a divine form»

Derive the lighting on the ceiling using galogenok and block smooth start shetale, it hangs close to the near left lamp

white matte ceiling batten

Bath screens of tiles on gypsum fiber board and metal frame with two removable hatches on magnets, removable middle part increases the rigidity of acrylic bath (on a side, you can get up)

opening hatch right

and left the door


The doors are other masters, but the customer does not like the bathroom door trims and transoms, so we put plastic corners. On the threshold lies dosochki beech lacquered and bolted to the bottom of the glue + sikabond

Note that, as performed by contiguity acrylic baths to tile, this is the usual PVC corner 15x15. As its set- single technology. To install the bracket only masking tape, foam and sealant. As a lay out step by step instructions

Getting to the finish toilets, to start to clean off the old paint from the walls

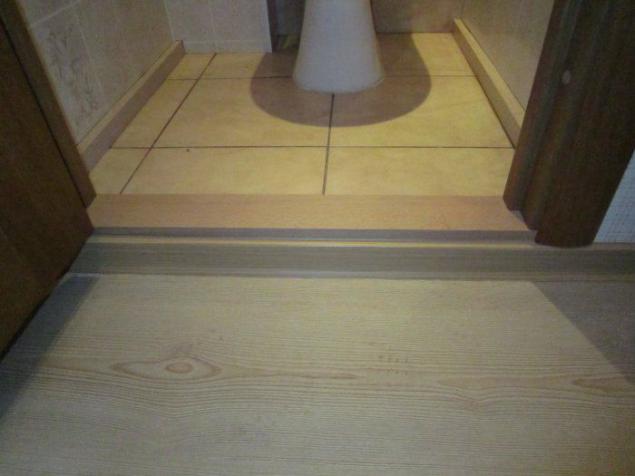
and floor tiles laid on a pre-leveled floor


the walls Klim moisture resistant MDF sheets "under the tile»

and collect folding box for pipes

The right wall of the box bolted to the floor, ceiling and back wall latches. The front wall at the furniture hinges open to the entire height. Thus, we have full access to the pipes for emergency cases

And so it became a new toilet ...

suspended ceilings and halogen lamps


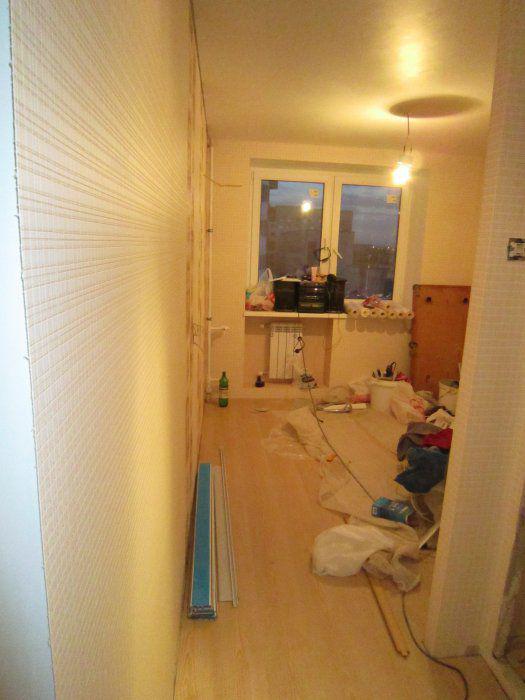
Parallel to the corridor and continue to furnish a large room. In the vestibule put drywall and a quarter into the second door

installation of galvanized corners at angles


forming a doorway


built-in cabinet is not particularly bother, but the floor is still align

putty, sanding dust


the installation of a stretch ceiling is on video in the same YouTube page, and now he was ready

laminate flooring throughout the apartment the same


Kitchen. The furniture is very cheap "Spectrum". Approximate cost 12-14t.r for everything! I do not remember exactly.

Old furniture has taken its place, but in the words of the customer "charm has not given»


Well, that, in principle, and all. Photographed in the process of cleaning, so I apologize for the mess.

Source: