171
Why did I cut an orchid in two and what did I do with it?
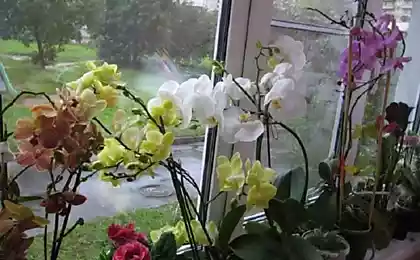
My mother gave me her orchid a few years ago. She was once presented with an unfortunate flower, but she was not interested in its fate. Sometimes watered. That's it. So the orchid stood on her windowsill for two years. Without proper care, the plant is a little dull, but in the few years that I have it, it has grown a lot. So I wondered how to breed an orchid at home.
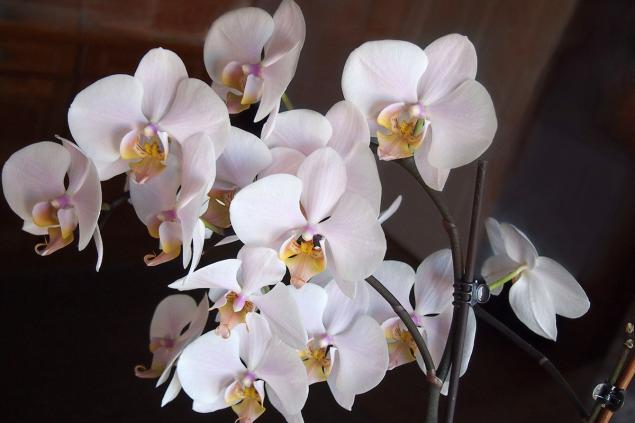
My not very capricious beauty, with proper care, grew so much that I did not know how to cope with her. So I decided to turn one into two orchids. Today I will tell you how to do it and whether it is worth it.
How to propagate an orchid at home One of the ways to reproduce an orchid is to separate the upper part and transplant it into a separate pot. The lower part remains in the old pot. She's supposed to make babies. It is difficult to predict whether this will happen, because certain conditions are needed. However, we can not particularly influence this, we can only hope.
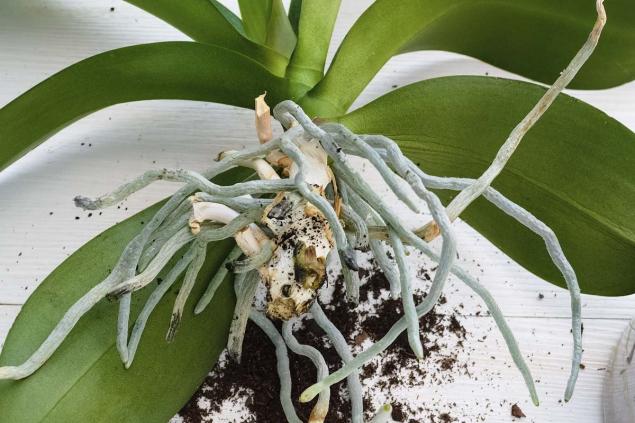
But the bottom part later. First, let’s talk about how to separate the upper part so as not to harm the plant. It is worth saying that such a trick can be performed only with those orchids that have many air roots. Only then does she have a chance to settle into a new pot. For younger plants, other breeding options may be considered.
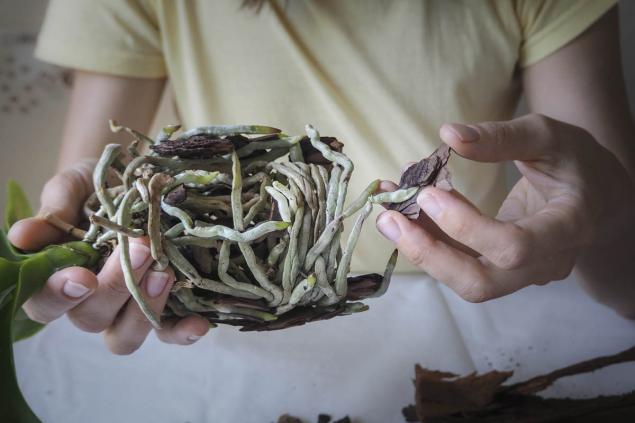
Now we're choosing the incision location. We need to completely preserve the green part of the plant and capture some dry hemp. It is also important to preserve all air roots. Those roots that have grown into pots will have to be sacrificed. So, take sharp garden scissors, treat them with an antiseptic before the procedure. Then cut it in the place that you have outlined. Now carefully cut off all the roots that hold the orchid. Cut them off the ground. In the pot, these roots will immediately disappear, but nothing can be done.
All cut roots must be treated with hydrogen peroxide at the site of the cut. This will protect the wounds from getting pathogenic microflora. There is a possibility that the roots we cut will continue to grow. However, if the plant has enough air roots, it is better to remove them. Most of them will soon dry up, we will not give the orchid new stress. We cut them to the ground without regret. Don't forget to treat the cuts with peroxide.
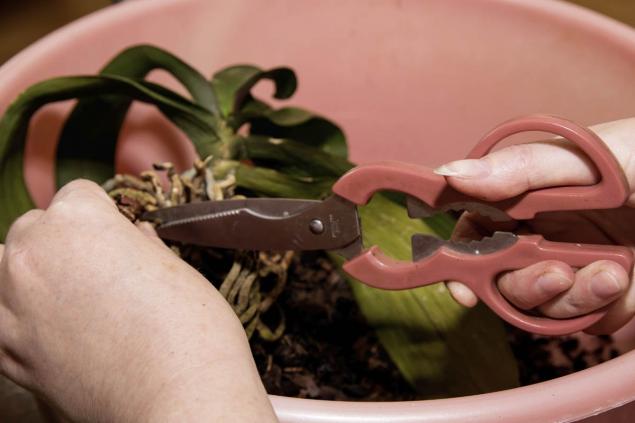
The air roots of the orchid are very dry and naughty, they first need to be tamed. Find a large enough container, pour warm water there and place all the roots of the plant in it. We need to let them drink water. Let's stay like this for about an hour.
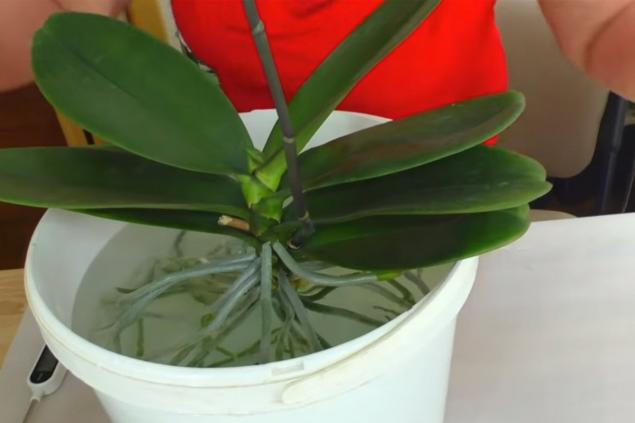
After that, the roots are carefully laid in the pot. When all the roots are inside, hold the plant with one hand and scroll the pot lightly with the other. Thus, we twist the roots and carefully lay there. So the orchid will sit deep and grow well. Now we fall asleep to the top with ceramzite. Try to fall asleep so that all the roots are inside the pot. Put the orchid in a warm and bright place. Next time we water when all the roots are dry. Also, do not forget to fertilize our orchid.
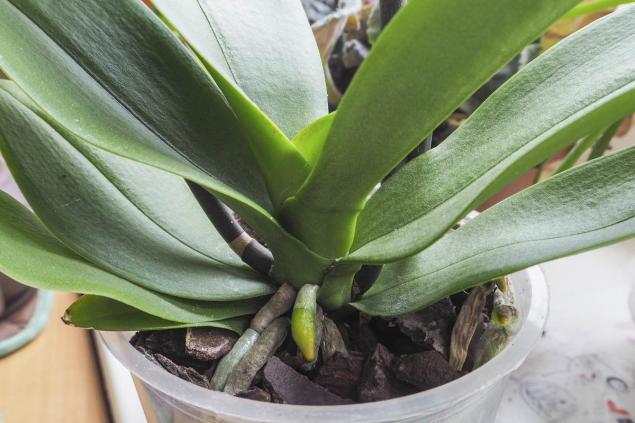
Now we will figure out how to create favorable conditions for an orchid baby to appear in the old pot. To do this, we stop actively watering this pot. Give him some time. Be sure to put in a well-lit and warm place. The temperature should not be lower than 25 degrees. We wait until the orchid begins to grow. The main conditions are light and heat. With proper care, anything is possible!
Of course, children do not always appear, but the chance is great. I'm doing great and the new orchid is growing. Now you know how to breed an orchid at home. I hope you can do it too. You can share the results of your experiments with us in the comments!

My not very capricious beauty, with proper care, grew so much that I did not know how to cope with her. So I decided to turn one into two orchids. Today I will tell you how to do it and whether it is worth it.
How to propagate an orchid at home One of the ways to reproduce an orchid is to separate the upper part and transplant it into a separate pot. The lower part remains in the old pot. She's supposed to make babies. It is difficult to predict whether this will happen, because certain conditions are needed. However, we can not particularly influence this, we can only hope.

But the bottom part later. First, let’s talk about how to separate the upper part so as not to harm the plant. It is worth saying that such a trick can be performed only with those orchids that have many air roots. Only then does she have a chance to settle into a new pot. For younger plants, other breeding options may be considered.

Now we're choosing the incision location. We need to completely preserve the green part of the plant and capture some dry hemp. It is also important to preserve all air roots. Those roots that have grown into pots will have to be sacrificed. So, take sharp garden scissors, treat them with an antiseptic before the procedure. Then cut it in the place that you have outlined. Now carefully cut off all the roots that hold the orchid. Cut them off the ground. In the pot, these roots will immediately disappear, but nothing can be done.
All cut roots must be treated with hydrogen peroxide at the site of the cut. This will protect the wounds from getting pathogenic microflora. There is a possibility that the roots we cut will continue to grow. However, if the plant has enough air roots, it is better to remove them. Most of them will soon dry up, we will not give the orchid new stress. We cut them to the ground without regret. Don't forget to treat the cuts with peroxide.

The air roots of the orchid are very dry and naughty, they first need to be tamed. Find a large enough container, pour warm water there and place all the roots of the plant in it. We need to let them drink water. Let's stay like this for about an hour.

After that, the roots are carefully laid in the pot. When all the roots are inside, hold the plant with one hand and scroll the pot lightly with the other. Thus, we twist the roots and carefully lay there. So the orchid will sit deep and grow well. Now we fall asleep to the top with ceramzite. Try to fall asleep so that all the roots are inside the pot. Put the orchid in a warm and bright place. Next time we water when all the roots are dry. Also, do not forget to fertilize our orchid.

Now we will figure out how to create favorable conditions for an orchid baby to appear in the old pot. To do this, we stop actively watering this pot. Give him some time. Be sure to put in a well-lit and warm place. The temperature should not be lower than 25 degrees. We wait until the orchid begins to grow. The main conditions are light and heat. With proper care, anything is possible!
Of course, children do not always appear, but the chance is great. I'm doing great and the new orchid is growing. Now you know how to breed an orchid at home. I hope you can do it too. You can share the results of your experiments with us in the comments!
How Mercury retrograde will affect every zodiac sign in May
One night I couldn't sleep, so I decided to make potatoes from a street diner.
