179
How to transplant an orchid during flowering
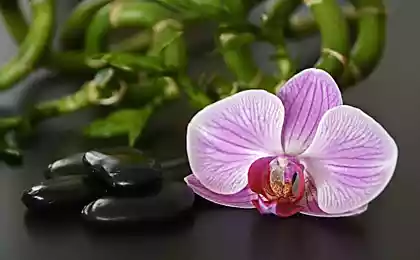
The orchid is one of the favorite domestic plants of flower lovers. Orchid flowers are large, colorful and may not wither until six months. With this duration of continuous flowering, it is difficult to compete with other live flowers.
Periodically, the orchid must be transplanted into a new substrate. It is from it that it draws strength and useful substances for growth and flowering.
The usual soil for this plant is not suitable, since it came to us from tropical latitudes and needs natural products for its habitat: bark, moss, charcoal, peat, fern root.
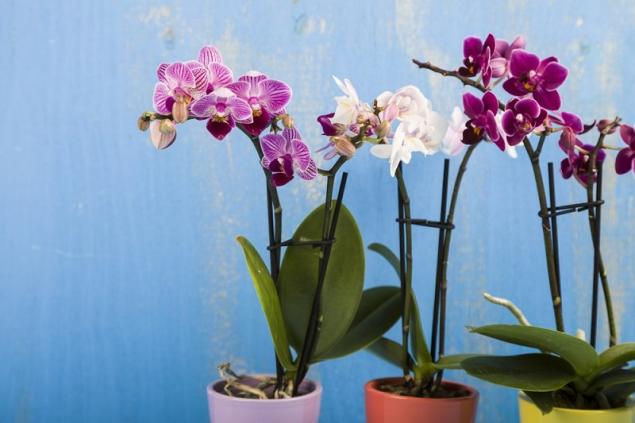
All these components are contained in the substrate, which is sold in flower shops and stores for gardeners. It does not stick to the roots, has good moisture capacity and air permeability.
It is better to transplant an orchid after it has bloomed. But if you do not catch such a moment, it is also nothing terrible. We will tell you how to transplant a flowering orchid.

DepositPhotos
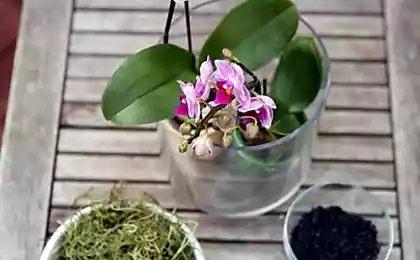
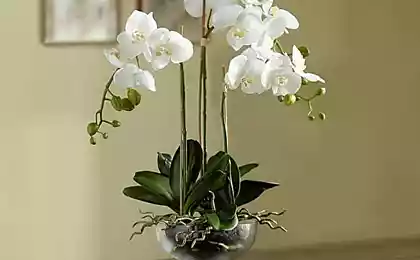
Phalaenopsis orchid transplant
For more tips on orchid care, see our articles. Follow the links.
Periodically, the orchid must be transplanted into a new substrate. It is from it that it draws strength and useful substances for growth and flowering.
The usual soil for this plant is not suitable, since it came to us from tropical latitudes and needs natural products for its habitat: bark, moss, charcoal, peat, fern root.

All these components are contained in the substrate, which is sold in flower shops and stores for gardeners. It does not stick to the roots, has good moisture capacity and air permeability.
It is better to transplant an orchid after it has bloomed. But if you do not catch such a moment, it is also nothing terrible. We will tell you how to transplant a flowering orchid.

DepositPhotos
Phalaenopsis orchid transplant
- Prepare a pot a little larger than the one in which the orchid grew. It must be transparent so that you can see the state of the roots, and also so that light can come to them. It is better to take a plastic, light pot with drainage holes from below, so that after watering, water does not linger in it.

DepositPhotos - Holding the pot at the base, turn over the old pot and pour out its contents. Free each root from the old substrate. Then look at the roots. Among them will be dried, gray, perhaps spoiled. All of them must be removed by cutting off with scissors. Keep the good ones.
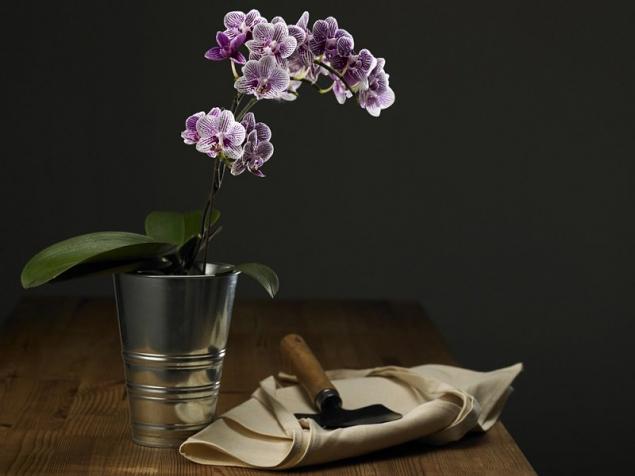
DepositPhotos - Then the roots should be washed in room temperature water, diluted with permanganate. And we'll work the cuts. Activated charcoal, garlic solution or antiseptics that do not contain alcohol are suitable for processing.
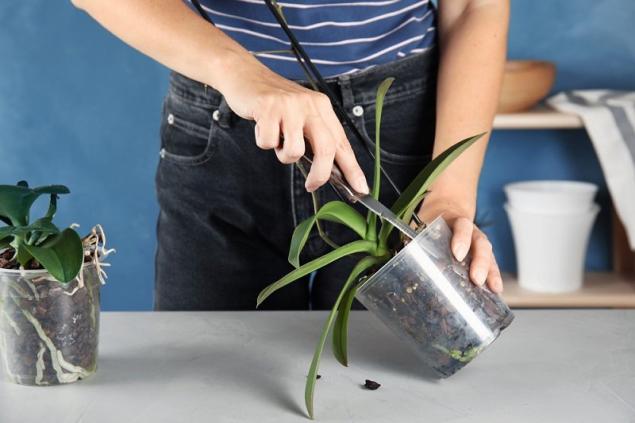
DepositPhotos - Remove the old dry leaves, as well as those through which the roots broke. Both yellow and green orchid leaves are removed according to the same scheme: they are cut along the lobe vein, stretch at the ends in opposite directions as if you need to remove the leaf from the stem. Next, the dry flowernoses were removed, leaving a small foam one centimeter long. All sections are also disinfected with the same means.
592,000
DepositPhotos - Then the orchid should be dried: just leave for two to three hours in the air. Neither in the sinuses between the leaves nor in the core of the plant should there be drops of water, and the roots should dry a little and absorb what they were treated with.
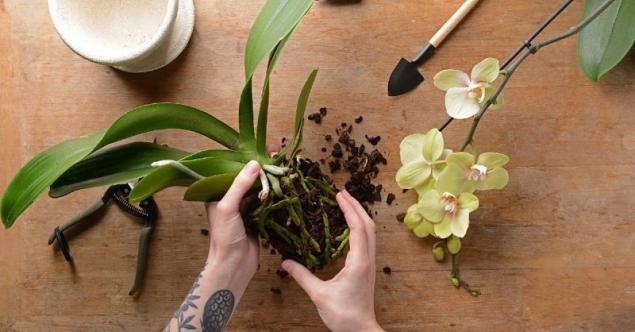
DepositPhotos - At the bottom of the new pot mound layer substrate thickness of 1.5 centimeters. Put an orchid in the center. Also in the center, install a rack to which shoots are attached. And immediately attach flowering branches to it. Then fill the remaining pot space with a substrate. There is no need to trample, the roots must breathe. Upper green root-like processes do not need to sprinkle.
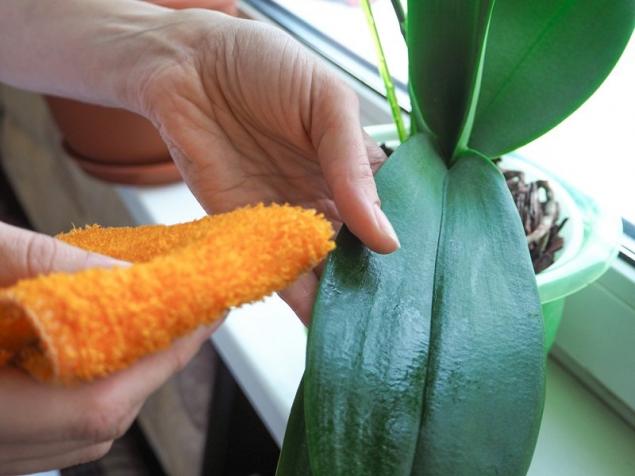
DepositPhotos - Watering orchids after transplantationPlace the vase in the bath, abundantly pour water at room temperature. Leave for fifteen minutes to allow all the water to immediately glass through the holes below. Then place the orchid in a slightly dark place. After two days, move to a permanent place, but not under direct sunlight. If orchid transplantation phalaenopsis at home If done correctly, the plant will continue to bloom, perhaps even more intensely than before.
DepositPhotos
For more tips on orchid care, see our articles. Follow the links.


