179
How to make decorative bricks from egg trays
Last weekend, I finally visited a friend of mine. We worked in the same office for 5 years, and now, due to the fact that Natalia is on maternity leave, we practically do not see each other.
I came back from the guests inspired and happy, and the first thing I said to my husband from the doorstep: “Dear, call your relatives and ask them not to throw away the trays of eggs, let them give us.” I think I know what our corridor is missing!
DepositPhotos
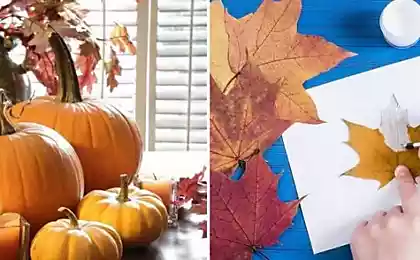
I really like it. wall-cladding decorative bricks. It looks stylish and beautiful, but this finishing material is quite expensive, and to place it on the wall, you need a master.
In my own apartment, the walls were attacked by Murki’s cat, whose favorite occupation was sharpening the claws on everything that came to the eye – well, the corridor suffered the most.
Now the cat has calmed down and my dreams of repair have reached their climax. And I decided to change the interior of the hallway, even though there was no money for repairs. And, of course, the decisive factor for me was the idea of Natalia, which she implemented while on maternity leave.
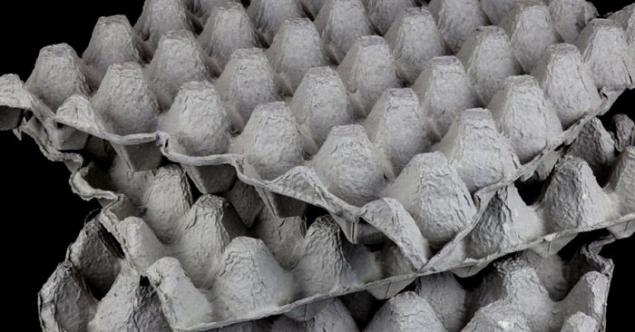
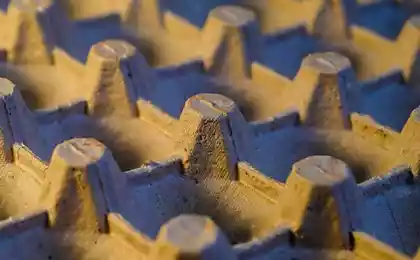
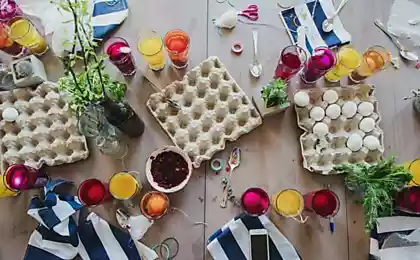
Crafts from egg trays are found to brick You will need the most ordinary paper trays of eggs, a piece of plastic film, a black marker, plaster and a small bucket of water. And a few more hours of free time, skillful hands and a bit of inspiration. The result of this work will delight you to the core!
DepositPhotos
Today's edition. "Site" How to turn paper trays from eggs into wall-stone. It looks super stylish, and most importantly – does not require much materials, time and special skills!
You'll need it.

Progress of work
To see in more detail the whole process of creation egg-coatingLook at this video.
about:blank
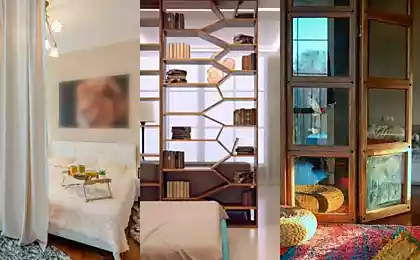
In the video, you can see what this wall cladding looks like in the interior of the hallway.
about:blank
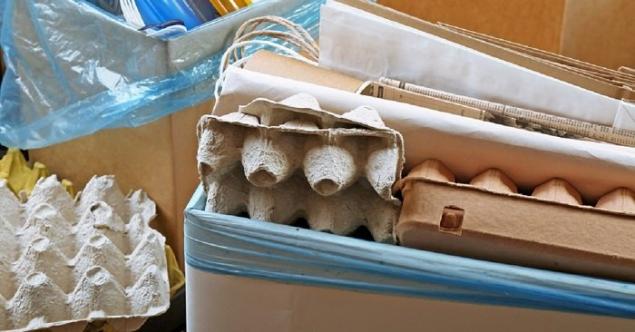
Cardboard boxes for eggs are convenient to work and safe for health, so be sure to connect children to the creative process.
We suggest you also get acquainted with, and then learn to make elementary blanks from cardboard trays in the form of charming roses, which you can later use to decorate vases, lampshades, photo frames and other things.
As you can see, even unremarkable objects hide a huge creative potential. I am so excited about this wonderful idea!
How would you like to use cartons for eggs? Express your opinion in the comments and be sure to share the article on your page.
I came back from the guests inspired and happy, and the first thing I said to my husband from the doorstep: “Dear, call your relatives and ask them not to throw away the trays of eggs, let them give us.” I think I know what our corridor is missing!

DepositPhotos
I really like it. wall-cladding decorative bricks. It looks stylish and beautiful, but this finishing material is quite expensive, and to place it on the wall, you need a master.
In my own apartment, the walls were attacked by Murki’s cat, whose favorite occupation was sharpening the claws on everything that came to the eye – well, the corridor suffered the most.
Now the cat has calmed down and my dreams of repair have reached their climax. And I decided to change the interior of the hallway, even though there was no money for repairs. And, of course, the decisive factor for me was the idea of Natalia, which she implemented while on maternity leave.

Crafts from egg trays are found to brick You will need the most ordinary paper trays of eggs, a piece of plastic film, a black marker, plaster and a small bucket of water. And a few more hours of free time, skillful hands and a bit of inspiration. The result of this work will delight you to the core!

DepositPhotos
Today's edition. "Site" How to turn paper trays from eggs into wall-stone. It looks super stylish, and most importantly – does not require much materials, time and special skills!

You'll need it.
- 3 paper trays of eggs
- plastic
- 300 ml of warm water
- 3.5 tbsp gypsum
- marker
- tape
- spatula
- lineage
- paper-cloth
- finisher
- brush-paint

Progress of work
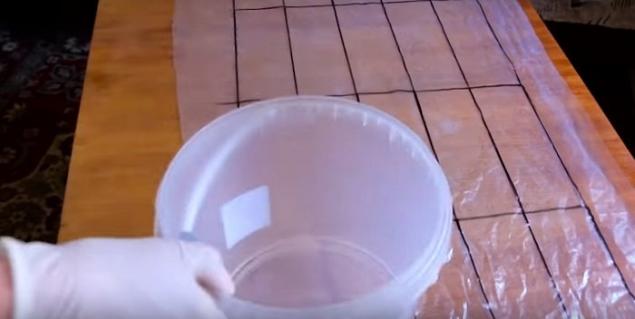
- Make a markup on a piece of plastic film. With the help of a ruler and a black marker, mark on the division film for future bricks. The size of one rectangle is 7 x 20 centimeters.
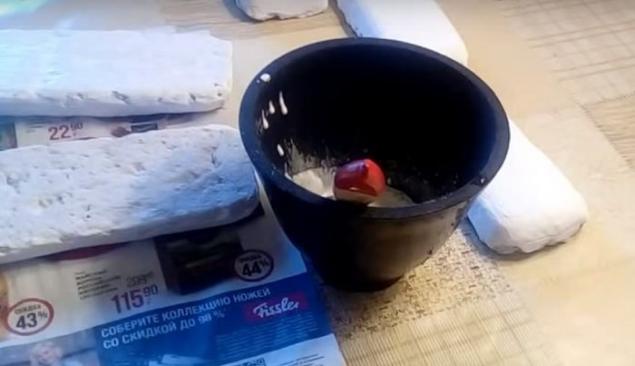
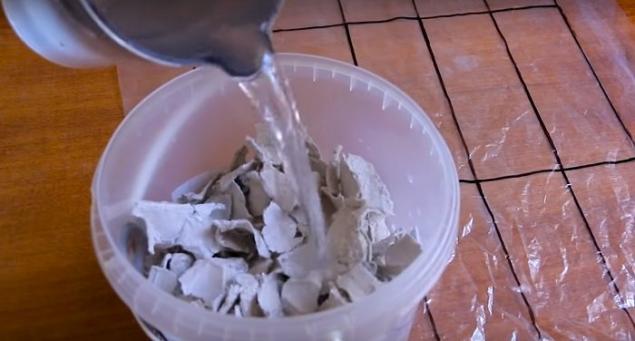
- Grind 3 cardboard trays into a comfortable container (I had a small plastic bucket) and pour the cardboard with water. Leave to insist for 2 hours.
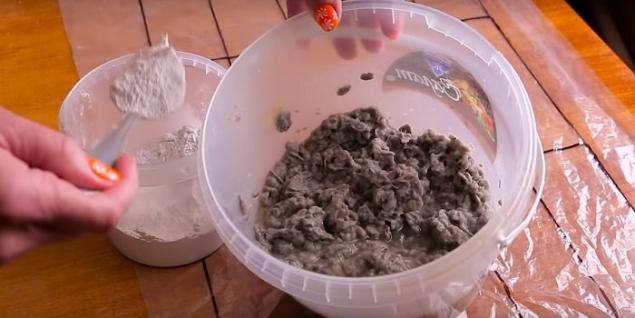
- When the mass is completely soaked and swelled, add plaster to the bucket and mix everything thoroughly.
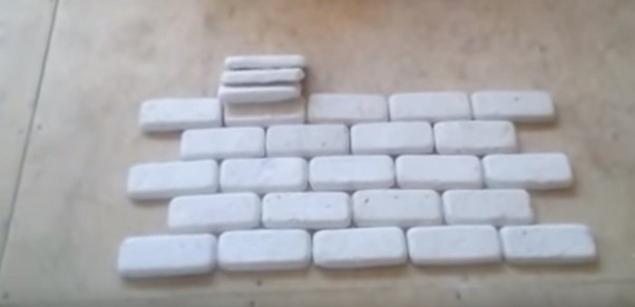
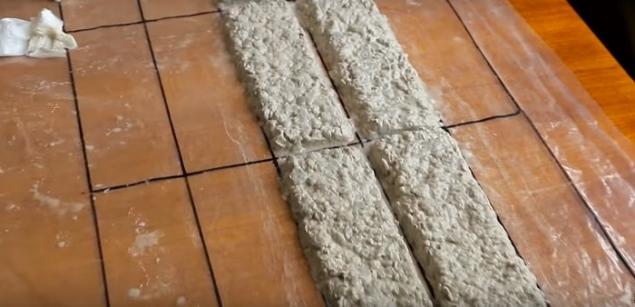
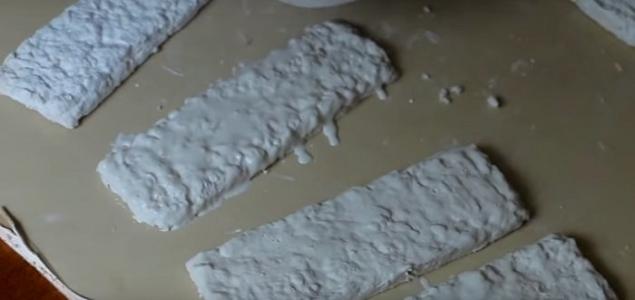
- Lock the film on the table with tape and make the marker. Carefully lay out the finished mass on each of the divisions for the future preparation of the brick. With a spatula, form the appearance of a brick. Remove the excess water with a napkin. Leave to freeze for 3 hours.

- Move the bricks to the balcony for another hour to make them dry. From 3 trays comes 7 bricks.
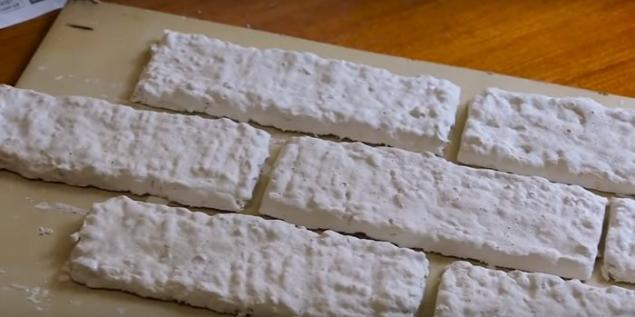
- Divide the finish putty with water and with the help of a brush cover the surface of the parts. Let the bricks dry.
- Cut the finished bricks on top with white acrylic paint. That's it, egg-tray Ready. Now you can safely use them in the decoration of your interior!


To see in more detail the whole process of creation egg-coatingLook at this video.
about:blank
In the video, you can see what this wall cladding looks like in the interior of the hallway.
about:blank
Cardboard boxes for eggs are convenient to work and safe for health, so be sure to connect children to the creative process.
We suggest you also get acquainted with, and then learn to make elementary blanks from cardboard trays in the form of charming roses, which you can later use to decorate vases, lampshades, photo frames and other things.
As you can see, even unremarkable objects hide a huge creative potential. I am so excited about this wonderful idea!
How would you like to use cartons for eggs? Express your opinion in the comments and be sure to share the article on your page.


What are the characteristics of people with green eyes?
What clothes are suitable for a woman of short stature