174
Why you should not throw away your old jacket
Like everyone else, your closet is full of old jackets. Some of you last wore on a school Saturday, and a couple of others hang for trips to the dacha. Things go out of fashion, tear or just bother us.
Do not rush to throw them away. jacket It might come in handy. Even if you never wear it, it will make a great jacket. fabrication with your own hands.
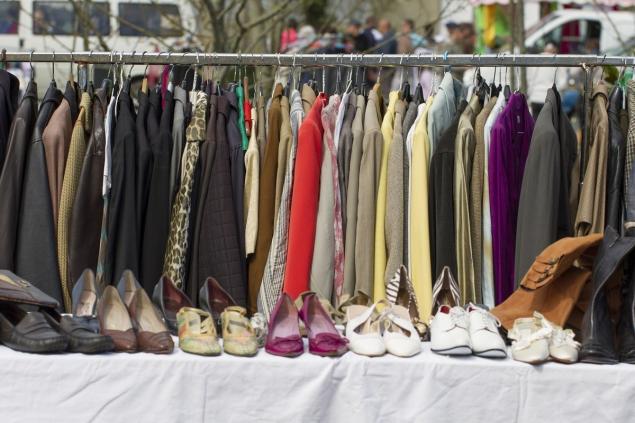
A bag from an old jacket recently put things in the closet - I came across an old teenage jacket. To throw away somehow pathetic, I wanted to give someone, but this style is no longer in fashion.
First, I made her a sleeveless dacha. It was pretty good, but not what I expected. And then it dawned on me: the jacket will make a great bag! All you have to do is experiment a little.

Work phases
The manufacturing process is not complicated, and the bag comes out very comfortable and compact. It is easy to fold and take with you if necessary. It is also double-sided - you can turn and wear from either side. Try to use this scheme and make yourself the same. I wonder what the design of the bag will be, because everyone’s jackets are different. Good luck!
Do not rush to throw them away. jacket It might come in handy. Even if you never wear it, it will make a great jacket. fabrication with your own hands.

A bag from an old jacket recently put things in the closet - I came across an old teenage jacket. To throw away somehow pathetic, I wanted to give someone, but this style is no longer in fashion.
First, I made her a sleeveless dacha. It was pretty good, but not what I expected. And then it dawned on me: the jacket will make a great bag! All you have to do is experiment a little.

Work phases
- We use the back of the jacket to pattern the rectangle. You can cut any size, it all depends on how spacious the bag will be. In total, we need two rectangles for the two sides respectively. The second side is sewn from two sleeves, as one will not be enough. The connecting seam is modeled to your taste - symmetrically or diagonally.

- Now we need to sew parts around the perimeter of three sides. Where the purse lace will be located, you need not sew 1.5 cm - 4 cm from the top on both sides. Then form the bottom of the bag, cutting the corners.
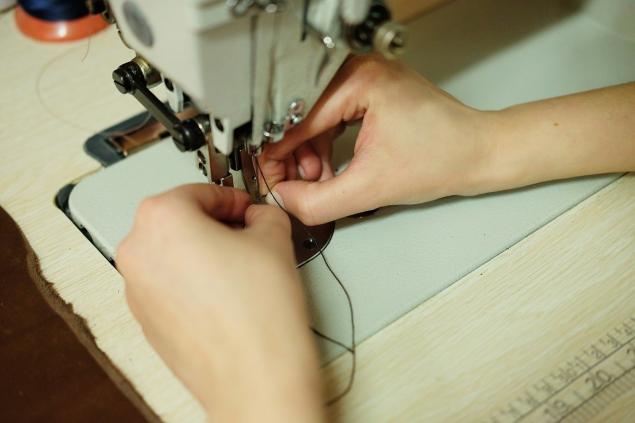
- We pin pens with pins. You can sew them yourself or take a ready-made tape or strap. Cut the lining fabric according to the size of the bag. It is necessary to leave the part (about 10-15 cm) on one side not sewn. It's for the twist.
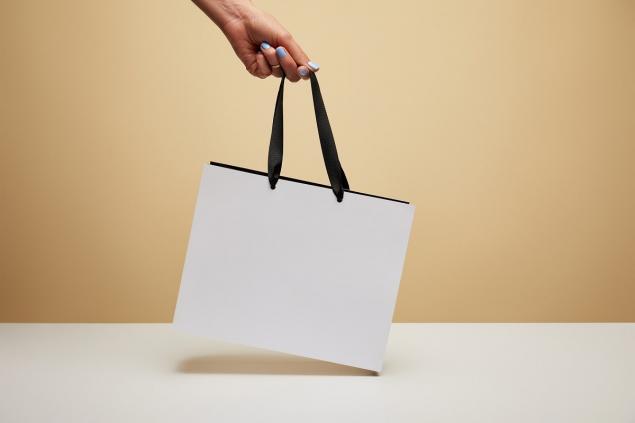
- Connect the two parts of the bag with the front sides inside. First we sprawl the top. Then we turn the bag through the open seam on the lining and sew it up. Basically, the bag is almost ready. It remains only to make two parallel lines for the lace. Not sewn 1.5 cm in the sides remain between the lines.
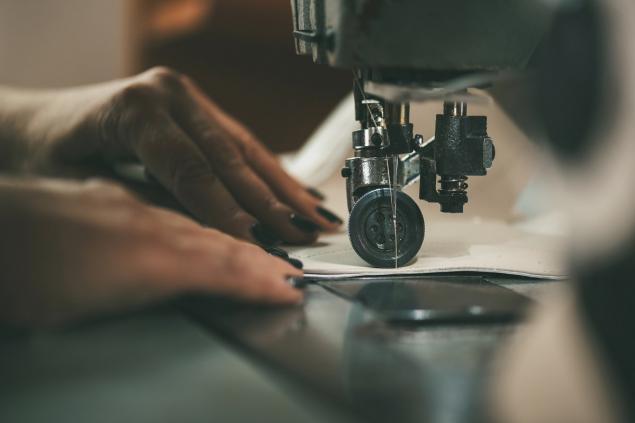
- We're wearing shoelaces. Calculate the length so as to cover the bag in a circle and leave more to tie. One lace enters the first hole with a pin and exits here. The second is worn the same way as the first, only in the second hole. The bag must fit if you pull the shoelaces.
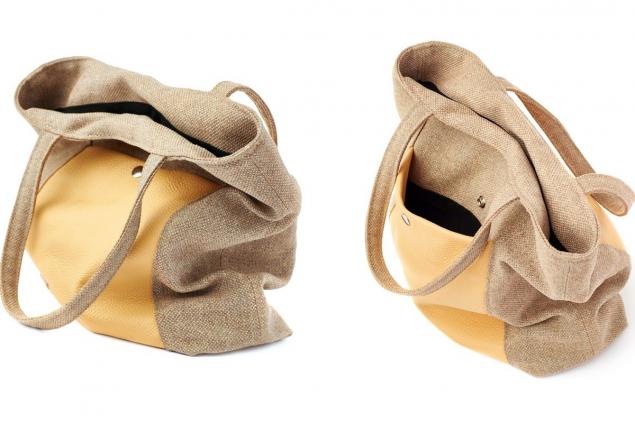
The manufacturing process is not complicated, and the bag comes out very comfortable and compact. It is easy to fold and take with you if necessary. It is also double-sided - you can turn and wear from either side. Try to use this scheme and make yourself the same. I wonder what the design of the bag will be, because everyone’s jackets are different. Good luck!
Recipe for a weakly salted herring for a hearty dinner
Why it’s important to make the most of homeschooling and make it fun for your child


