187
How to set up an old sewing machine
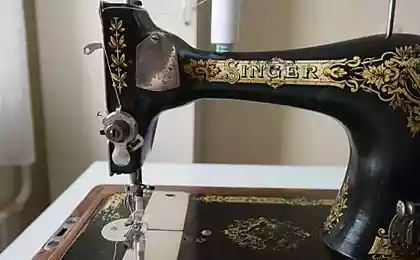
A sewing machine, even an old one, is an indispensable thing in everyday life. And the correct setting of the sewing machine and timely preventive care will allow you to avoid the problems associated with it.
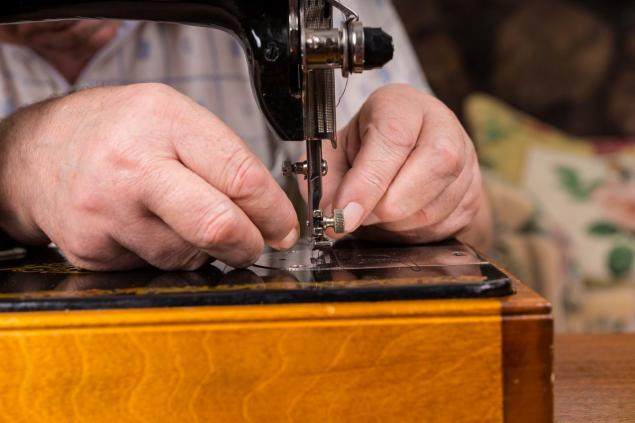
All operations to set up a sewing machine can be divided into two types. For the first, you will need a mechanic and his special tools. The second type of setting is carried out by all sorts of spinning handles, cogs and buttons located on the typewriter.
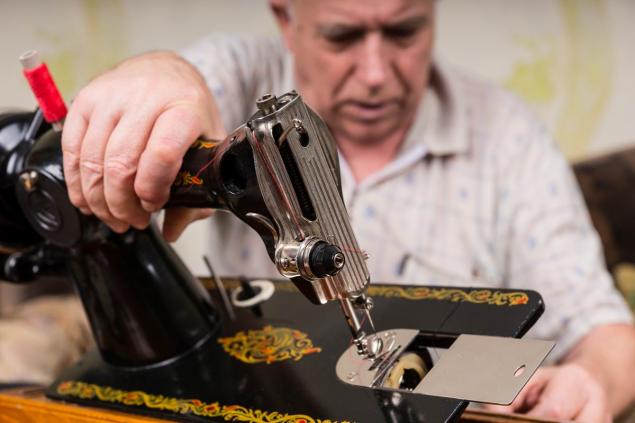
With this setting should be familiar to everyone who sits at the sewing machine. We will talk about its simple difficulties today.
Sewing machine setup
To change the tension of the upper thread, there are discs (plates) with an adjusting nut. The discs compress the thread passing between them, and the regulator controls the degree of this pressure.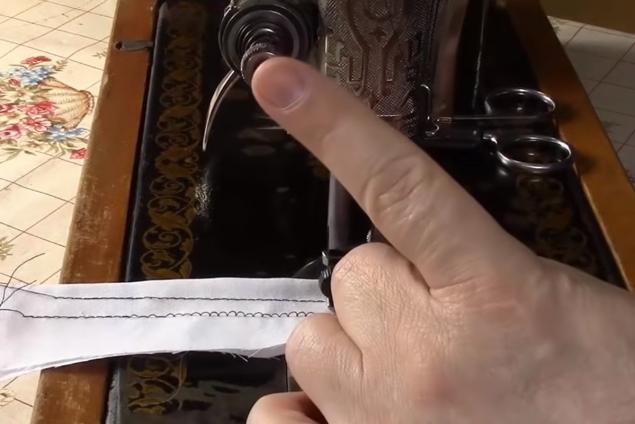
You need to be careful when replacing threads with thicker ones. Without adjusting the regulator, this will lead to increased pressure on the upper thread.
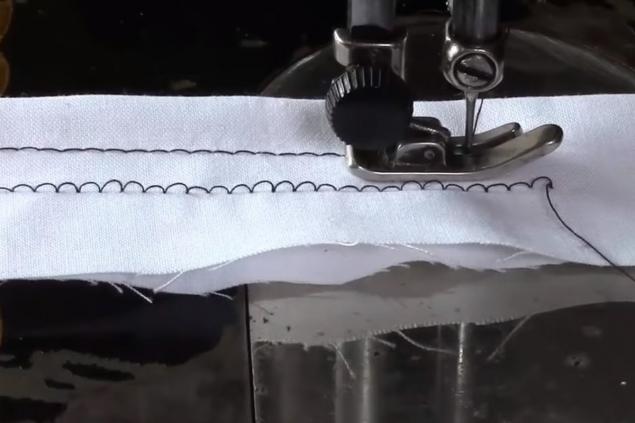
If loops are formed at the bottom of the seam (the machine “loop”), the first approach to the solution is to increase the tension of the upper thread.
Lower thread tension
It is regulated by a very small cog, which is located on the spring of the spool cap. To adjust the tension of the lower thread, take a small screwdriver and turn the adjusting screw clockwise (to increase tension) or counterclockwise (to reduce tension).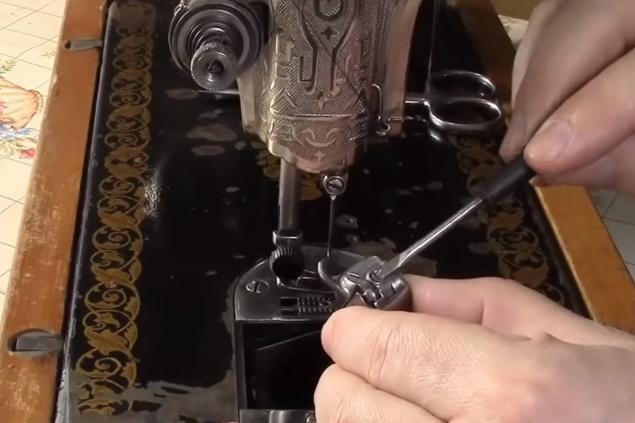
Each time turn the screw a little bit and lay the test line. Weak tension of the lower thread will lead to the formation of loops on the upper side of the seam. With too much tension of both threads will get a tight stitch, and the machine will make assemblies, especially on light and thin tissues.
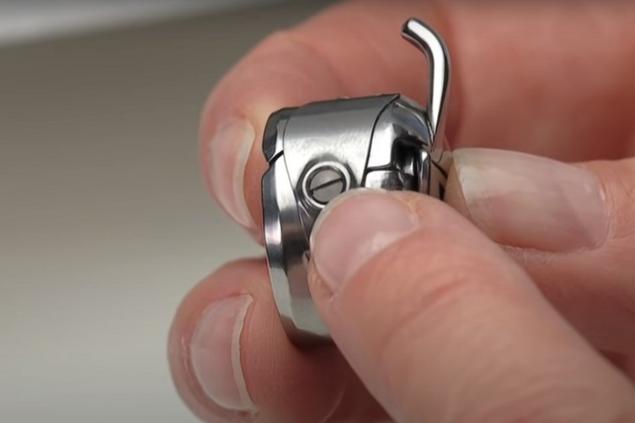
There is an easy way to check the tension of the lower thread. To do this, you need to hang a spool cap at the end of the thread coming from the spool. If it hangs, and the spoon does not unwind (even if it is slightly twitched), then the tension is too high, and it must be loosened.
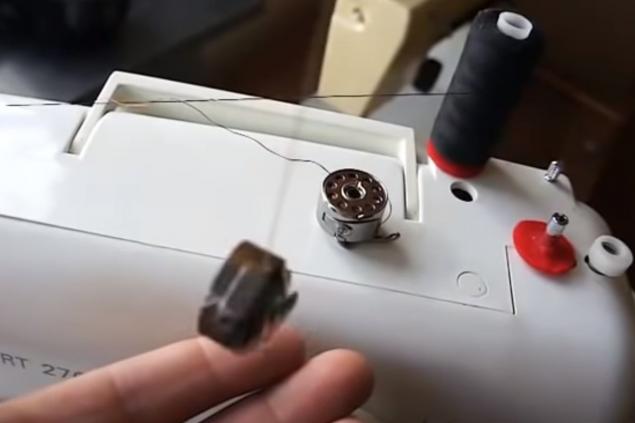
If the spoon is unwinded without difficulty, then the tension is too weak. With proper tension, the spooly cap suspended by the thread when shaken will descend only a few centimeters and stop.
Earlier we talked about the history of sewing machines "PMZ" (Podilsk Mechanical Plant). Before you get rid of such or "write off" it in the attic, it is worth thinking. Maybe she'll do you some good service.
The correct setting of the sewing machine will allow it to work properly and stably. But if the user did not cope with the setting, then trouble awaits him: the thread breaks, the product wrinkles, loops, oblique or missed stitches appear. Therefore, in difficult cases, it is better to resort to the services of a qualified master.

All operations to set up a sewing machine can be divided into two types. For the first, you will need a mechanic and his special tools. The second type of setting is carried out by all sorts of spinning handles, cogs and buttons located on the typewriter.

With this setting should be familiar to everyone who sits at the sewing machine. We will talk about its simple difficulties today.
Sewing machine setup
- Push your feet down.
Depending on the type of fabric used, the seamstress may need to strengthen or loosen the paw press against the needle plate.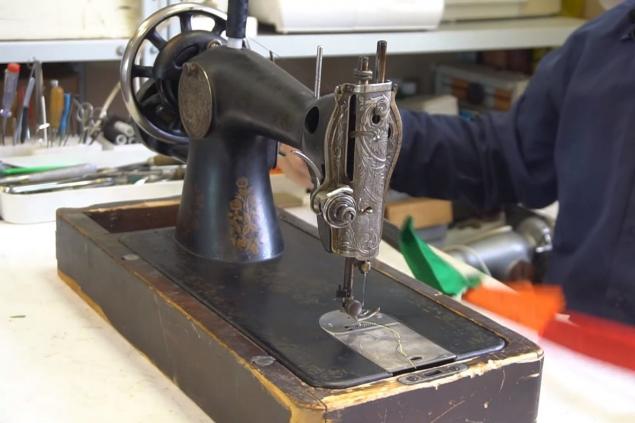
This can be done with the help of an adjustment screw, which in old cars is on top of the sleeve of the car, directly above the leg. In the Seagull, it is located under the cover.
642244
In the disassembled form, you can clearly see how the screw presses the spring, and that, in turn, presses on the leg. - Height of the comb
On popular models of sewing machines, you can find an adjusting disc in the same place where the spool changes.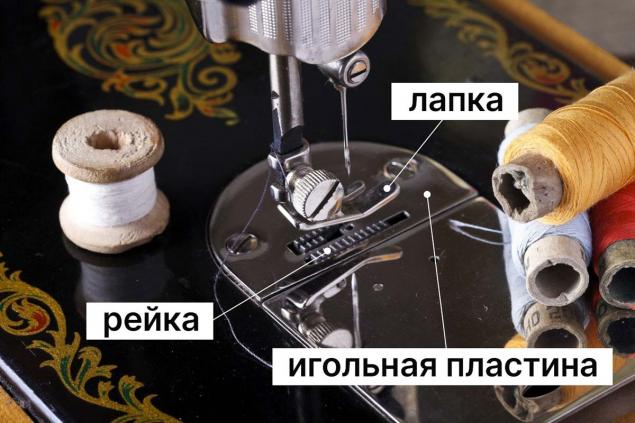
Again, the thickness of the canvas directly affects the height of the teeth. For thick tissues, the teeth should be strongest, for thin tissues - barely protrude. For embroidery teeth hide completely.
To change the tension of the upper thread, there are discs (plates) with an adjusting nut. The discs compress the thread passing between them, and the regulator controls the degree of this pressure.

You need to be careful when replacing threads with thicker ones. Without adjusting the regulator, this will lead to increased pressure on the upper thread.

If loops are formed at the bottom of the seam (the machine “loop”), the first approach to the solution is to increase the tension of the upper thread.
Lower thread tension
It is regulated by a very small cog, which is located on the spring of the spool cap. To adjust the tension of the lower thread, take a small screwdriver and turn the adjusting screw clockwise (to increase tension) or counterclockwise (to reduce tension).

Each time turn the screw a little bit and lay the test line. Weak tension of the lower thread will lead to the formation of loops on the upper side of the seam. With too much tension of both threads will get a tight stitch, and the machine will make assemblies, especially on light and thin tissues.

There is an easy way to check the tension of the lower thread. To do this, you need to hang a spool cap at the end of the thread coming from the spool. If it hangs, and the spoon does not unwind (even if it is slightly twitched), then the tension is too high, and it must be loosened.

If the spoon is unwinded without difficulty, then the tension is too weak. With proper tension, the spooly cap suspended by the thread when shaken will descend only a few centimeters and stop.
Earlier we talked about the history of sewing machines "PMZ" (Podilsk Mechanical Plant). Before you get rid of such or "write off" it in the attic, it is worth thinking. Maybe she'll do you some good service.
The correct setting of the sewing machine will allow it to work properly and stably. But if the user did not cope with the setting, then trouble awaits him: the thread breaks, the product wrinkles, loops, oblique or missed stitches appear. Therefore, in difficult cases, it is better to resort to the services of a qualified master.
What are the benefits of a hot shower for houseplants
What you need to know about traditional Uzbek manta


