1077
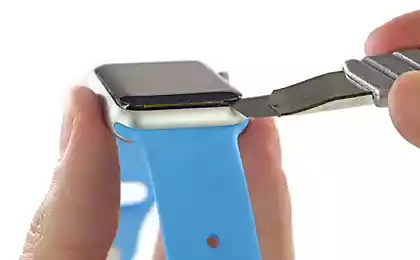
Dismantling Retina Macbook 2015 by iFixit: impossible to repair or upgrade
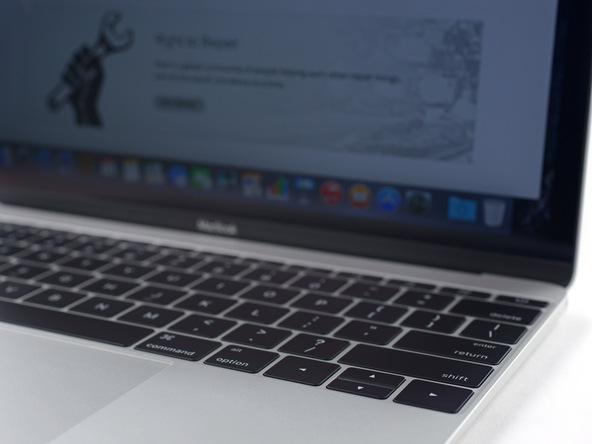
Team iFixit continues to disassemble most famous models of devices equally well-known brands. Now the guys dismantled the new Retina Macbook 2015, which is positioned as "the future of notebooks." Design, hardware component - are all at altitude. But if this is really the future of laptops, but service centers may be closed: this laptop repair is almost impossible, because of the difficulty of removal. In addition, the device is not compatible with the potential buyer plans to upgrade the system.
In continuation - photos and description of the disassembly.
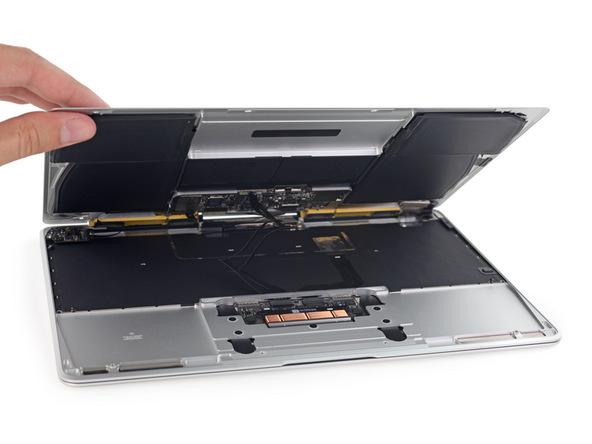
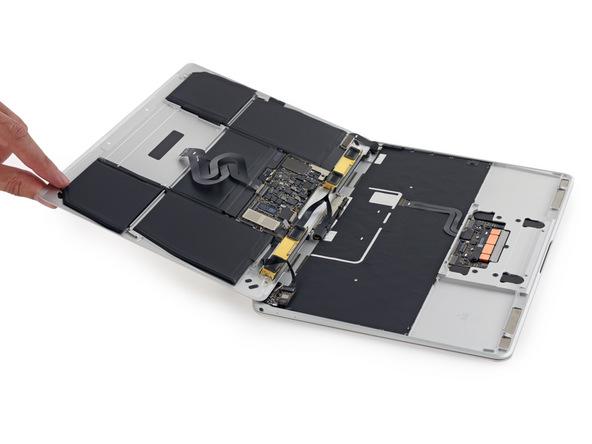
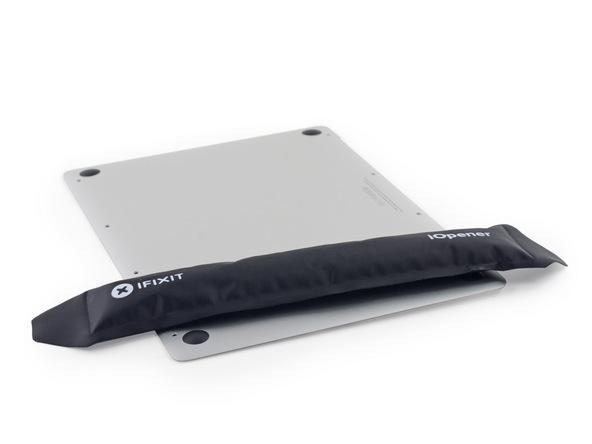
Step 1. Open the housing
The task is complicated by the presence of normal for Apple protected from external influences cogs, plus instead of plastic fastenings used something new, futuristic latch and spring clips.
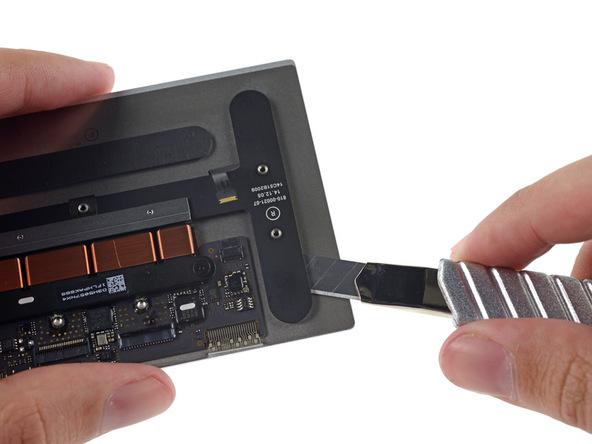
Step 2. Remove the touchpad
Disclose body
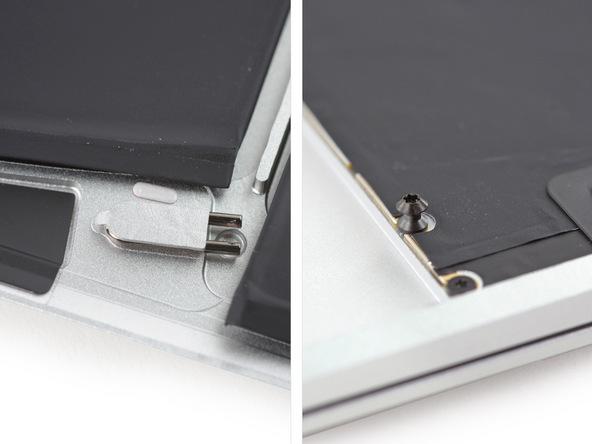
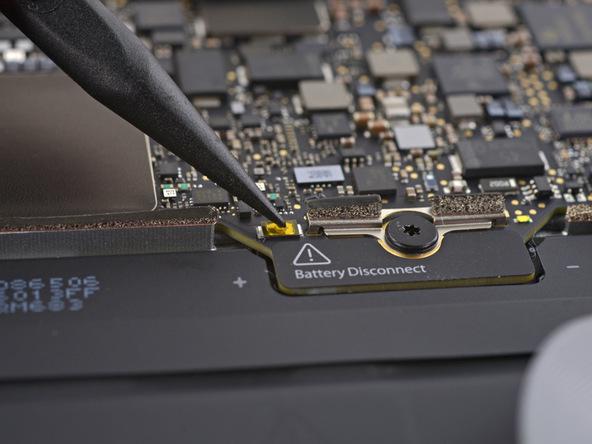
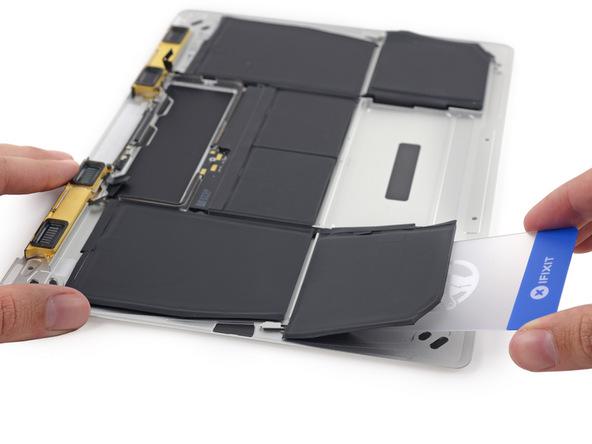
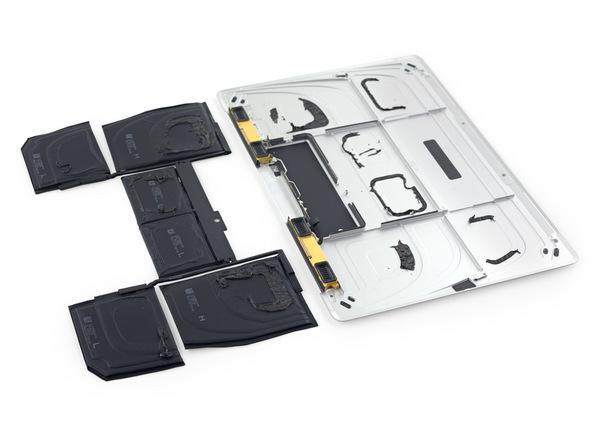
Step 3: Try to remove the battery
Many fasteners are similar to those used in the iPad. We just need to click on the little button yolks.

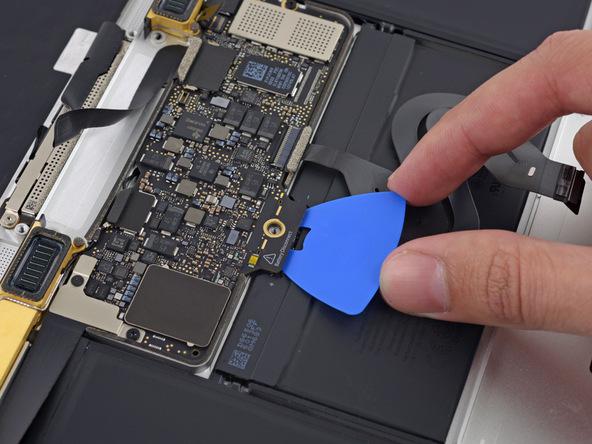
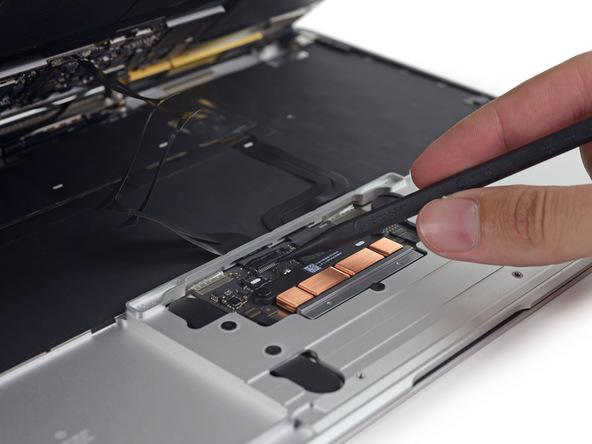
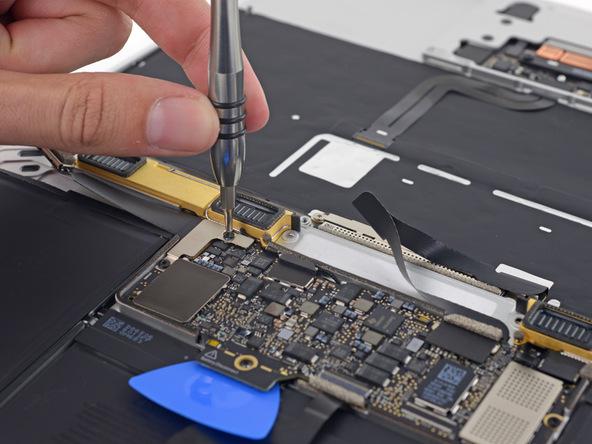
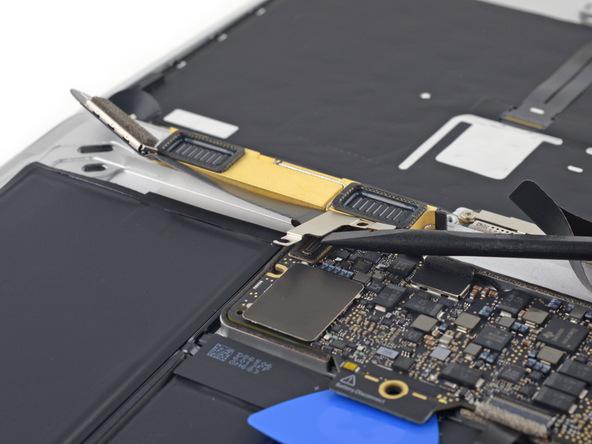
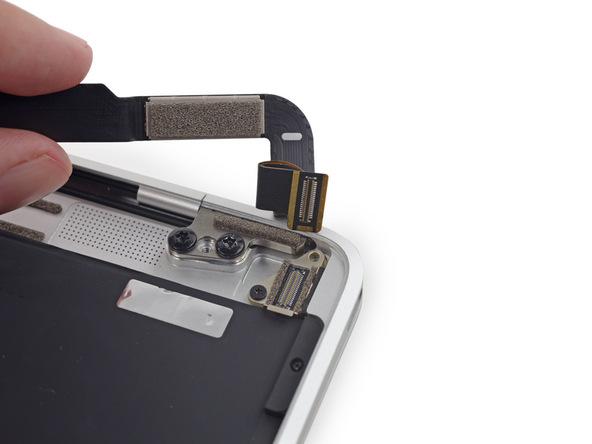
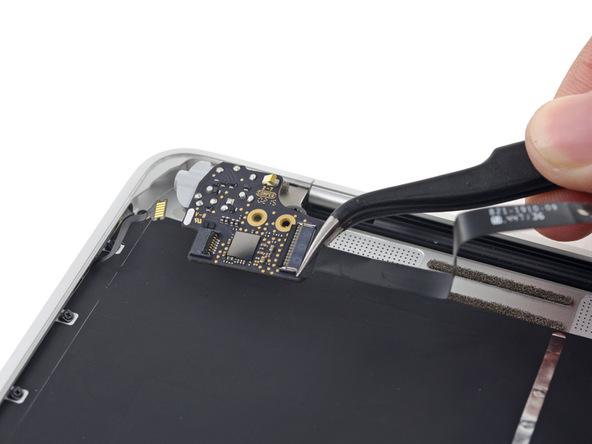
Step 4. Epic "great disconnect wires»
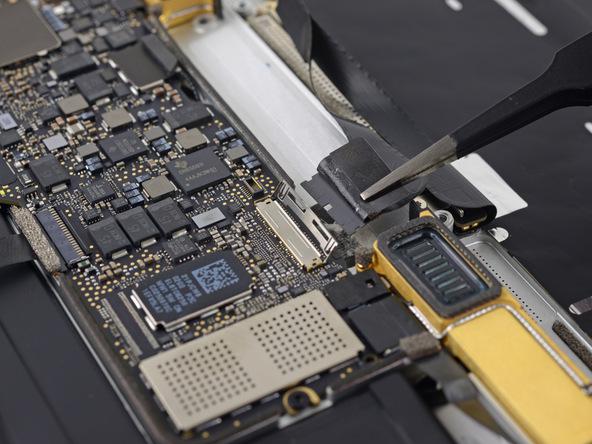
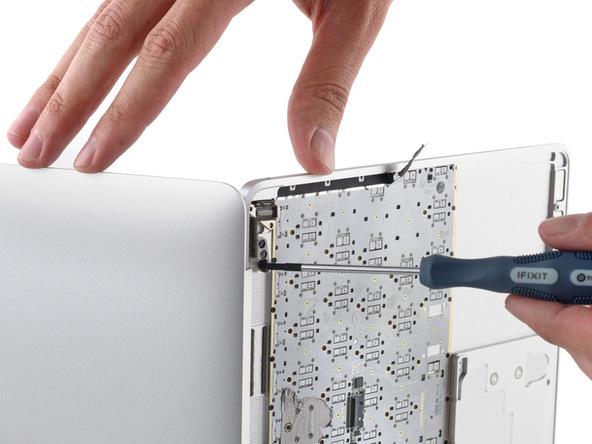
Step 5. Display
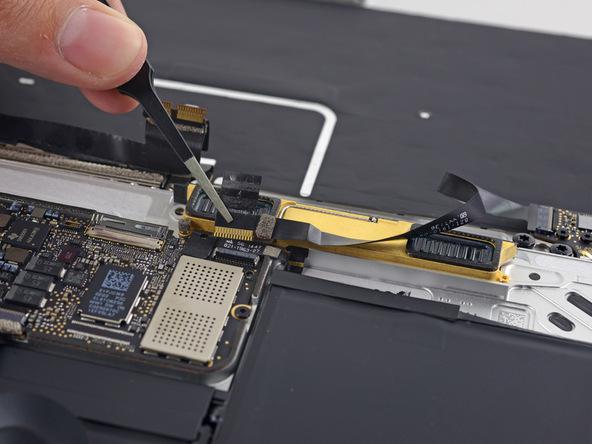

Step 6. Remove the main board
7,667,051
8,870,660
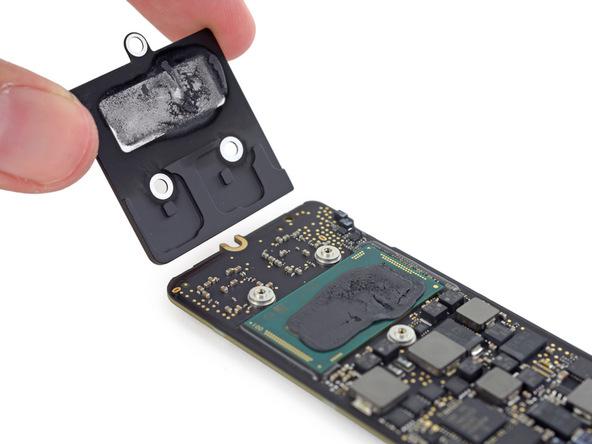
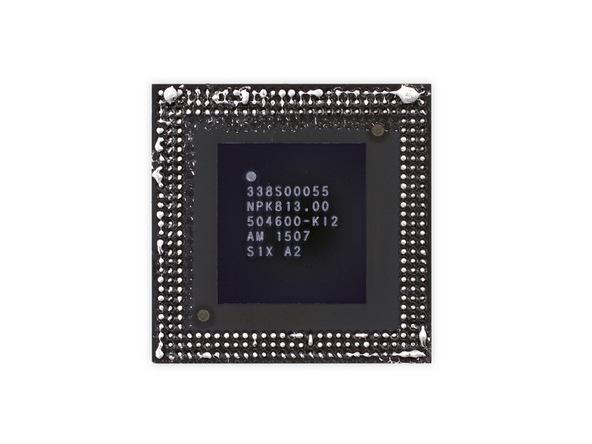
Step 7. Fees and chips
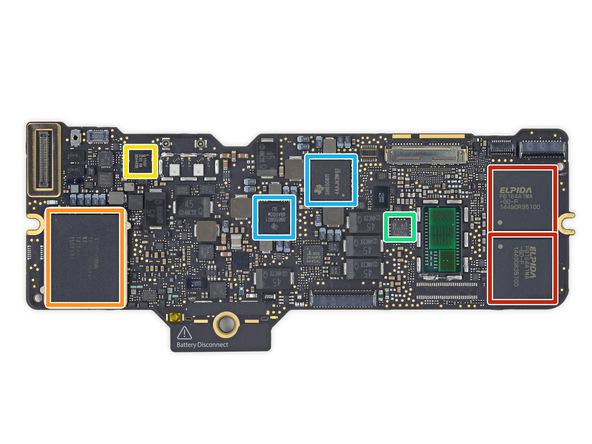
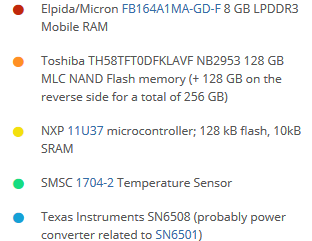
Step 7 boards and chips, continued
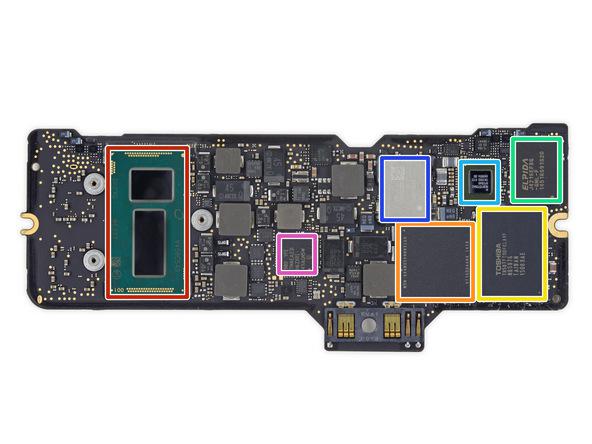
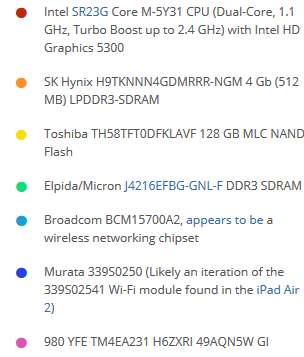
Step 7. This is not Samsung and Toshiba - independent development of Apple (flash-memory controller)
Step 8. Remove the rest
6,030,077
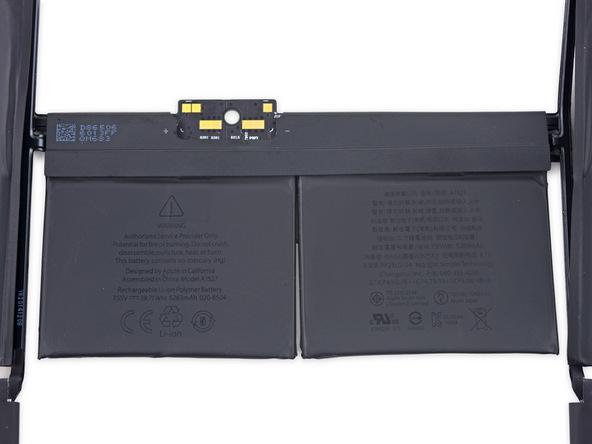
Step 9. Battery
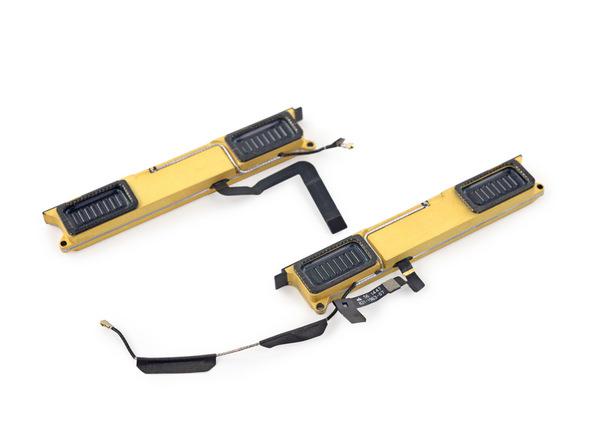
Step 10. mine gold ... Wait, is an aluminum antenna with a dielectric coating
Step 11. Finally, the trackpad
7,226,911
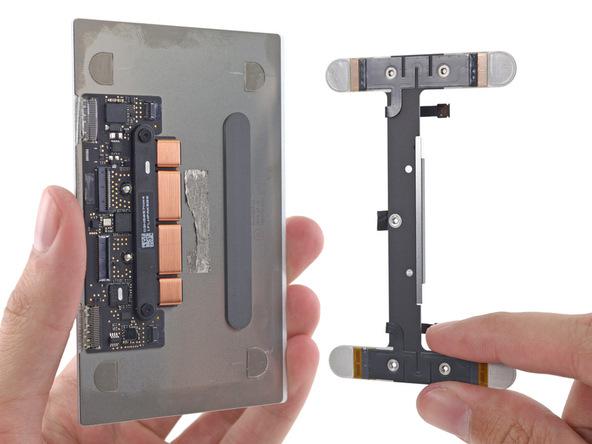
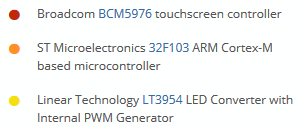
Step 12. Elements trackpad

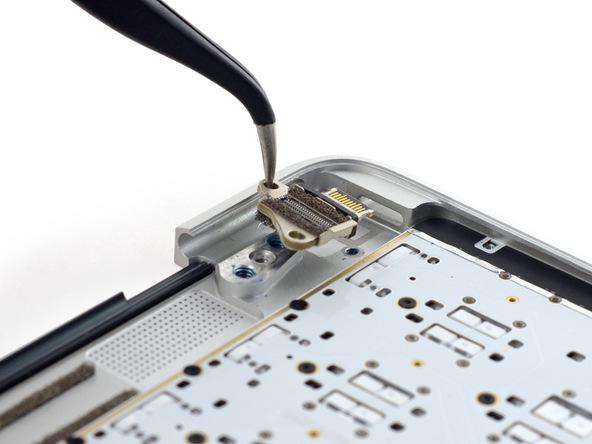
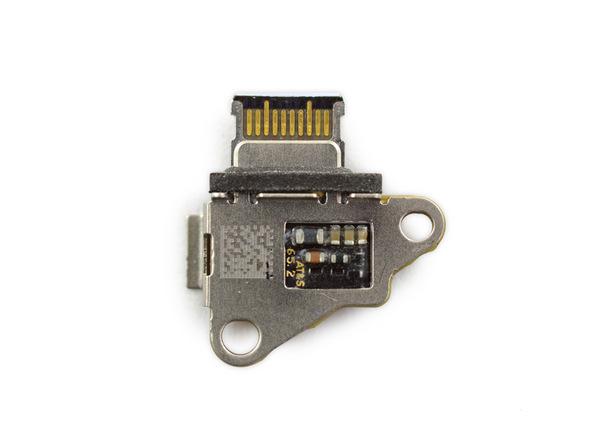
Step 13. USB-C port
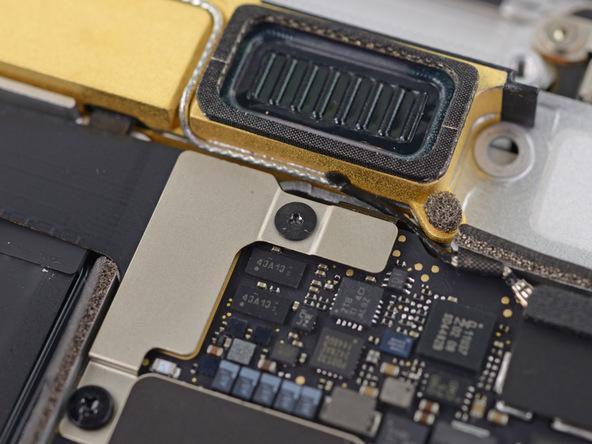
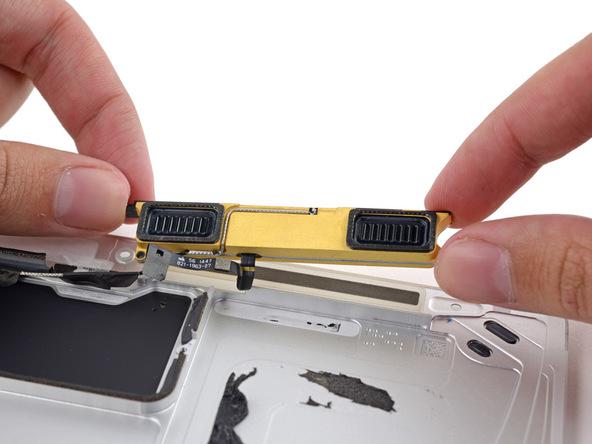
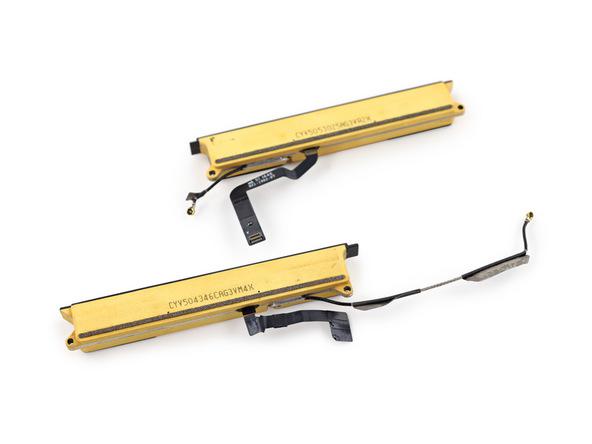
Step 14. Audio
Step 15. Display and port
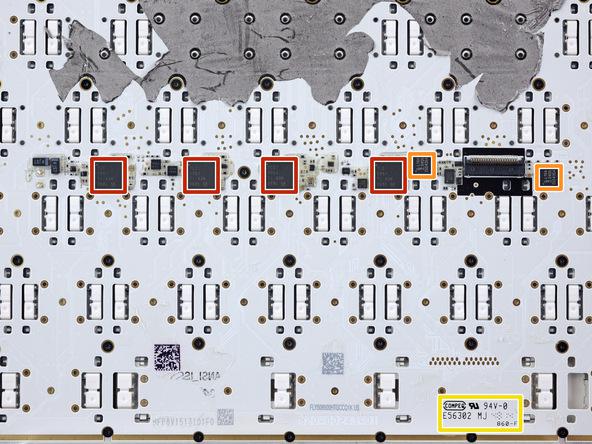
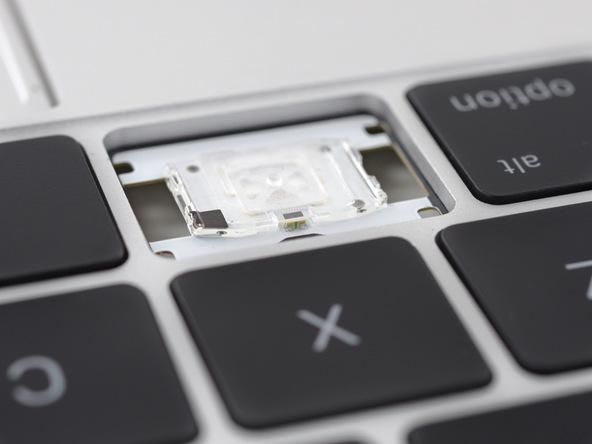
Step 15. under the keyboard?
Here individual LED for each key.
Step 16. The final stage
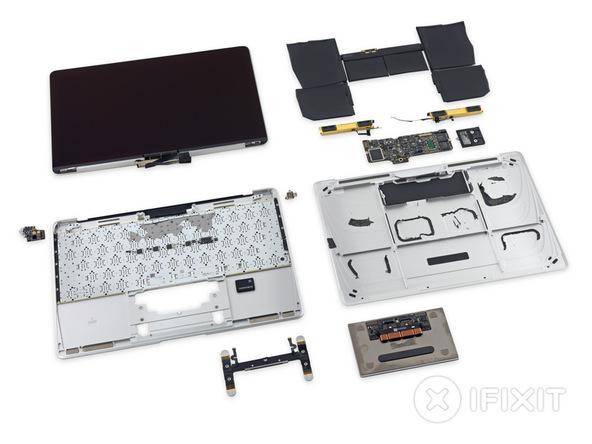
Conclusion
Source: geektimes.ru/post/249268/


During the 2014 landfill emissions 41, 8 million tons of e-waste. In 2018 48 million tons of throw
Intel and Cray supercomputer began creating capacity of 180 petaflop