821
As I rukozhopil balcony
So, dear comrades, psto having read about how people kill time trim balconies, I decided to make this feat, the benefit of balconies in the new hut I have two whole thing.
Just specify authorship and mega-quality do not apply, making almost to "back off" and at long intervals because work, travel, and too lazy to do anything other hindered and in time.
Photographed on Balon foam, sometimes jigsaw.
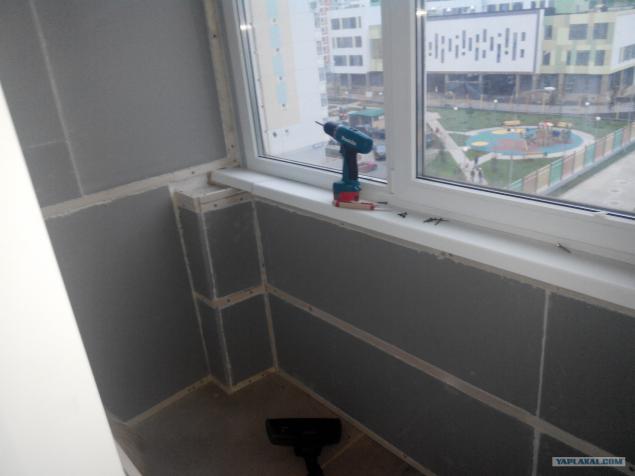
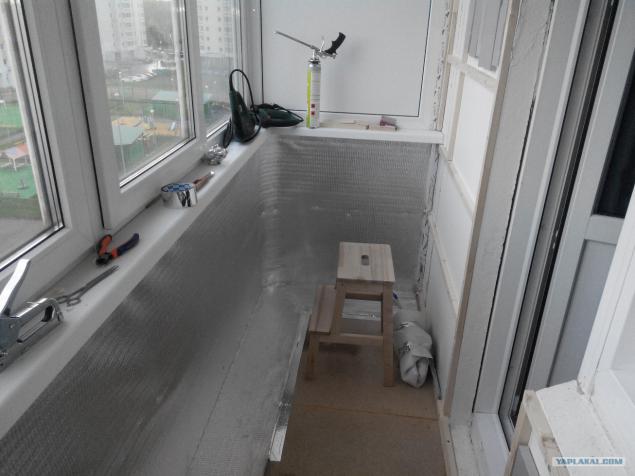
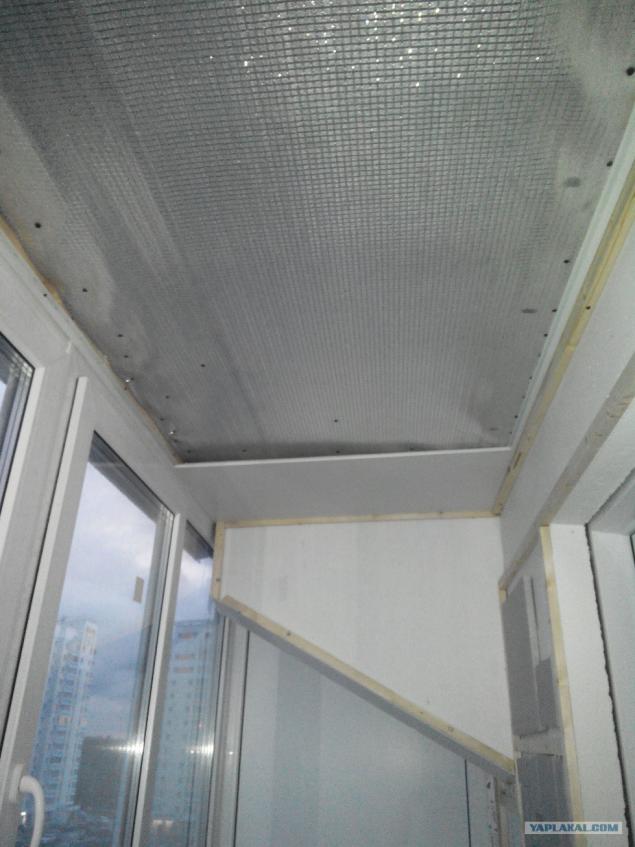
Here pictured already assembled crate (dowel-nail 6 * 40, 15 * 20 in rake), glued to the mounting foam insulation and assembly foam embedded seams. Again, mount the gun rules!
And so, what we need in the first place:
1. Gun foam !!! It is worth 400 rubles, saving foam well. This sucks bottles with plastic spout.
2. Jigsaw.
3. Hammer (+ drill on concrete for 6 and 8), screwdriver, hacksaw, knife construction (+ interchangeable blades), screws, tape, building, building level and pencil / pen, two ROULETTE (and I get exhausted by them run apartment), something on a trifle.
And so, I say in advance that the balcony was not planning to do warm, but warm glazing sometimes these little thoughts tossed and just in case I'm stuck in the "cold wall" penoplex.
Since the two balconies, the crate made in two ways:
1. Make a first crate slats first (hello Yoda), then cut out penoplex and put it on the assembly foam on the concrete.
2. Planting the mounting foam penoplex, then penofol seems foil, then make crate.
I'm more to the liking of the first option.
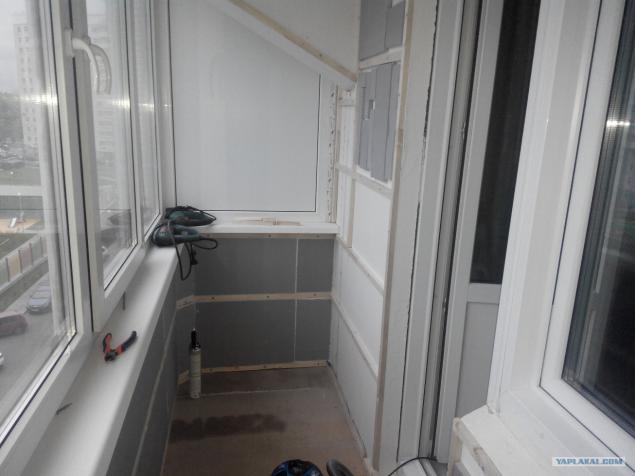
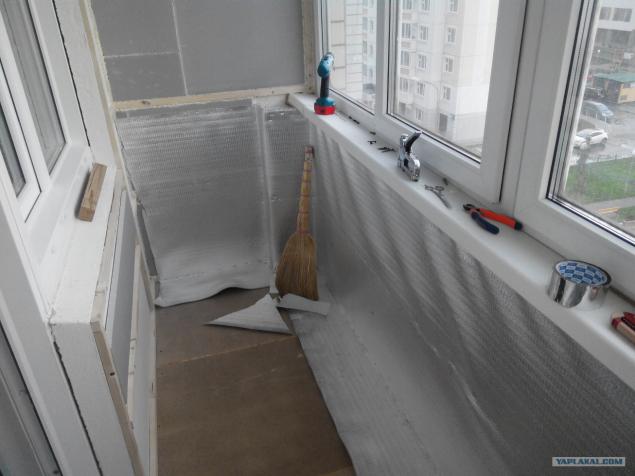
The other side of the balcony.
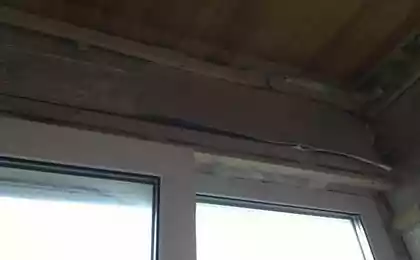
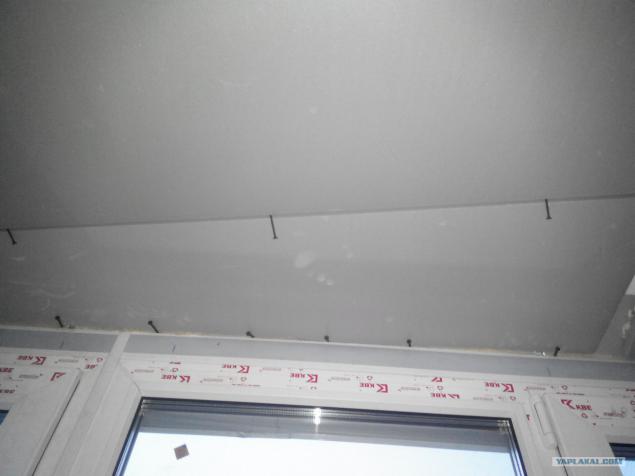
Architects need to hammer home a rusty nail down hat to the head of this misery in the form of a trapeze on the ceiling (support upper balcony).
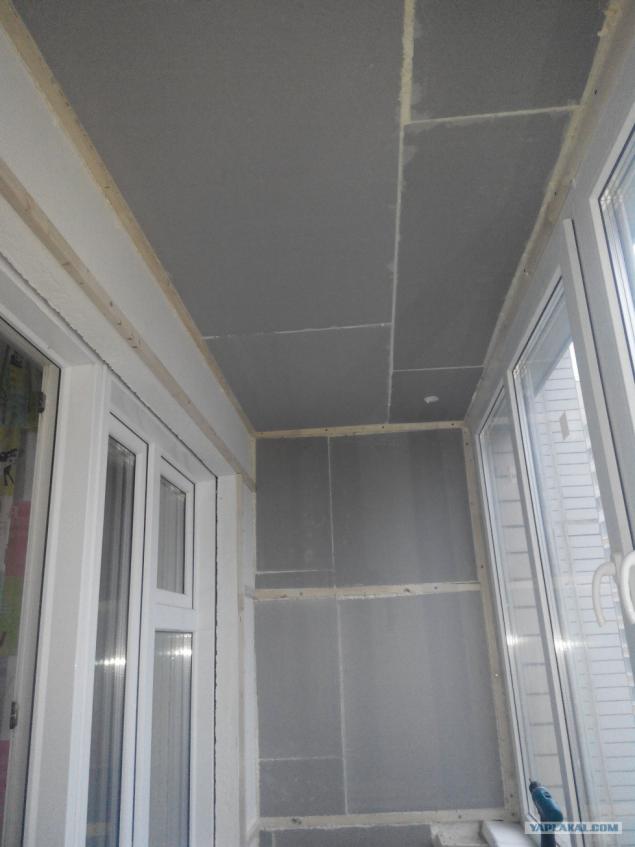
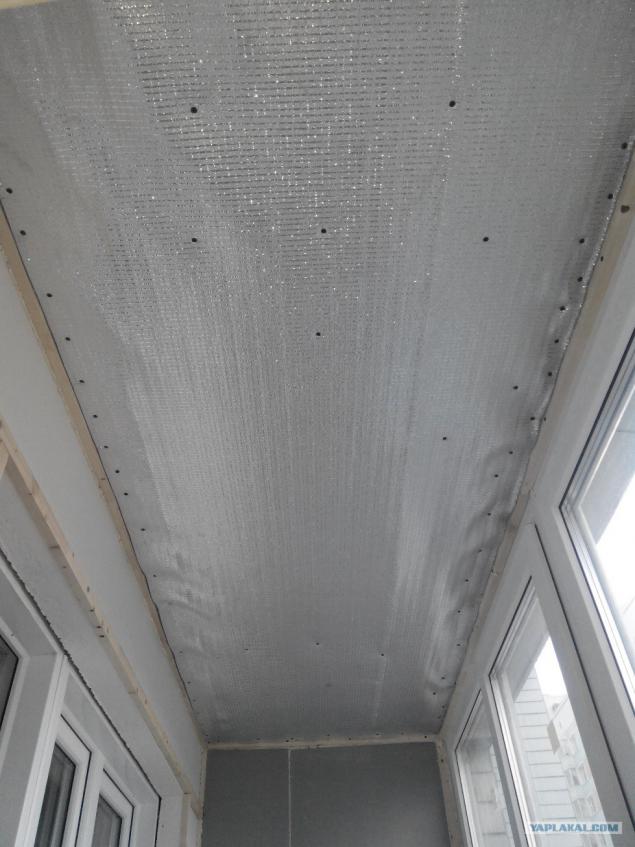
The ceiling is insulated.
If the place is flat, then pshyknem foam polystyrene, pressed against the wall / ceiling, left / WRAP smeared, Used minute and everything is kept.
If the ceiling is not smooth and prevents the visor, it is my pridumaka:
Pshikat foam presses and insert screws so that our fallen off pasted item. It works, everything is kept.
All glued seams zapenili, the remains of cut, Fasten izolon foil (it seems).
Fasten all screws to 19 mm. Stupidly stick them in the heat.
The cracks and joints in the Feng Shui paste tape foiled.
On the other hand
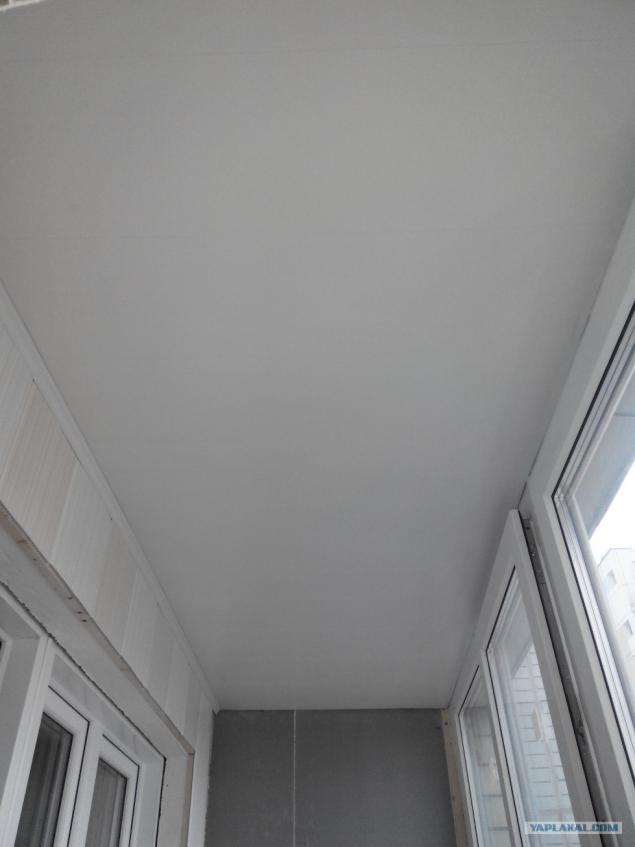
Ceiling
Getting plastic panels on the ceiling shamans. On gash guide screws in a circle, cut the panel to size and insert into the grooves.
A small note on the ceiling, on the left is a plinth, it can cut off the bottom edge of the guide for easy panel installation.
The ceiling is ready and the walls began.
Unfortunately, the beginning of the installation of wall panels are not captured in the photo, but there is a ceiling as: cut-to-size, inserted, secured with screws (I did not like building a stapler).
Here naryl photo from another balcony.
Color panel chose not to himself, saw a familiar finish Taku did something similar, for which she Respect and uvazhuha.
Begin to fix everything at one corner and go in a circle.
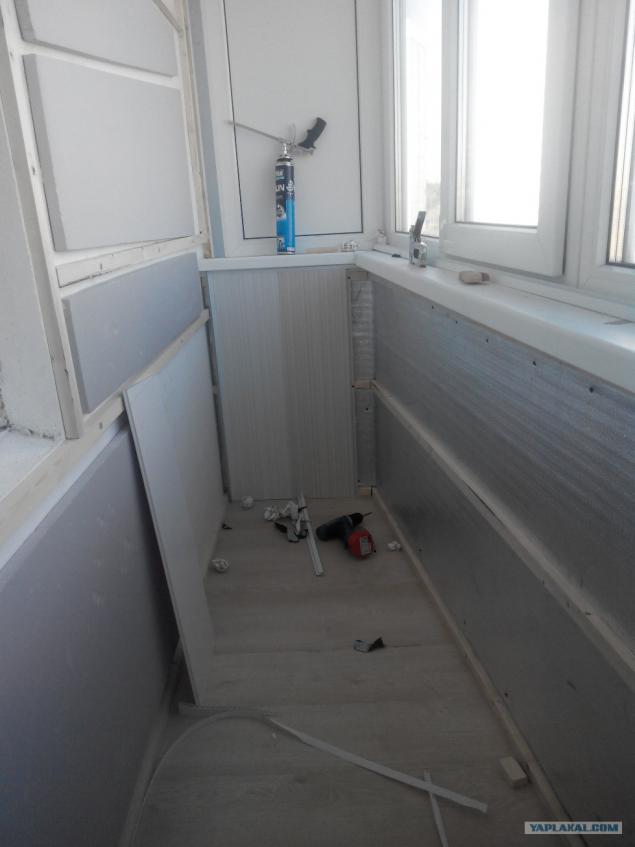
Slowly and finished with an appendix, damn it.
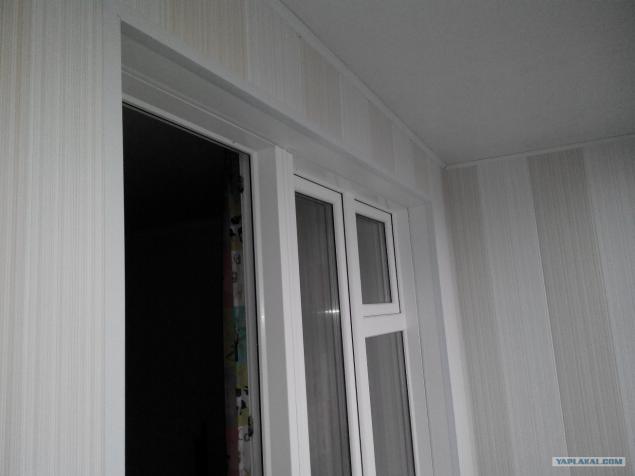
Prepare the installation of slopes: fasten the rails to the window frame ...
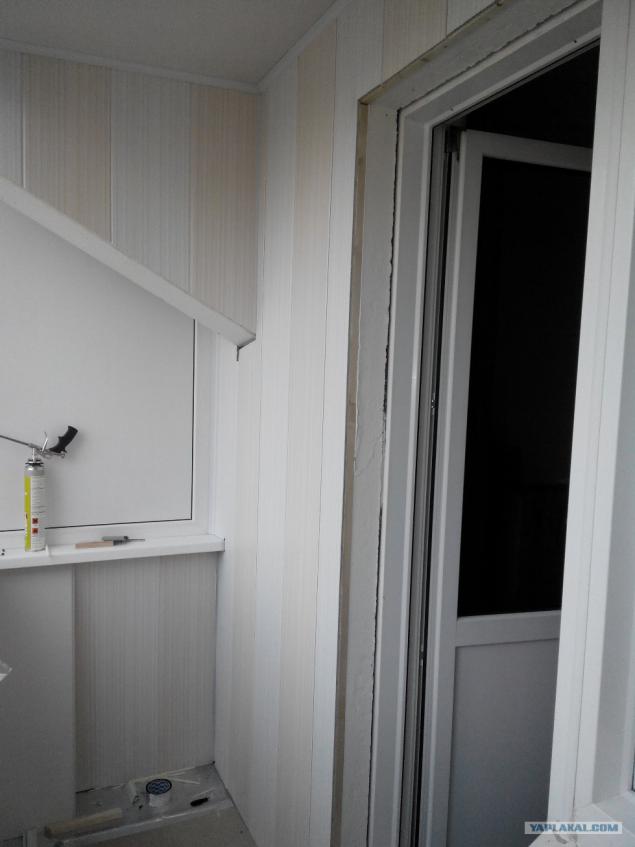
Cut to fit the slopes of a large panel, glue area.
Everything is simple: 7 times measured and then cut.
Although it happened, and 10 times Meryl and incorrectly cut.
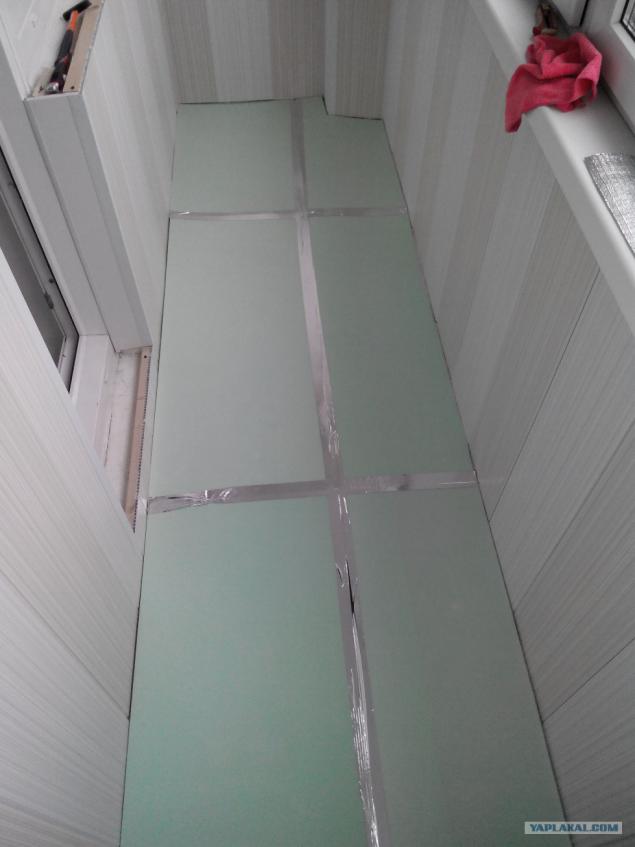
Further, according to the plan we are laying the laminate.
But first substrate and foil tape with one angle
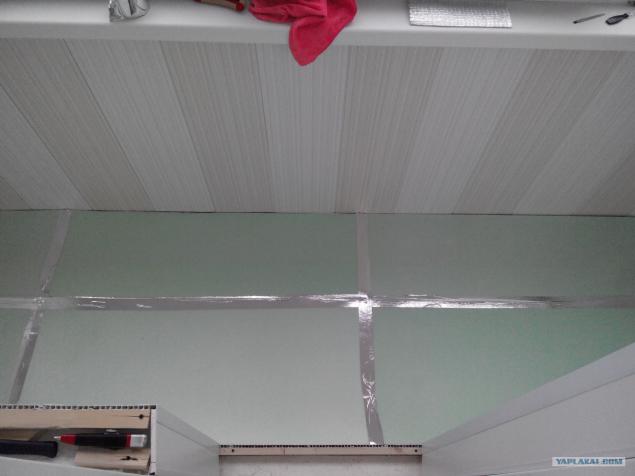
And another
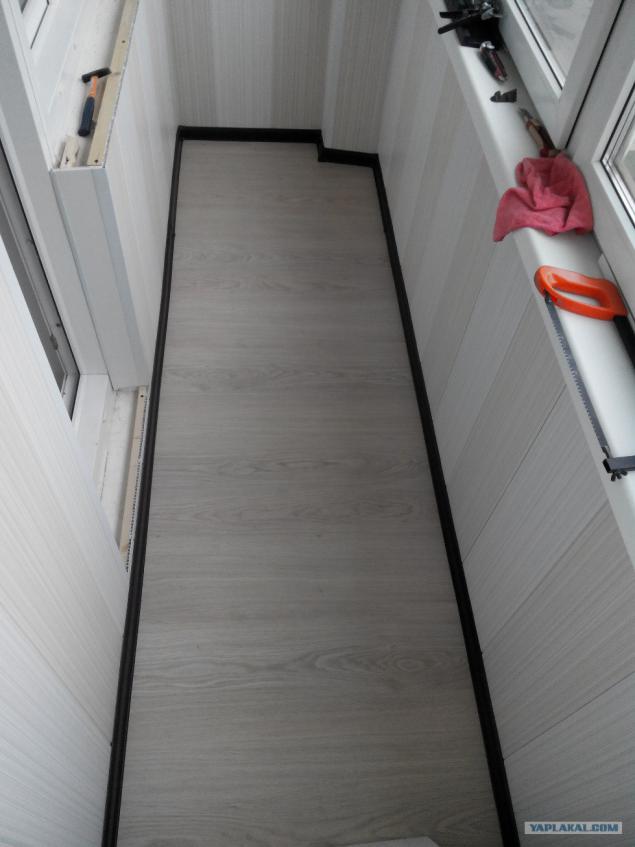
Further, according to the scheme with panels cut to fit laminate gently vstavleemya castle in the castle and mount the plinth.
Now the little tricks with mounting pokolodnika
Cut it to size
Is applied to the power element glue / liquid nails and fill the cavity with foam, but ...

Before that, you need to paste over the slopes and the frame masking tape, so you do not tear off the foam. I do come to a head late ...
slizhkom Yes, and the foam is not very much to 2/3 volume of the cavity. For some, it's a lot, but is fixed but the windowsill tightly.
Plastered all
In general, dealt a glue and foam, installed on top of the window sill and put collapsible dumbbells for weight.
but before it can be put on a cap and pokolodnik
A threshold I poured a little foam.
But he tore long and well-kept.
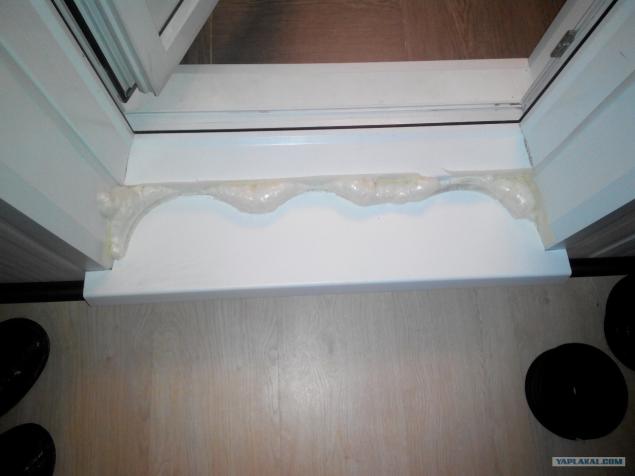
Now all torn off, remove the seams are sealed with sealant balcony is almost ready.
Yes, the light on the balcony did not, although the wiring under this deal brought. If you want to do will only set the switch and the ceiling.
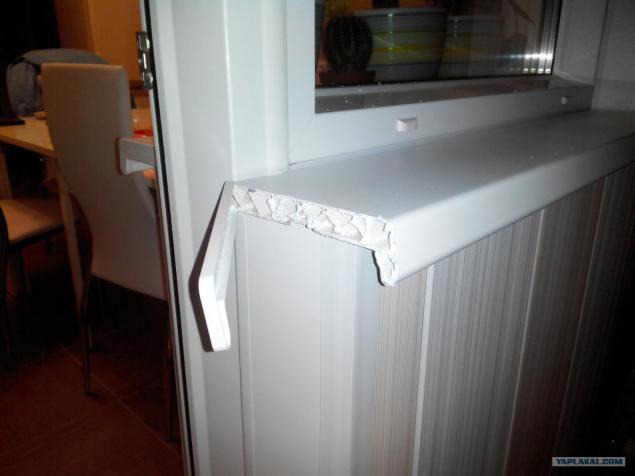
PS: in the far corner is attached to another piece of sill misery of our architects.
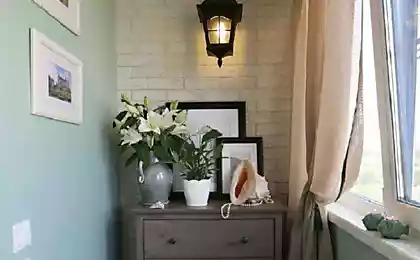
Another photo
And extreme photo.
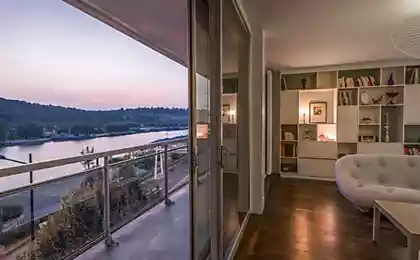
In general, this is a balcony on the sunny side and it is constantly hot.
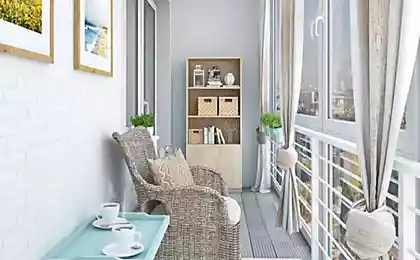
The second is not too cold, so I did not close the balcony, which is also, in principle, not bad.
Thank you for not broken, there will be questions, try to answer.
PS: the most trash was when he began to cut ceiling moldings, a puzzle in the form of a miter box to cut corners, and how I was stumped
Just specify authorship and mega-quality do not apply, making almost to "back off" and at long intervals because work, travel, and too lazy to do anything other hindered and in time.
Photographed on Balon foam, sometimes jigsaw.
Here pictured already assembled crate (dowel-nail 6 * 40, 15 * 20 in rake), glued to the mounting foam insulation and assembly foam embedded seams. Again, mount the gun rules!

And so, what we need in the first place:
1. Gun foam !!! It is worth 400 rubles, saving foam well. This sucks bottles with plastic spout.
2. Jigsaw.
3. Hammer (+ drill on concrete for 6 and 8), screwdriver, hacksaw, knife construction (+ interchangeable blades), screws, tape, building, building level and pencil / pen, two ROULETTE (and I get exhausted by them run apartment), something on a trifle.
And so, I say in advance that the balcony was not planning to do warm, but warm glazing sometimes these little thoughts tossed and just in case I'm stuck in the "cold wall" penoplex.
Since the two balconies, the crate made in two ways:
1. Make a first crate slats first (hello Yoda), then cut out penoplex and put it on the assembly foam on the concrete.
2. Planting the mounting foam penoplex, then penofol seems foil, then make crate.
I'm more to the liking of the first option.
The other side of the balcony.
Architects need to hammer home a rusty nail down hat to the head of this misery in the form of a trapeze on the ceiling (support upper balcony).

The ceiling is insulated.
If the place is flat, then pshyknem foam polystyrene, pressed against the wall / ceiling, left / WRAP smeared, Used minute and everything is kept.

If the ceiling is not smooth and prevents the visor, it is my pridumaka:
Pshikat foam presses and insert screws so that our fallen off pasted item. It works, everything is kept.

All glued seams zapenili, the remains of cut, Fasten izolon foil (it seems).
Fasten all screws to 19 mm. Stupidly stick them in the heat.
The cracks and joints in the Feng Shui paste tape foiled.

On the other hand

Ceiling

Getting plastic panels on the ceiling shamans. On gash guide screws in a circle, cut the panel to size and insert into the grooves.
A small note on the ceiling, on the left is a plinth, it can cut off the bottom edge of the guide for easy panel installation.

The ceiling is ready and the walls began.
Unfortunately, the beginning of the installation of wall panels are not captured in the photo, but there is a ceiling as: cut-to-size, inserted, secured with screws (I did not like building a stapler).

Here naryl photo from another balcony.
Color panel chose not to himself, saw a familiar finish Taku did something similar, for which she Respect and uvazhuha.
Begin to fix everything at one corner and go in a circle.

Slowly and finished with an appendix, damn it.
Prepare the installation of slopes: fasten the rails to the window frame ...

Cut to fit the slopes of a large panel, glue area.
Everything is simple: 7 times measured and then cut.
Although it happened, and 10 times Meryl and incorrectly cut.

Further, according to the plan we are laying the laminate.
But first substrate and foil tape with one angle

And another

Further, according to the scheme with panels cut to fit laminate gently vstavleemya castle in the castle and mount the plinth.

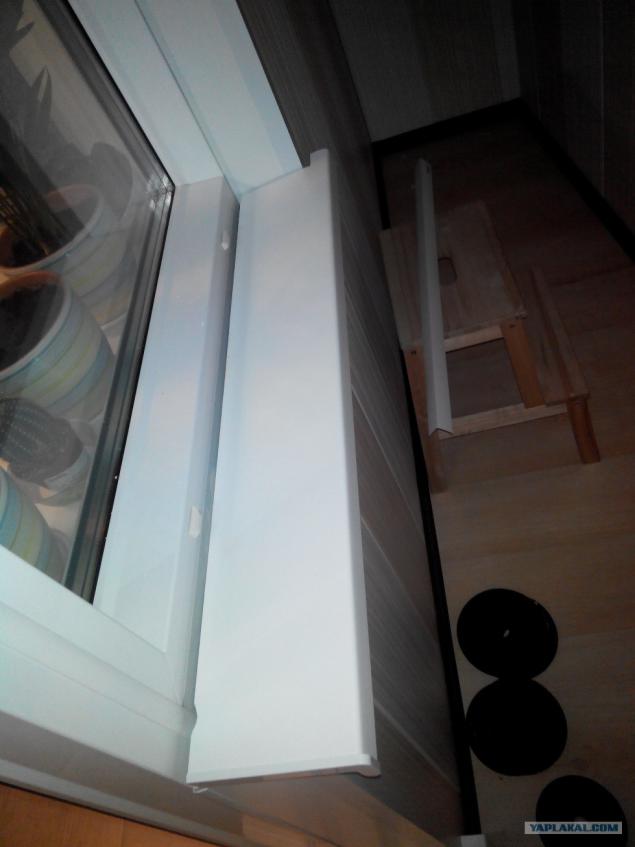
Now the little tricks with mounting pokolodnika
Cut it to size

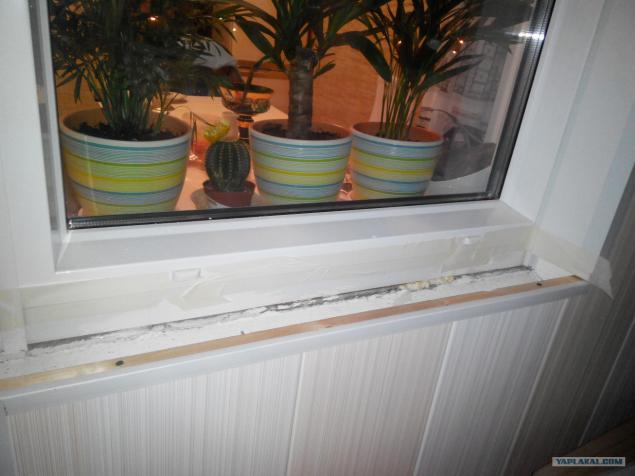
Is applied to the power element glue / liquid nails and fill the cavity with foam, but ...

Before that, you need to paste over the slopes and the frame masking tape, so you do not tear off the foam. I do come to a head late ...
slizhkom Yes, and the foam is not very much to 2/3 volume of the cavity. For some, it's a lot, but is fixed but the windowsill tightly.
Plastered all

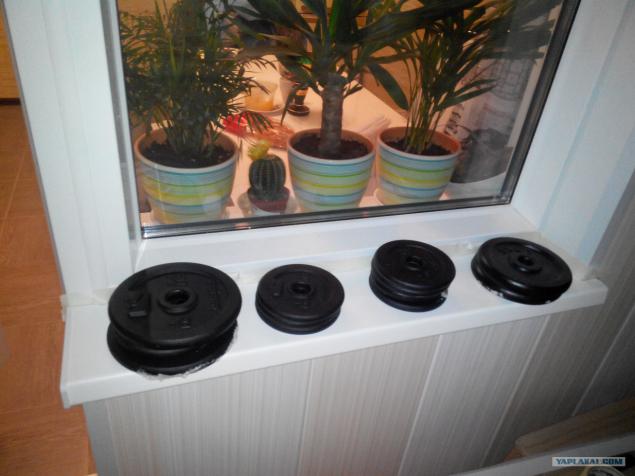
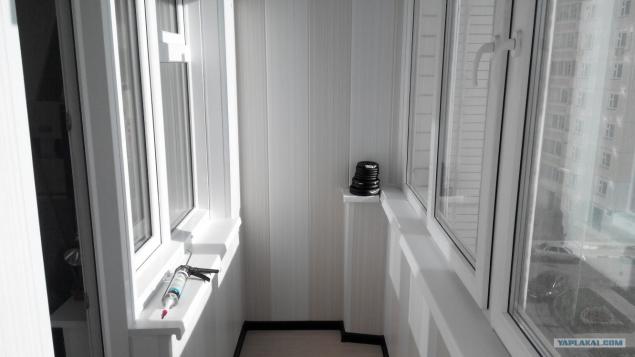
In general, dealt a glue and foam, installed on top of the window sill and put collapsible dumbbells for weight.

but before it can be put on a cap and pokolodnik

A threshold I poured a little foam.
But he tore long and well-kept.

Now all torn off, remove the seams are sealed with sealant balcony is almost ready.
Yes, the light on the balcony did not, although the wiring under this deal brought. If you want to do will only set the switch and the ceiling.
PS: in the far corner is attached to another piece of sill misery of our architects.

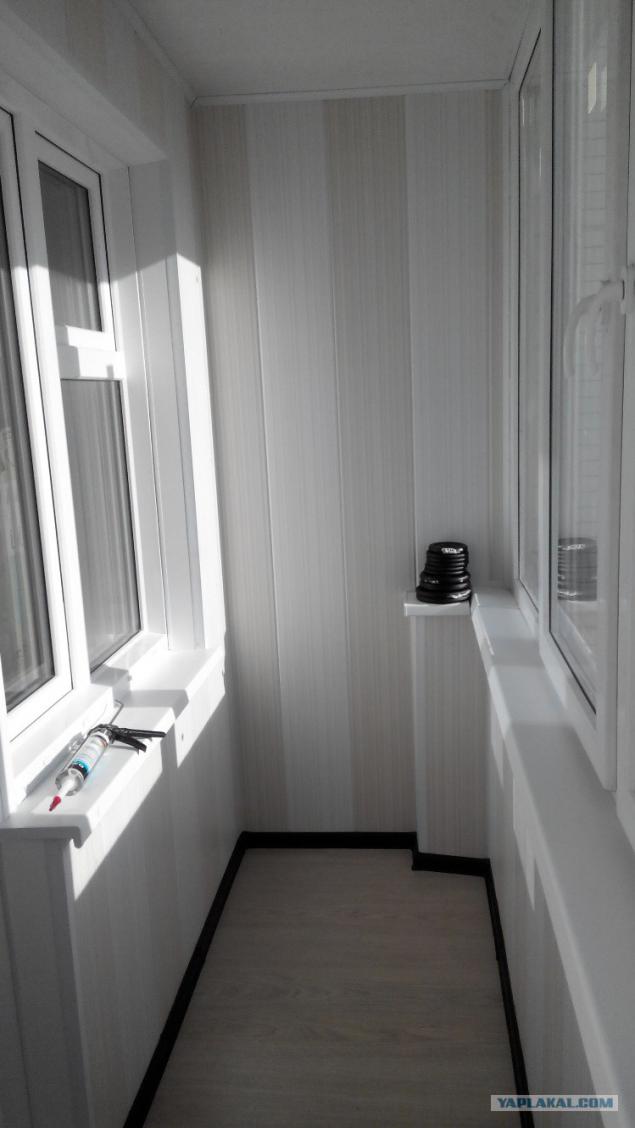
Another photo

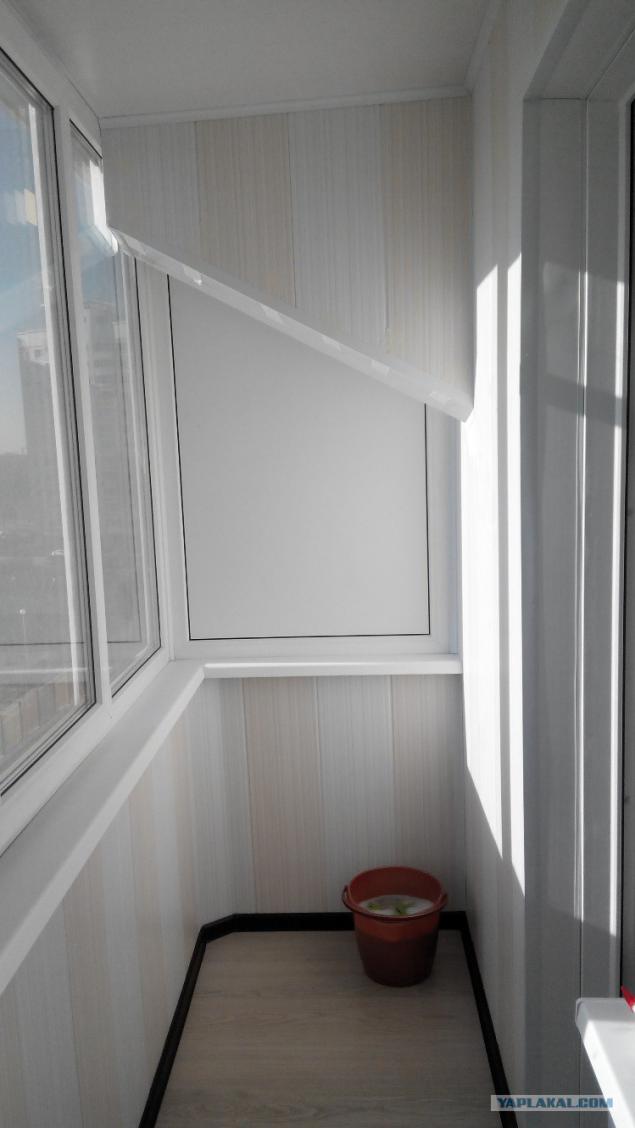
And extreme photo.
In general, this is a balcony on the sunny side and it is constantly hot.
The second is not too cold, so I did not close the balcony, which is also, in principle, not bad.
Thank you for not broken, there will be questions, try to answer.
PS: the most trash was when he began to cut ceiling moldings, a puzzle in the form of a miter box to cut corners, and how I was stumped