1630
As we did for the wheelchair-ship parade carriages
We lit up with my dad (in the future I will call him grandfather) the idea to participate in the parade carriages on June 1 in our town. As we recently purchased Yarik (my son) sailor suit and hat, then the idea to make the ship out of the carriage. Time before the holiday was not enough, but rather 3 days.
Since almost all the time I was busy with the child, the beginning could not take pictures, but I think you will understand how there and that.
So, from pieces of plywood and sawn fixed base ship.
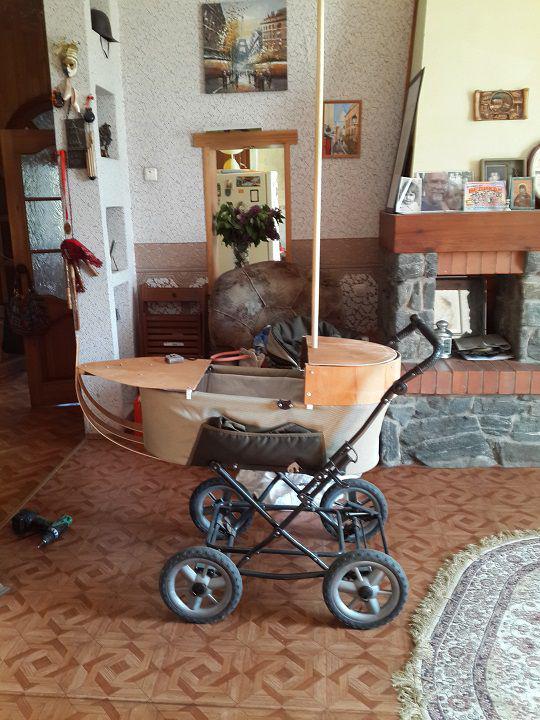
Inside plywood nailed bars for the construction of the fortress and further to her anchorage. The whole thing was attached to the wheelchair fixings for plastic pipes.
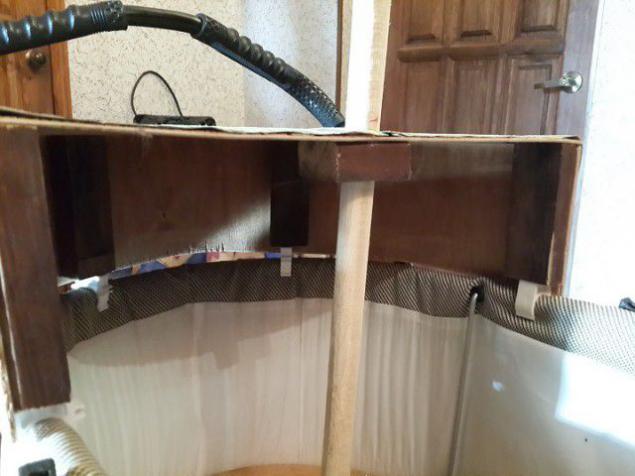
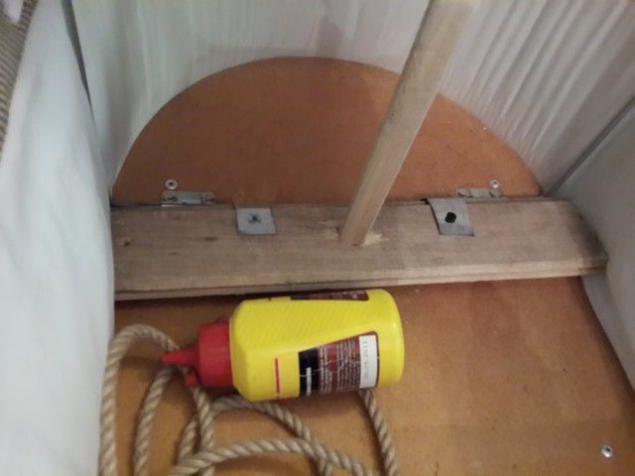
Sama's mast so installed in the carriage (carriage took the old, so do not feel sorry for her that was a tie)
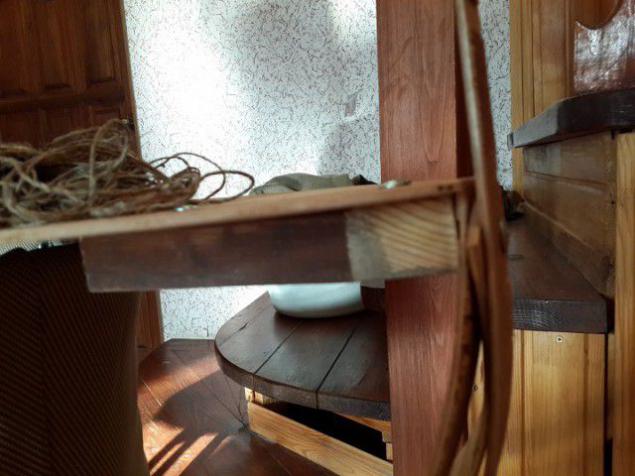
Photography is not a very good excuse. This bow is made from three scraps of plywood, connected with screws. In the background, a staircase, also made his grandfather.
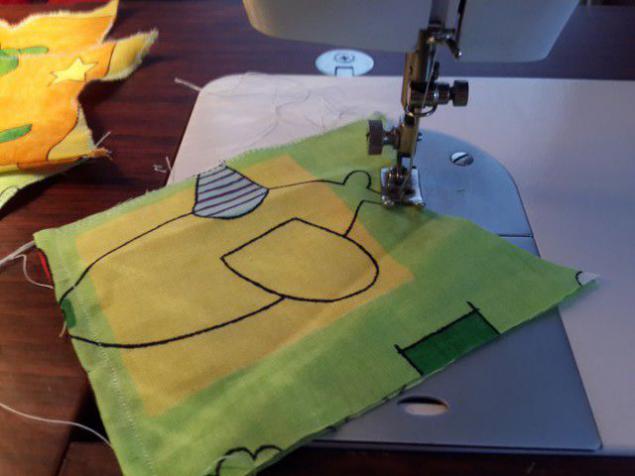
I also did not lose time in vain, until my grandfather busy male chores, I stitched from scraps diaper boxes.
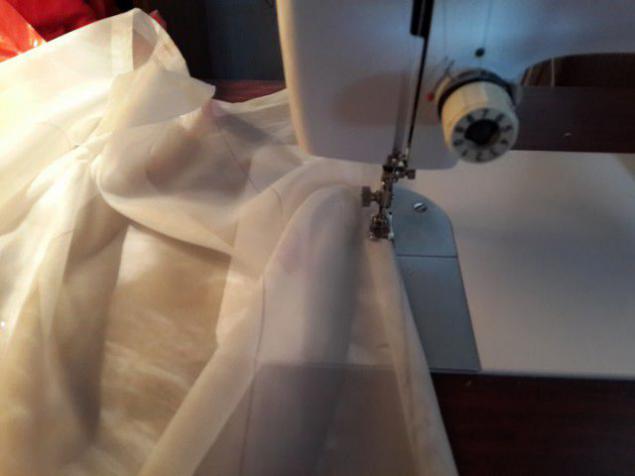
From the remnants of the curtains sewed sail. Normal quadrilateral with loops above and below.
Meanwhile, my grandfather is preparing for the back deck balusters.

It makes sawed

Here's how it looks
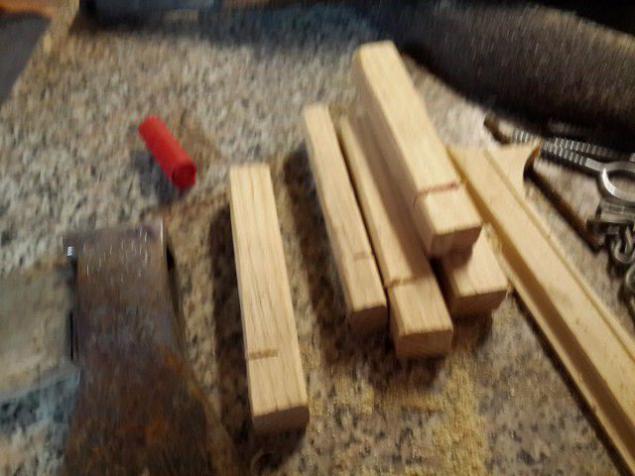
To cut down the old projections - ax
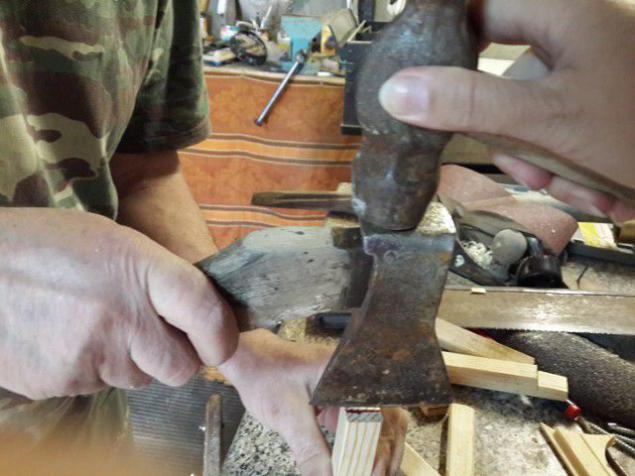
Here's what happened
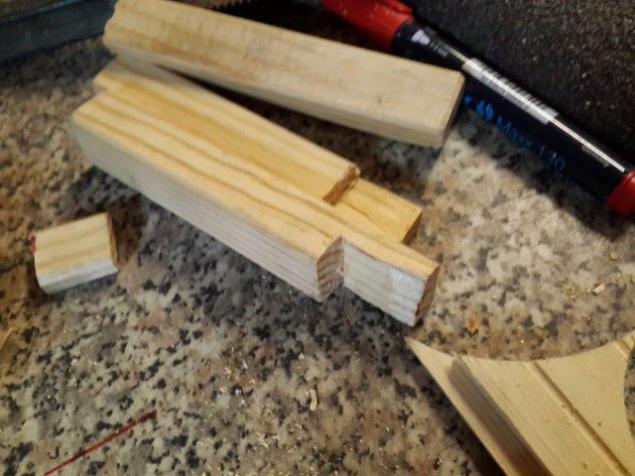
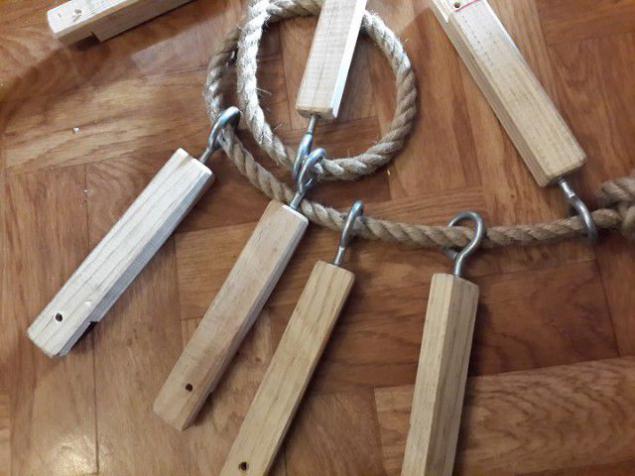
Abraded heavily, I drilled holes and screw rings. Slipped cord.
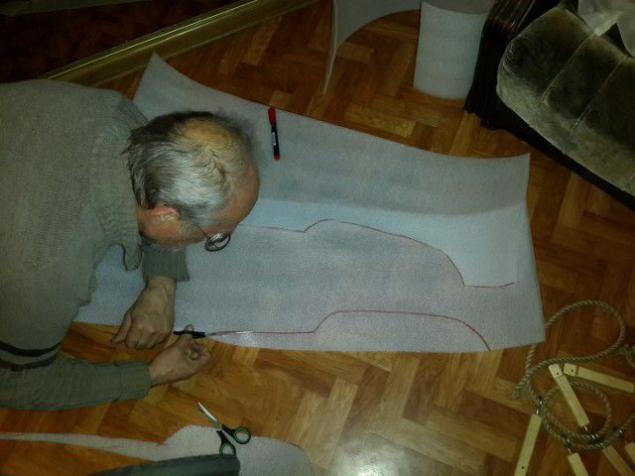
It's time to do the sidewall. From grandfather carved out izolona. I try on everything in the eye, but did not change the proverb: measure twice, cut once!
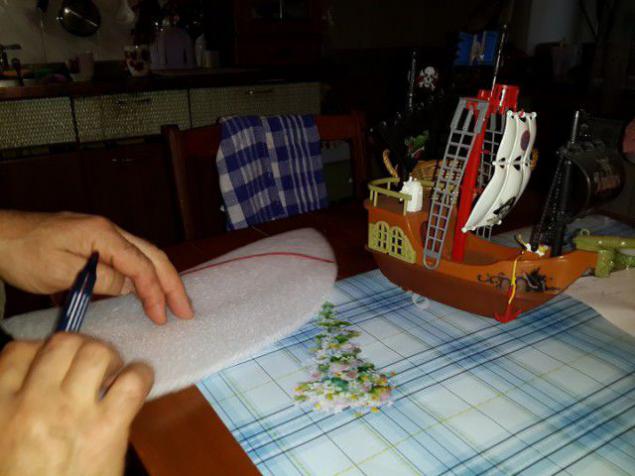
It makes the window. As a prototype serves as a children's boat.
The aid is all that comes to hand.
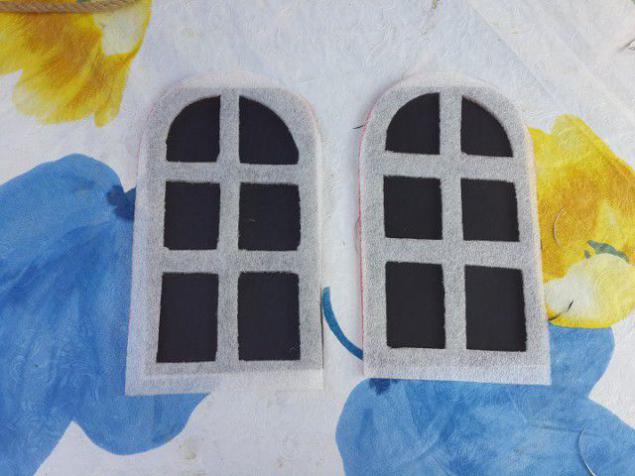
The windows are cut from the same material that is glued to the black cardboard.
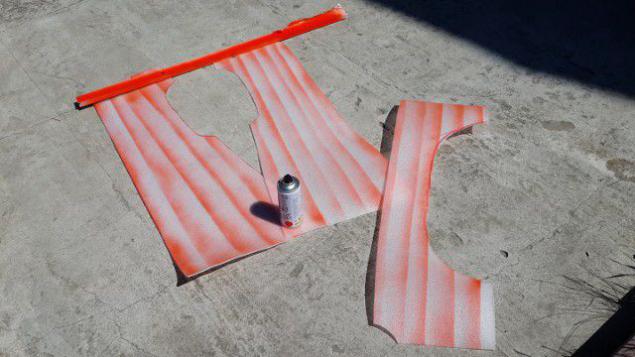
We return to our sidewalls. Paint them here so by rail. It turns out the effect of the boards.

Left to dry in the sun. The two sides and the rear.
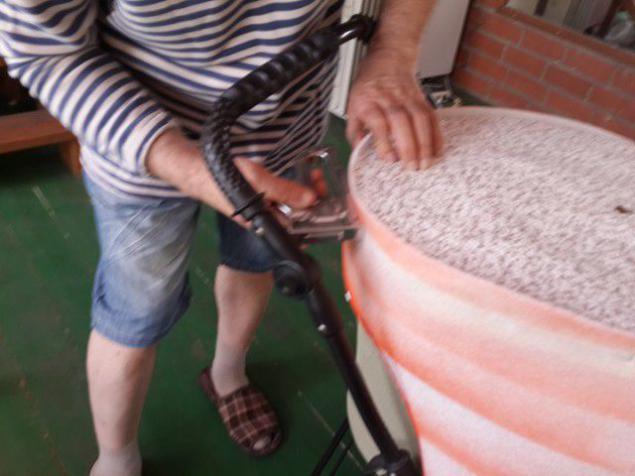
Then grandfather attached via the back of the stapler.
It attaches to deck screws fence. Or, as I suggested a local Yap "fireman" - guard rails, if for scientific :)
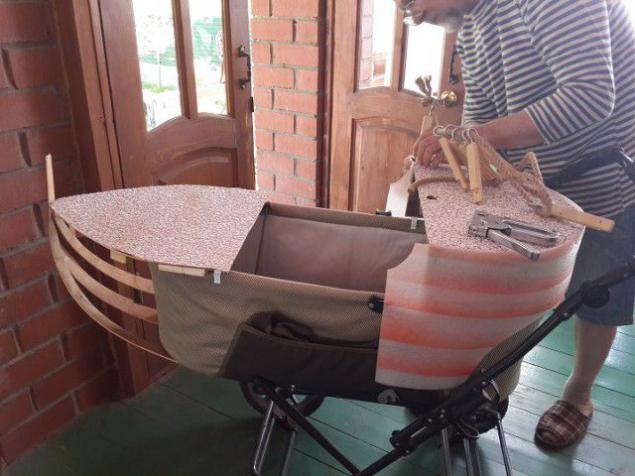
Here's how it looks.
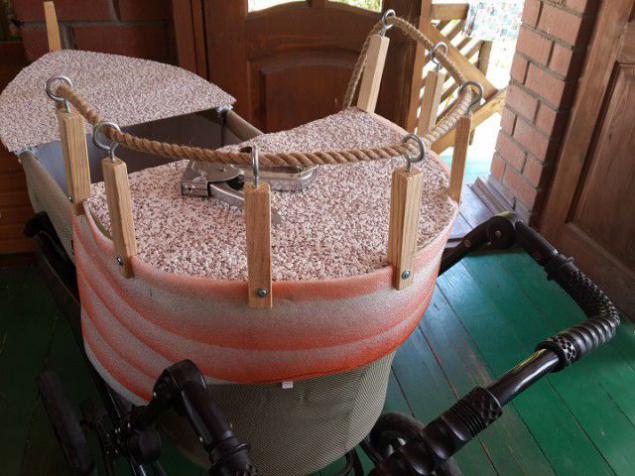
Attached as the sidewall and the back of the stapler.
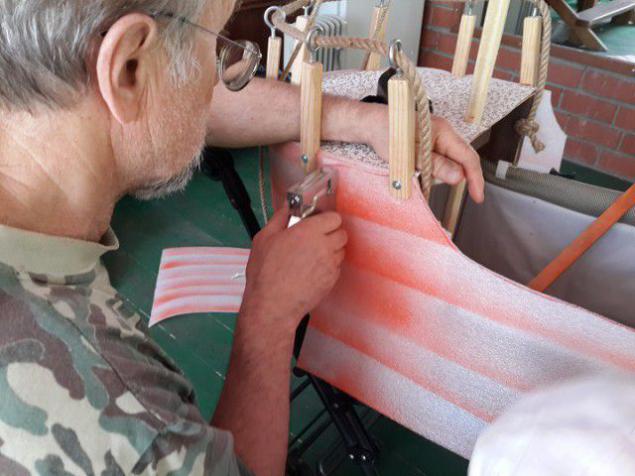
Captain Future is closely monitoring the process, learning skills from his grandfather.
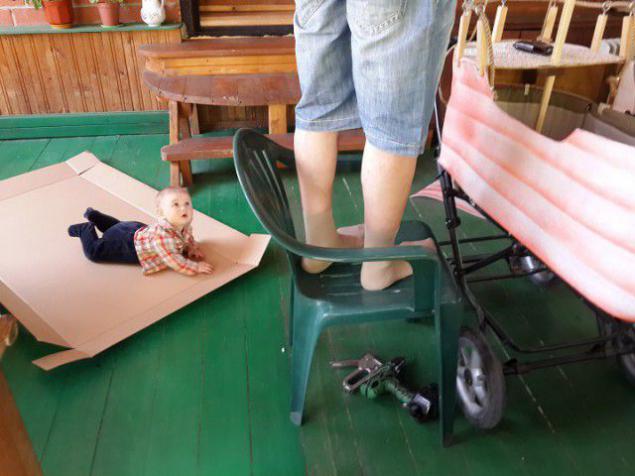
Making the upper deck: plywood slats. I tied the ladder of twine. Lessons macrame in childhood were not in vain :)
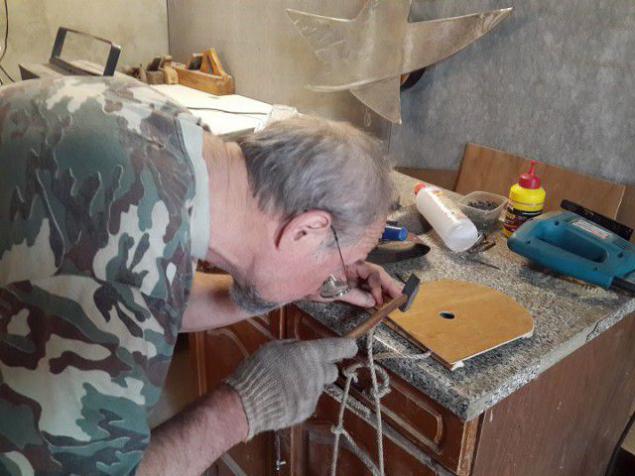
Paint the upper deck. Grass takes a nice red color :)
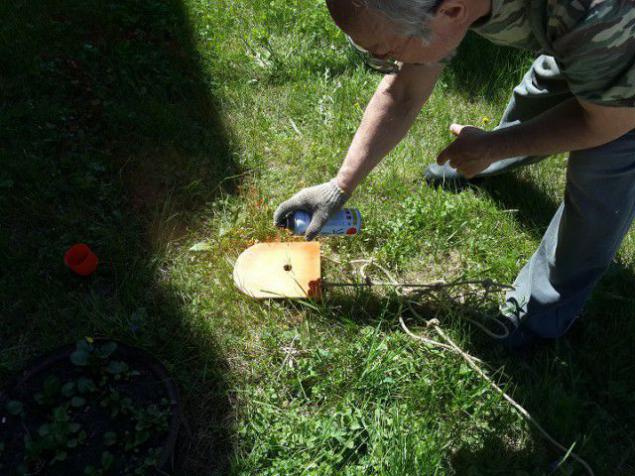
Next comes the process of creating an anchor and all prichindalov him. Kras chain. In the background is well, he is also the grandfather did.
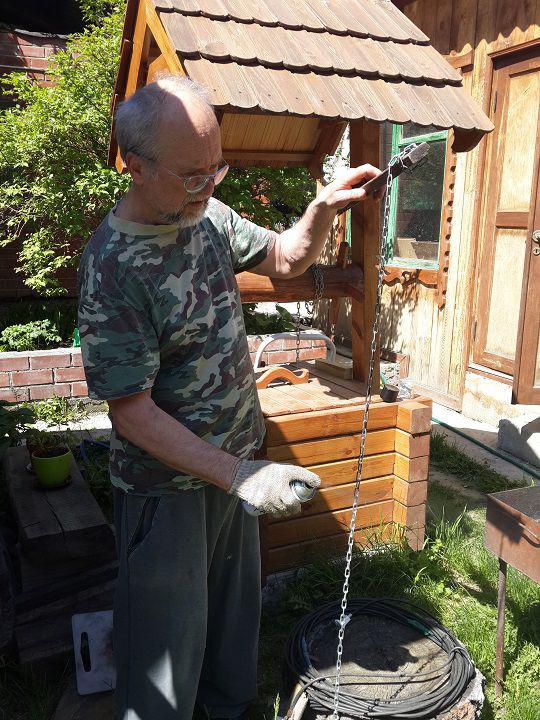
Kras ordinary tin can in a golden color.
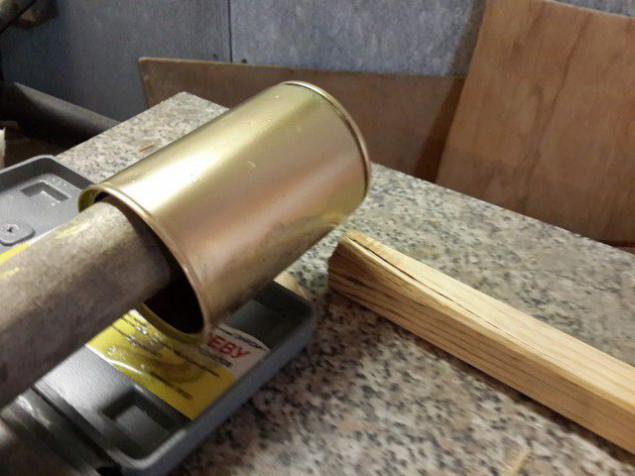
Drum chain

Fasten tinted side, all attached to the screws again.
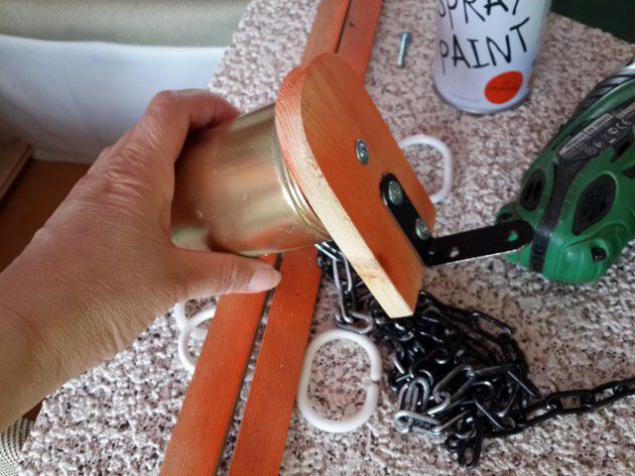
Is attached to the front deck. By the way, the deck are covered with remnants of wallpaper.
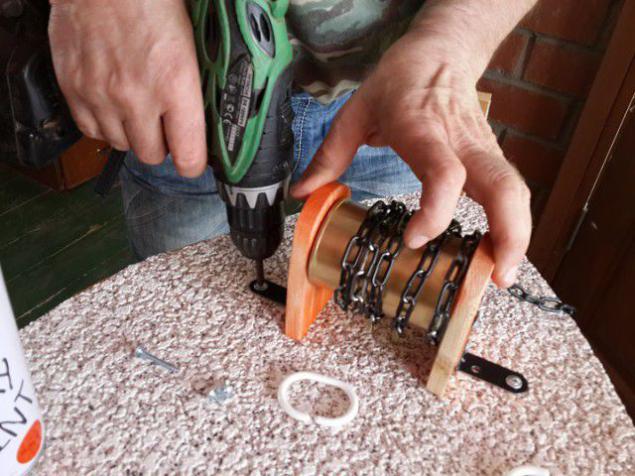
We make the bow. Also part of izolona cut, painted, attached stapler.
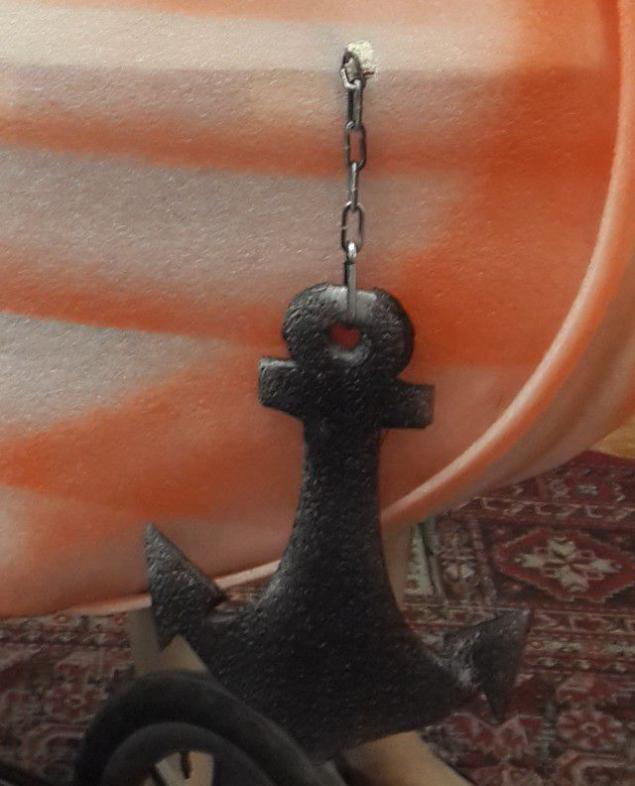
Anchor again cut out of izolona, painted in black color and hang on the chain.
Cut letters.
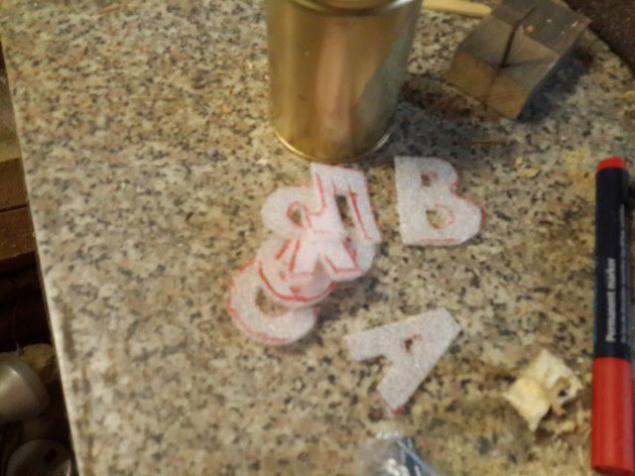
Give the name of the ship.

Attach window stapler.
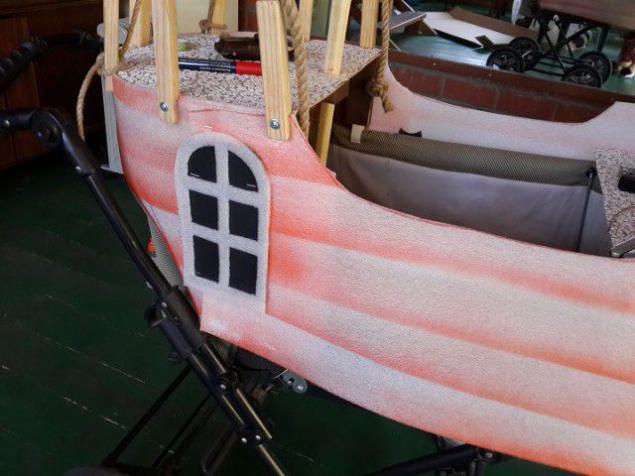
We hang the sail and check boxes.
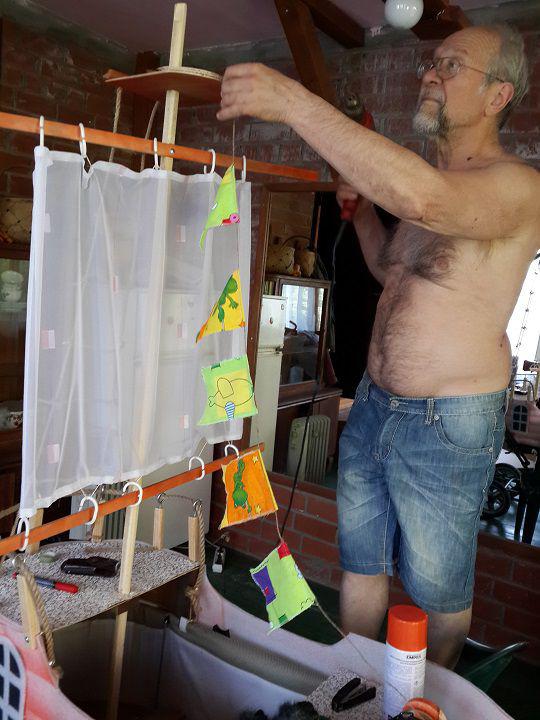
All of the same izolona cut out design of the upper deck, sadim glue.

We hang on the monkey yard
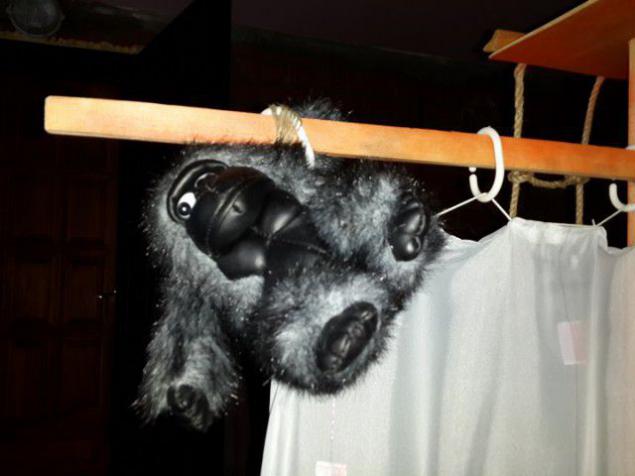
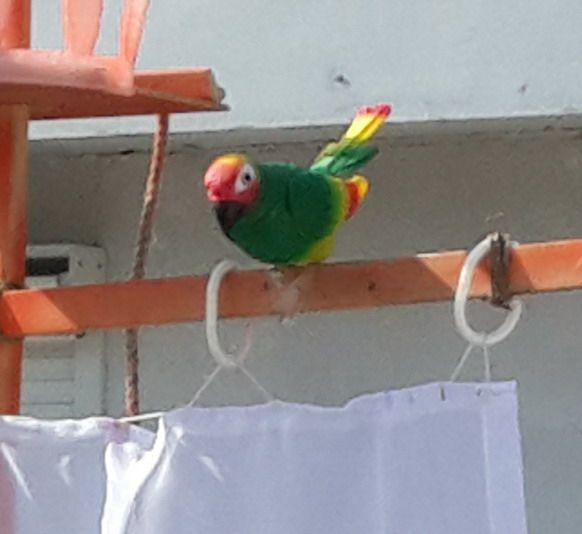
Planting parrot.
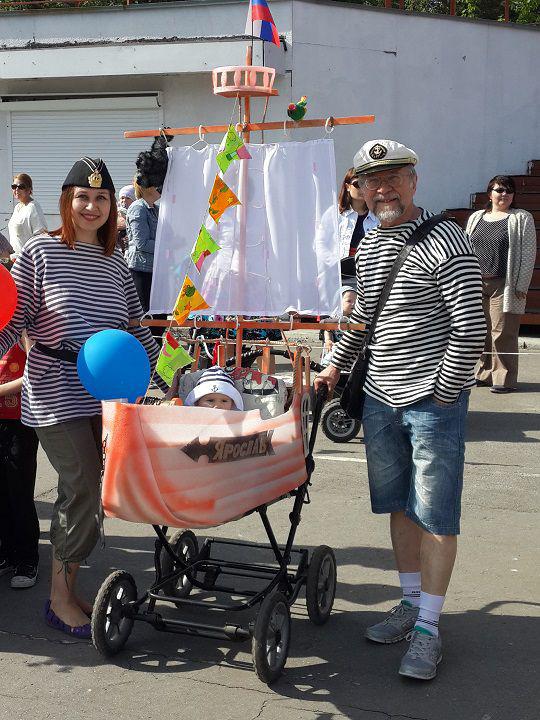
... And we stand on parade. In the category "Sailor" we won the first place.
Source: ice27
--img41--
Since almost all the time I was busy with the child, the beginning could not take pictures, but I think you will understand how there and that.
So, from pieces of plywood and sawn fixed base ship.

Inside plywood nailed bars for the construction of the fortress and further to her anchorage. The whole thing was attached to the wheelchair fixings for plastic pipes.

Sama's mast so installed in the carriage (carriage took the old, so do not feel sorry for her that was a tie)

Photography is not a very good excuse. This bow is made from three scraps of plywood, connected with screws. In the background, a staircase, also made his grandfather.

I also did not lose time in vain, until my grandfather busy male chores, I stitched from scraps diaper boxes.

From the remnants of the curtains sewed sail. Normal quadrilateral with loops above and below.

Meanwhile, my grandfather is preparing for the back deck balusters.

It makes sawed

Here's how it looks

To cut down the old projections - ax

Here's what happened

Abraded heavily, I drilled holes and screw rings. Slipped cord.

It's time to do the sidewall. From grandfather carved out izolona. I try on everything in the eye, but did not change the proverb: measure twice, cut once!

It makes the window. As a prototype serves as a children's boat.

The aid is all that comes to hand.

The windows are cut from the same material that is glued to the black cardboard.

We return to our sidewalls. Paint them here so by rail. It turns out the effect of the boards.

Left to dry in the sun. The two sides and the rear.

Then grandfather attached via the back of the stapler.

It attaches to deck screws fence. Or, as I suggested a local Yap "fireman" - guard rails, if for scientific :)

Here's how it looks.

Attached as the sidewall and the back of the stapler.

Captain Future is closely monitoring the process, learning skills from his grandfather.

Making the upper deck: plywood slats. I tied the ladder of twine. Lessons macrame in childhood were not in vain :)

Paint the upper deck. Grass takes a nice red color :)

Next comes the process of creating an anchor and all prichindalov him. Kras chain. In the background is well, he is also the grandfather did.

Kras ordinary tin can in a golden color.

Drum chain

Fasten tinted side, all attached to the screws again.

Is attached to the front deck. By the way, the deck are covered with remnants of wallpaper.

We make the bow. Also part of izolona cut, painted, attached stapler.

Anchor again cut out of izolona, painted in black color and hang on the chain.

Cut letters.

Give the name of the ship.

Attach window stapler.

We hang the sail and check boxes.

All of the same izolona cut out design of the upper deck, sadim glue.

We hang on the monkey yard

Planting parrot.

... And we stand on parade. In the category "Sailor" we won the first place.

Source: ice27
--img41--
