577
Driving "Stoplight"
I decided to revive old and engage in electronics, which dealt with the school to institute and after graduation the family, work, work, work, work ... in general threw the case for many years.
And now, at 34 years old, I decided to collect anything, starting with a scheme "Stoplight».
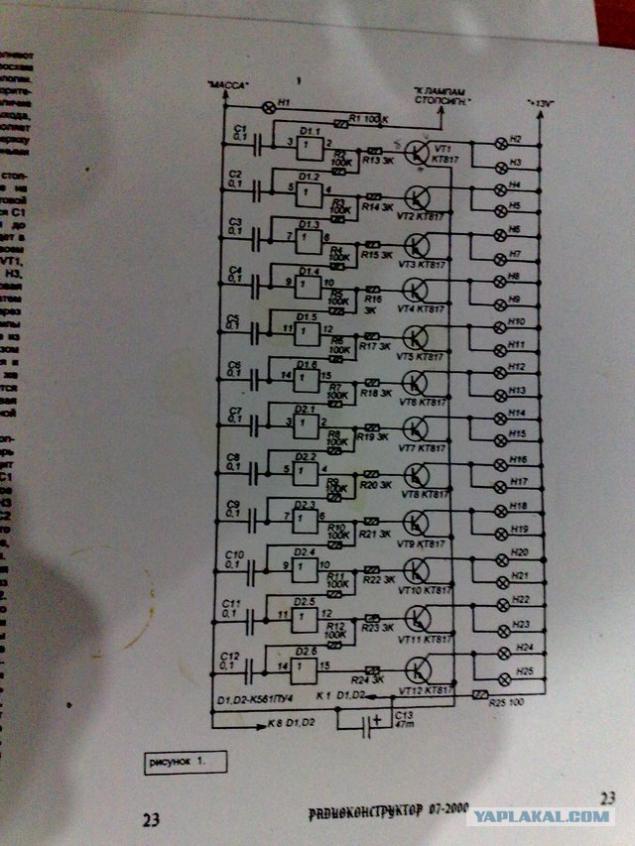
Shemka this was published in the journal "electronic kit» №7 2000.
(there will be 11 ph and 1 video)
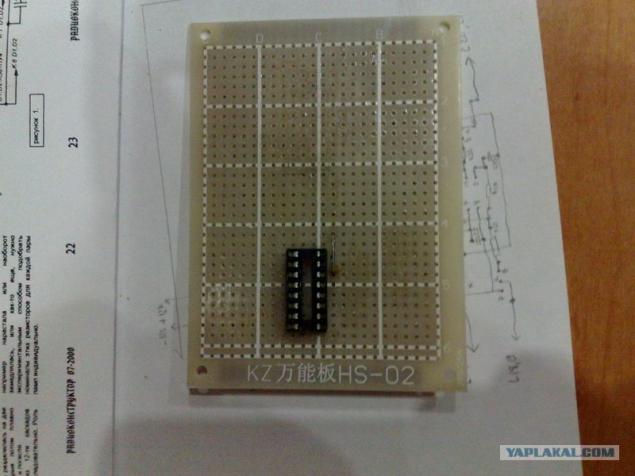
We develop the layout of the board.
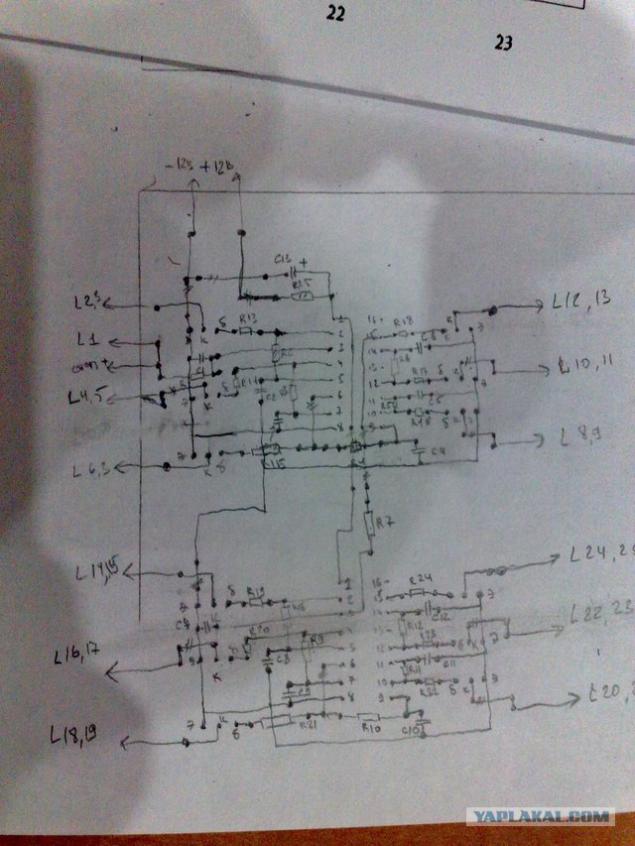
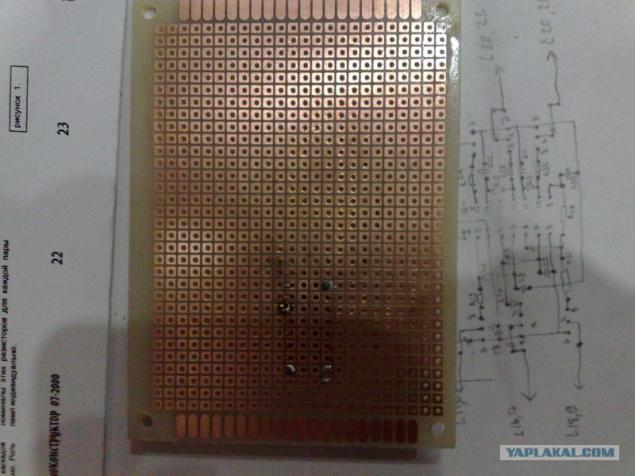
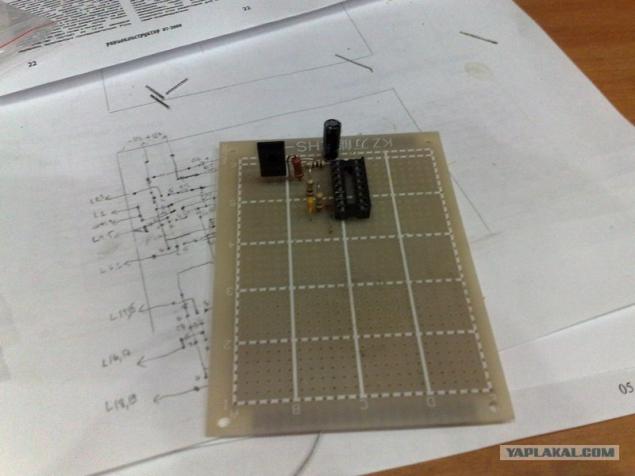
The board did not slack off, I decided to do a circuit board (this is a board with holes throughout the area, with the pads.
The process has started
Chips sure to put on the socket! And then suddenly, and then desoldering zadolbishsya.
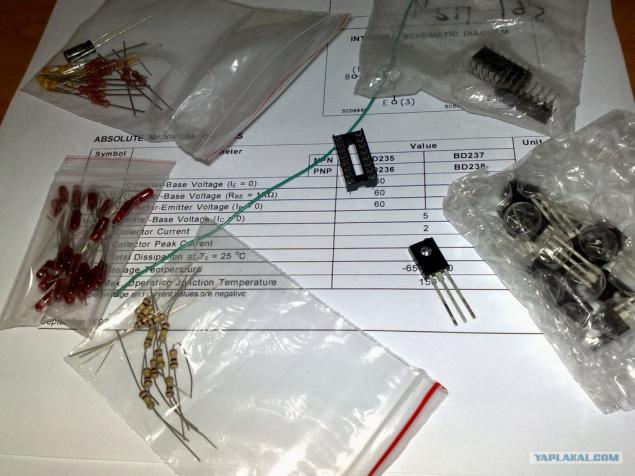
All purchased and all the necessary supporting information printed.
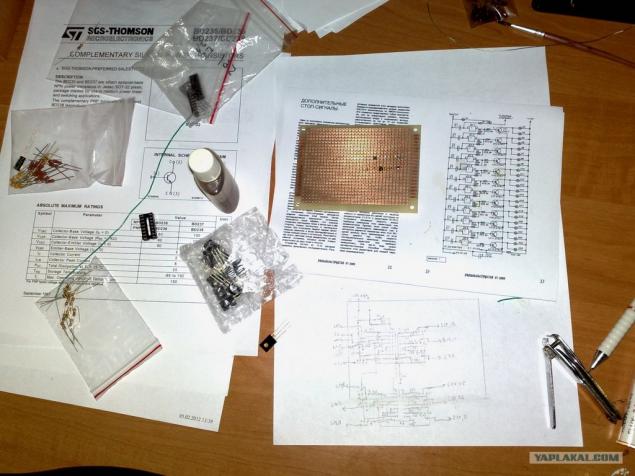
You can make the LED, but I prefer the small 12-volt light bulbs like LEDs.
Circuits.
The process went on.
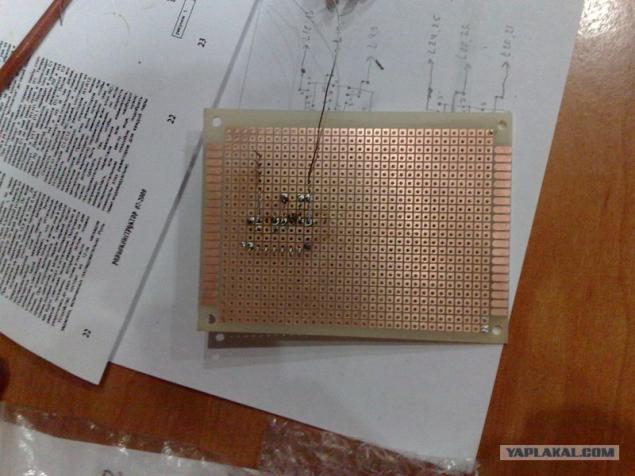
The process is going slowly - with feeling, with arrangement (the components on the board)
In general, this way began.
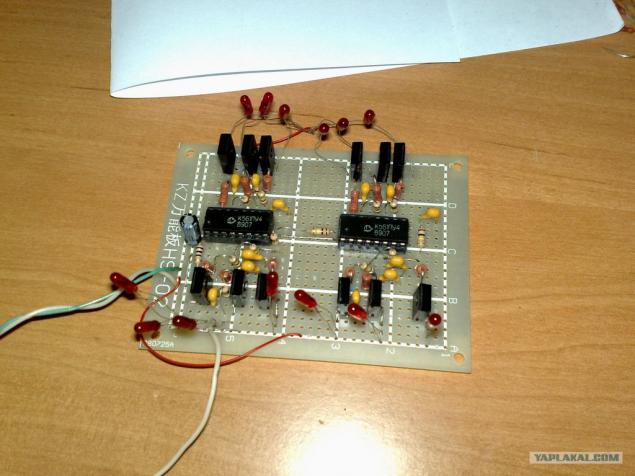
I did not for each soldered Circuits take photos, and therefore look at the finished result.
Lamps made directly to the board, which would make sure that everything works.
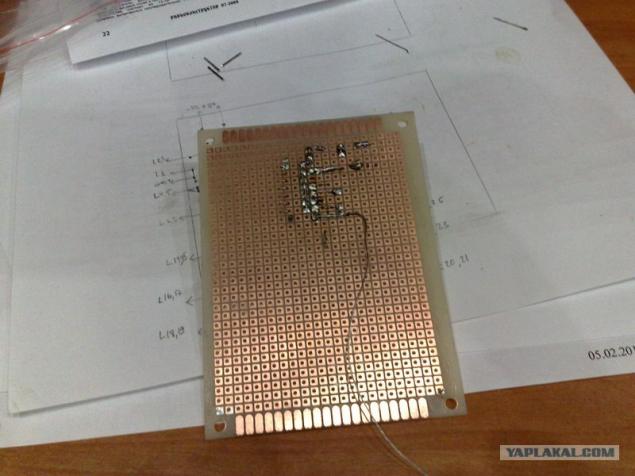
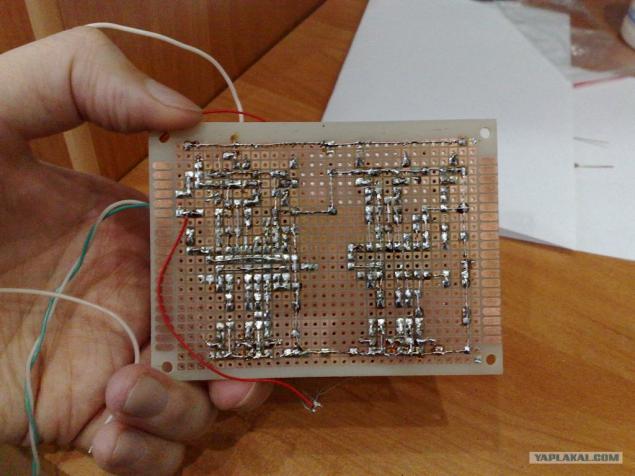
Backside - montazhki convenient for those who do not want to bother with ferric chloride, and can slightly change the initial version of the layout, if that is not right.
By the way "back" montazhki (minus its use) is that if anything desoldering details are very hard! I happened when the capacitor with a value of 0, 1 did not give the desired delay. I had to solder to 0, 47.
Everything is ready, now the test. Later, it will be necessary to collect all the body and dissolve properly and both sides bulbs - they will be 25. And the fire will grow to a point and diverges on both sides.
But it will not be in the news.
In the meantime, the result itself.
(that's all.)
Source:
And now, at 34 years old, I decided to collect anything, starting with a scheme "Stoplight».
Shemka this was published in the journal "electronic kit» №7 2000.
(there will be 11 ph and 1 video)

We develop the layout of the board.

The board did not slack off, I decided to do a circuit board (this is a board with holes throughout the area, with the pads.
The process has started

Chips sure to put on the socket! And then suddenly, and then desoldering zadolbishsya.

All purchased and all the necessary supporting information printed.

You can make the LED, but I prefer the small 12-volt light bulbs like LEDs.
Circuits.

The process went on.

The process is going slowly - with feeling, with arrangement (the components on the board)

In general, this way began.

I did not for each soldered Circuits take photos, and therefore look at the finished result.
Lamps made directly to the board, which would make sure that everything works.

Backside - montazhki convenient for those who do not want to bother with ferric chloride, and can slightly change the initial version of the layout, if that is not right.
By the way "back" montazhki (minus its use) is that if anything desoldering details are very hard! I happened when the capacitor with a value of 0, 1 did not give the desired delay. I had to solder to 0, 47.

Everything is ready, now the test. Later, it will be necessary to collect all the body and dissolve properly and both sides bulbs - they will be 25. And the fire will grow to a point and diverges on both sides.
But it will not be in the news.
In the meantime, the result itself.
(that's all.)
Source: