1090
25 photos with commentary
And so Yapovtsy expensive, difficult not to notice that you all love stories like that, and why, in general proedlagayu your attention 1:00 segodneshney my work
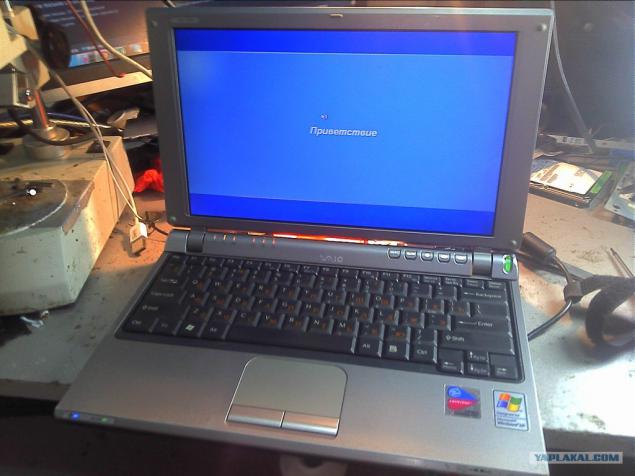
So I got into the hands of Sony T250 laptop with a typical defect, the owner of the device to a USB stuck and do not know that as well as the unit went out, he wore an authorized service center, there is naturally a helpless gesture, although the reason is banal, Southbridge.
Unfortunately not captured parsing laptop and diagnostics, as no video, and photos of the most interesting moments, as still the main goal was not to dedicate esteemed readers into all the details, and restore the machine as it was to please the new life of the former owner, my hands are only two, and when you try to remove something interesting was threatened to overheat the card or chip.
25 photos with comments on Fota soldering can kick for it, but please do not break.
1. As I have already informed the process and parse the device is not present, so that we have the laptop motherboard, where there are a lot of things, and since this laptop SONY moreover, and T Series is assembling quite compressed, all is back to back, with the bottom of the motherboard hand, here is our hero of the occasion.
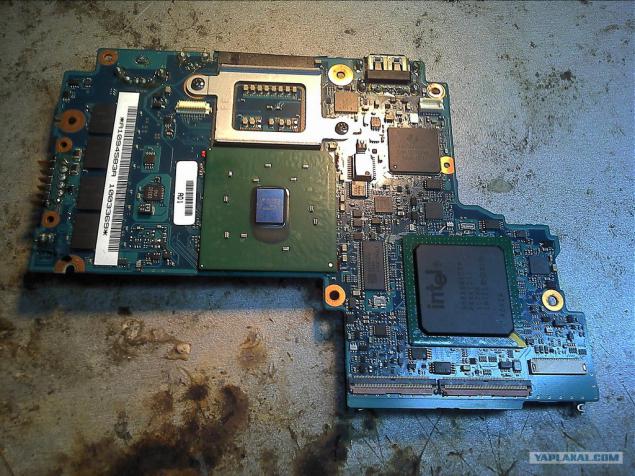
2. The motherboard with the upper hand, it is seen Carlson, quick-disconnect couplings expansion MINI-PCI, RAM.
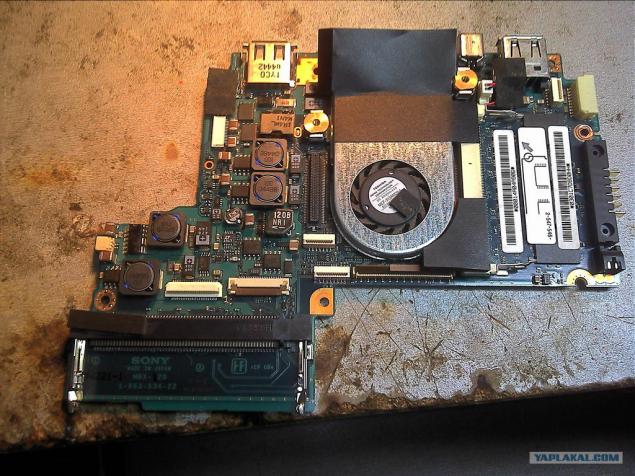
3. Remove the heat sink and peel all the thingies, as in the process of heating the board, they can damage or harm either.
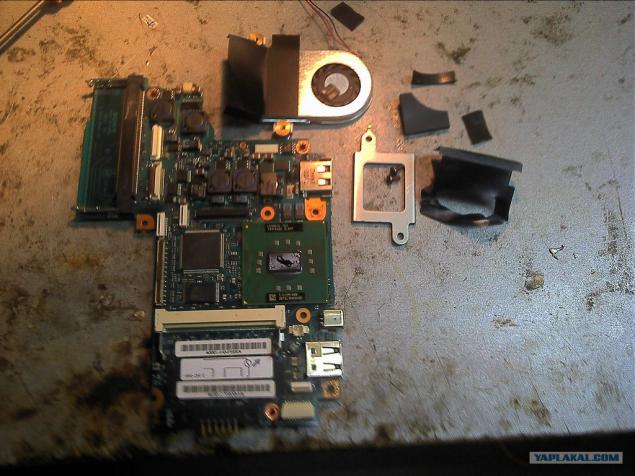
4. Put the board on the lower display, and give it a bit to come up to standard.
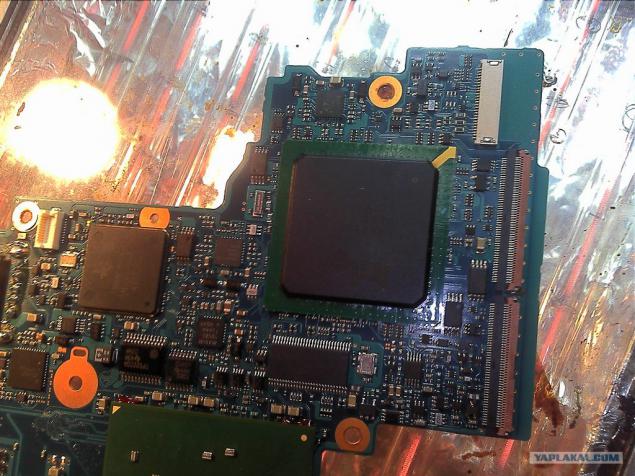
5. Add a little soldering fat, for those who do not know, fat insulates the solder oxygen, thereby stopping the process of oxidation.
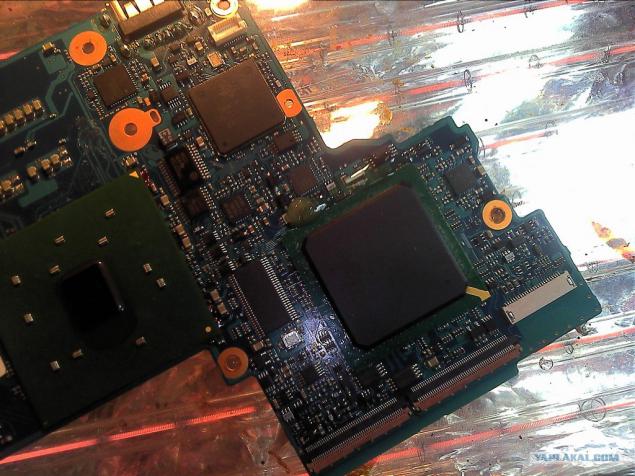
6. Turn the upper lamp and actively raise the temperature to melt the solder, good laptop pretty old, and there is still used lead solder, solder pleasure
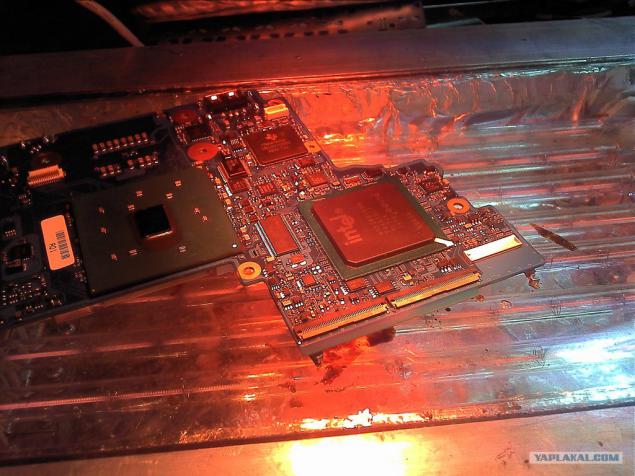
7. After melting the solder chip raise, then someone like get the hand, you can vacuum puller, November the old fashioned way, with two thin tweezers and put it next to, of course then you can turn off the stove.
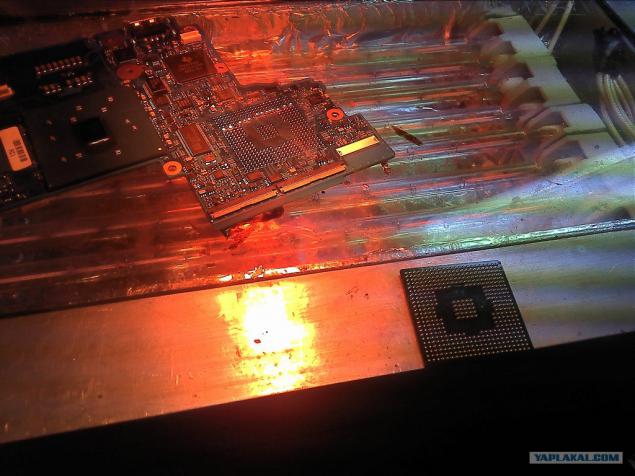
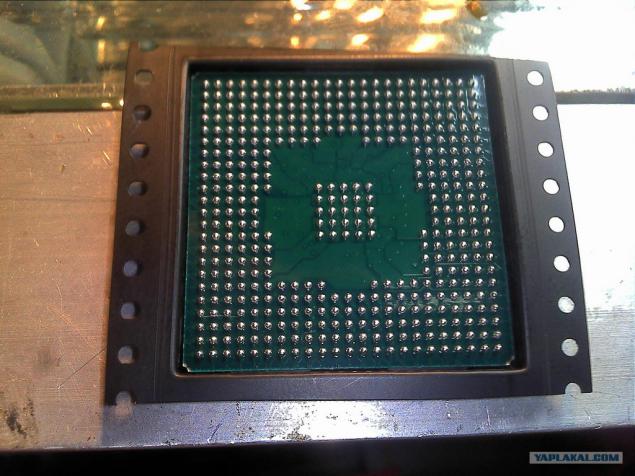
8. This is what we have is a chip beads 0.76mm diameter, is almost not used in modern computers.
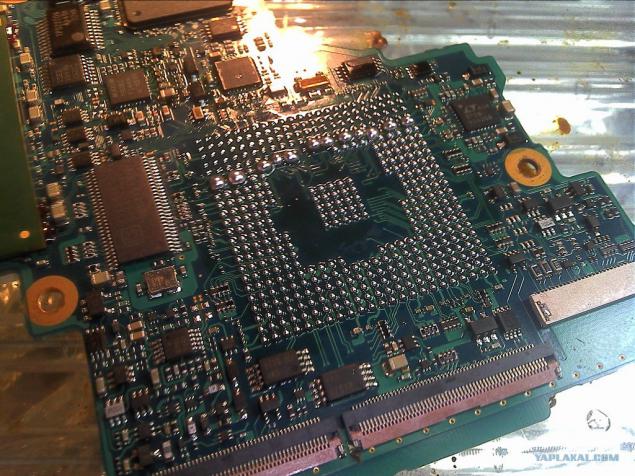
9. Here it is hero of the occasion, from the bottom.
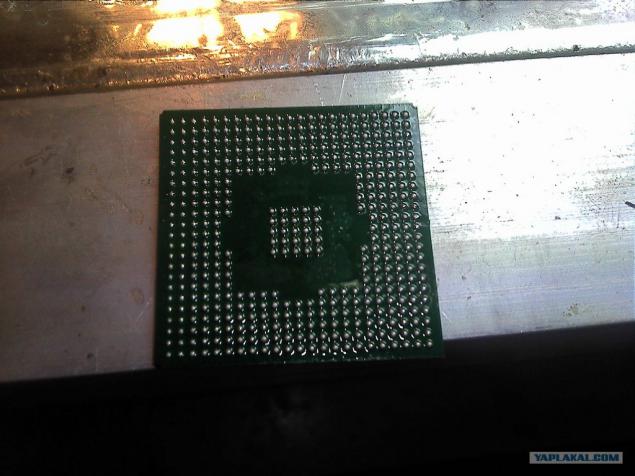
10. In the meantime, remove the excess solder soldering iron, gently, without tearing heels. We get something like this.
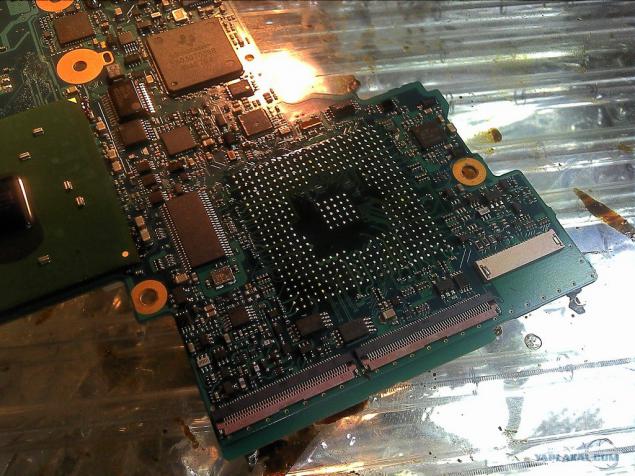
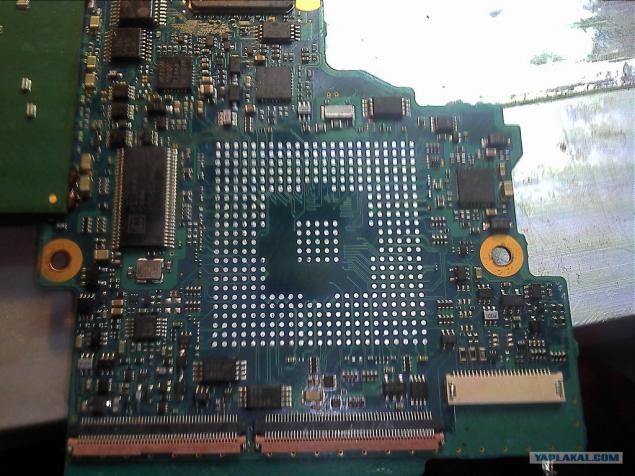
11. Next, using a soldering iron and copper braid, remove the last remnants of the solder, we do not need clean out to a flat surface, then place the soldering thoroughly cleans alcohol (not the drinking, nothing to BU B)), we get something like this.
12. Here it is a new chip, it is now and we will be soldered onto the motherboard.
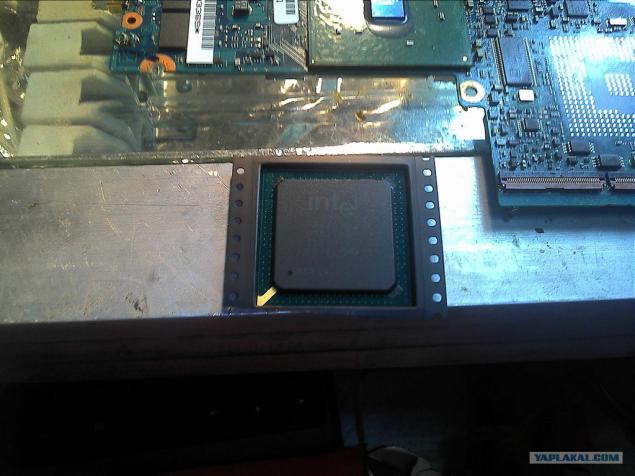
13. He also below, all the balls are smooth, beautiful.
14. Grease again all soldering grease.
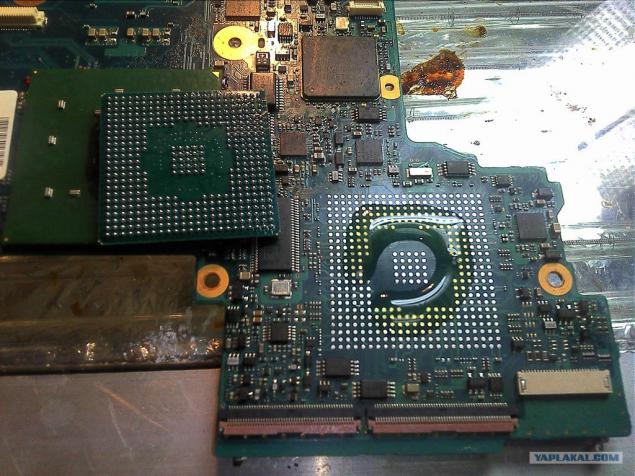
15. Put the chip in its place, and includes a lower heating.
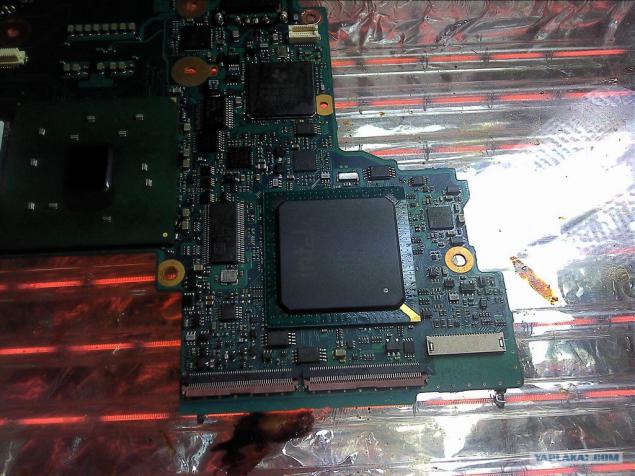
16. After the warm-up fee includes top lamp, and then bringing the temperature to melt the solder, and then slightly move the chip, and can be all off.
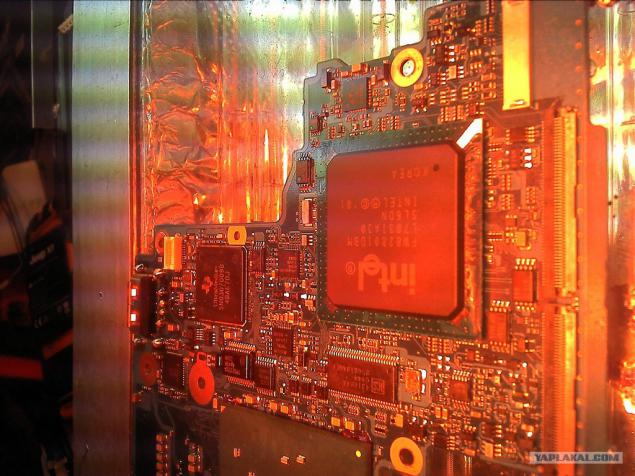
17. Here it is soldered chip board is cooling down as it happens weaned on a smoke break.
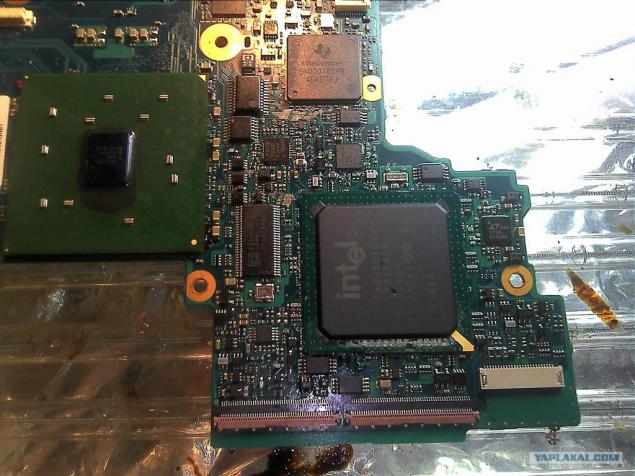
18. That ostyvshaya dress ready for assembly, almost everything is ready right now to work.
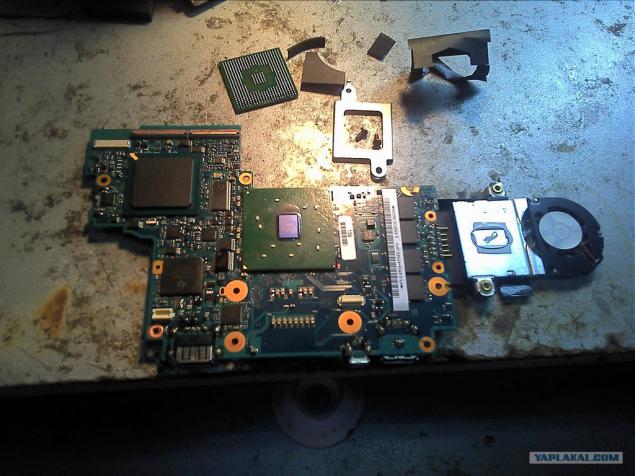
19. And then remember that not bad to change thermal compound, the laptop is old, and there it has never changed, it will prolong his life.
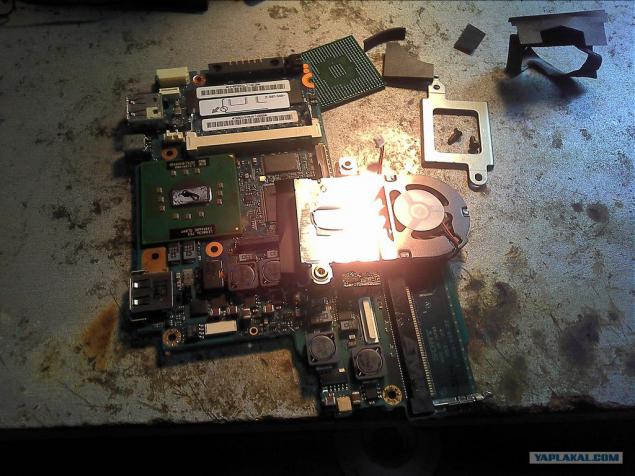
20. cleans the old paste and smear a little KPT-8, tested contraption.
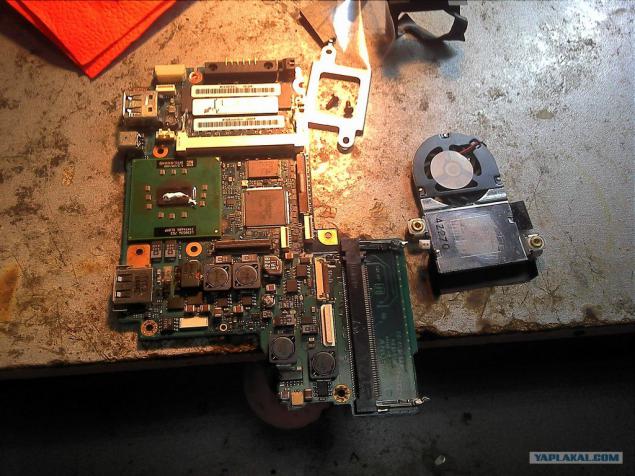
21. Putting it all in reverse, glue all the thingies, let them be, since they stuck to the manufacturer.
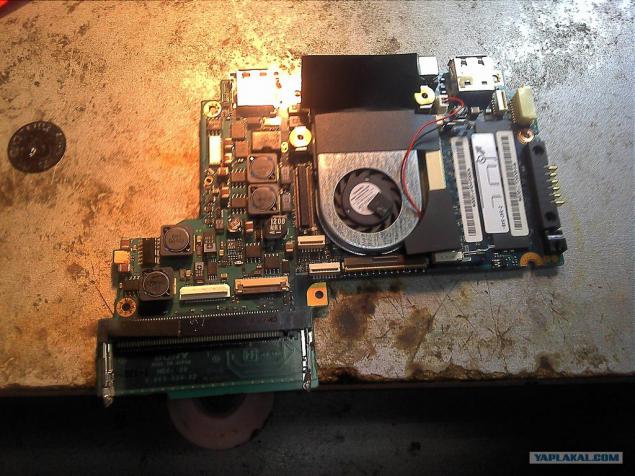
22. Insert the card into the case, just connect power connector and ribbon cable in the matrix, that is enough for a test run.
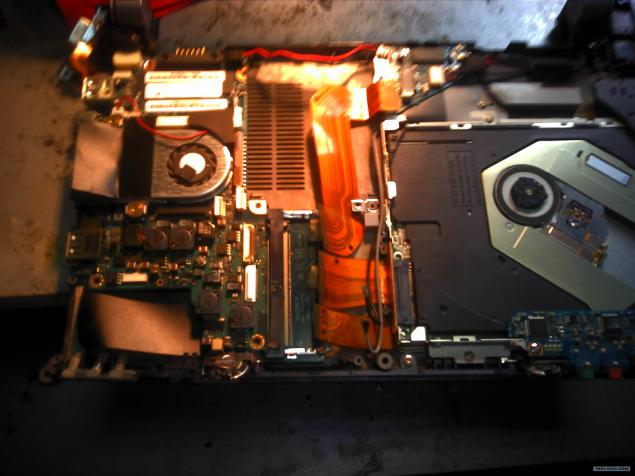
23. Connect the keyboard cover (it is located on the power button), press the button, and voila, "I dormouse, while hitched»
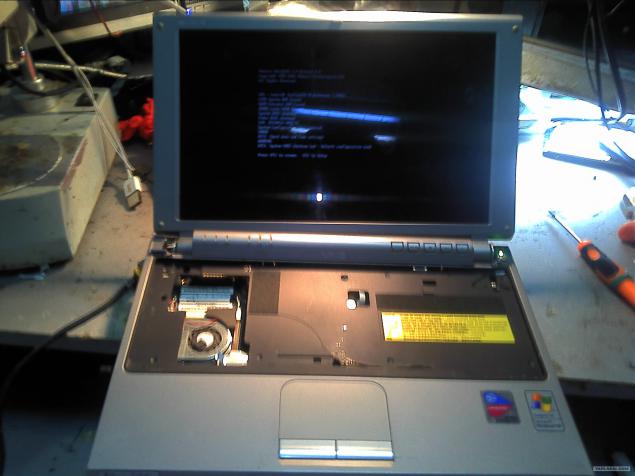
24. Also, begin the assembly, connect the hard disk drive, buttons, interface connectors, in general, everything is as usual.
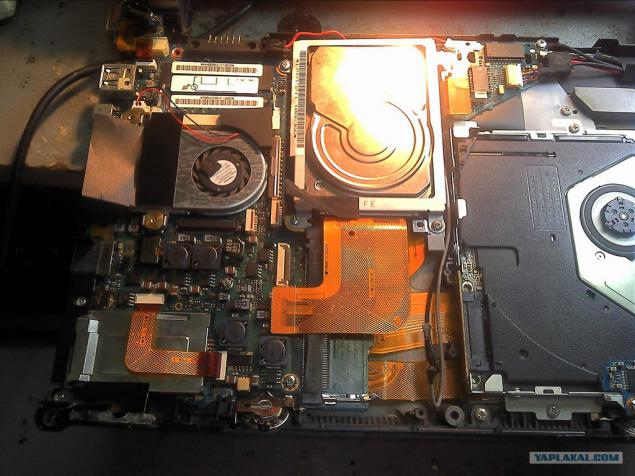
25. Putting it to the end, turn on, and enjoy, this notebook still will please its owner for his work. I have to finish it, get 25 phot, you can kick, but nevertheless expensive yapovtsy of the last Friday of this week.
PS can ask questions, and if everyone will like, it is possible to do more some sort of report.
Source: ">