974
As I did in the garden bathhouse ...
I'll start with the fact that his bath he has never been. And so you want after a hard day to go to the bathhouse, then sit down on a bench, turning the skewer to make a sip of cold beer ... (well, you got me poimayu). Tired of running around for relatives, friends and acquaintances asking for a wash, so it was decided to Skidan his bathhouse. The building itself, I really can not see, but the eyes are afraid - the hands too. Chief of the tips I test. Do everything alone, just cant crowd threw off the pipe and placed with the father, so the building was for a long time. And just so happened that I was still having most of the work had to do everything on weekends and short holiday ... Immediately apologize for the quality of photos, shot in the plane. Will be 65 photos.
1 Photo
I did the layout and began to dig. But a little bit wrong, and then fix it.
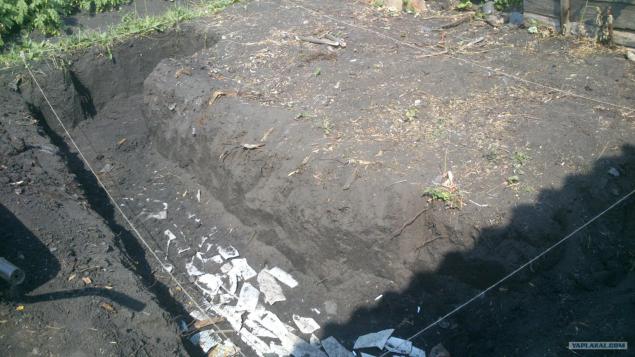
2 Photos
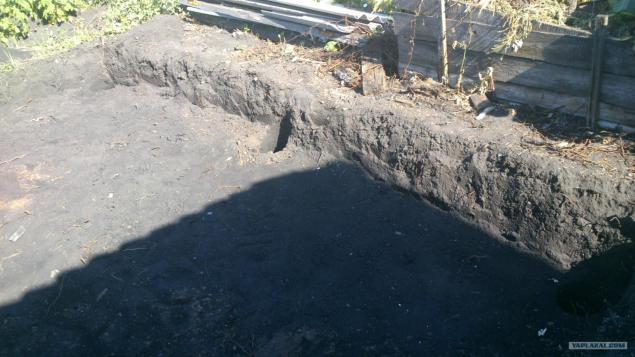
3 Photos
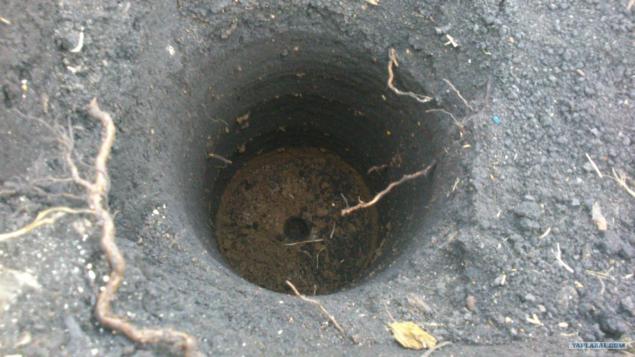
4 Photos
Once I did everything in the first, then nakosyachil formwork, then he corrected himself, too.
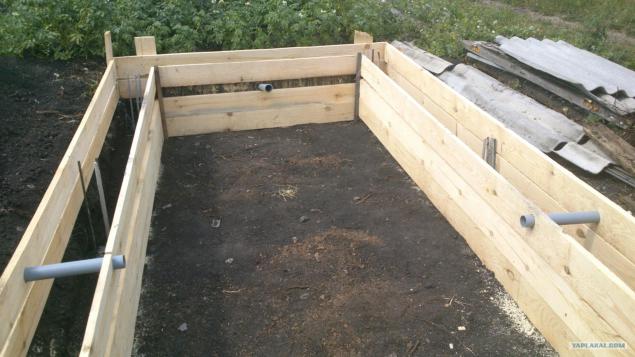
5 Photos
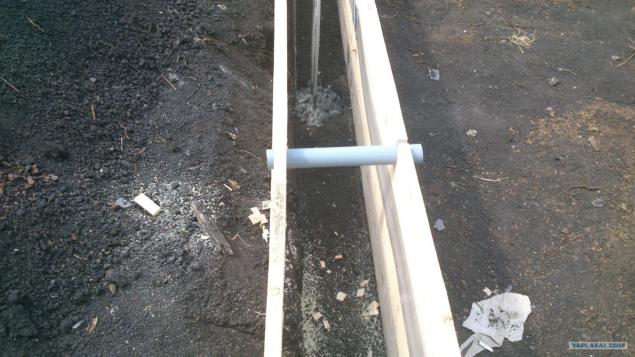
6 Photos
Filled columns for the foundation
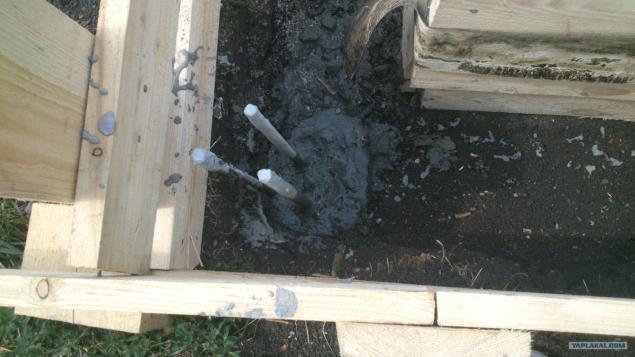
7 Photo
Father in law said I did not correct the formwork, it should be corrected
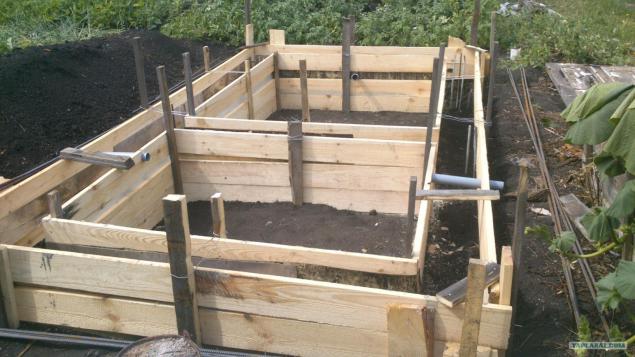
8 Photos
Filled solution and went to drink beer!
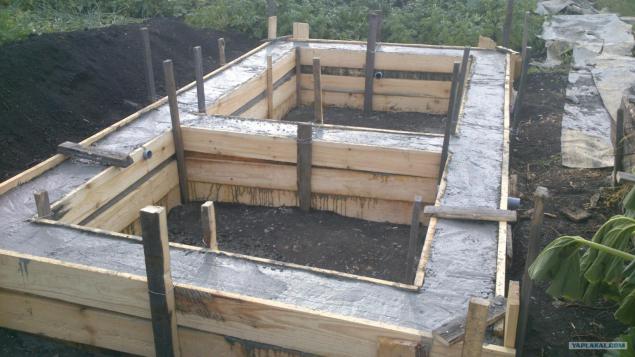
9 Photos
Ready foundation
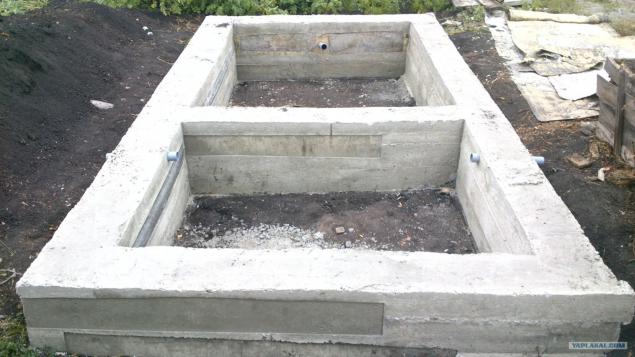
10 Photos
Thank you friends, helped to put timber. The quality of the beam more! Hands to pootryvat this mountain carpenters.
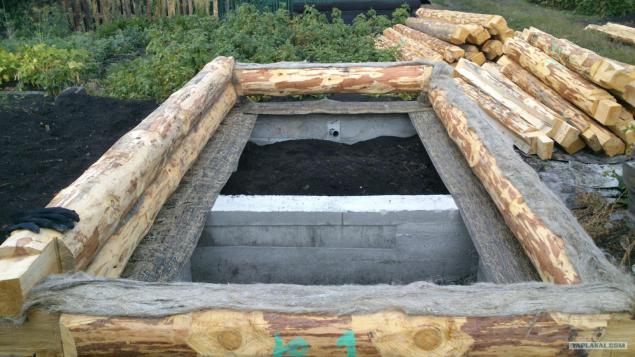
11 Photos
Skidan and left until spring. In this form it wintered.
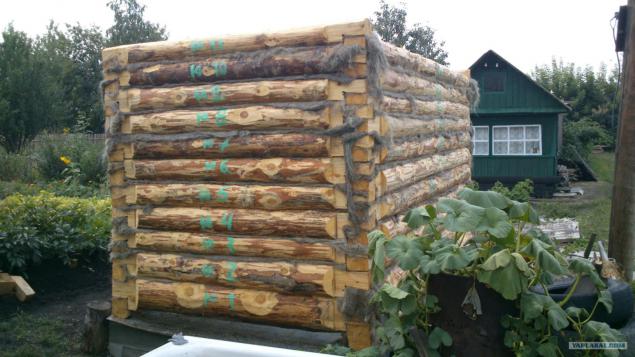
The following year was needed instrumentals. Since require any storage shovels and other garden utensils, it was decided to start with the construction thereof.
12 Photos
As always, it all starts with the marking. Figured where the 1, 5 to 1, 5 meters.
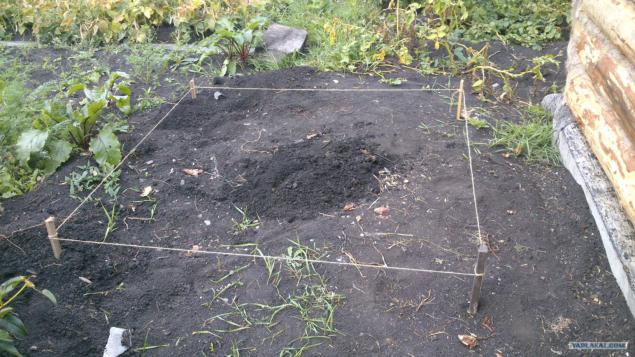
13 Photos
Columns set the level and concreting.
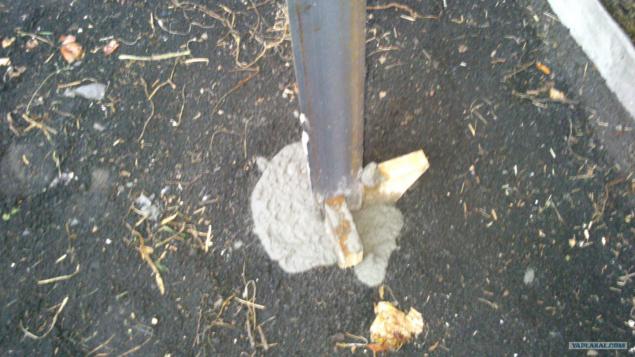
14 Photos
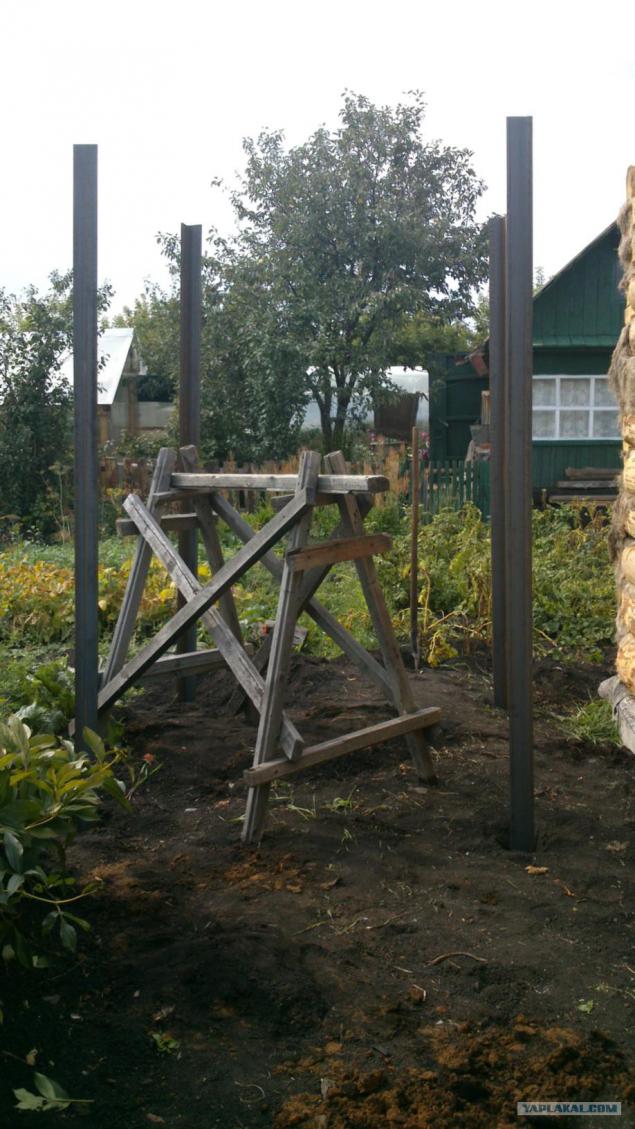
15 Photos
Test helps to weld the frame.
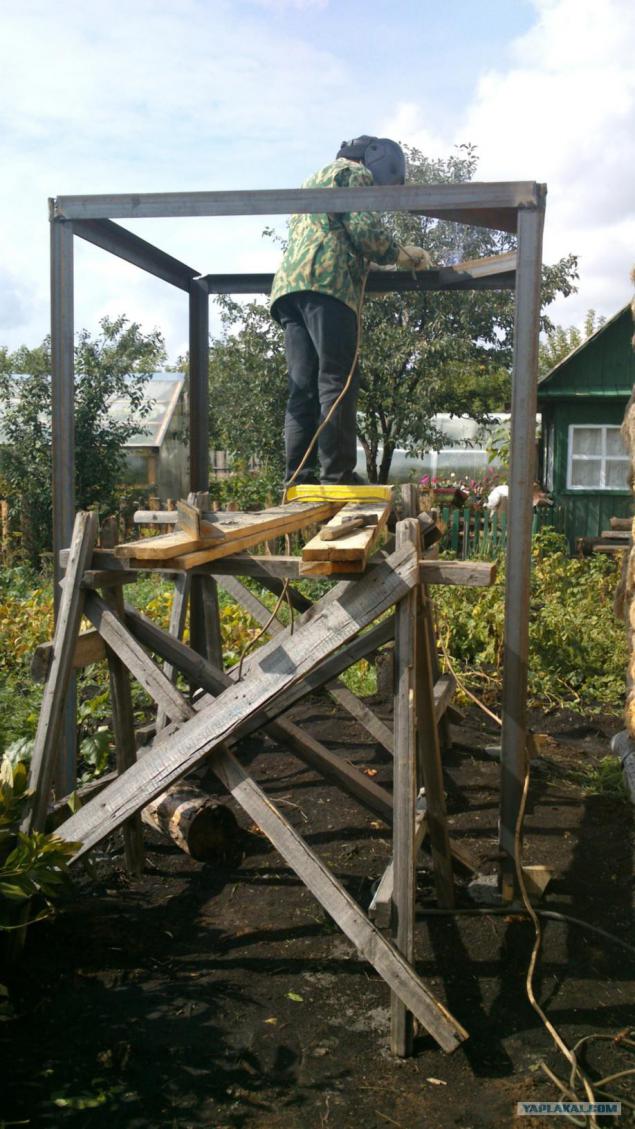
16 Photos
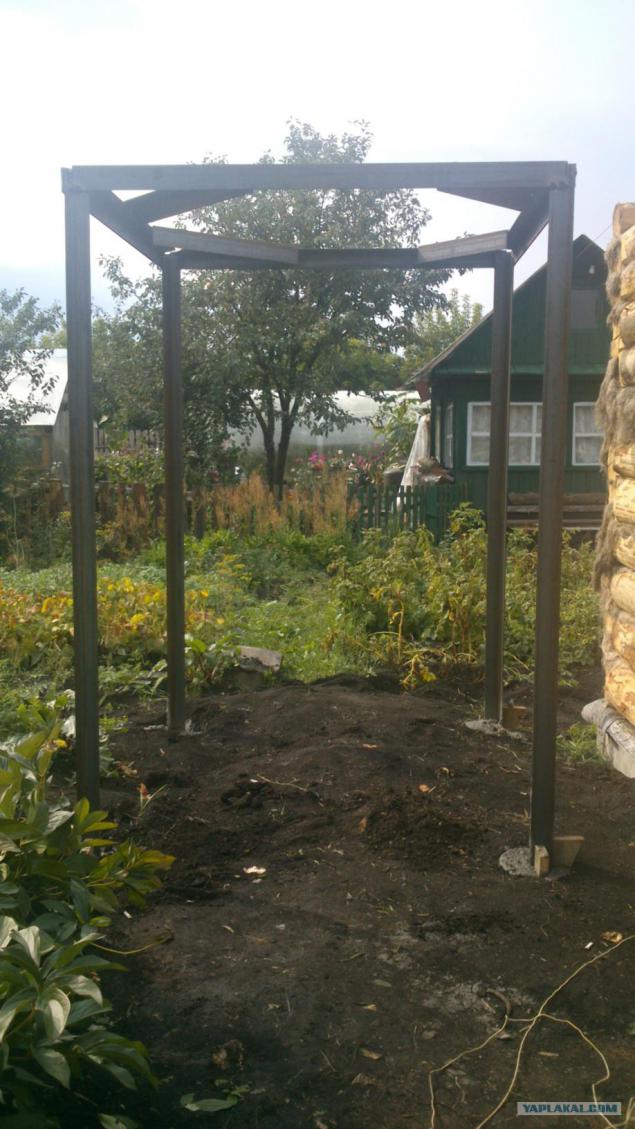
17 Photos
Roof instrumentals
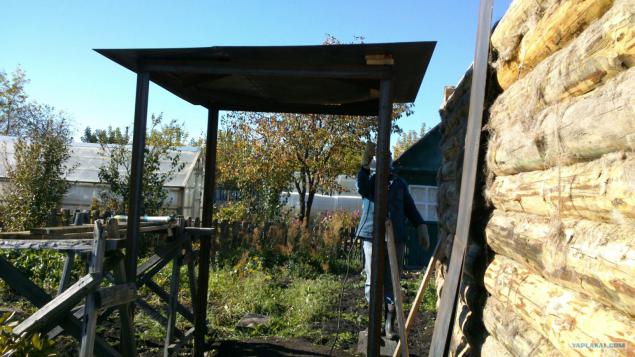
18 Photos
As without tank!
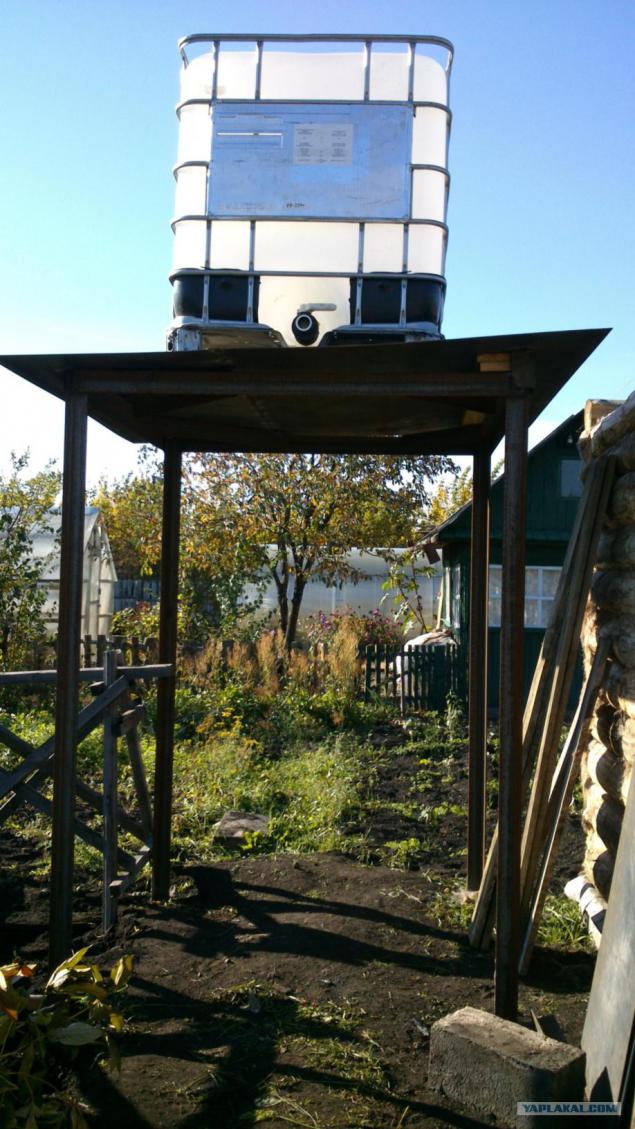
19 Photos
CounterSign pins
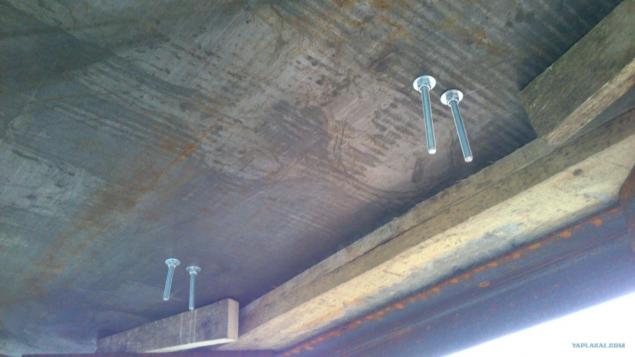
20 Photos
Under the veranda future concreted pipe, they will poles.
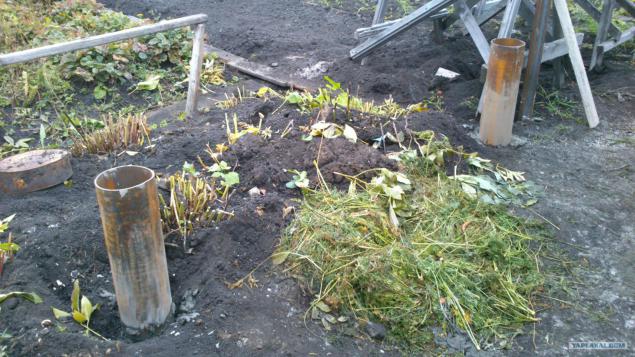
21 Photos
Clapboard.
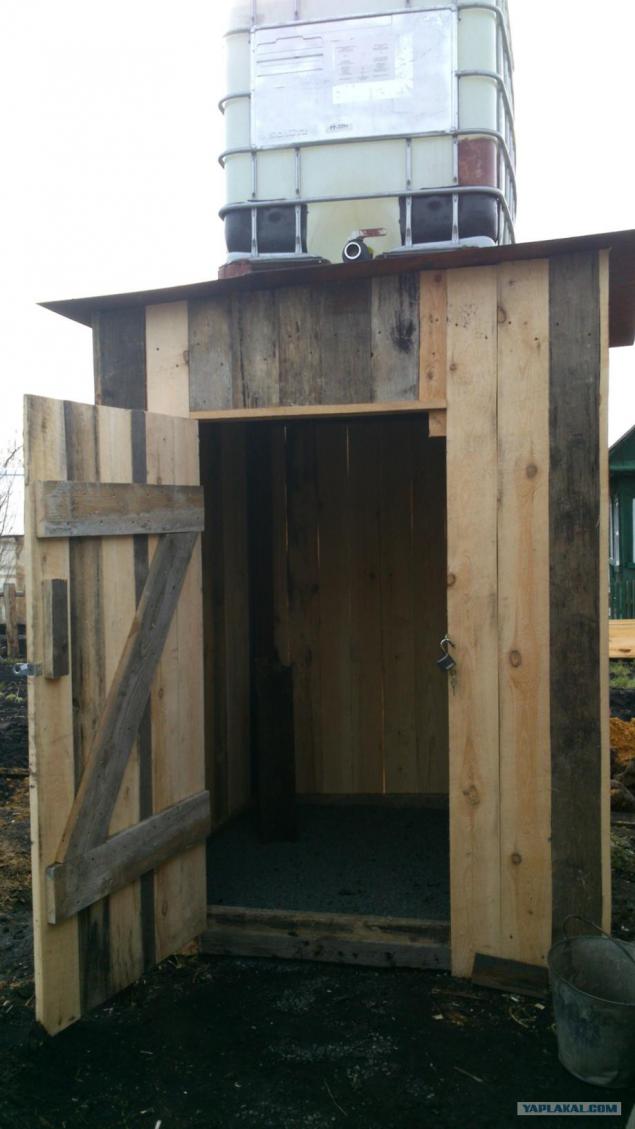
22 Photos
Sleep screenings floor
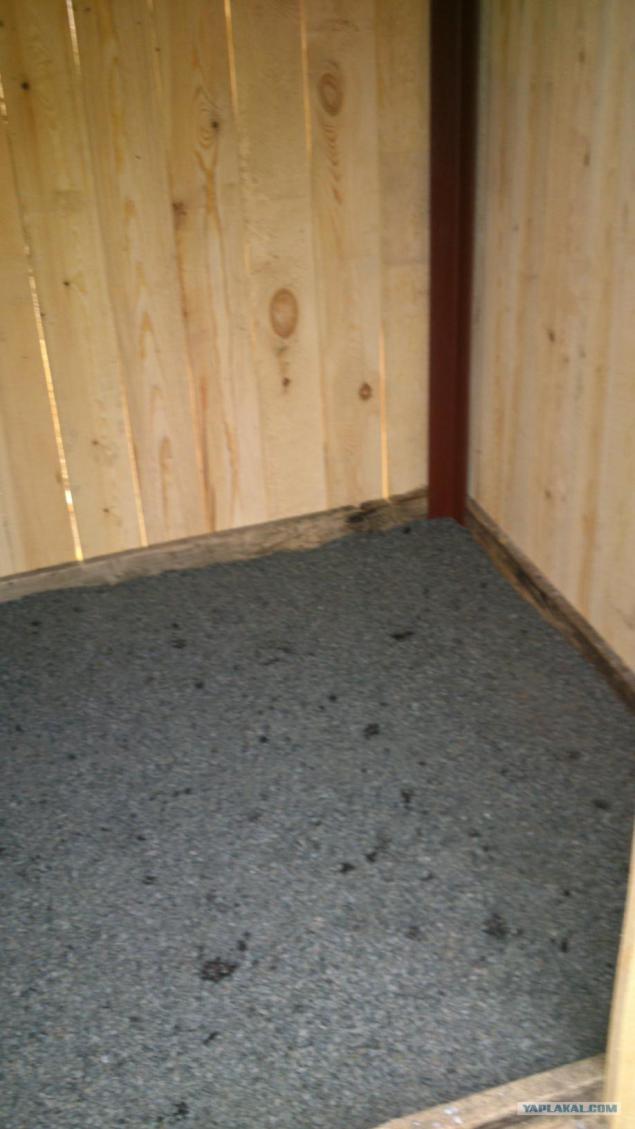
23 Photos
Set up vodichku
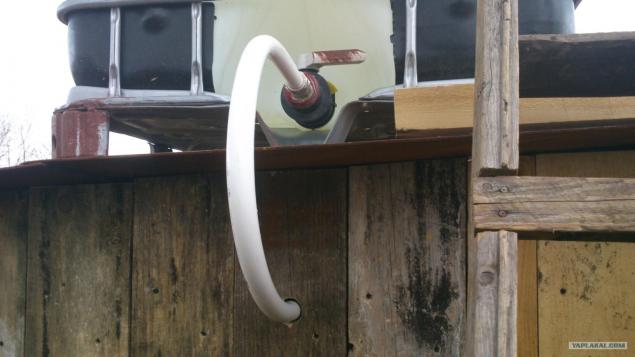
24 Photos
It will go to the site
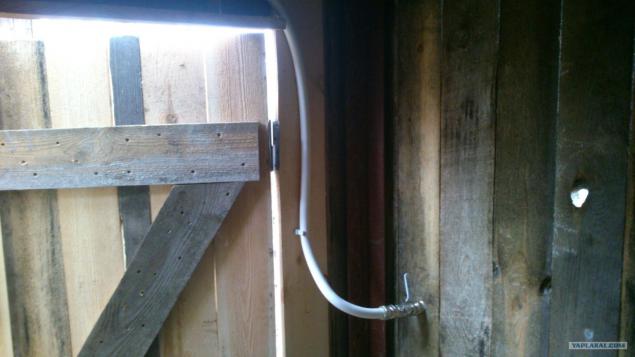
25 Photos
Under seat storage shovels

26 Photos
Well, as without shelves! Everything is ready, you can continue to build a bathhouse!
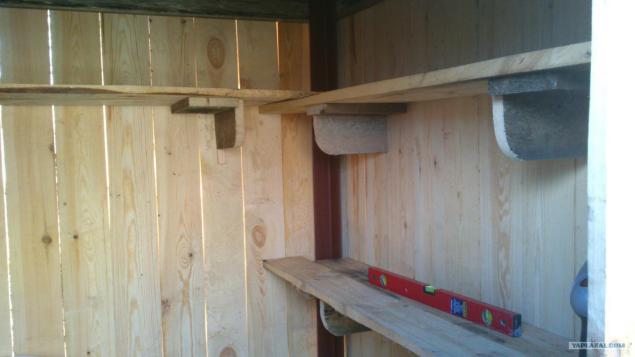
27 Photos
To get out of the bath, you must first go in there! So we cut out the doorway. I sewed on the rough ceiling.
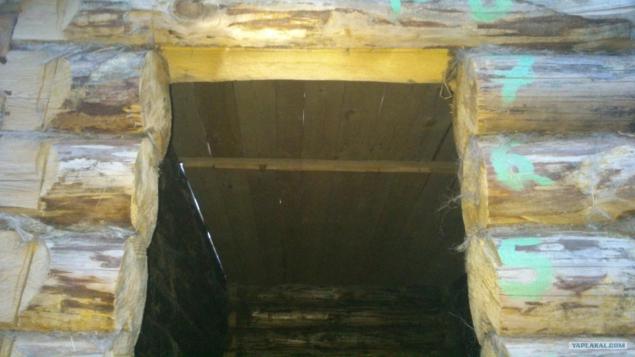
28 Photos
Logs, rafters.
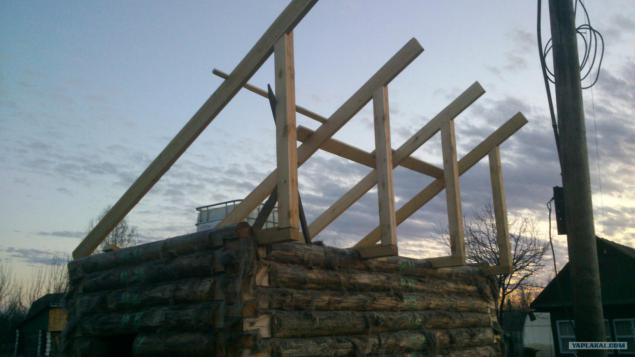
29 Photos
Crate
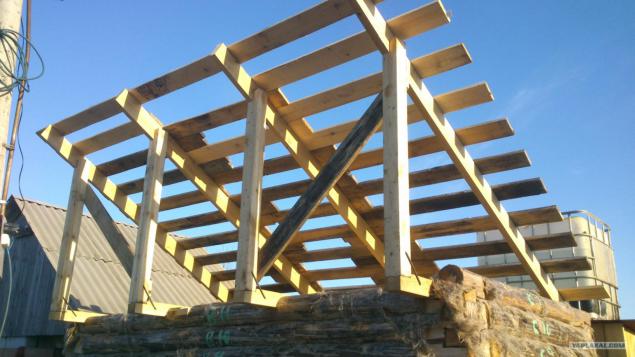
30 Photos
I close the roof. In one, it is difficult to do kapets! More and the wind was such that the upside valilo! And about the fact that with a sheet of galvanized climb on the roof, it is generally something from the category of gymnastics! But everything turned out.
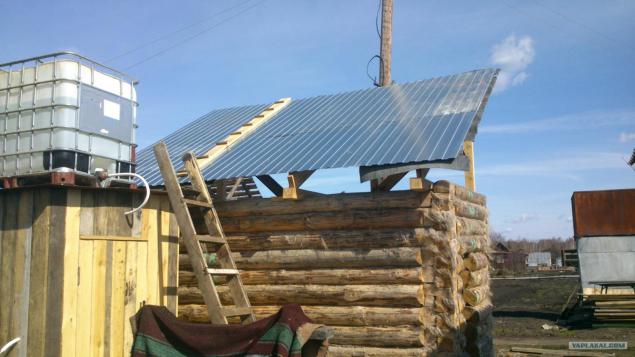
31 Photos
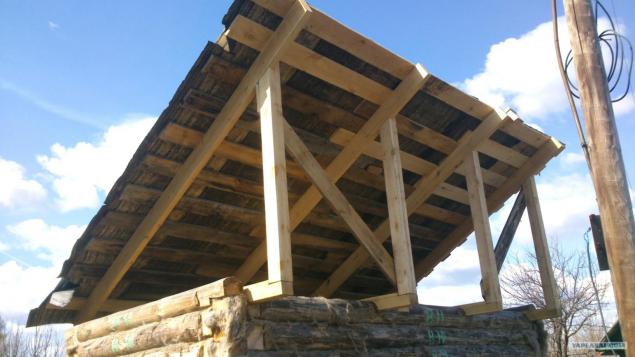
32 Photos
Drain cap
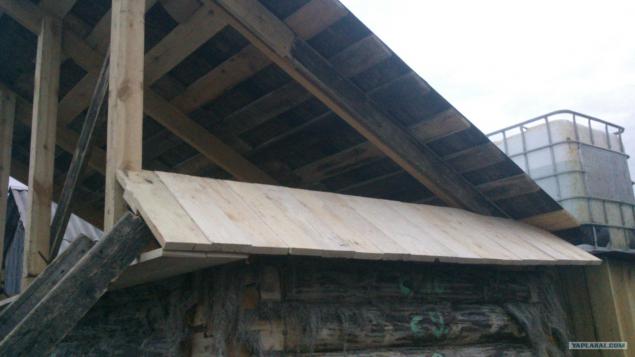
33 Photos
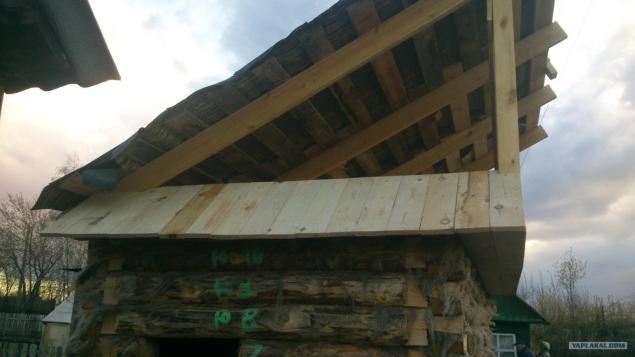
34 Photos
Sutured gable clapboard

35 Photos
It has something looming!
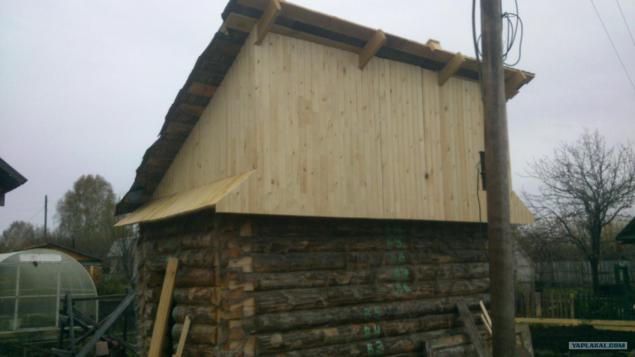
36 Photos
It's time to close the gap between the foundation and beams
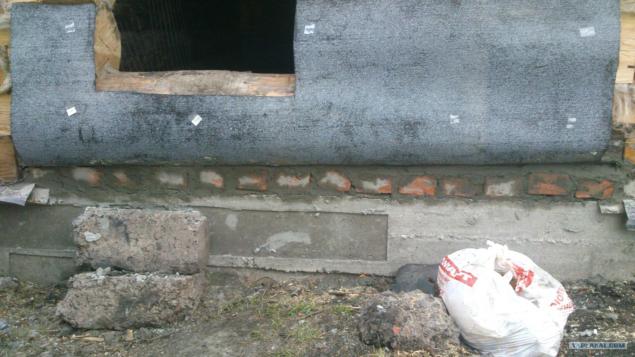
37 Photos
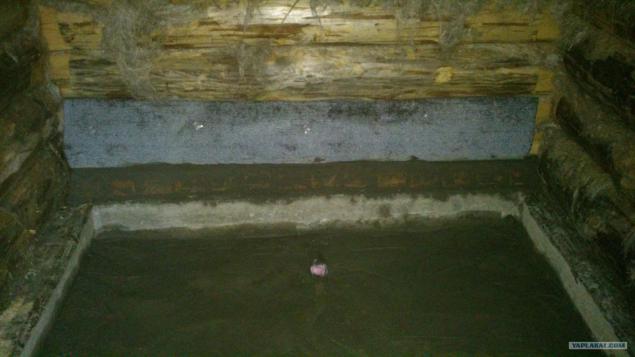
38 Photos
Tie, all by hand and by eye, any level! A foundation for the oven made by level.
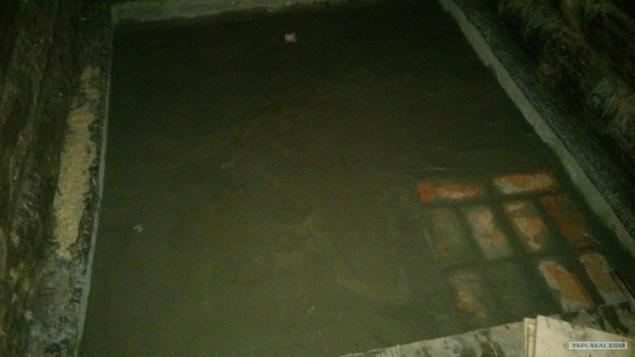
39 Photos
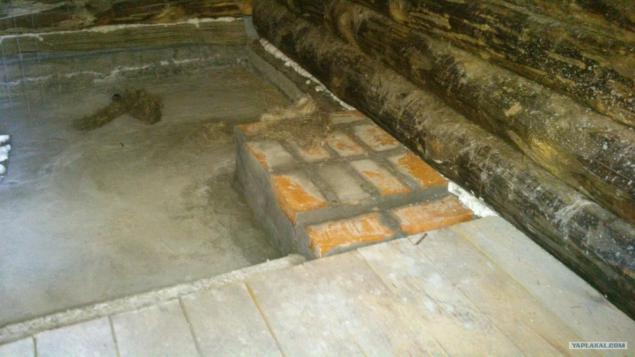
40 Photos
Govnoyama! Only mastered meter depth, then comes very hard rock. But experience shows that this is more than enough!
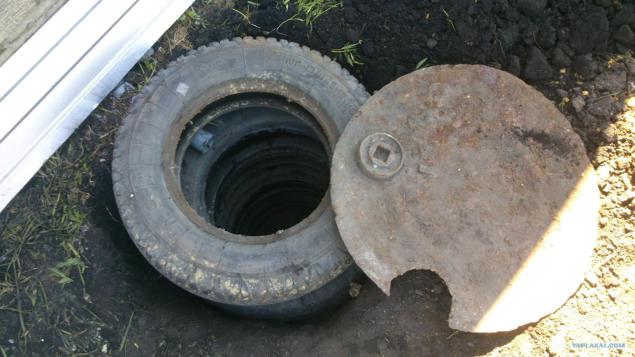
41 Photos
It came up to the door.
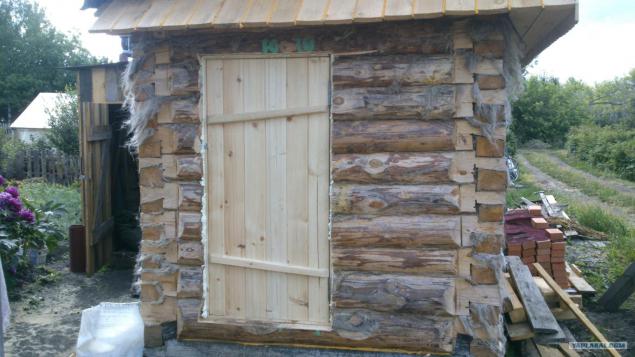
42 Photos
I put together a porch of the under construction waste
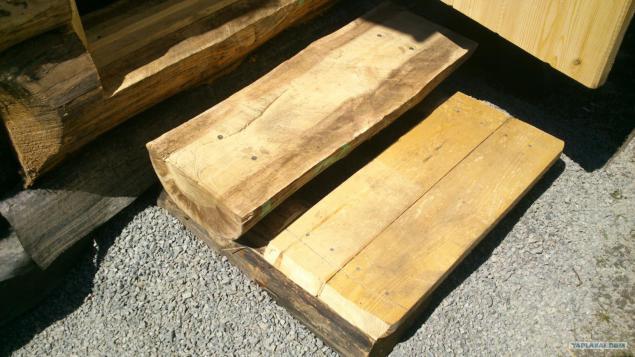
43 Photos
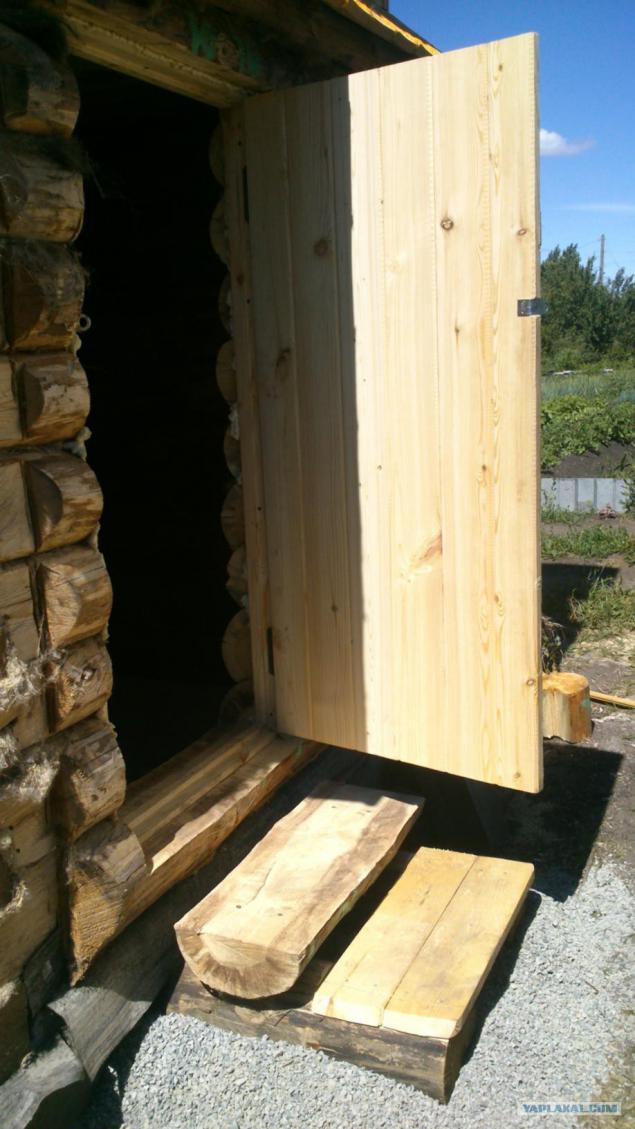
44 Photos
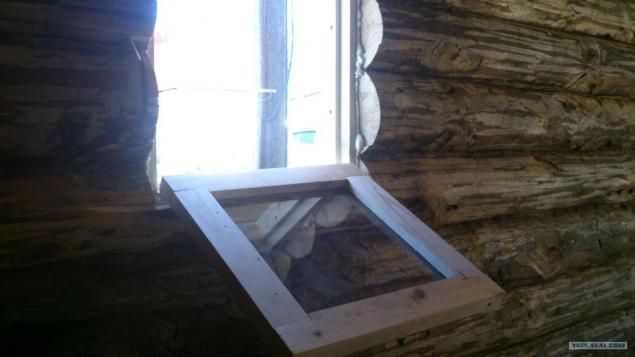
Pane on the level directly perpendicular! )))
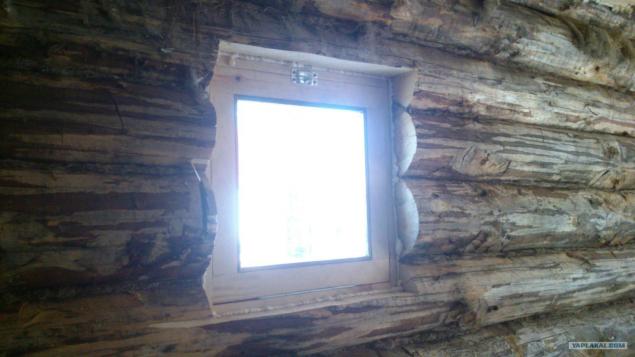
45 Photos
46 Photos
Street View
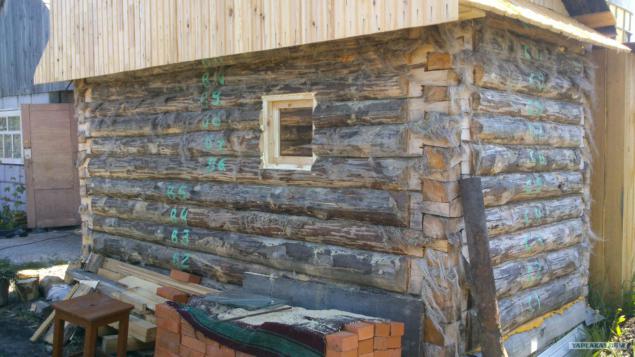
47 Photos
It's time to sheathe, deduce the level

48 Photos
He started lining sink. I make a temporary shower and then after work do not rinse. And around a pile of sawdust! In the heat of all sticks, very unpleasant achucheniya)))
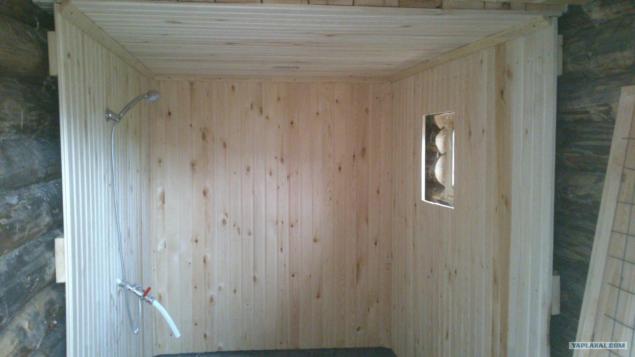
49 Photos
Cut out the handle, also from garbage
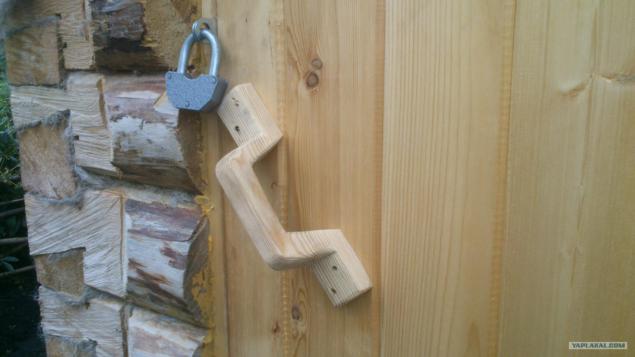
50 Photos
Ready pane
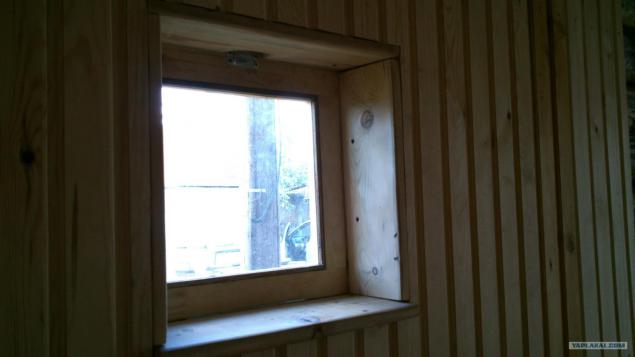
51 Photos
She
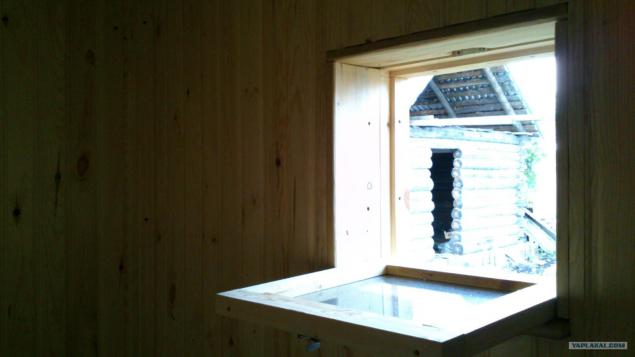
52 Photos
Finally brought the oven! Stainless steel 4mm.
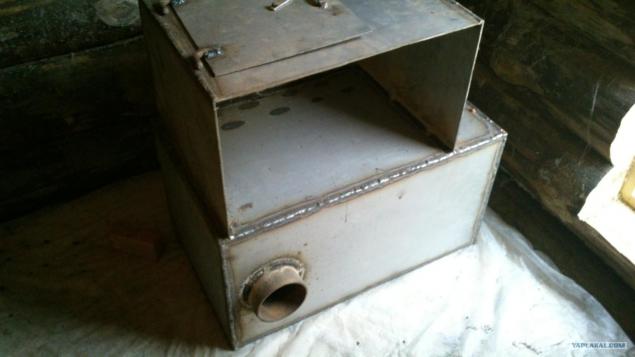
53 Photos
While I was engaged in their own affairs, mother and sister zaolifili door and gables.
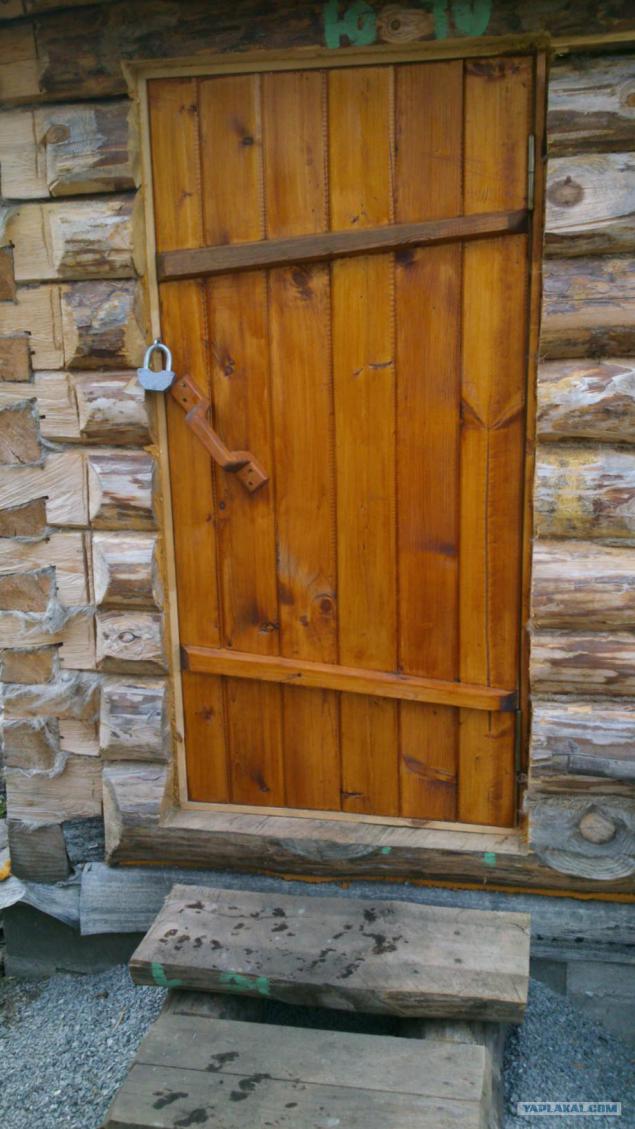
54 Photos
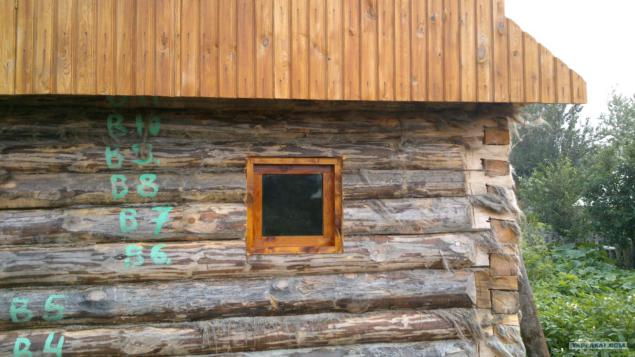
55 Photos
It's time to spread the partition
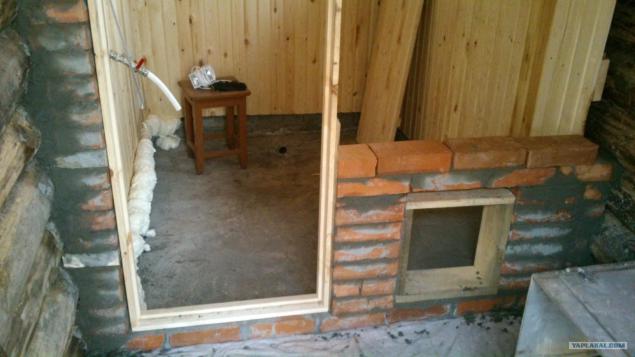
56 Photos
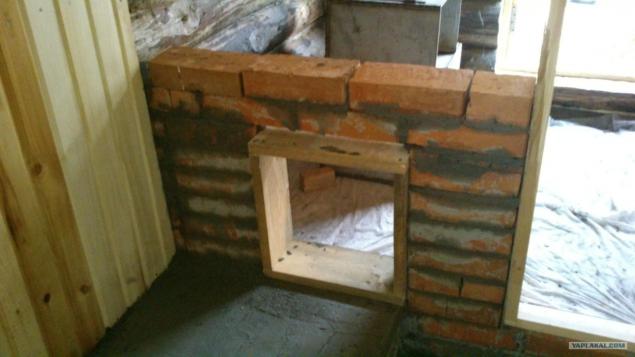
57 Photos
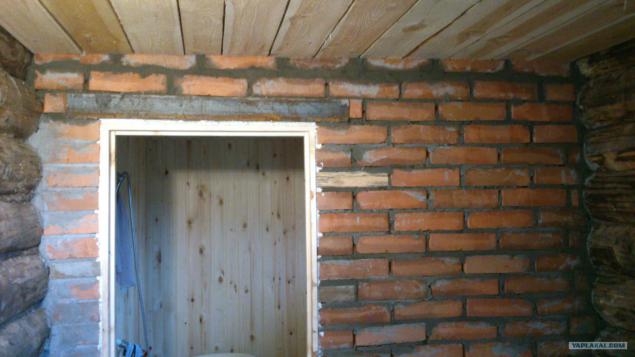
The partition is ready, fit the oven.
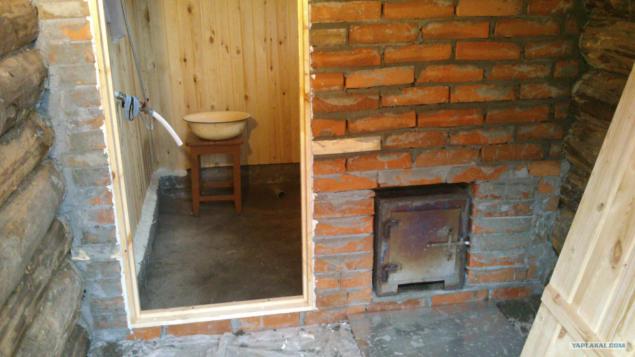
58 Photos
59 Photos
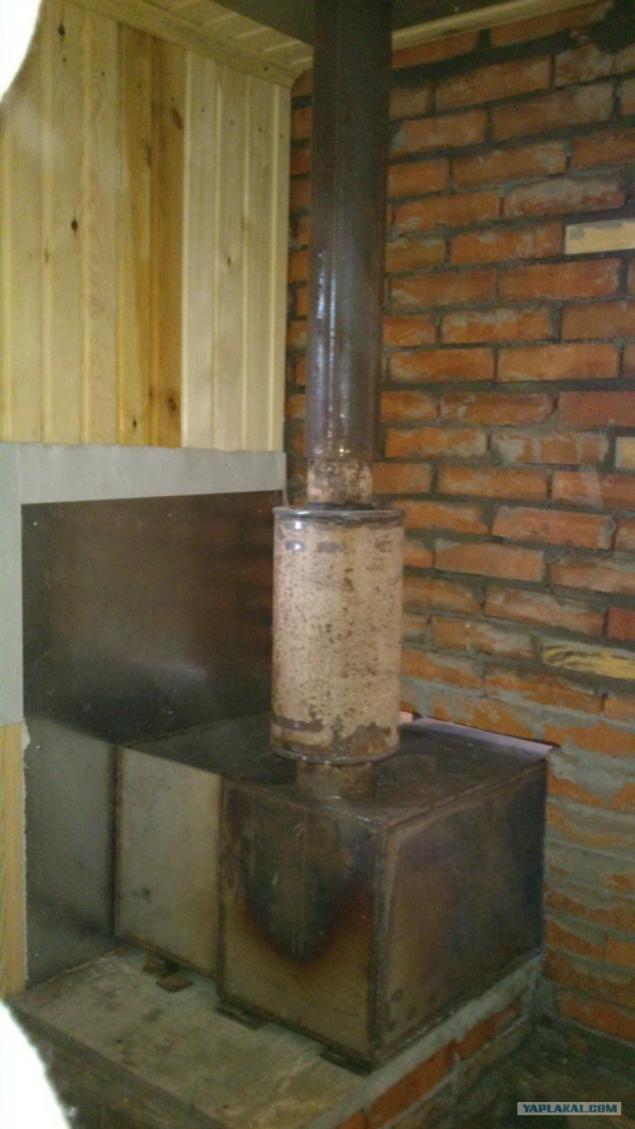
Furnace in place. I did collapsible design. Because stealing in our gardens for winter'll take pechushku ...
60 Photos
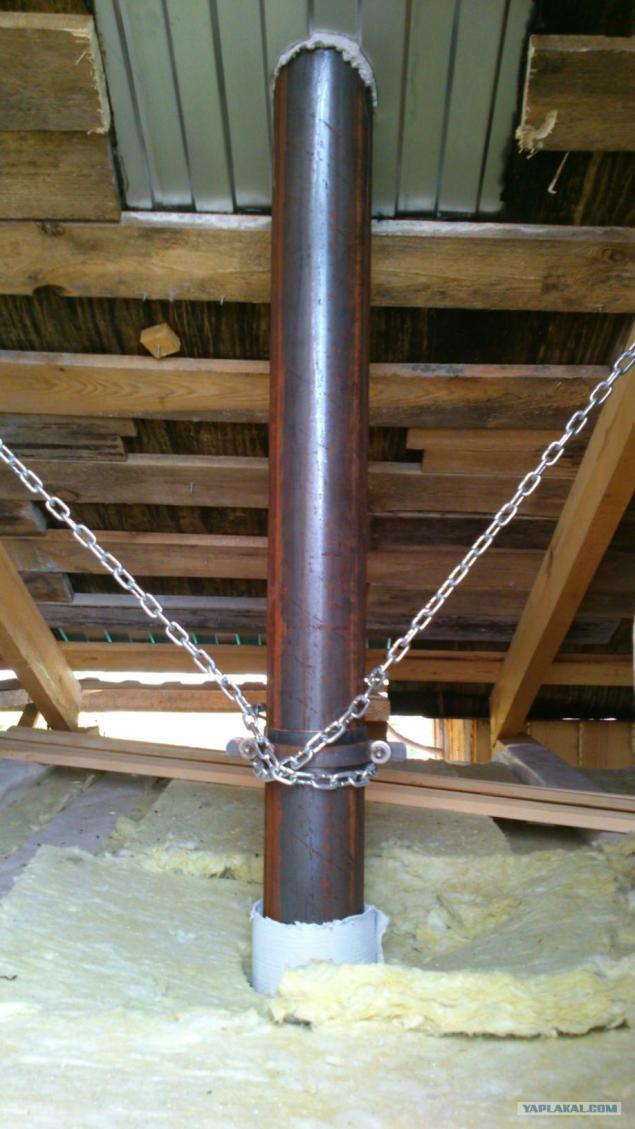
Interesting engineering solution. The idea of the test.
61 Photos
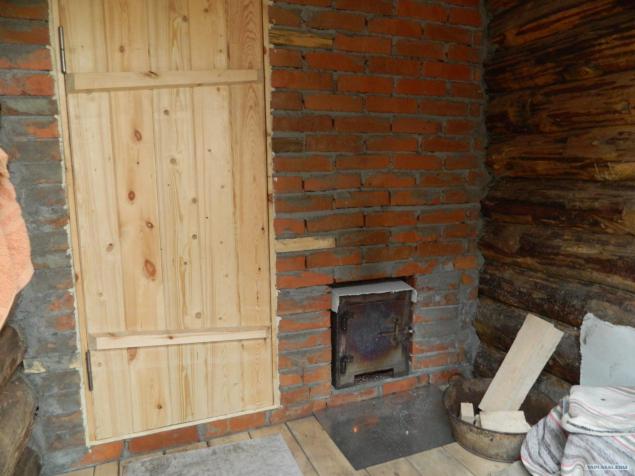
Installed door
62 Photos
Fire in a wooden bath, the most important thing!
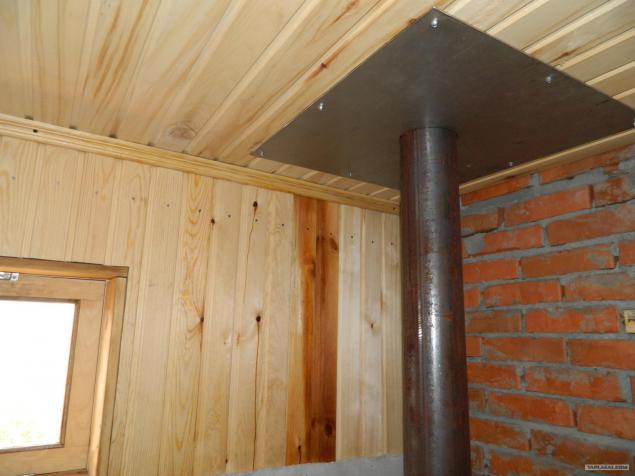
63 Photos
For the first time decided well to heat, for one to understand what is missing! It turned out just enough, very good! Barely released. The heat was tough! Canopy drank himself, because curved floor, difficult to put one level! But I did it. Probably many remember once about what I said about the antibacterial protection, but it is there. Just I did not pay too much attention to this, because it's obvious that the treatment is necessary in any case!
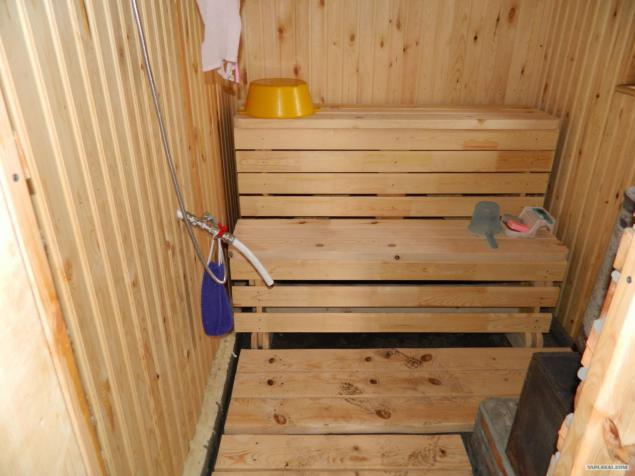
64 Photos
Light - come!
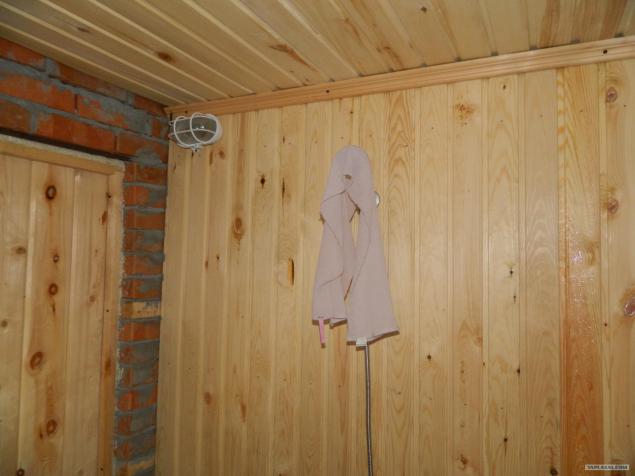
65 Photos
Waiting room in a bit this year did not complete, so the next bit add, for one and a veranda! Thank you all, you can kick ...
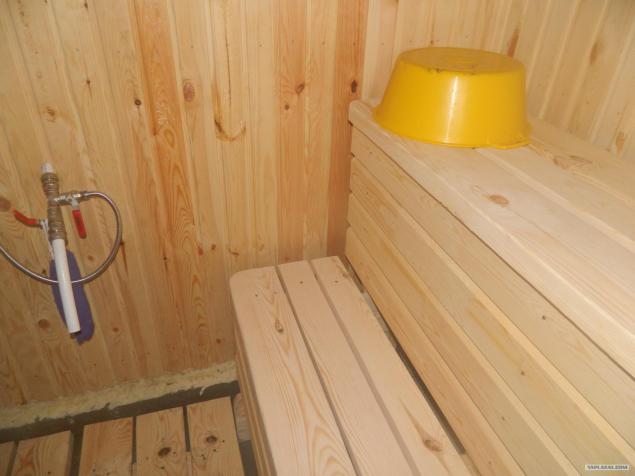
Source:
1 Photo
I did the layout and began to dig. But a little bit wrong, and then fix it.

2 Photos

3 Photos

4 Photos
Once I did everything in the first, then nakosyachil formwork, then he corrected himself, too.

5 Photos

6 Photos
Filled columns for the foundation

7 Photo
Father in law said I did not correct the formwork, it should be corrected

8 Photos
Filled solution and went to drink beer!

9 Photos
Ready foundation

10 Photos
Thank you friends, helped to put timber. The quality of the beam more! Hands to pootryvat this mountain carpenters.

11 Photos
Skidan and left until spring. In this form it wintered.

The following year was needed instrumentals. Since require any storage shovels and other garden utensils, it was decided to start with the construction thereof.
12 Photos
As always, it all starts with the marking. Figured where the 1, 5 to 1, 5 meters.

13 Photos
Columns set the level and concreting.

14 Photos

15 Photos
Test helps to weld the frame.

16 Photos

17 Photos
Roof instrumentals

18 Photos
As without tank!

19 Photos
CounterSign pins

20 Photos
Under the veranda future concreted pipe, they will poles.

21 Photos
Clapboard.

22 Photos
Sleep screenings floor

23 Photos
Set up vodichku

24 Photos
It will go to the site

25 Photos
Under seat storage shovels

26 Photos
Well, as without shelves! Everything is ready, you can continue to build a bathhouse!

27 Photos
To get out of the bath, you must first go in there! So we cut out the doorway. I sewed on the rough ceiling.

28 Photos
Logs, rafters.

29 Photos
Crate

30 Photos
I close the roof. In one, it is difficult to do kapets! More and the wind was such that the upside valilo! And about the fact that with a sheet of galvanized climb on the roof, it is generally something from the category of gymnastics! But everything turned out.

31 Photos

32 Photos
Drain cap

33 Photos

34 Photos
Sutured gable clapboard

35 Photos
It has something looming!

36 Photos
It's time to close the gap between the foundation and beams

37 Photos

38 Photos
Tie, all by hand and by eye, any level! A foundation for the oven made by level.

39 Photos

40 Photos
Govnoyama! Only mastered meter depth, then comes very hard rock. But experience shows that this is more than enough!

41 Photos
It came up to the door.

42 Photos
I put together a porch of the under construction waste

43 Photos

44 Photos
Pane on the level directly perpendicular! )))

45 Photos

46 Photos
Street View

47 Photos
It's time to sheathe, deduce the level

48 Photos
He started lining sink. I make a temporary shower and then after work do not rinse. And around a pile of sawdust! In the heat of all sticks, very unpleasant achucheniya)))

49 Photos
Cut out the handle, also from garbage

50 Photos
Ready pane

51 Photos
She

52 Photos
Finally brought the oven! Stainless steel 4mm.

53 Photos
While I was engaged in their own affairs, mother and sister zaolifili door and gables.

54 Photos

55 Photos
It's time to spread the partition

56 Photos

57 Photos
The partition is ready, fit the oven.

58 Photos

59 Photos
Furnace in place. I did collapsible design. Because stealing in our gardens for winter'll take pechushku ...

60 Photos
Interesting engineering solution. The idea of the test.

61 Photos
Installed door

62 Photos
Fire in a wooden bath, the most important thing!

63 Photos
For the first time decided well to heat, for one to understand what is missing! It turned out just enough, very good! Barely released. The heat was tough! Canopy drank himself, because curved floor, difficult to put one level! But I did it. Probably many remember once about what I said about the antibacterial protection, but it is there. Just I did not pay too much attention to this, because it's obvious that the treatment is necessary in any case!

64 Photos
Light - come!

65 Photos
Waiting room in a bit this year did not complete, so the next bit add, for one and a veranda! Thank you all, you can kick ...

Source:


