1063
Slipper from newspapers
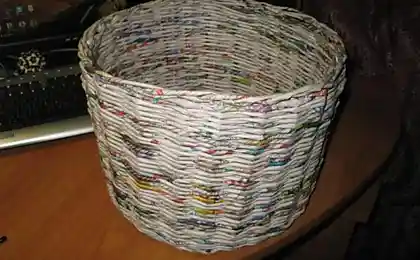
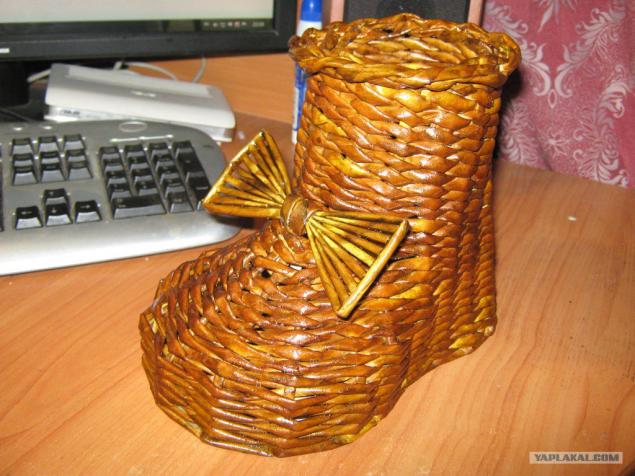
Dear PL-vat. Soon the New Year - it's time to decorate the tree, lay the table. I offer you the process of making a souvenir boot-shoe newspaper. Make it pretty simple and very nicely ironed.
(37 photos)
So, to build it, we need:
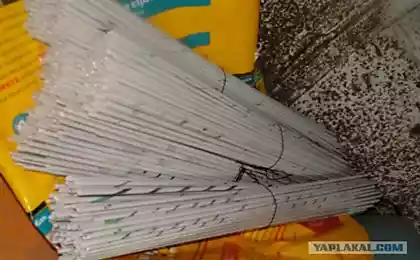
Tubes, rolled newspaper and a little twisted tubes of office paper. How to twist the tube look here.
PVA glue, stain, varnish, some cardboard and scissors.
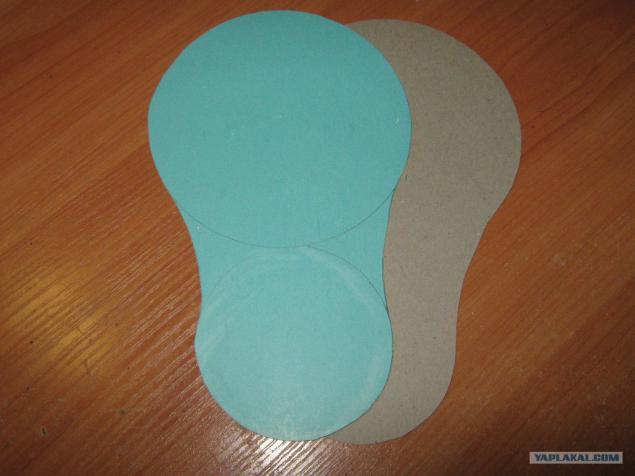
Getting manufacturing. On a piece of cardboard draw some semblance of the shoes soles of our future. I just picked up and around two rolls of tape, one more than others in diameter. Such pieces we need two things.
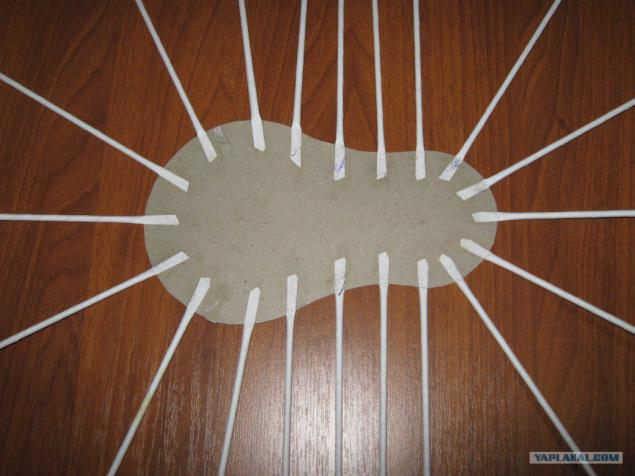
Now we take our tubes twisted from office paper. They will serve us uprights our boot at weaving. You can not use them and do newspaper, office paper but tougher and newspaper rack therefrom will be stronger and stronger finished structure.

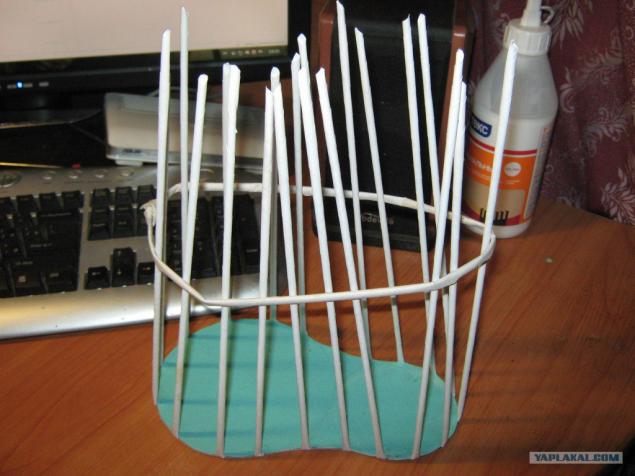
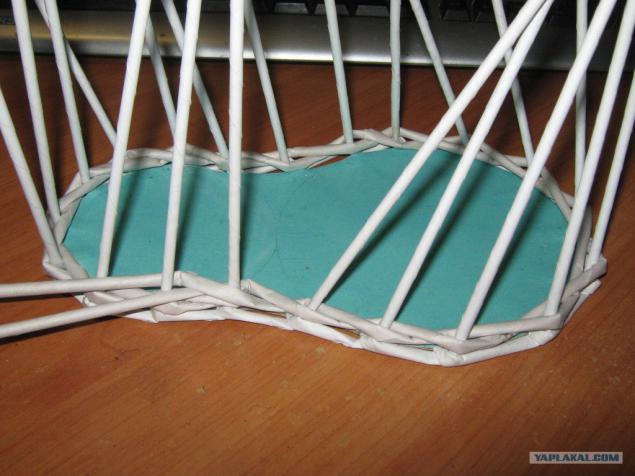
Flattening the tips of our tubes and glue along the perimeter of the carton blank at equal intervals.
As the glue has dried, glue on top of the second workpiece and after drying tubes Bends up. On the ring do not pay attention, I just put it to the tube did not fall until photographed.
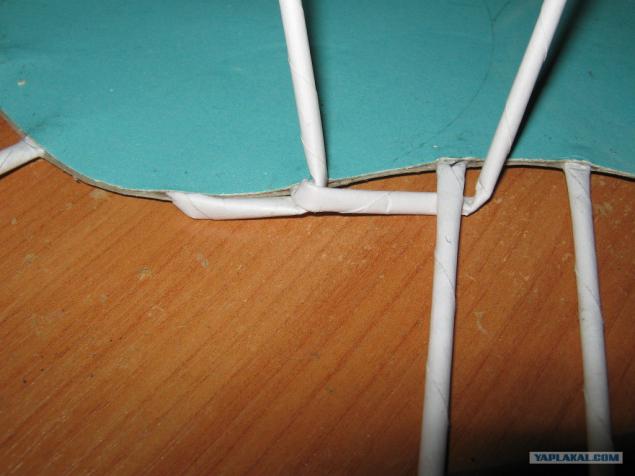
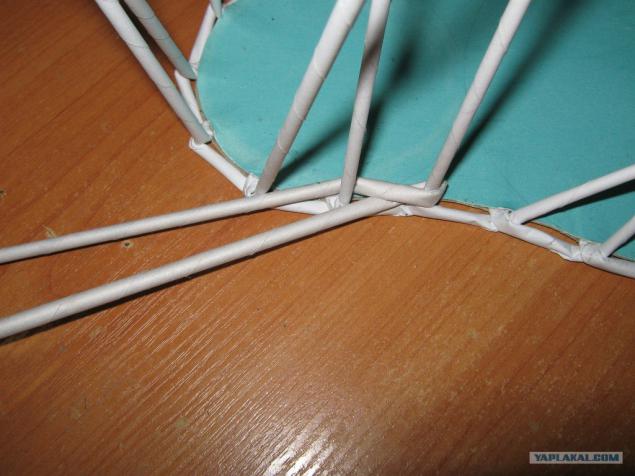
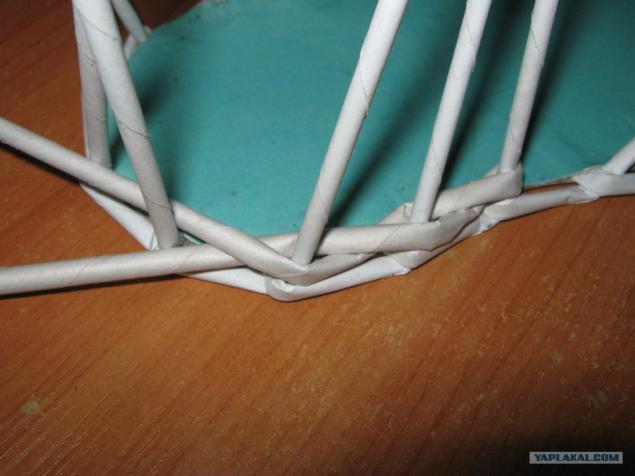
Begins to form a transition for the subsequent weaving. To do this, take the tube, we slip it under the following and then turn upwards. This continues until the end of the perimeter.
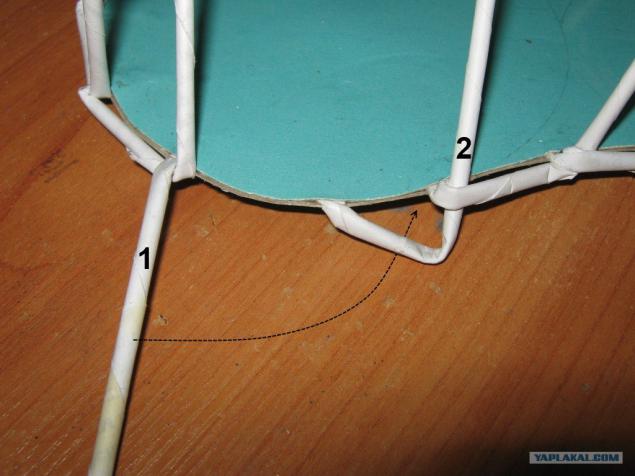
When we come close, the last straw (1) slips under the first (2) and also turn upwards.
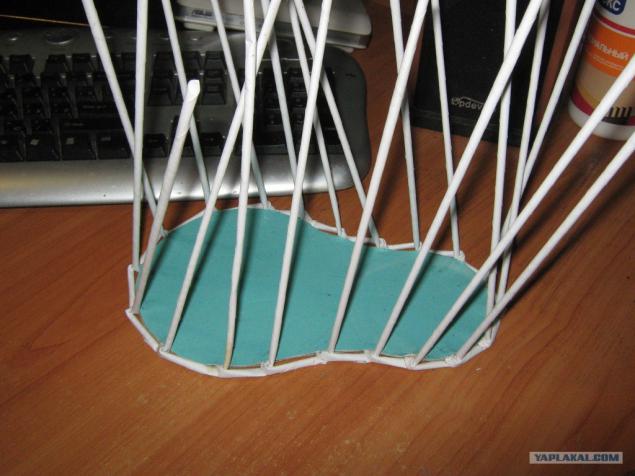
As a result, we should get here is such a decorative transition.
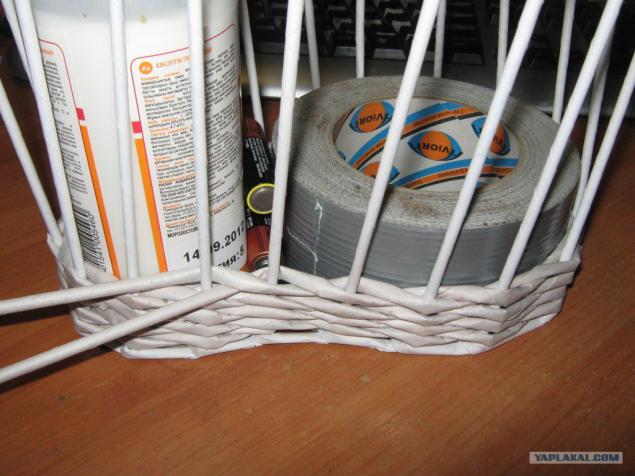
We begin to weave wall. To do this, we take the newspaper tube and add up about half. But it is advisable to leave one end slightly longer. To the subsequent build-up of tubes when they ended up weaving at the same time and place do not build thickens. So lay down a tube, wrapped it around a vertical pillar raised over the other half, and brought over the next rack.
That same was done with the other end of the tube and thus, alternating ends continue weaving.
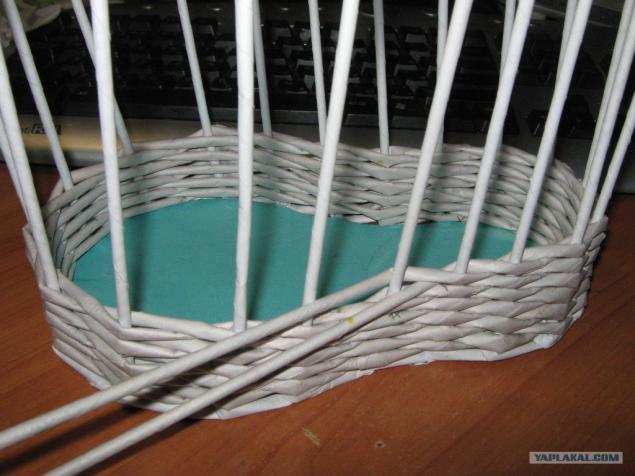
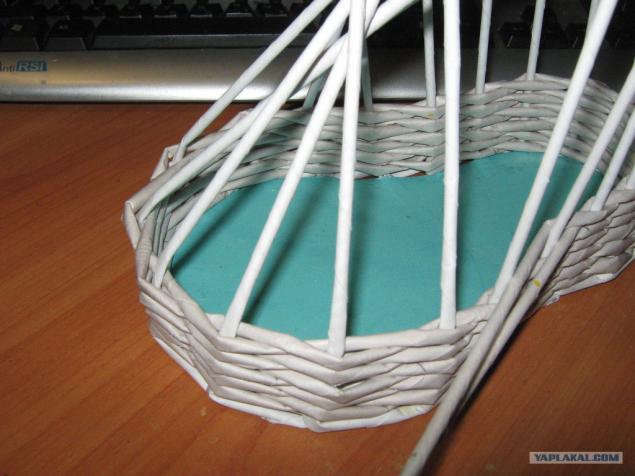
When it comes to the end, we are continuing to weave a spiral. To the hole, which was formed in the weaving, it was not so much, just primnogo tube at this point and continue to spin in a circle.
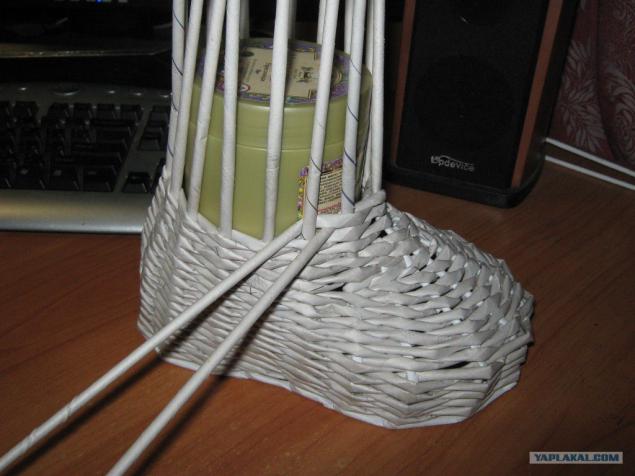
To form the product was more orderly and smooth, you can insert the foundation, a suitable size. I made it as a bottle of glue, a roll of scotch tape and a pair of batteries for the spacers.
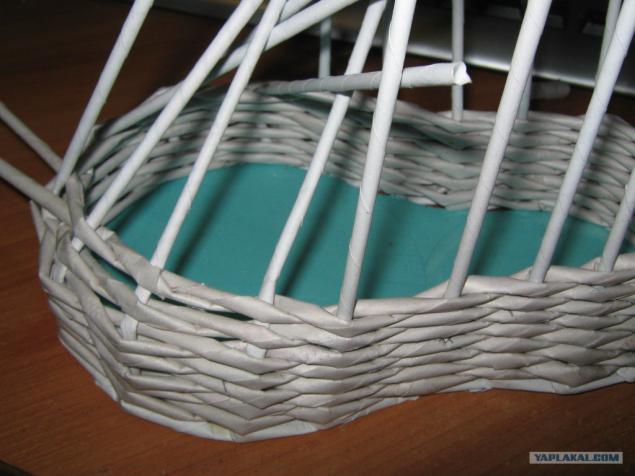
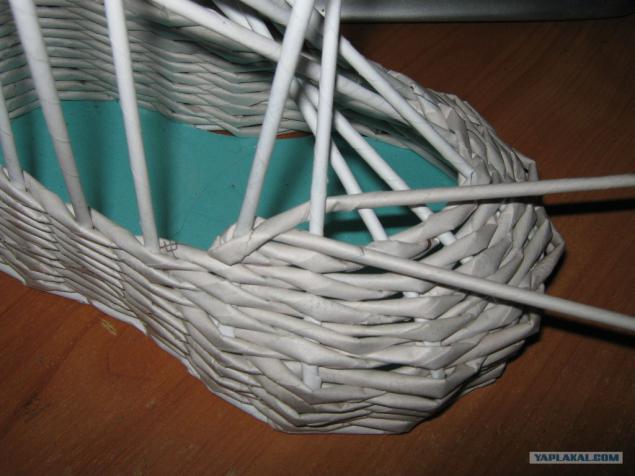
So continue to spin in a circle, while the height of the walls will not be about 3-5 cm (depending on the size of the future of the shoe, in my case it is 4 cm - 6 rows of weaving), and then take out the form.
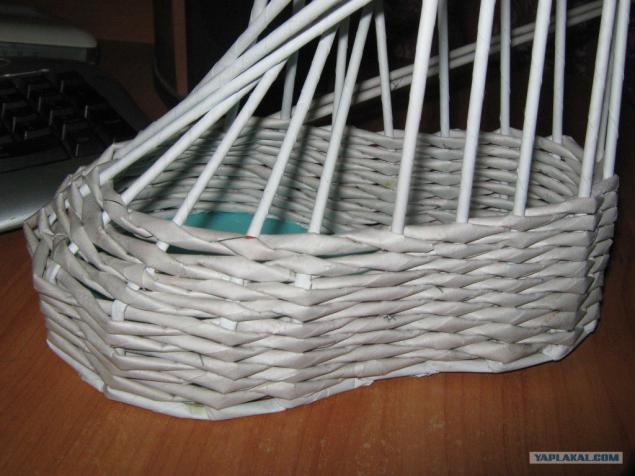
Now we start to shape our future toe shoe. To do this, bend at an angle into several tubes around the perimeter of the wide portion.
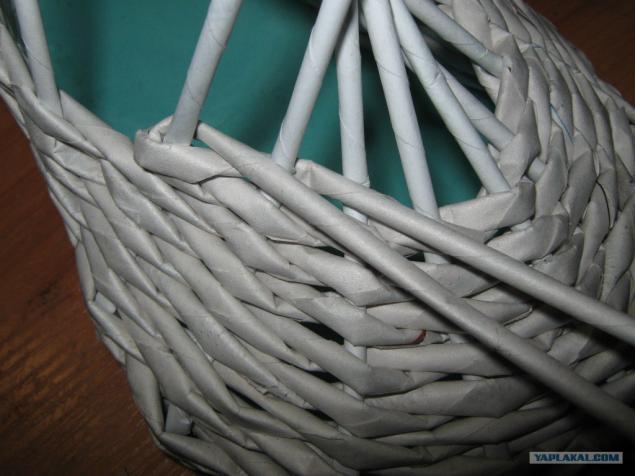
And keep their shape and angle, continue to braid. The main thing to watch for in order to transition from bent to straight tubes is smooth and without much conspicuous holes.
So weave a few rows to fix the shape of the nose. The number of rows depends on the size of the shoe.
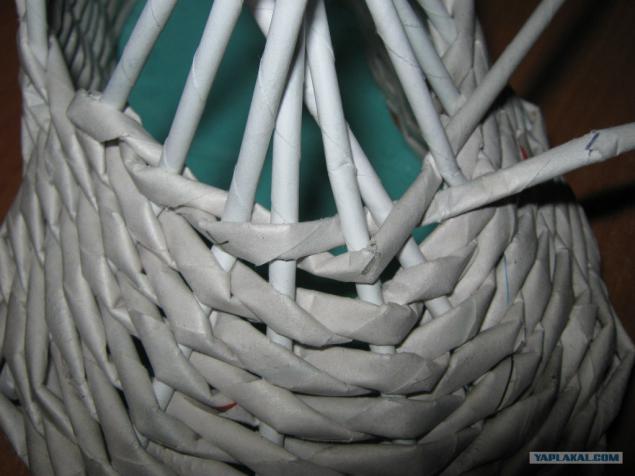
If you wish to toe had more flat shape can be a couple of rows proplesti so. We reach the final bent tubes and instead move to a vertical rack and continue weaving as usual, we wrap the tube around the workers bent.
A little closer
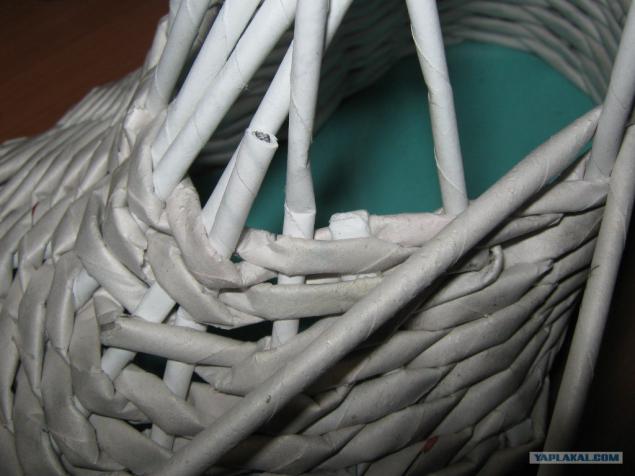
And so we continue weaving in reverse order to the bent tube from the opposite side of the sock. Couples series would be sufficient. When weaving bent tubes with each row are becoming closer to each other. To curls working tubes are about the same, we just in the right places are starting to braid not one but two tubes.
If you stand toe quite crossed, just cut off the excess, smear them with glue and bent inwards. The photo just seen two of these tubes. One is cut, and the second is glued.
So we continue to weave a circle as usual until the size and height of our socks do not reach the desired size.
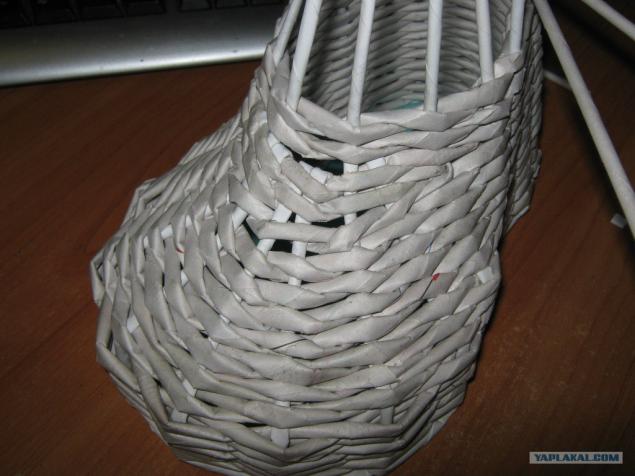
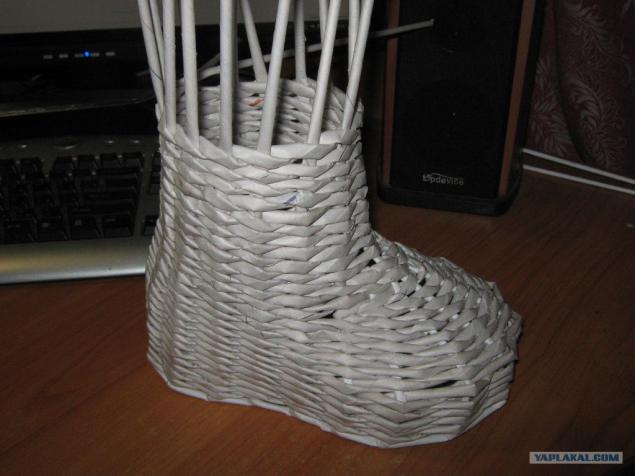
Now weave ankle. To do this, insert the basis of any suitable diameter, if needed (depending again on the size of the shoe) lengthen the uprights, bend bent stand up from the nose and continue to spin in a circle.
And so long as the ankle will not be necessary to us the height. Then, the shape can be removed. The ends of the tubes of workers can now crop and fill the folds of netting. They no longer need us.
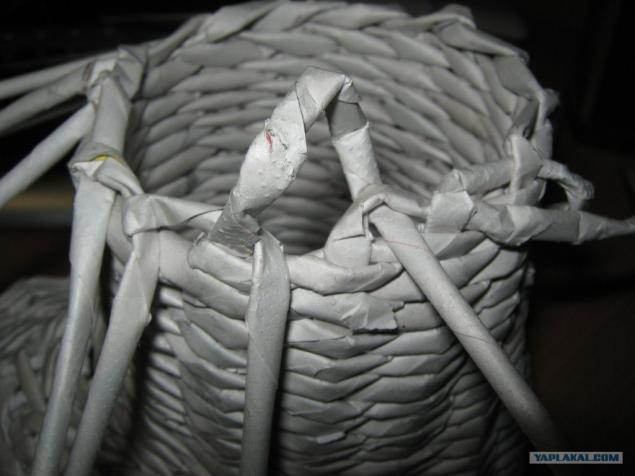
Proceed to weaving a decorative edging tops. To do this, take the upright and setting the stage for her next is folded down on itself.
When coming to the end, the last straw slips at first, as it did in the beginning when weaving transition from the sole to the walls.
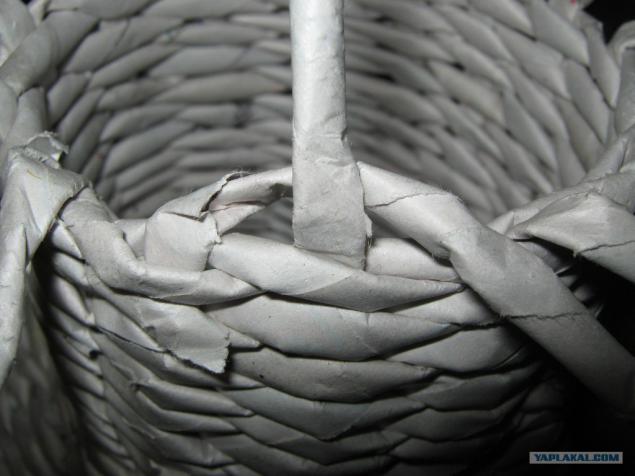
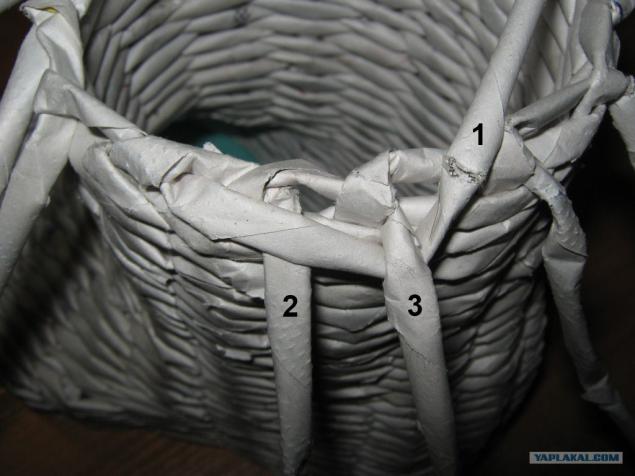
The second phase of weave so. First hold on a second tube and slipping under the third is folded up first. So we continue to weave around the circle do not forget to insert the end of the first past the tube to keep drawing.
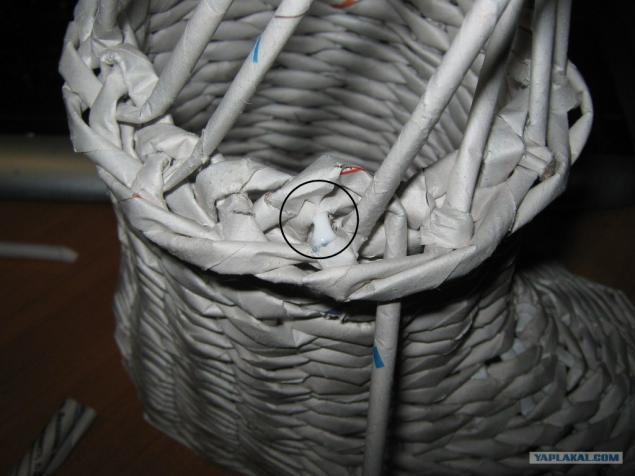
The last step of weaving the rim done so. Just take the rack and insert into the hole on top of the next tube and so on around the circle. It is desirable to drip on a little glue in the place indicated by a circle and give a little dry. Then move on to the next rack.
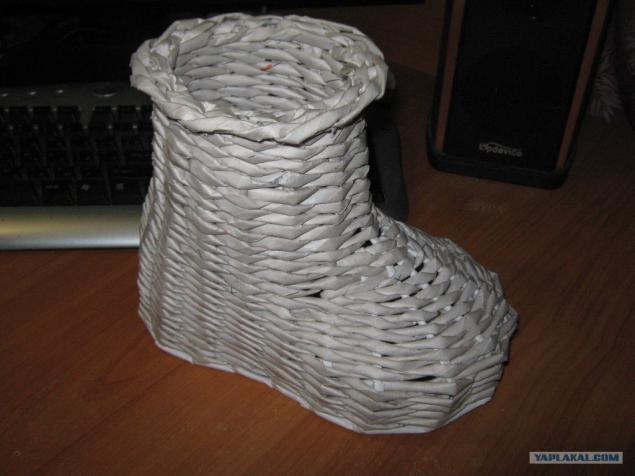
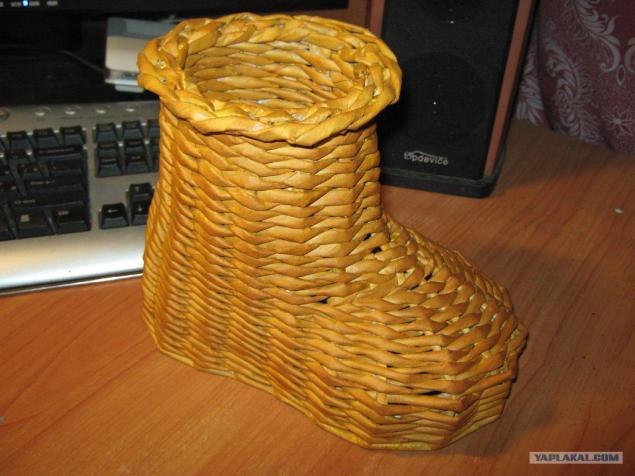
After the end of weaving, and the glue can be cut off at the root ends of the uprights. As a result we get here is such a botinochek.
It remains only to give our shoe color and gloss. To do this, take the desired color stain and color the product. Do not place in locations dyed weave can be painted with a fine brush, I used a syringe. After painting and drying our shoe looks like.
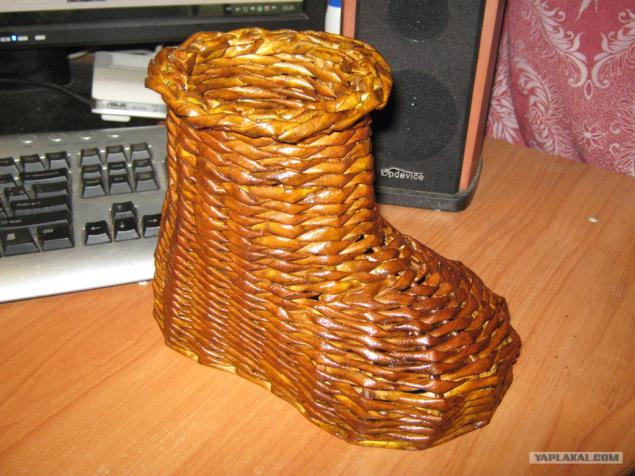
After 2-3 layers of lacquer coating already have the necessary shade shine and strength.
When weaving I have a hole on that at this point I have is folded and glued uprights.
Source:
(37 photos)

So, to build it, we need:
Tubes, rolled newspaper and a little twisted tubes of office paper. How to twist the tube look here.
PVA glue, stain, varnish, some cardboard and scissors.
Getting manufacturing. On a piece of cardboard draw some semblance of the shoes soles of our future. I just picked up and around two rolls of tape, one more than others in diameter. Such pieces we need two things.

Now we take our tubes twisted from office paper. They will serve us uprights our boot at weaving. You can not use them and do newspaper, office paper but tougher and newspaper rack therefrom will be stronger and stronger finished structure.

Flattening the tips of our tubes and glue along the perimeter of the carton blank at equal intervals.

As the glue has dried, glue on top of the second workpiece and after drying tubes Bends up. On the ring do not pay attention, I just put it to the tube did not fall until photographed.

Begins to form a transition for the subsequent weaving. To do this, take the tube, we slip it under the following and then turn upwards. This continues until the end of the perimeter.

When we come close, the last straw (1) slips under the first (2) and also turn upwards.

As a result, we should get here is such a decorative transition.

We begin to weave wall. To do this, we take the newspaper tube and add up about half. But it is advisable to leave one end slightly longer. To the subsequent build-up of tubes when they ended up weaving at the same time and place do not build thickens. So lay down a tube, wrapped it around a vertical pillar raised over the other half, and brought over the next rack.

That same was done with the other end of the tube and thus, alternating ends continue weaving.

When it comes to the end, we are continuing to weave a spiral. To the hole, which was formed in the weaving, it was not so much, just primnogo tube at this point and continue to spin in a circle.

To form the product was more orderly and smooth, you can insert the foundation, a suitable size. I made it as a bottle of glue, a roll of scotch tape and a pair of batteries for the spacers.

So continue to spin in a circle, while the height of the walls will not be about 3-5 cm (depending on the size of the future of the shoe, in my case it is 4 cm - 6 rows of weaving), and then take out the form.

Now we start to shape our future toe shoe. To do this, bend at an angle into several tubes around the perimeter of the wide portion.

And keep their shape and angle, continue to braid. The main thing to watch for in order to transition from bent to straight tubes is smooth and without much conspicuous holes.

So weave a few rows to fix the shape of the nose. The number of rows depends on the size of the shoe.

If you wish to toe had more flat shape can be a couple of rows proplesti so. We reach the final bent tubes and instead move to a vertical rack and continue weaving as usual, we wrap the tube around the workers bent.

A little closer

And so we continue weaving in reverse order to the bent tube from the opposite side of the sock. Couples series would be sufficient. When weaving bent tubes with each row are becoming closer to each other. To curls working tubes are about the same, we just in the right places are starting to braid not one but two tubes.

If you stand toe quite crossed, just cut off the excess, smear them with glue and bent inwards. The photo just seen two of these tubes. One is cut, and the second is glued.

So we continue to weave a circle as usual until the size and height of our socks do not reach the desired size.

Now weave ankle. To do this, insert the basis of any suitable diameter, if needed (depending again on the size of the shoe) lengthen the uprights, bend bent stand up from the nose and continue to spin in a circle.

And so long as the ankle will not be necessary to us the height. Then, the shape can be removed. The ends of the tubes of workers can now crop and fill the folds of netting. They no longer need us.

Proceed to weaving a decorative edging tops. To do this, take the upright and setting the stage for her next is folded down on itself.

When coming to the end, the last straw slips at first, as it did in the beginning when weaving transition from the sole to the walls.

The second phase of weave so. First hold on a second tube and slipping under the third is folded up first. So we continue to weave around the circle do not forget to insert the end of the first past the tube to keep drawing.

The last step of weaving the rim done so. Just take the rack and insert into the hole on top of the next tube and so on around the circle. It is desirable to drip on a little glue in the place indicated by a circle and give a little dry. Then move on to the next rack.

After the end of weaving, and the glue can be cut off at the root ends of the uprights. As a result we get here is such a botinochek.

It remains only to give our shoe color and gloss. To do this, take the desired color stain and color the product. Do not place in locations dyed weave can be painted with a fine brush, I used a syringe. After painting and drying our shoe looks like.

After 2-3 layers of lacquer coating already have the necessary shade shine and strength.

When weaving I have a hole on that at this point I have is folded and glued uprights.

Source: