551
Background to the aquarium
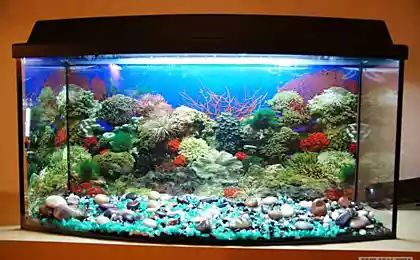
And so the backstory: tired of the monotonous always come unstuck and bubbling out film in our aquarium, I wanted to surround background. Its advantage is that it looks nice and natural, located inside the aquarium, lack of - is very expensive. The idea spied on the Internet.
Materials:
-list Of polypropylene foam (available at stroymage);
-Packaging Cement 2 kg (many will);
-Small Tube of silicone (in my case it is necessary for bonding in one-piece design is not needed).
Tools:
-misochka for the preparation of cement mixture;
-kistochka and toothbrush for its application;
-ostry building knife;
-raspylitel (Squirtwoman);
-ruchka (pen);
-nazhdachka 180/320
Will be 11 photos and letters.
01 Mark up on a piece of the future pattern. And cut the sheet size of the aquarium
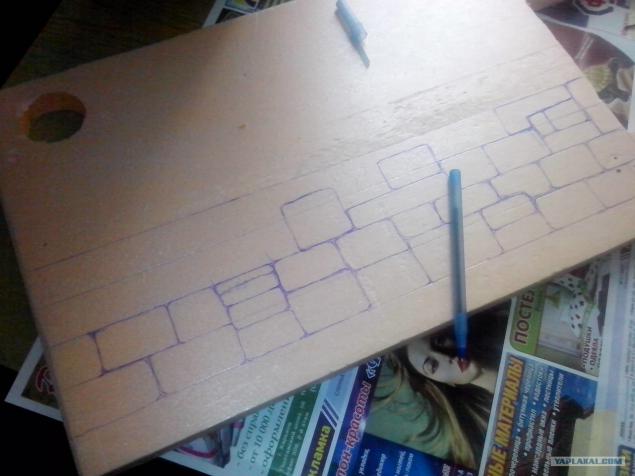
02 to the end. The hole in the left corner of the remains of the past life of the sheet, then slice it up and close up a piece of the rectangle.
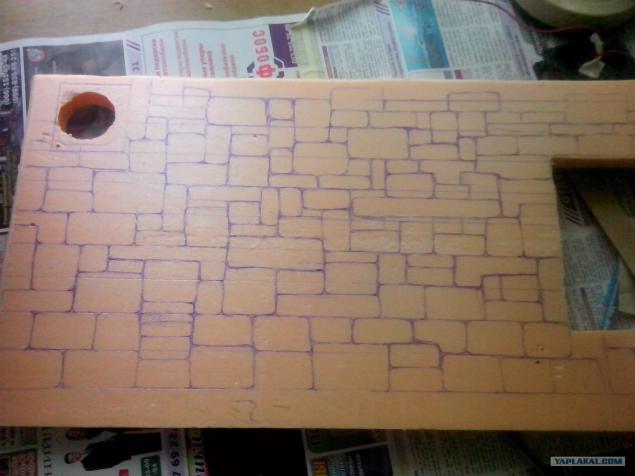
03, take a knife and cut it out along the lines of the V-groove horizontal. I departed from the line of 2-3 mm and a depth of 4-5 mm was obtained.
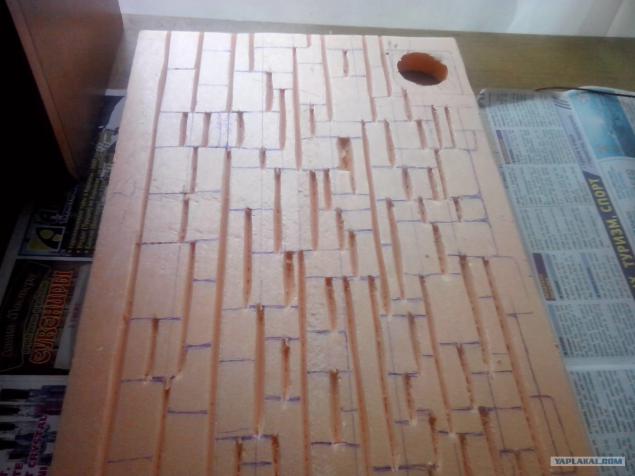
Vertical grooves 04. Sheet of sandpaper to sand that would be better to keep the cement mix, as well as rounded corners for greater cuts realestichnost.
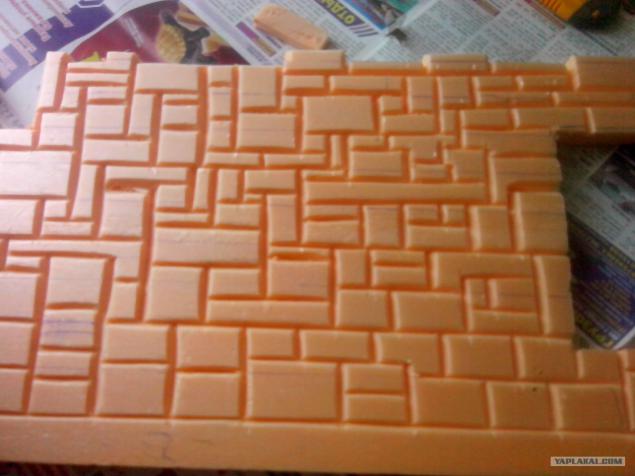
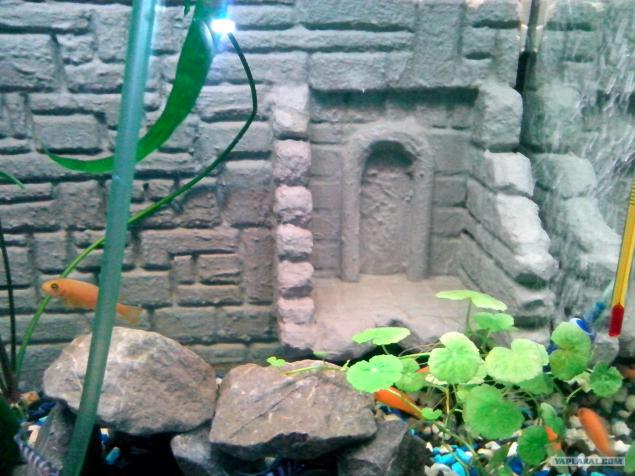
05 Right on the sheet you can see that the piece is not enough, it is from the past life of the sheet. I took advantage of it and made it ruined pedestal / arch / altar. Cut out the same way on the stones of destroyed walls and floors, "crumbled" stones with the same knife, sandpaper all rounded.
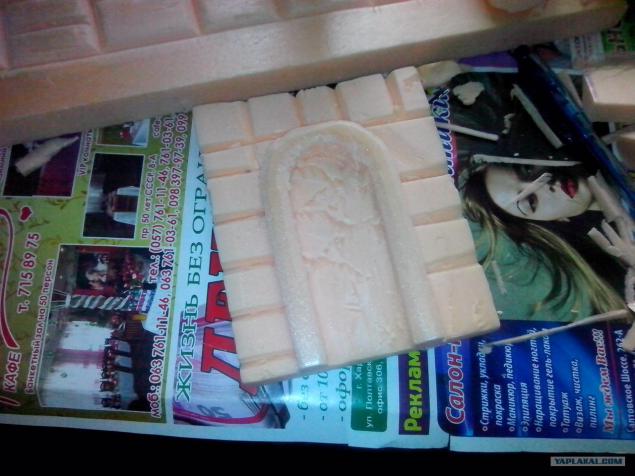
06 Secure all silicone, and that would not be crawled at key points all pinned with toothpicks. So leave overnight to dry silicone.
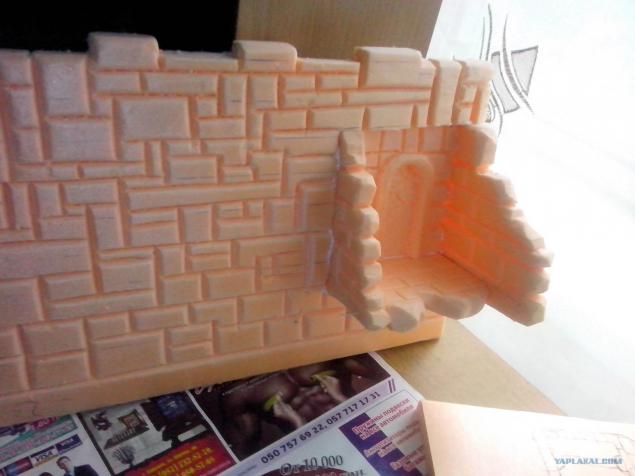
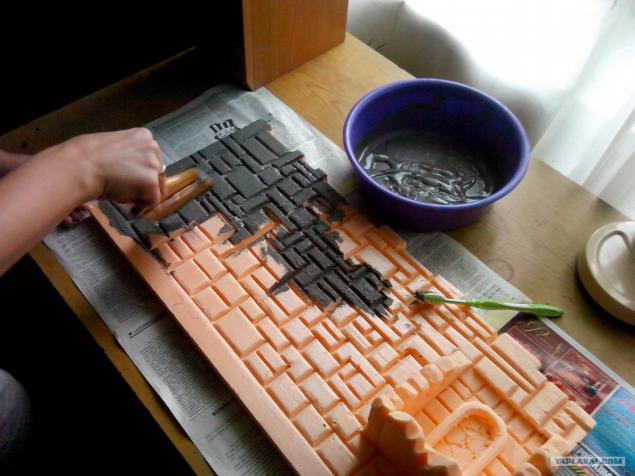
07 preparing the cement mixture - a mixture of water and cement, the density of shampoo. Apply an even layer over the entire surface with a brush mix (paint), then pass on propylene toothbrush that would be good to hit and remove excess cement from the same place. It is necessary to put at least three layers, occasionally watering water from bryzagalki, that would not matter then cracks, cement has become stronger and do not fall off. After each layer is washed out all of the shower water pressure, thereby finding weaknesses. It is better that would cement fell off in the bathroom, not in the tank. After the final layer and wash when everything was like a stone - can be carried in the tank.
08 Polypropylene has positive buoyancy, this it is immersed in the aquarium water when I made a wedge-shaped spacers of the same PP and fix them at the corners of the background, additional sprinkled the ground below.
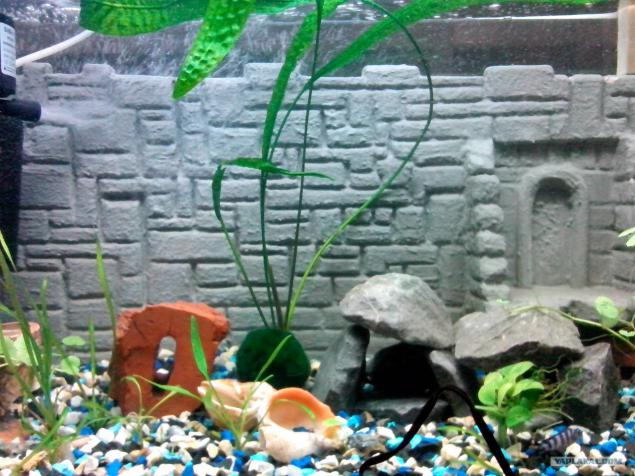
09 for three days the fish moved in otsadnik while chasing new water filter in the aquarium with the background, stabilizing the biological environment.
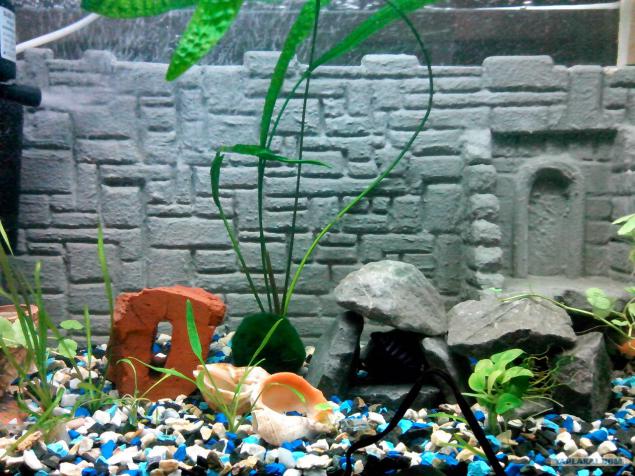
10 Arch / altar / door. And fish
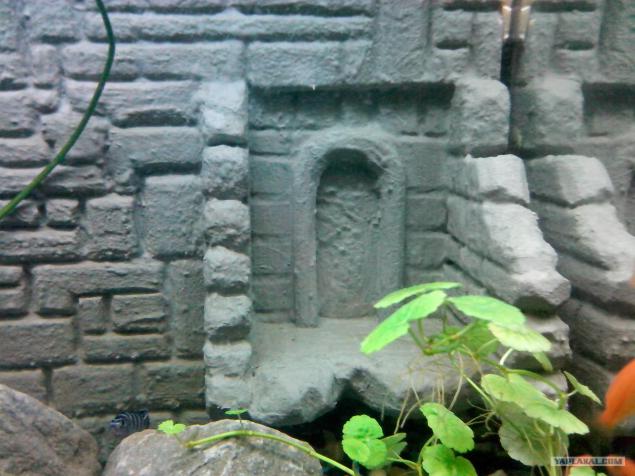
Another 11 species. Fish did not suffer, they feel good.
Cost:
17 USD - PP sheet
15 UAH cement
else was available.
To make the wall color can domeshivat a mixture of grout for tiles.
I have everything, all thanks.
Source:
Materials:
-list Of polypropylene foam (available at stroymage);
-Packaging Cement 2 kg (many will);
-Small Tube of silicone (in my case it is necessary for bonding in one-piece design is not needed).
Tools:
-misochka for the preparation of cement mixture;
-kistochka and toothbrush for its application;
-ostry building knife;
-raspylitel (Squirtwoman);
-ruchka (pen);
-nazhdachka 180/320
Will be 11 photos and letters.
01 Mark up on a piece of the future pattern. And cut the sheet size of the aquarium

02 to the end. The hole in the left corner of the remains of the past life of the sheet, then slice it up and close up a piece of the rectangle.

03, take a knife and cut it out along the lines of the V-groove horizontal. I departed from the line of 2-3 mm and a depth of 4-5 mm was obtained.

Vertical grooves 04. Sheet of sandpaper to sand that would be better to keep the cement mix, as well as rounded corners for greater cuts realestichnost.

05 Right on the sheet you can see that the piece is not enough, it is from the past life of the sheet. I took advantage of it and made it ruined pedestal / arch / altar. Cut out the same way on the stones of destroyed walls and floors, "crumbled" stones with the same knife, sandpaper all rounded.

06 Secure all silicone, and that would not be crawled at key points all pinned with toothpicks. So leave overnight to dry silicone.

07 preparing the cement mixture - a mixture of water and cement, the density of shampoo. Apply an even layer over the entire surface with a brush mix (paint), then pass on propylene toothbrush that would be good to hit and remove excess cement from the same place. It is necessary to put at least three layers, occasionally watering water from bryzagalki, that would not matter then cracks, cement has become stronger and do not fall off. After each layer is washed out all of the shower water pressure, thereby finding weaknesses. It is better that would cement fell off in the bathroom, not in the tank. After the final layer and wash when everything was like a stone - can be carried in the tank.

08 Polypropylene has positive buoyancy, this it is immersed in the aquarium water when I made a wedge-shaped spacers of the same PP and fix them at the corners of the background, additional sprinkled the ground below.

09 for three days the fish moved in otsadnik while chasing new water filter in the aquarium with the background, stabilizing the biological environment.

10 Arch / altar / door. And fish

Another 11 species. Fish did not suffer, they feel good.
Cost:
17 USD - PP sheet
15 UAH cement
else was available.
To make the wall color can domeshivat a mixture of grout for tiles.
I have everything, all thanks.

Source:
