669
How do we build a house for children
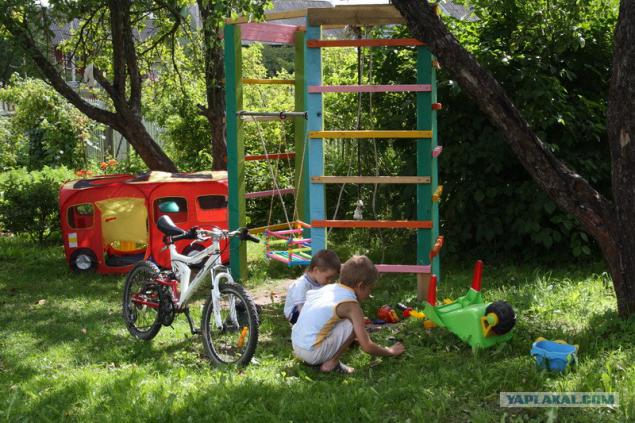
"There was a rabbit hut ...." When the child was about 3 years to build his summer residence "climbing frame" with a swing to develop physically.
Will be 74 photos
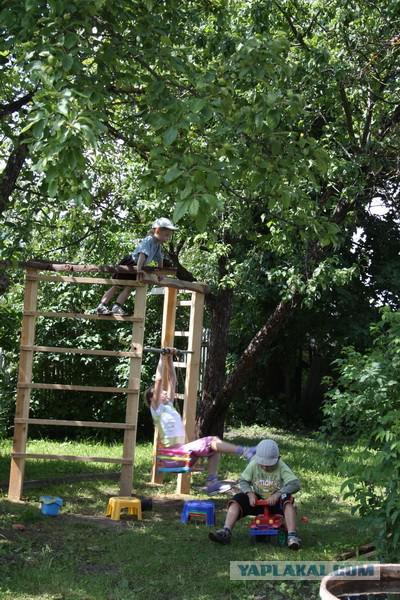
Three and a half years, and this design is beginning to rot and the child grew up. And I promised the child a new design for games. Just work equipment brought in big wooden boxes. Here the idea and place. ABOUT!!! it just goes to the house trim.
And away we go .......
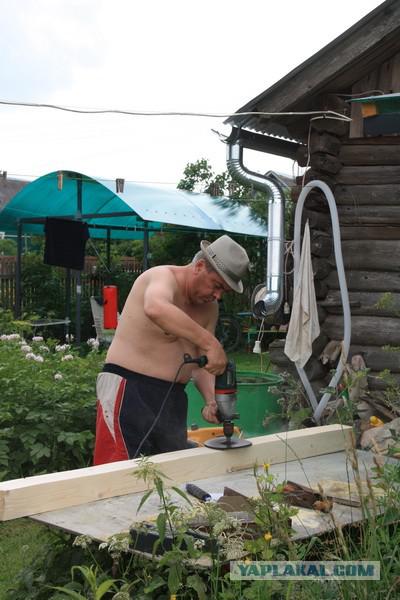
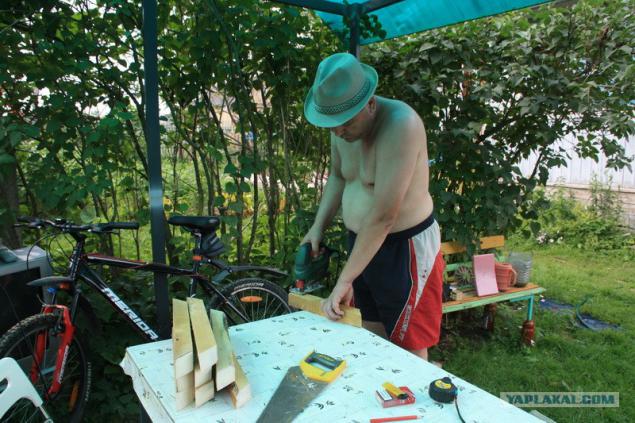
1. Laziness was a plane poles cleaned, so used a faster way - drill, rubber circle and skin.
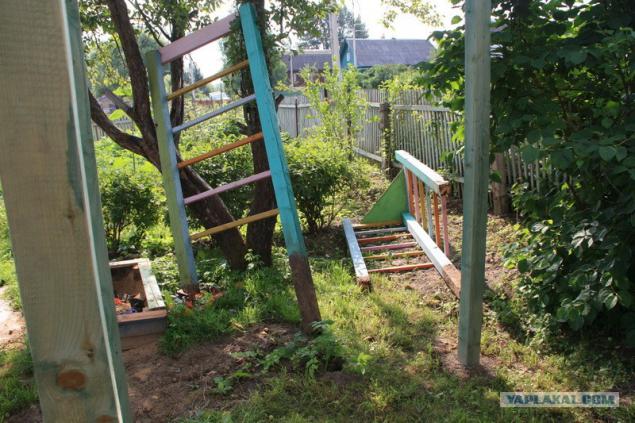
Dismantle the old "Climbing".
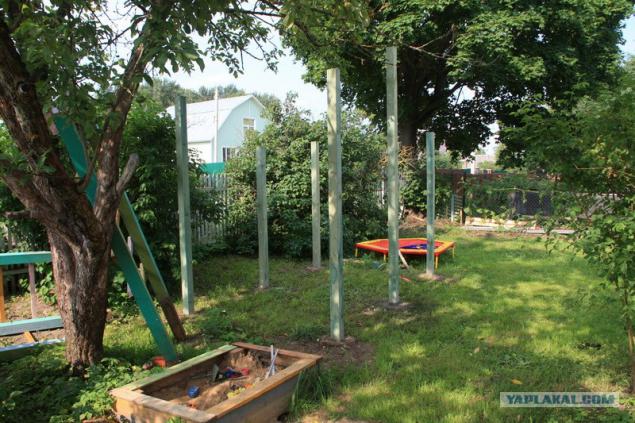
3. Phase I miss collaring. Are posts concreted. The hole diameter of about 23cm. depth of 60cm. filled with cement and fine gravel. Then the pillars will be cut off by the level at the desired height.
5. Prepare the "Bracing»
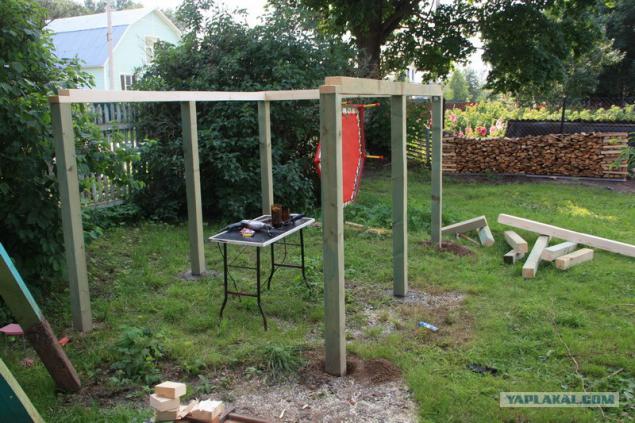
6. The base is almost ready.
7. Mount - 2 at the corner of a couple of screws and nails 200mm above.
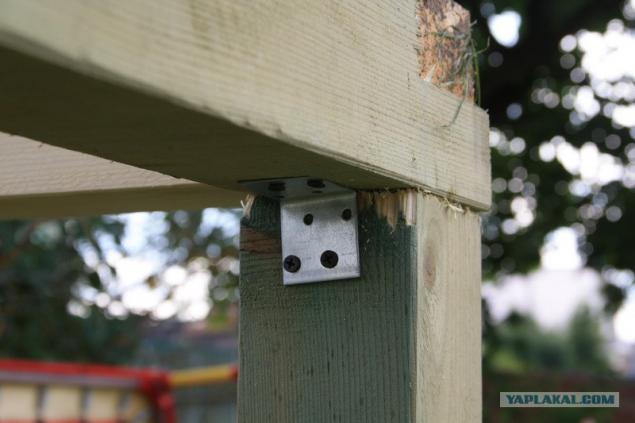
7. Mount - 2 at the corner of a couple of screws and nails 200mm above.
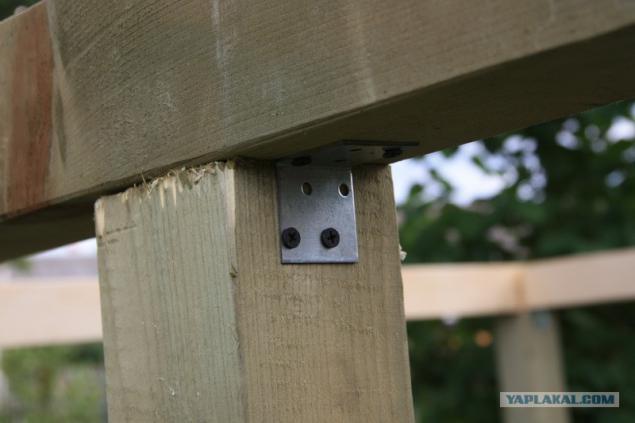
9. Fasten the middle beam.
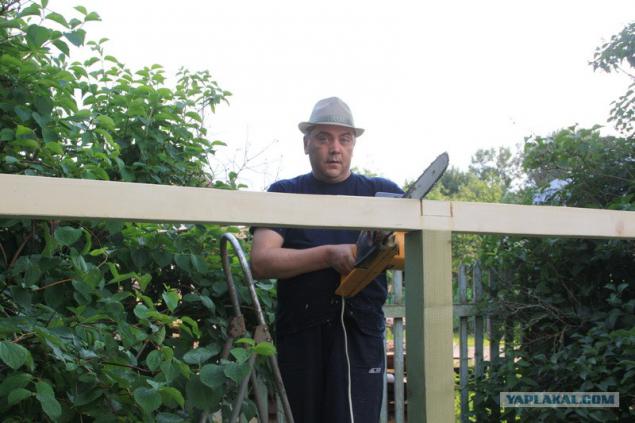
10. Begin to fix braces. Bruce 50x50. Self 4h110mm.
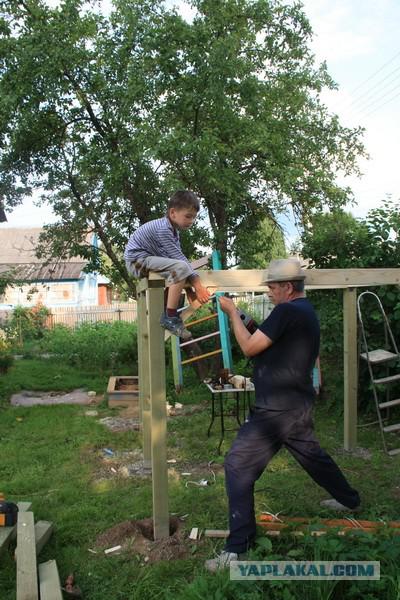
11. There is no "pomogalkina" can not do.
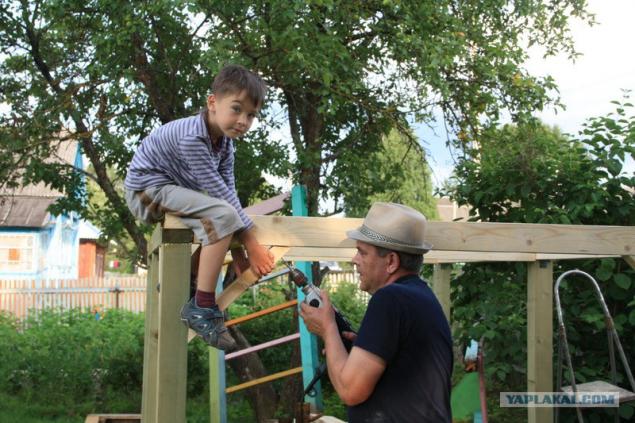
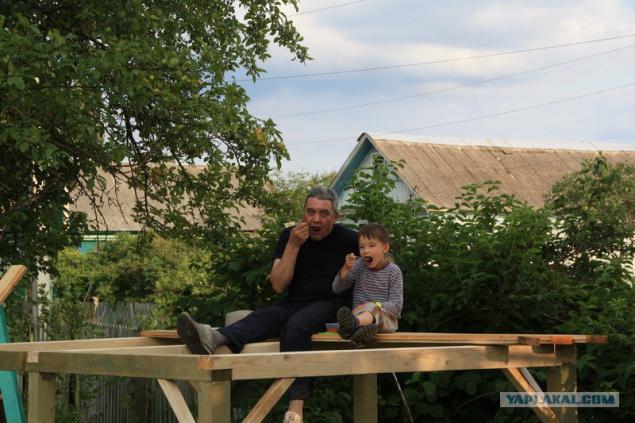
12. The framework is ready - you can sit at the top.
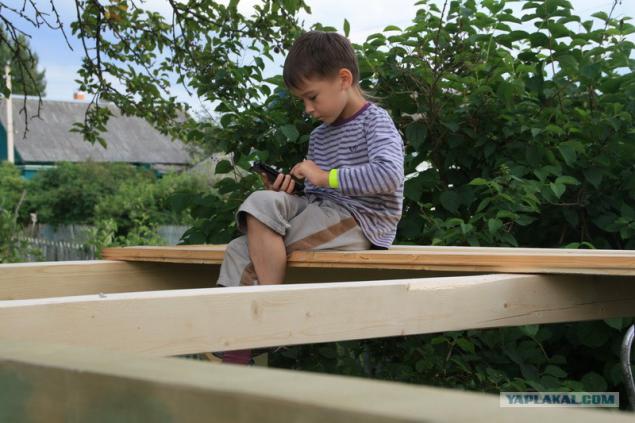
13. "Customer" and "contractor" snack of freshly strawberries.
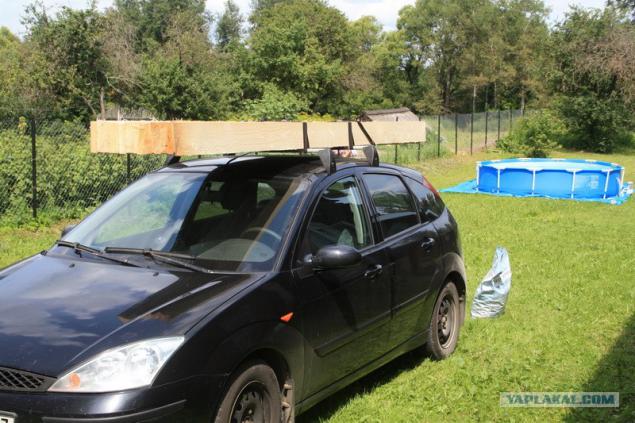
14. We arrived to board the platform. Thickness 40mm, width 200mm.
15. Fasten the board. Minor shows clamp.
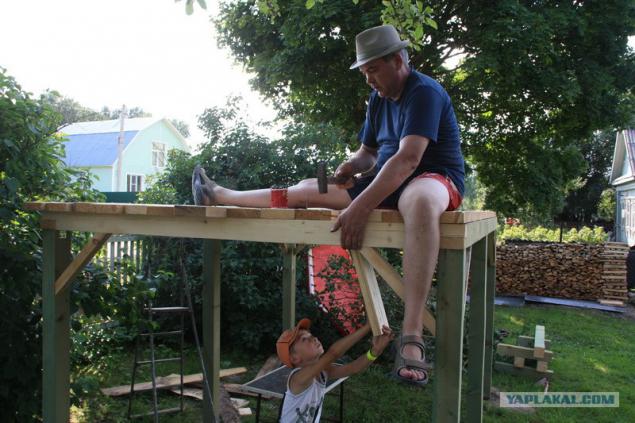
16. cropped ends.
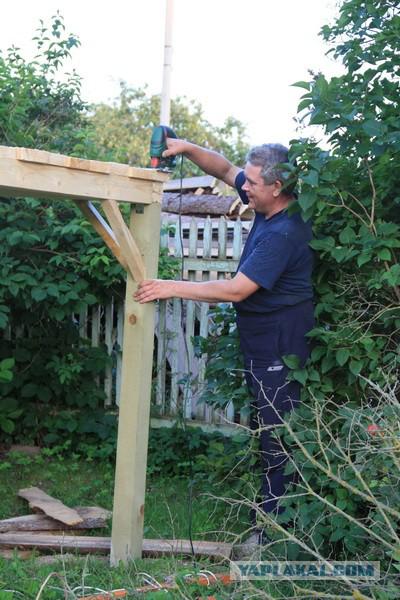
17. Getting puts furring 50x50. Mounting also on the metal parts.
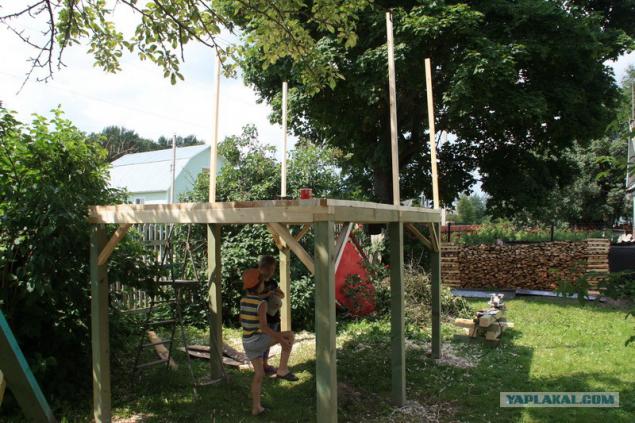
18. "Customer".
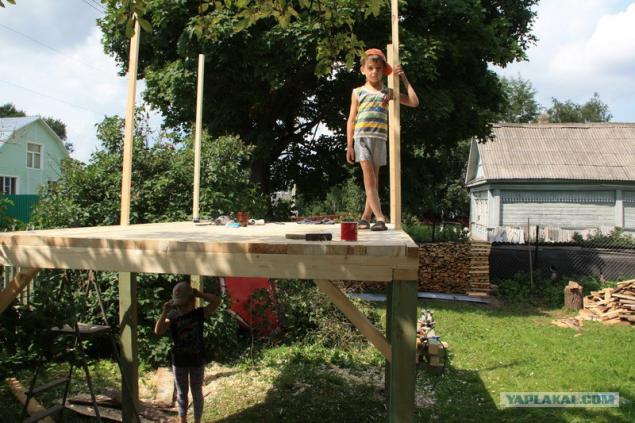
19. Vertical must be satisfied. We put on a level.
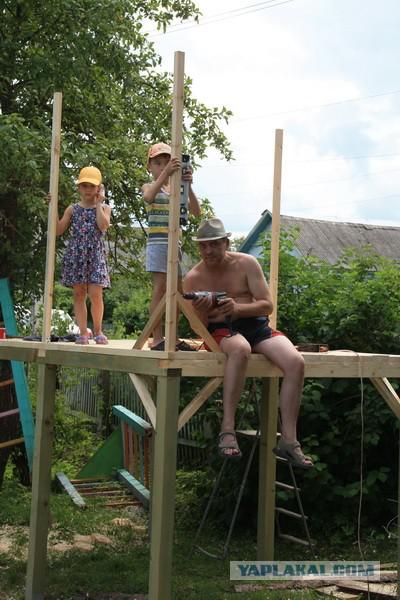
20. Begin to catch up with friends and girlfriend "Customer".
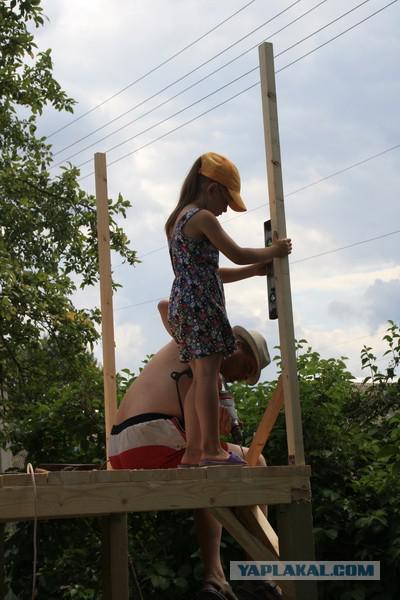
21. The upper part of the frame.
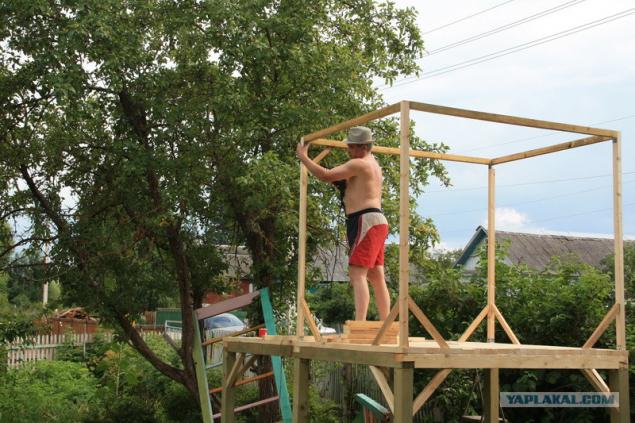
22. Fasten braces.
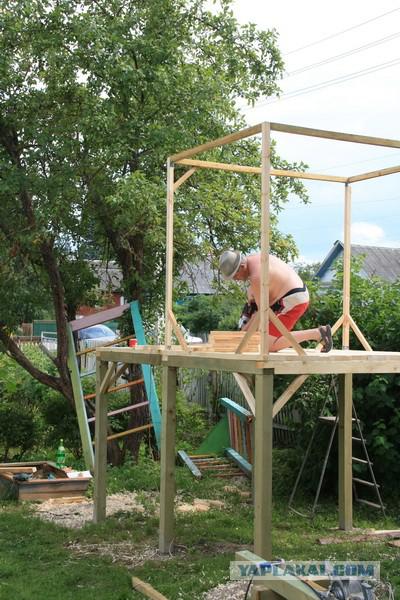
22. Fasten braces.
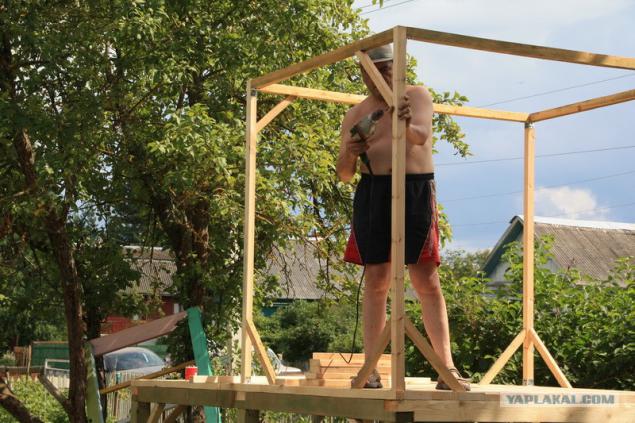
24. The framework is ready.
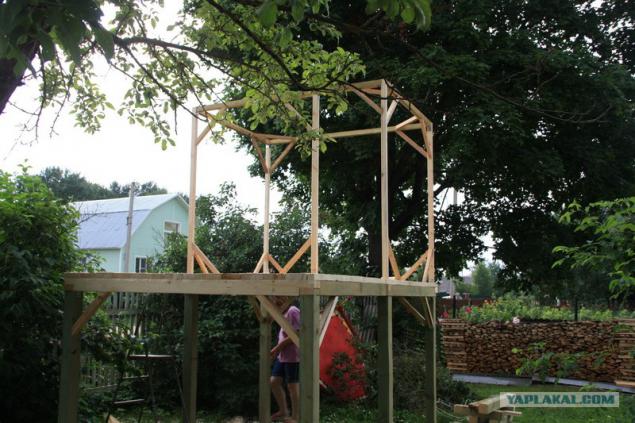
25. "Technical Supervision" check the reliability of the design.
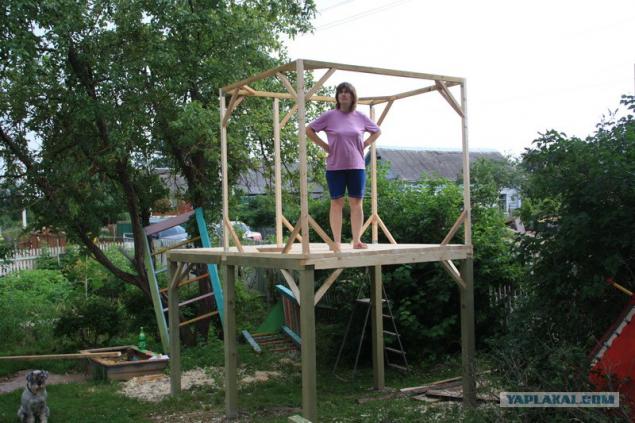
The approval is received.
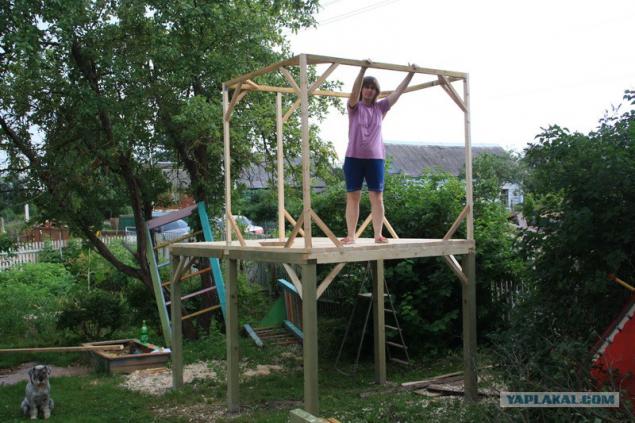
27. Friends assistants continue to be tightened.
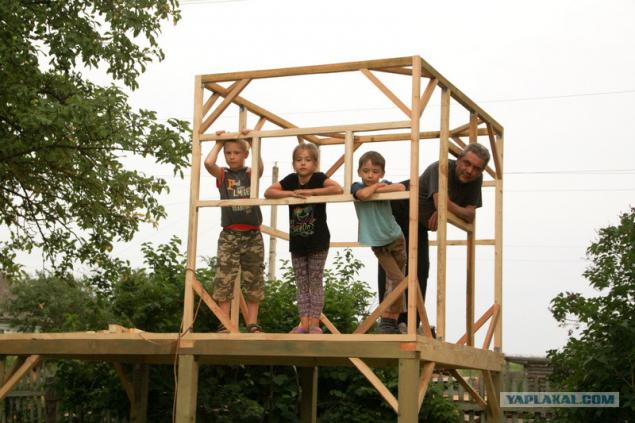
28. Form a window.
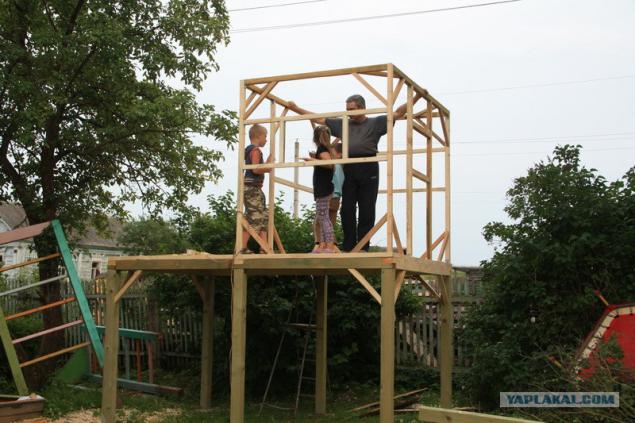
28. Form a window.
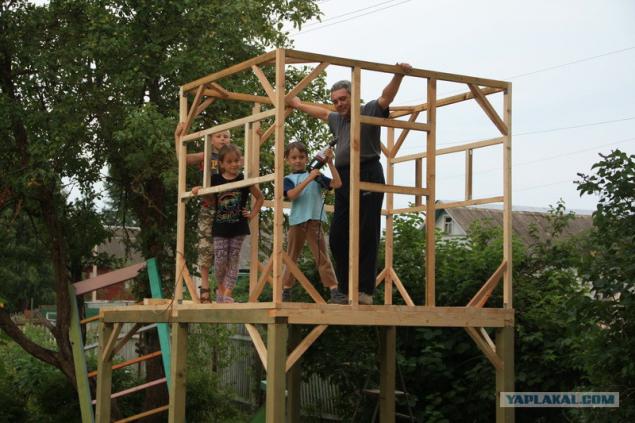
30. The frame house is ready.
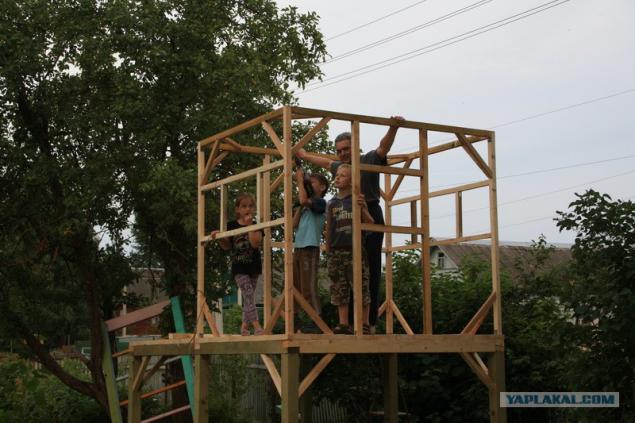
31. Begin trim.
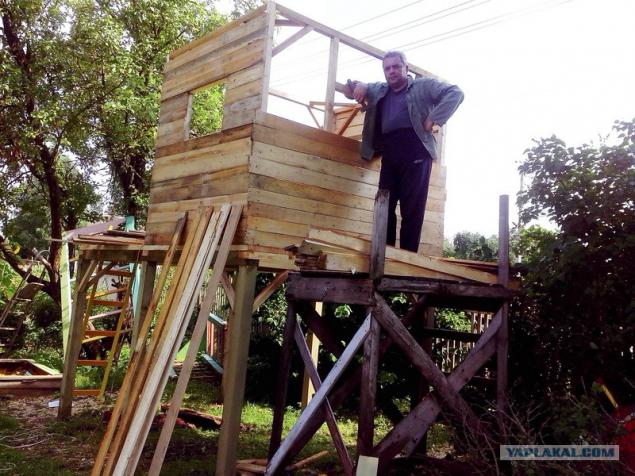
Begin trim.
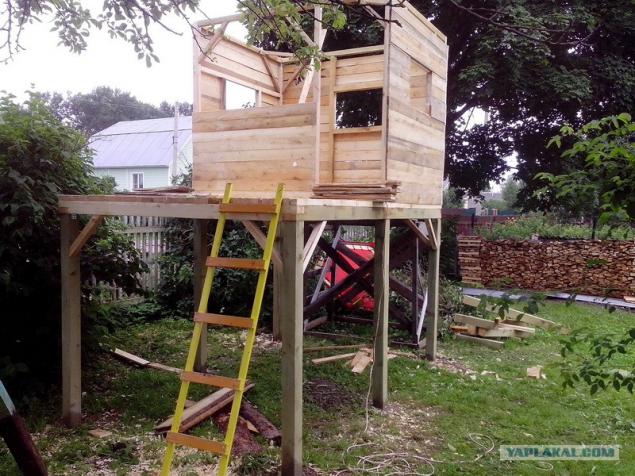
33. House sheathed.
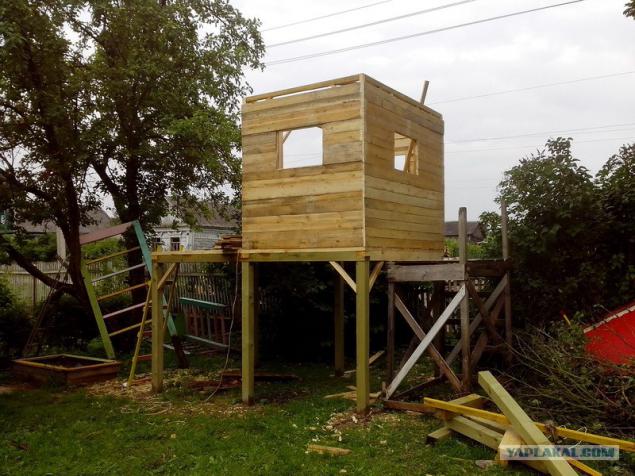
34. Put the rafters.
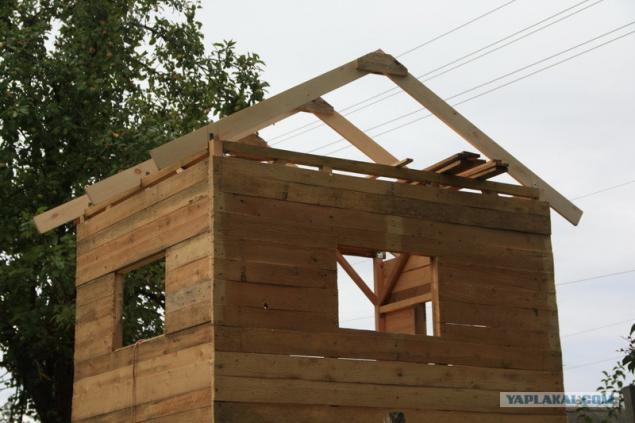
34. Put the rafters.
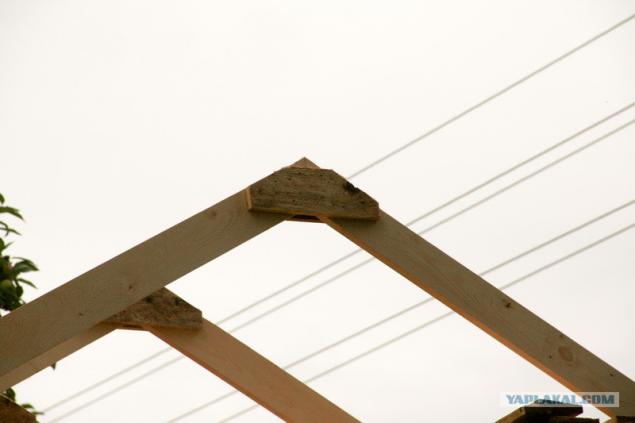
34. Put the rafters.
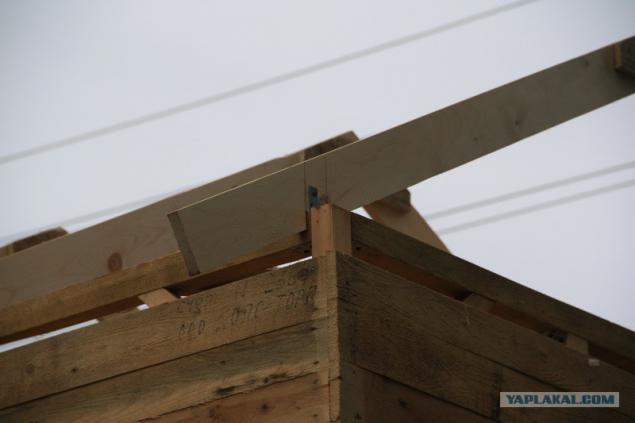
37. The rafters are set.
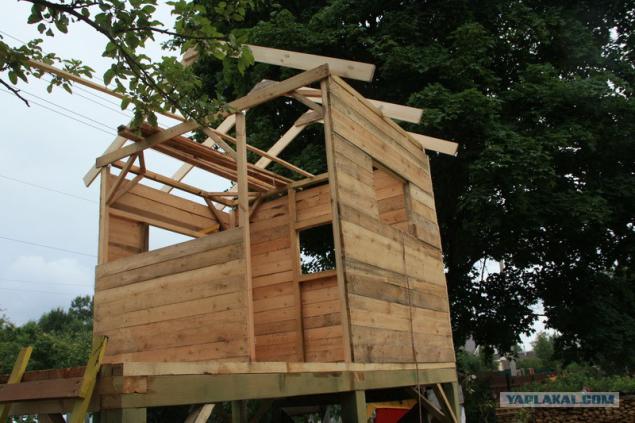
38. Make a crate under the "Onduline."
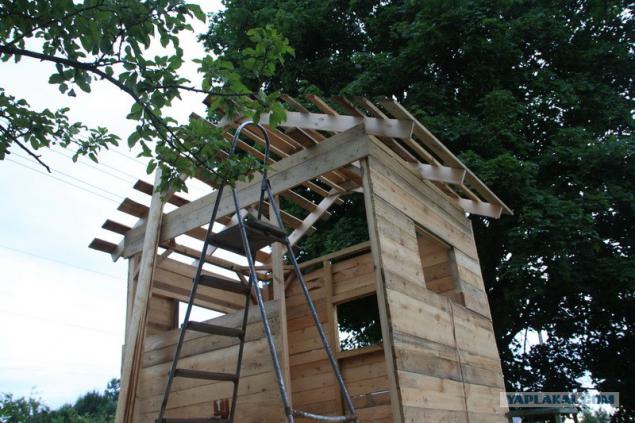
39. Crate ready.
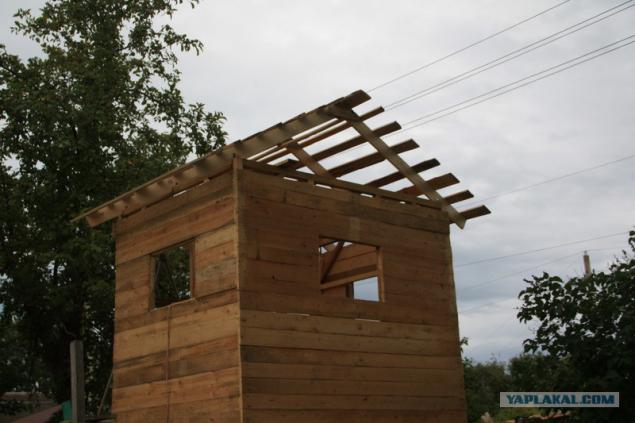
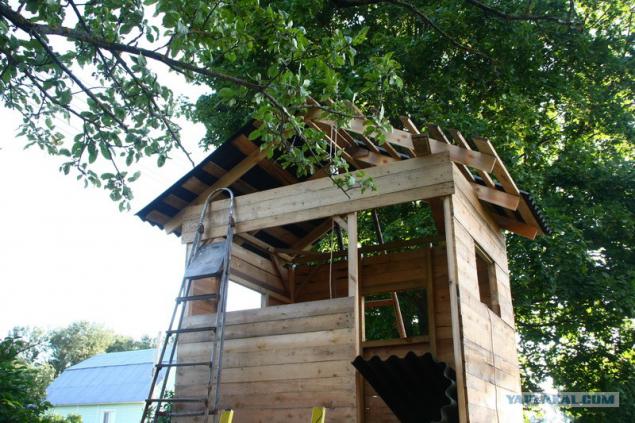
40. Put "Onduline." Because the material crates - board 11mm thick sheets are mounted on a 25mm screws. with rubber pads that completely cover the remains of the tin shed.
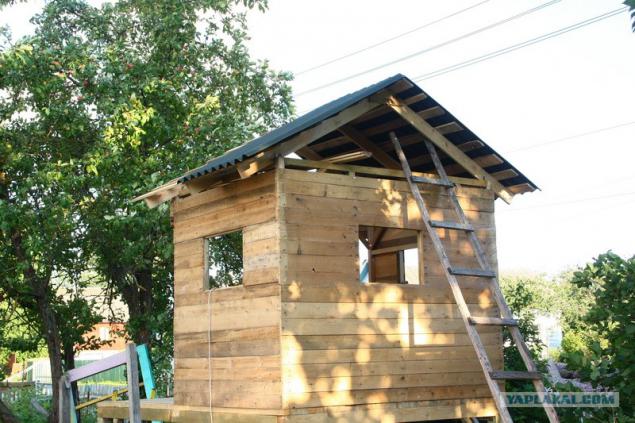
40. Put "Onduline." Because the material crates - board 11mm thick sheets are mounted on a 25mm screws. with rubber pads that completely cover the remains of the tin shed.
42. We start painting.
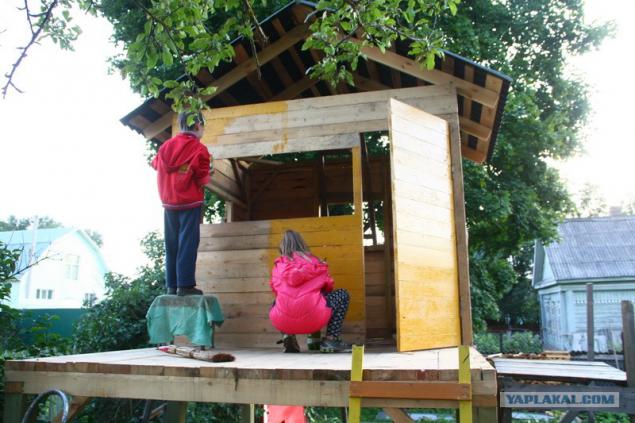
42. We start painting.
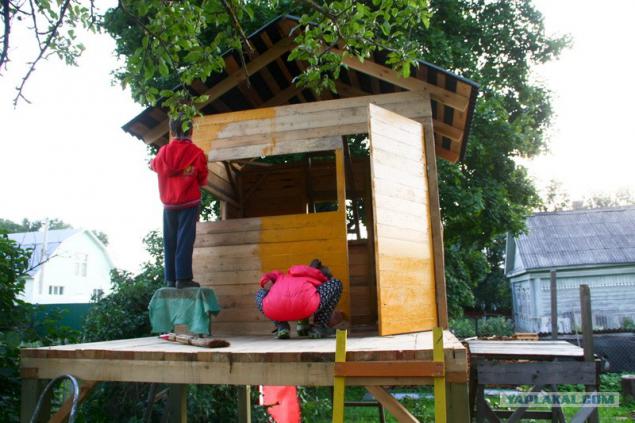
While the children paint, I close up gables.
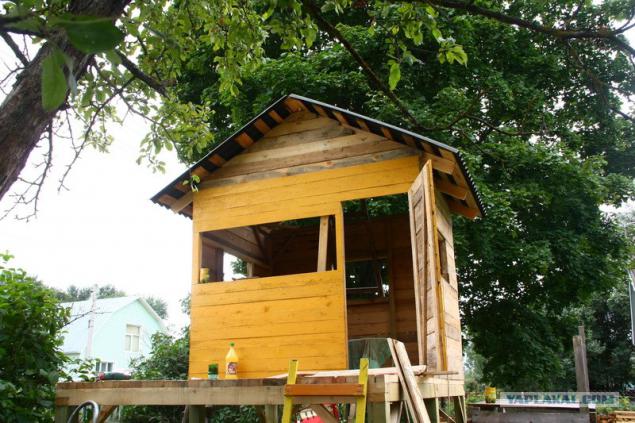
While the children paint, I close up gables.
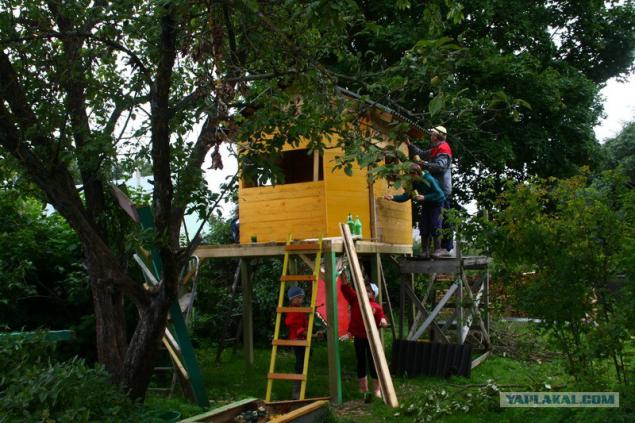
46. Once tightened friends - all brush enough.

46. Once tightened friends - all brush enough.
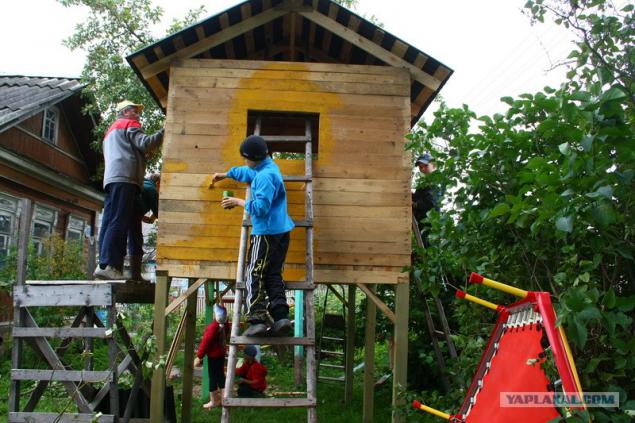
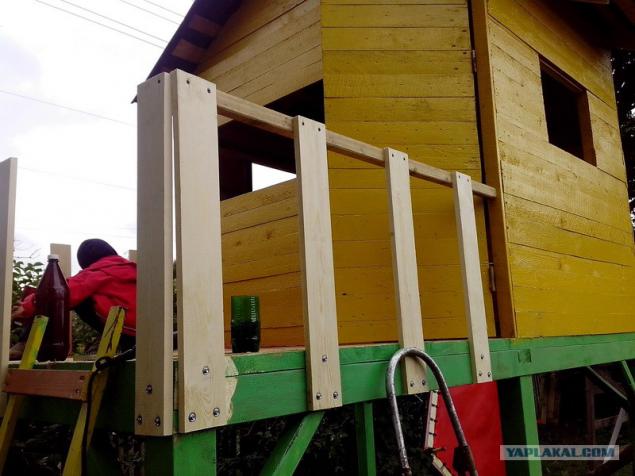
48. Painted first layer. While dry - do fencing terraces. Still platform height - 180cm. And there are children playing.
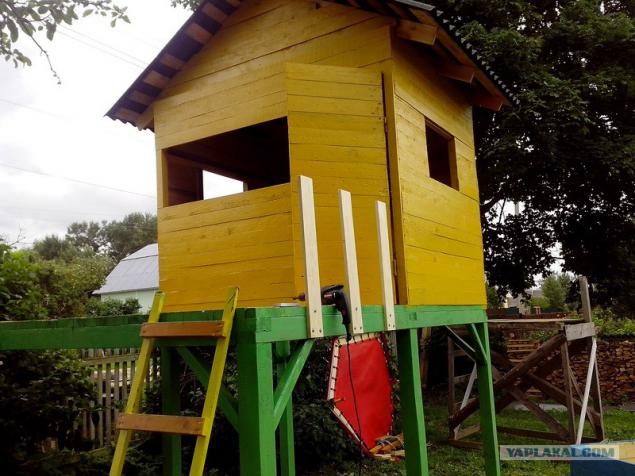
49. While I do handrail - small paint floor veranda.
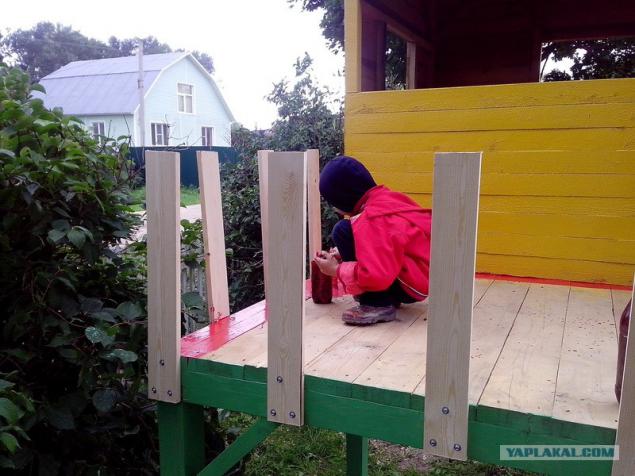
50. The same screws, only the length of 90mm.
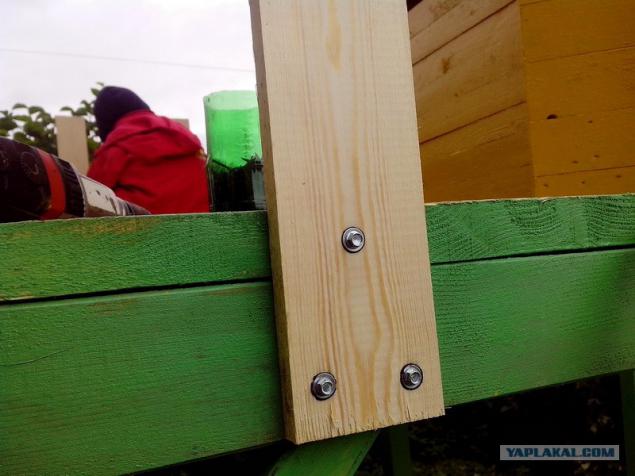
51. The base of the railing. Bruce 30x30.
Source:
Will be 74 photos

Three and a half years, and this design is beginning to rot and the child grew up. And I promised the child a new design for games. Just work equipment brought in big wooden boxes. Here the idea and place. ABOUT!!! it just goes to the house trim.
And away we go .......

1. Laziness was a plane poles cleaned, so used a faster way - drill, rubber circle and skin.

Dismantle the old "Climbing".

3. Phase I miss collaring. Are posts concreted. The hole diameter of about 23cm. depth of 60cm. filled with cement and fine gravel. Then the pillars will be cut off by the level at the desired height.

5. Prepare the "Bracing»

6. The base is almost ready.

7. Mount - 2 at the corner of a couple of screws and nails 200mm above.

7. Mount - 2 at the corner of a couple of screws and nails 200mm above.

9. Fasten the middle beam.

10. Begin to fix braces. Bruce 50x50. Self 4h110mm.

11. There is no "pomogalkina" can not do.

12. The framework is ready - you can sit at the top.

13. "Customer" and "contractor" snack of freshly strawberries.

14. We arrived to board the platform. Thickness 40mm, width 200mm.

15. Fasten the board. Minor shows clamp.

16. cropped ends.

17. Getting puts furring 50x50. Mounting also on the metal parts.

18. "Customer".

19. Vertical must be satisfied. We put on a level.

20. Begin to catch up with friends and girlfriend "Customer".

21. The upper part of the frame.

22. Fasten braces.

22. Fasten braces.

24. The framework is ready.

25. "Technical Supervision" check the reliability of the design.

The approval is received.

27. Friends assistants continue to be tightened.

28. Form a window.

28. Form a window.

30. The frame house is ready.

31. Begin trim.

Begin trim.

33. House sheathed.

34. Put the rafters.

34. Put the rafters.

34. Put the rafters.

37. The rafters are set.

38. Make a crate under the "Onduline."

39. Crate ready.

40. Put "Onduline." Because the material crates - board 11mm thick sheets are mounted on a 25mm screws. with rubber pads that completely cover the remains of the tin shed.

40. Put "Onduline." Because the material crates - board 11mm thick sheets are mounted on a 25mm screws. with rubber pads that completely cover the remains of the tin shed.

42. We start painting.

42. We start painting.

While the children paint, I close up gables.

While the children paint, I close up gables.

46. Once tightened friends - all brush enough.

46. Once tightened friends - all brush enough.

48. Painted first layer. While dry - do fencing terraces. Still platform height - 180cm. And there are children playing.

49. While I do handrail - small paint floor veranda.

50. The same screws, only the length of 90mm.

51. The base of the railing. Bruce 30x30.

Source:
