779
How do the ceiling in the children's room did
Good day!
I started a repair, do one room or two. And in the children wanted to do something special. Feature was the ceiling.
Unfortunately the photos did little, but the point is clear.
Come on, there will be 14 images + brief explanation.
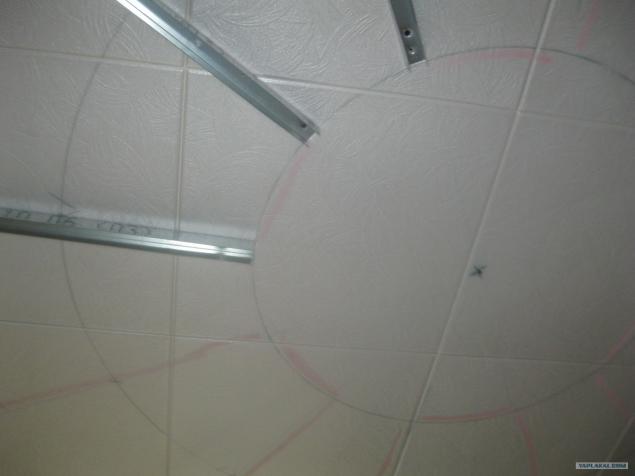
To start counting. Diogonalyami find the center of the room, screw is screwed.
For metal screws rope, a rope handle. I draw a circle, divide it into 12 equal sectors. According to labels on the circle through the center of the line mark up wall to wall using paint thread.
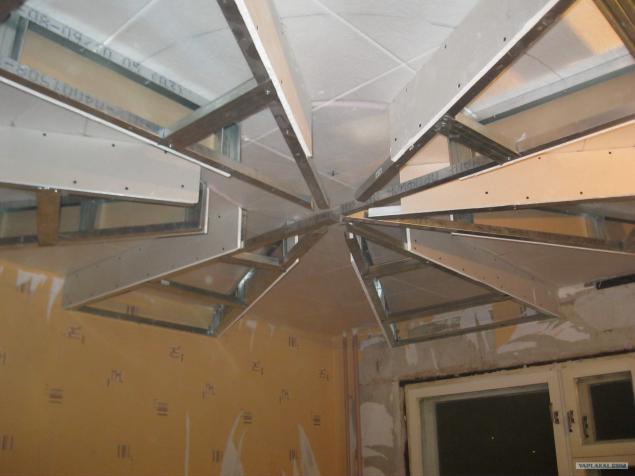
Nailed guide profile.
The ceiling is two levels.
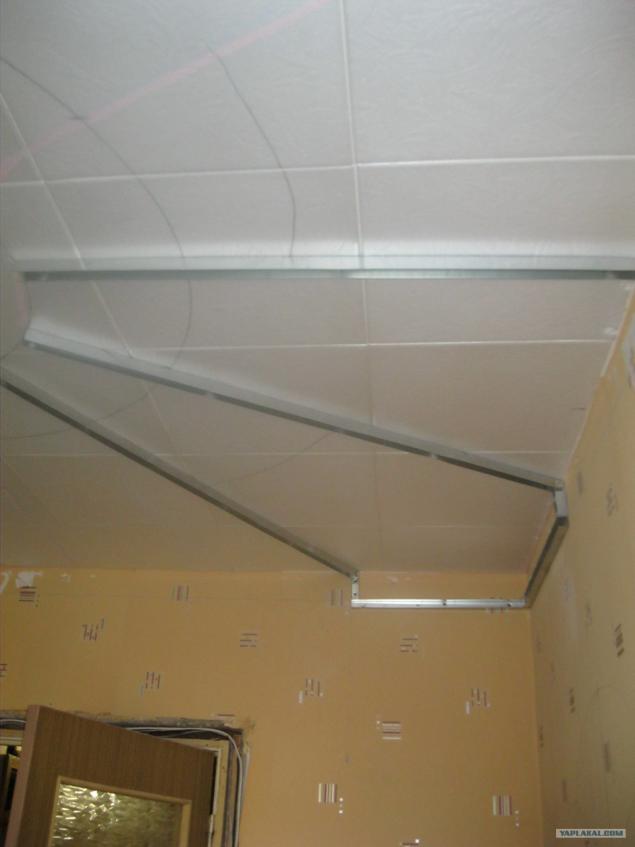
After a couple of hours with hammer and screwdriver we have a picture.
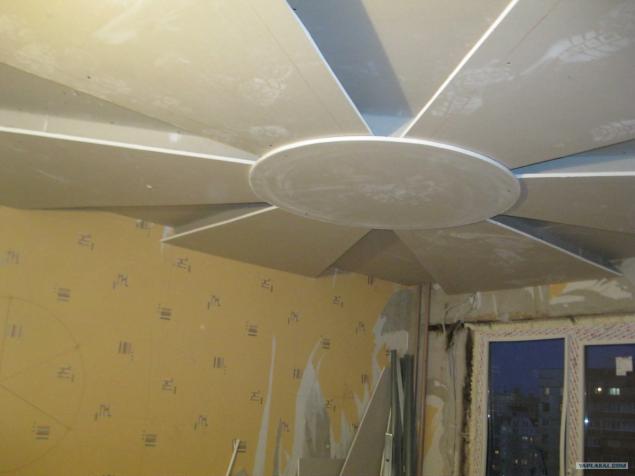
Is screwed cardboard template on which later will cut sheets of drywall.

Since krivuschy ceiling and want a smooth, then sutured to the entire area.
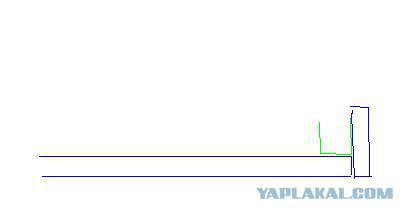
Here is skhumu to the following photos were clear.
In the scheme of colors:
Red - the existing concrete ceiling, curve
Yellow - 2 lines, Level 2
green - metal profile
Blue - sheets of drywall
black - Styrofoam glued on PVA, instead of a profile with GCR
turquoise - LED lights

Side view
Sutured
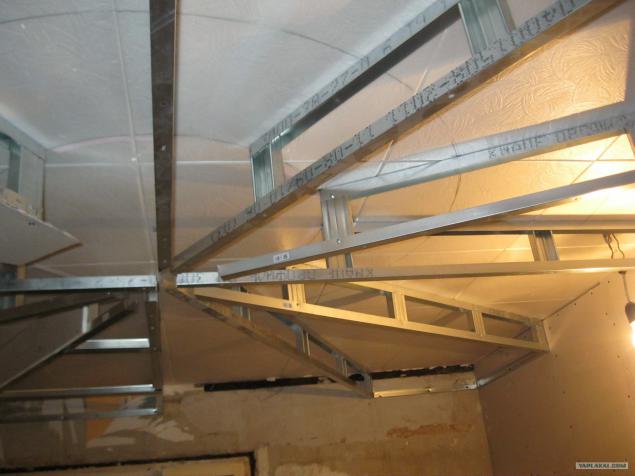
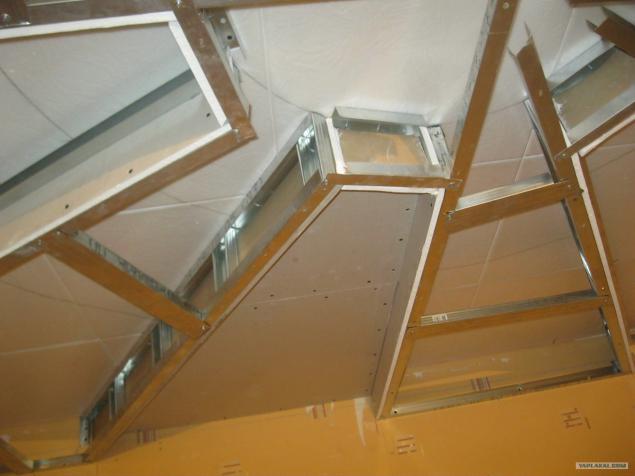
Guides for Level 2

Here is the top level of a wired
Then I became interested in the process and did not photograph.
What has been done:
prepared templates for all rays
Rays cut templates indented 8 centimeters
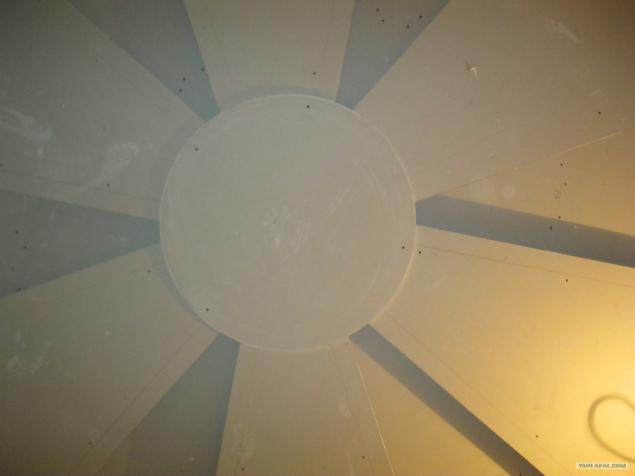
for the center of the circle cut
fitting assembly
with durugogo angle
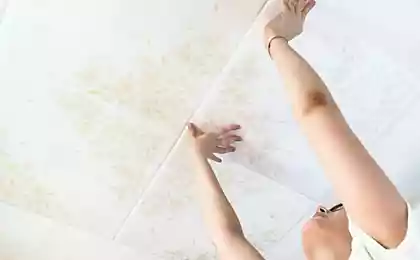
Next you need to do on each ray of a side that was not visible illumination. First I wanted to make as shown, using a profile, but in this case under the LED strip is little space. It made it easier and faster to buy 1 sheet of extruded polystyrene, cut and pasted on the PVA.
And once again forgot about the camera down.
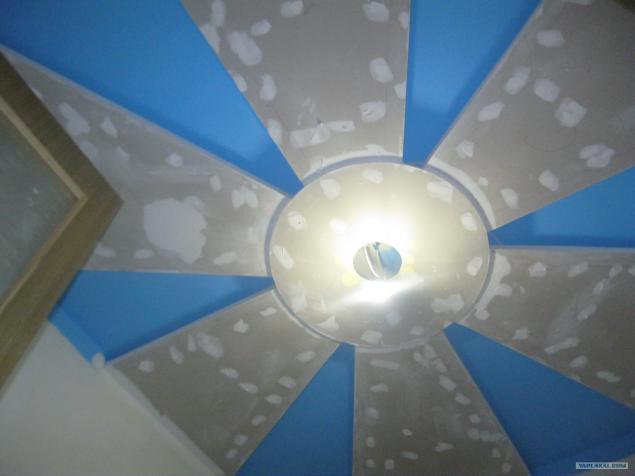
All rays taken, glued ledges
the upper level are plastered and painted
rays and bolted too plastered
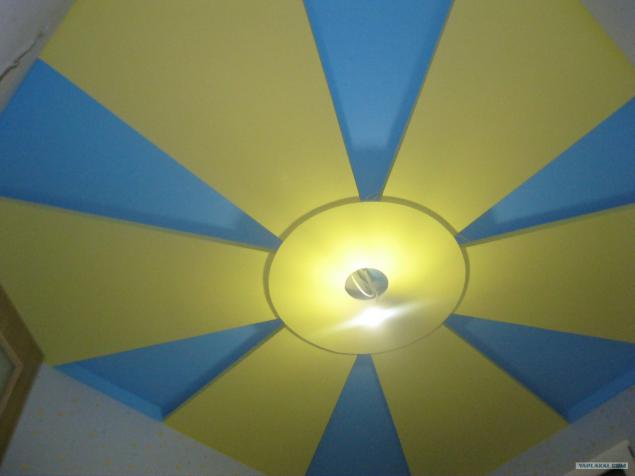
after painting and wallpapering
Then do light.
LED strip self-adhesive base, but to mold it on the paint, and it is not convenient, and will fall off with time. Therefore, in the carpenter's shop I took thin wedges 1 * 1 cm, cut to size and tape stuck to them. It turned bystoro and easy to install.
The transformer is put through the hole. When burned, it lekgo replaced.
already lit
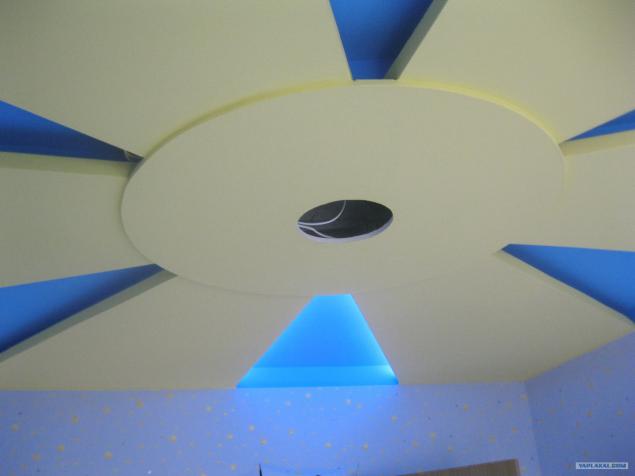
half ready
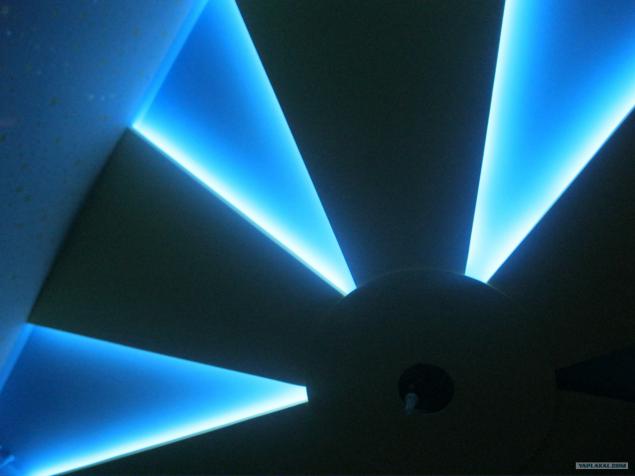
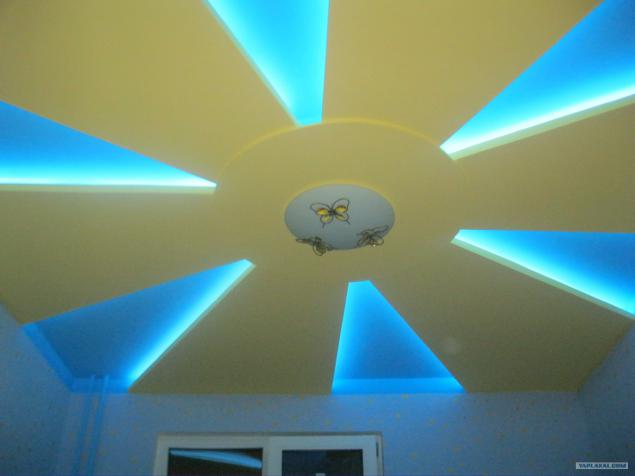
And the final touch, take close to the ceiling.
By the way, the wallpaper with fluorescent stars, the evening when the light is switched off looks awesome.
All kick.
Source:
I started a repair, do one room or two. And in the children wanted to do something special. Feature was the ceiling.
Unfortunately the photos did little, but the point is clear.
Come on, there will be 14 images + brief explanation.
To start counting. Diogonalyami find the center of the room, screw is screwed.
For metal screws rope, a rope handle. I draw a circle, divide it into 12 equal sectors. According to labels on the circle through the center of the line mark up wall to wall using paint thread.
Nailed guide profile.

The ceiling is two levels.

After a couple of hours with hammer and screwdriver we have a picture.
Is screwed cardboard template on which later will cut sheets of drywall.

Since krivuschy ceiling and want a smooth, then sutured to the entire area.
Here is skhumu to the following photos were clear.
In the scheme of colors:
Red - the existing concrete ceiling, curve
Yellow - 2 lines, Level 2
green - metal profile
Blue - sheets of drywall
black - Styrofoam glued on PVA, instead of a profile with GCR
turquoise - LED lights

Side view

Sutured

Guides for Level 2

Here is the top level of a wired

Then I became interested in the process and did not photograph.
What has been done:
prepared templates for all rays
Rays cut templates indented 8 centimeters
for the center of the circle cut
fitting assembly

with durugogo angle

Next you need to do on each ray of a side that was not visible illumination. First I wanted to make as shown, using a profile, but in this case under the LED strip is little space. It made it easier and faster to buy 1 sheet of extruded polystyrene, cut and pasted on the PVA.

And once again forgot about the camera down.
All rays taken, glued ledges
the upper level are plastered and painted
rays and bolted too plastered

after painting and wallpapering

Then do light.
LED strip self-adhesive base, but to mold it on the paint, and it is not convenient, and will fall off with time. Therefore, in the carpenter's shop I took thin wedges 1 * 1 cm, cut to size and tape stuck to them. It turned bystoro and easy to install.
The transformer is put through the hole. When burned, it lekgo replaced.
already lit

half ready

And the final touch, take close to the ceiling.
By the way, the wallpaper with fluorescent stars, the evening when the light is switched off looks awesome.
All kick.

Source: