1391
As I built the house
Hello.
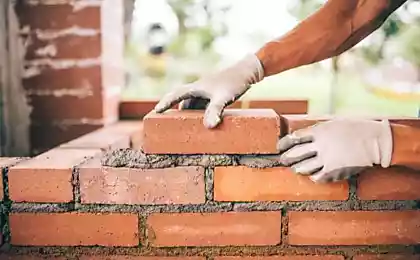
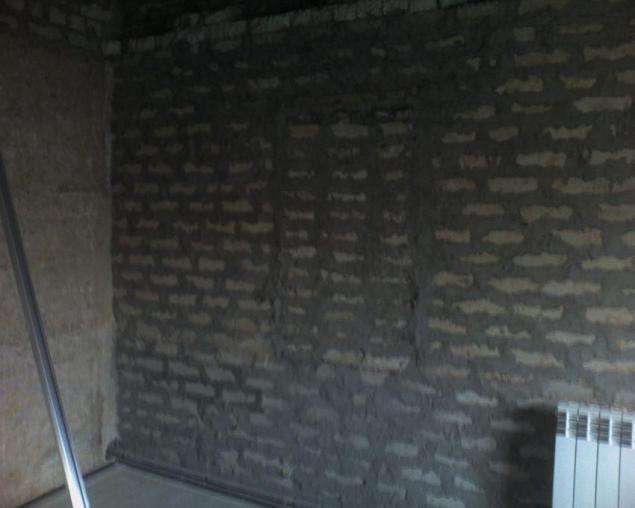
The recent huge number of posts on the topic construction. Construction, as well as repair, always important for those who want to improve their living conditions, so I also decided to create this post in which I will try to describe what my wife and I realized. Today describe the repair (if you can call it that, because it makes everything from scratch) in one of the rooms. This is our bedroom with his wife. The main architect of the project, as well as the ideological inspiration, the designer and the customer performed my wife :) I also acted as general contractor for this project. Just want to note that all but putty plasterboard, I was doing with his own hands. Prior to that, I have nothing to do with the repair and construction had not. I learned everything from scratch. I also want to appeal to those who really want to repair their own hands in the room / apartment / house, but doubt their own abilities. No one will do repairs for you better than you do! 99% of builders invited you to implement your ideas, do not care what happens, who will live here and will fall off anything in a year in this room! The only person who cares - this is you, because no one but you will invest more love and diligence in making your comfort. The most important thing in the process - not to compromise with yourself! (One of those "and so goes", "yes figs with him," etc.) You get all !!! Checked :) Originally walls of the house were covered in white sand lime bricks. Inside the house was made of masonry "lympicha" (the pottery, the size of a cinder block). I disassembled and taken out of the house all the clay, laid unnecessary in the future window openings and smeared with a solution seams. Outside the house was completed in masonry 1, 5 bricks.
On the floors were old fiberboard, which was under the clay. All of this also, I tore and dug and carried. Granshlak imported, he fell asleep floors, filled with water and well rammed. The basis under the screed is ready. Gallery like pouring screed left, as they were in the old phone, I do not remember where ... in general was filled screed on the average thickness of 5 cm and soldered heating.
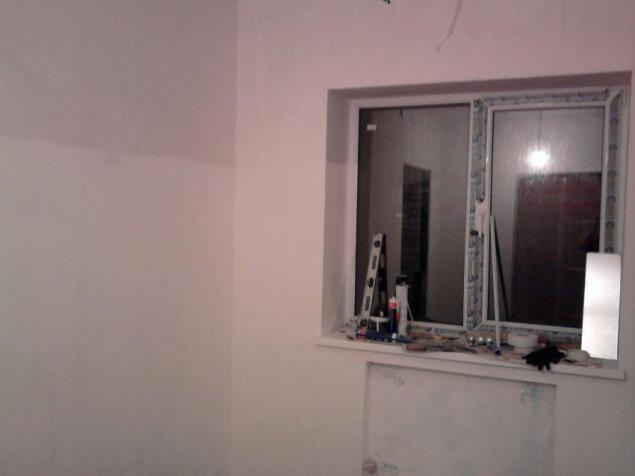
It turned out this way.
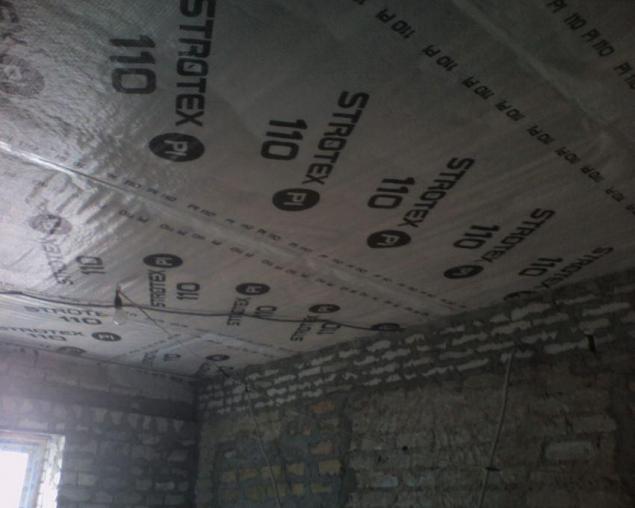
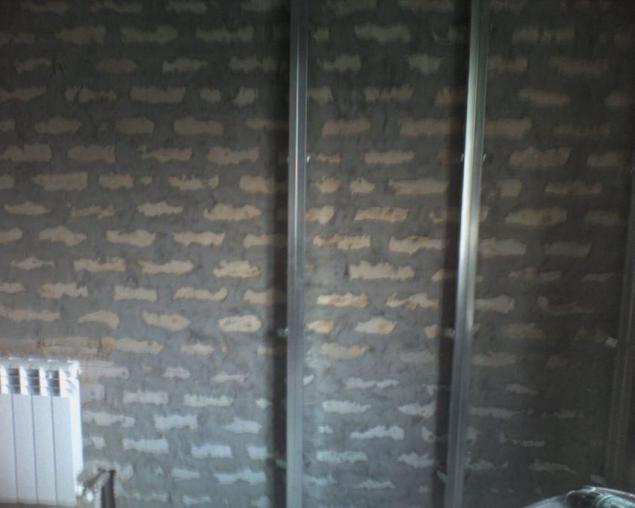
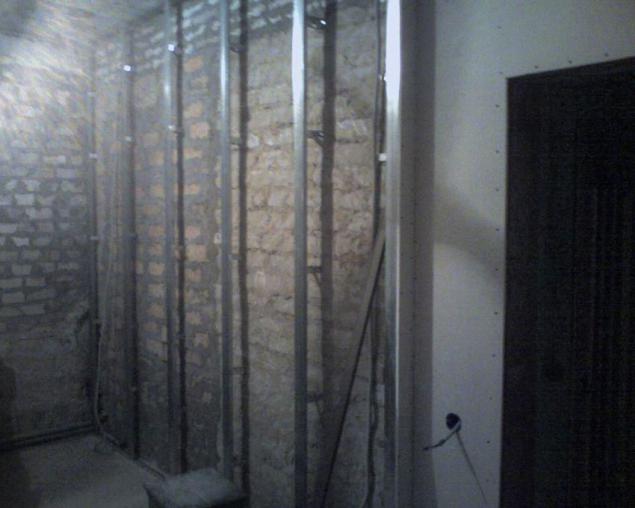
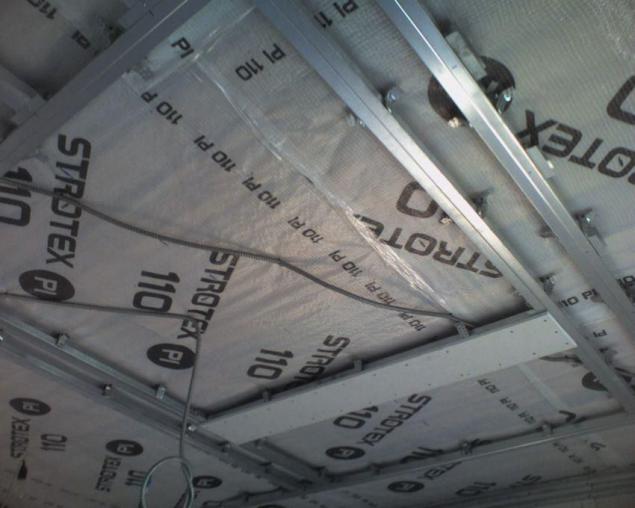
Among the new beams knocked the bottom board and 25mm staple gun nailed vapor barrier (see photo). After podokladyval walls and scattered electrician (electrics write separately, as he did).
Walls decided to do drywall for painting, as I that my wife does not like the wallpaper. The most interesting thing that I used drywall never seen, because bought a book on a la "Drywall for Dummies" from which I learned what tex, CD, UD profile :) The most interesting thing is that after reading it, I have everything still left a lot of questions! Then I decided to talk with the experts in this matter. I bought in the supermarket in my 10 bottles of beer, chips, nuts, and with all this good alternates to the construction site. Most importantly, they told me and clearly shown the ins and outs of the process!
From my instrument was bought:
1. Drill (his father was, because not buy punch).
2. Screwdriver wired (by the way, can someone come in handy if you are in the future will not always use the screwdriver, wire buy it, because if you buy a battery and renovated place it around, the battery in it "fray" and comes screwdriver useless. Maybe now there are others, but when you buy consult).
3. Level 0 and 2m, 8m.
4. Gidrouroven.
5. Plumb.
6. Tape 5m.
7. The coil with methylene blue (in the spool of thread is filled with blue, thread stretched along the wall, pulled with two fingers and released. On the wall is a flat line. Very convenient.)
8. 2 cruciform nozzles on the screwdriver (to buy expensive!)
9. Building a pencil market, gloves.
10. Grater plasterboard.
11. Powerful building Knife + blade (blade 25mm).
12. 2 6mm diameter drill for drilling concrete +1 6mm drill for profiles.
13. Thread.
14. Shears for metal.
15. Hammer.
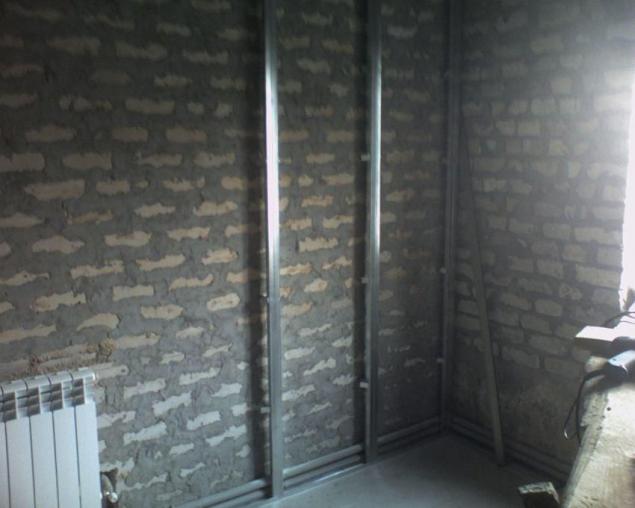
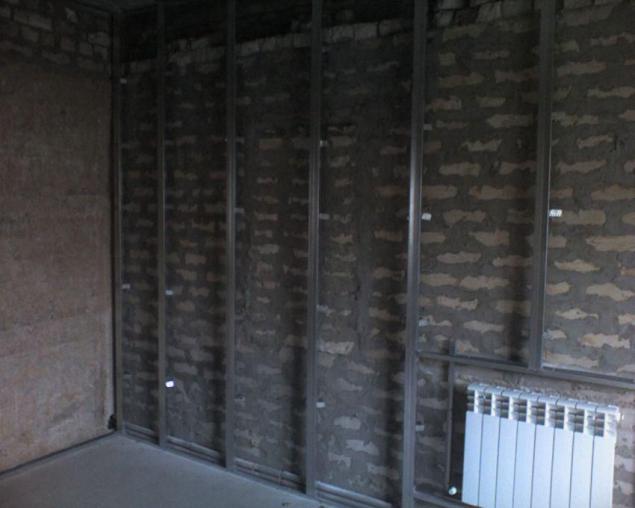
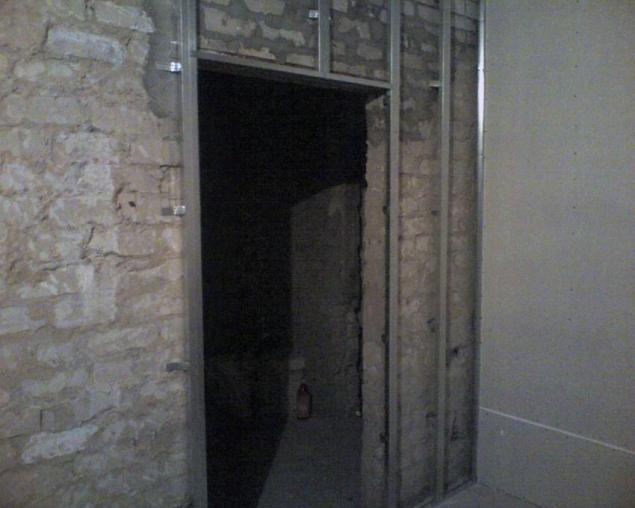
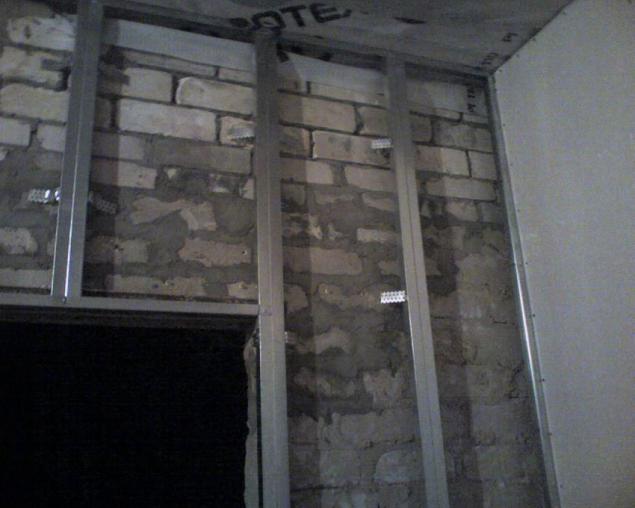
Started CD to install the profile.
Almost made the first wall.

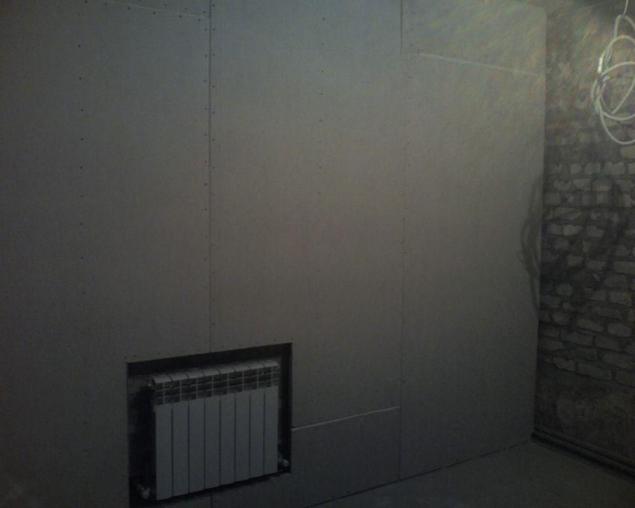
Screw the drywall. Niche under the battery has not yet been made.
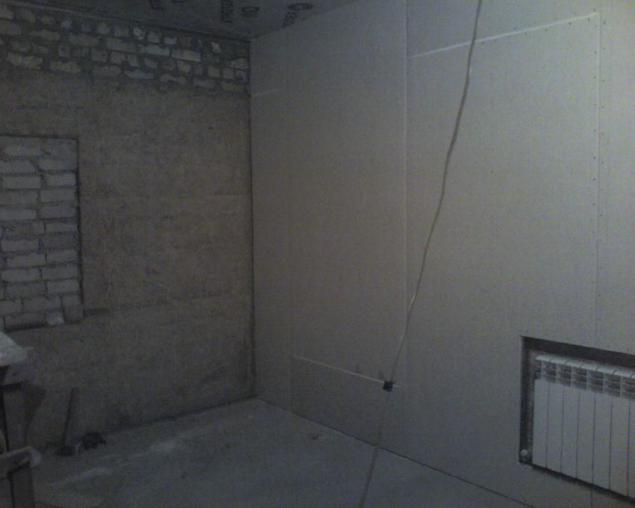
I make a second wall, and began to exhibit the profile on the wall 3. It really helped tips builders.
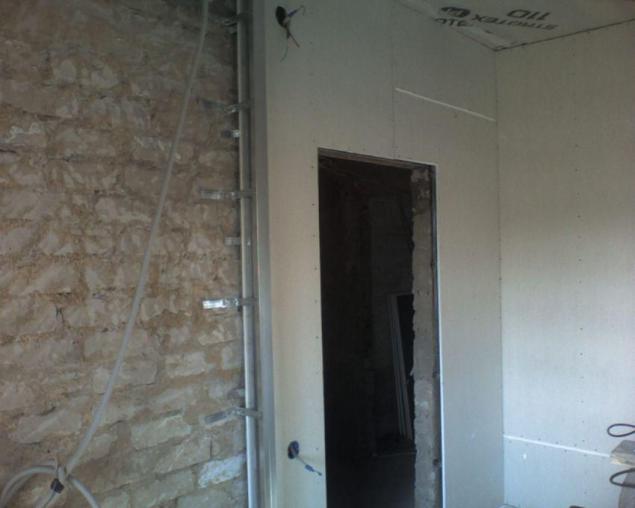
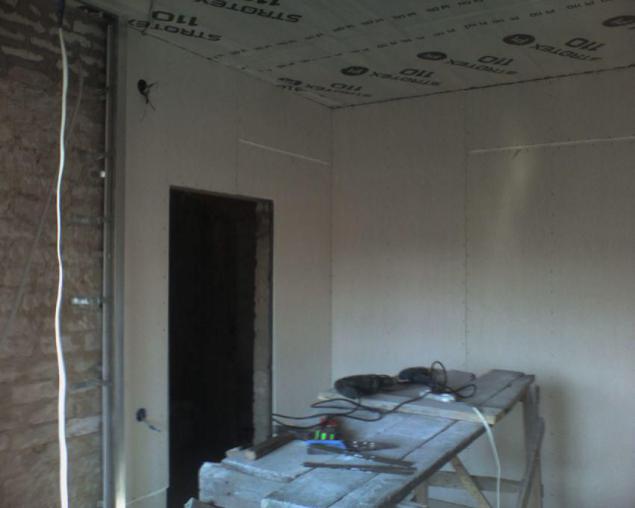
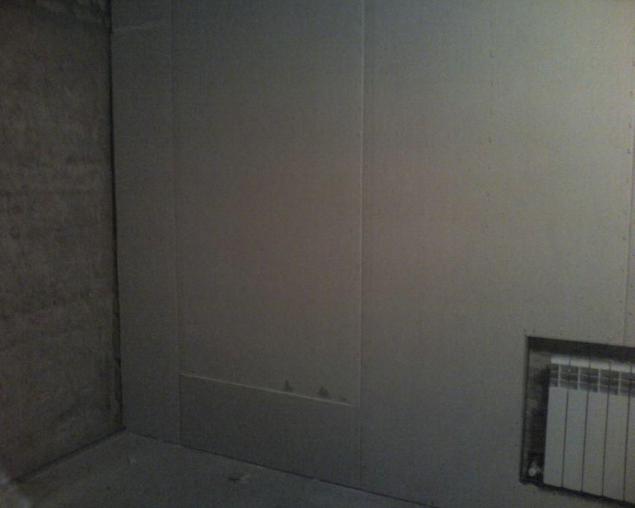
All the walls are made out of ordinary plasterboard, but for windows specifically bought a few sheets of water-resistant.

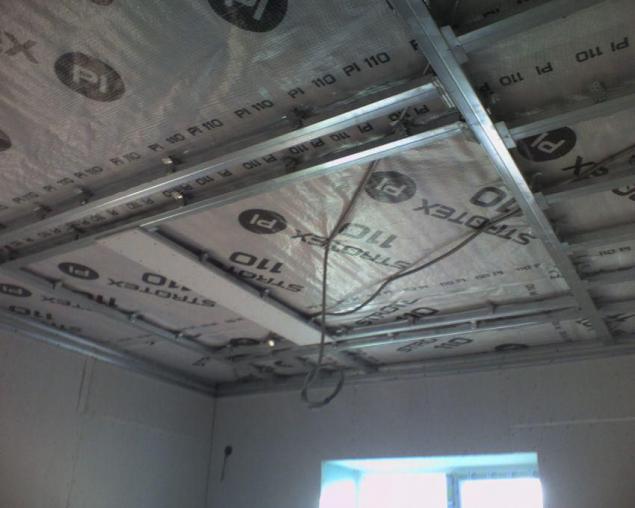
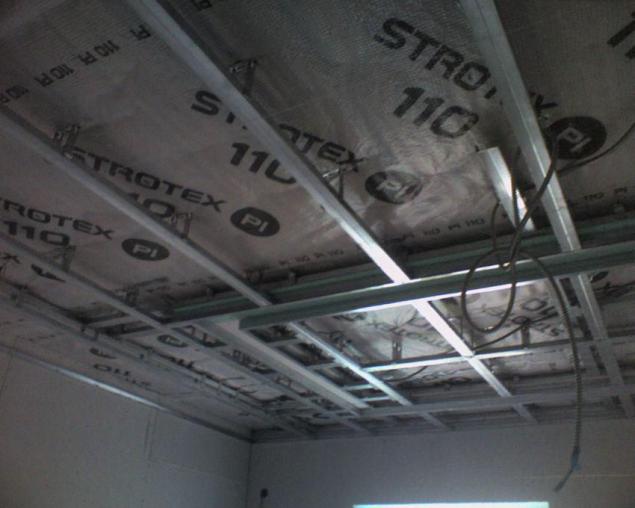
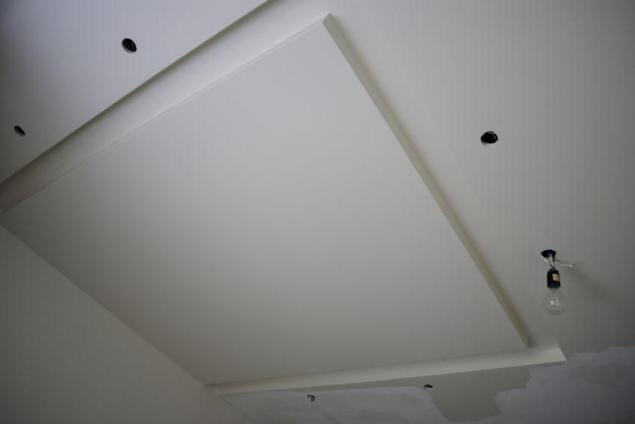
So the walls are ready! You can not imagine how much time I myself felt a superman! :) Fucking feeling !!! That's when I suggested to my wife to make a two-level ceiling. Of course she agreed, and looked at me like I did not just Superman, and I even can not tell. She has designed and started doing. He started to collect construction.

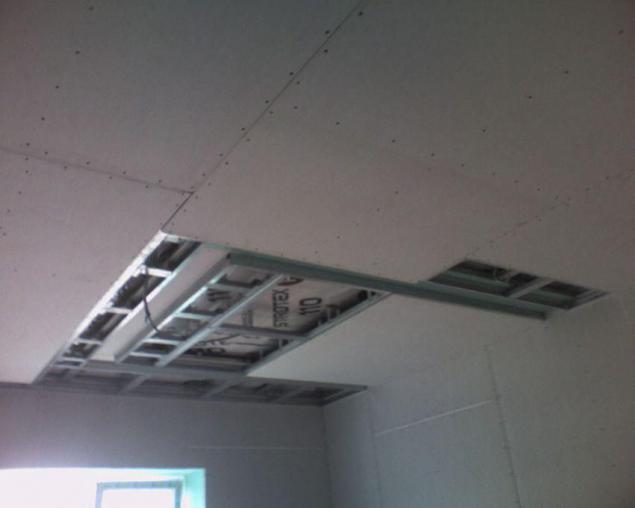
When I almost made the top level, all have outplayed and ceiling had to be different. Also two-level, but little else. So I did not want to dismantle what navayal ... I decided to leave, and on the basis of the existing structure to do what is necessary.
In the first photo I will probably be not very clear ideas, but will continue to be the overall picture. He began to turn the new design.
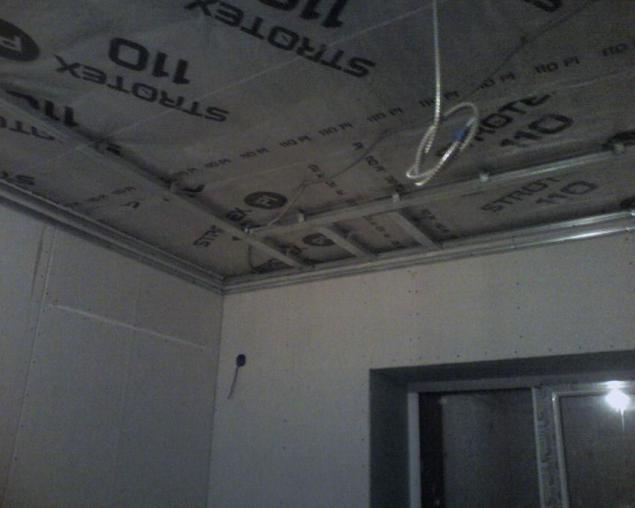
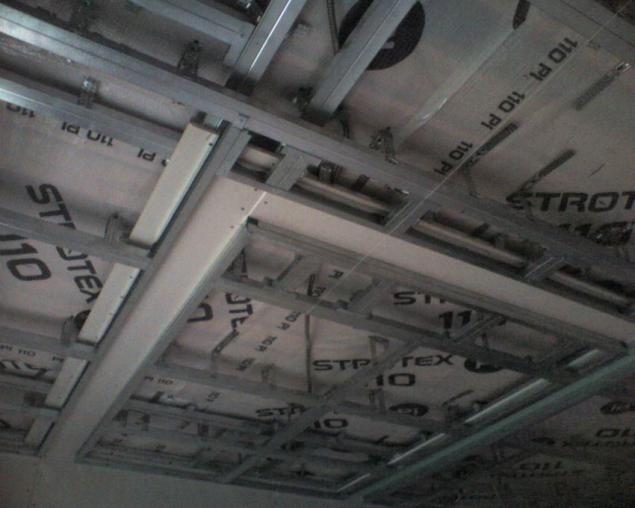
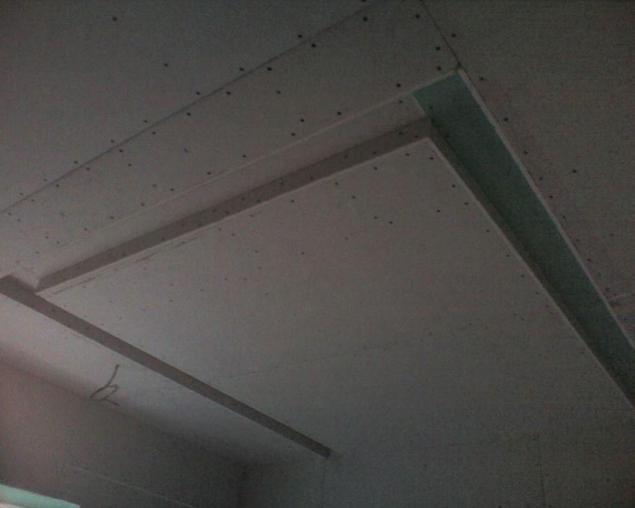
The upper level is ready. I proceeded to the lower level. He pulled strings and forth!
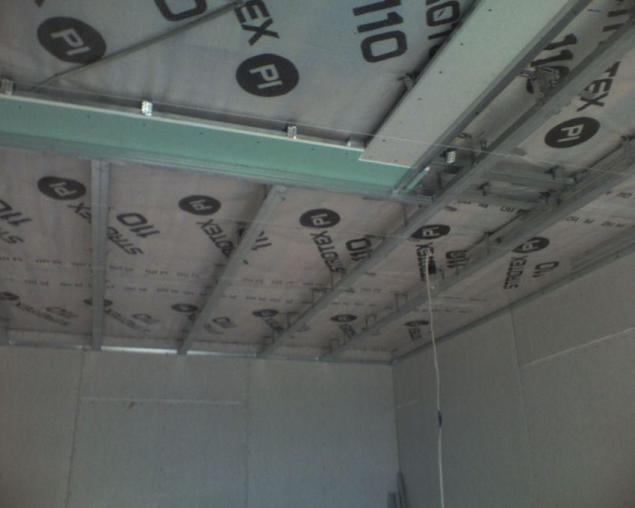

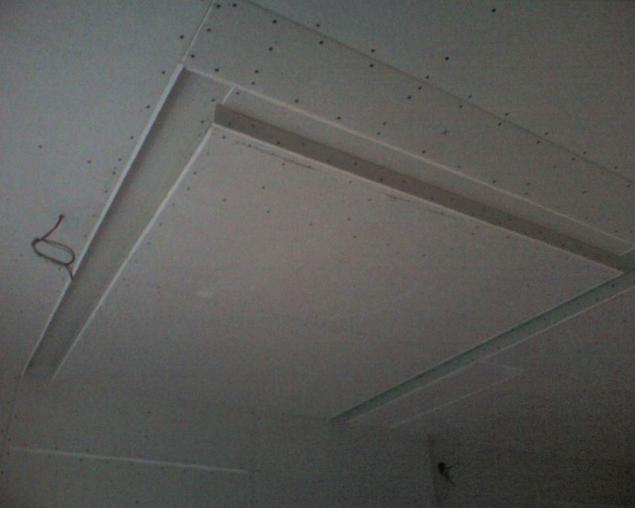
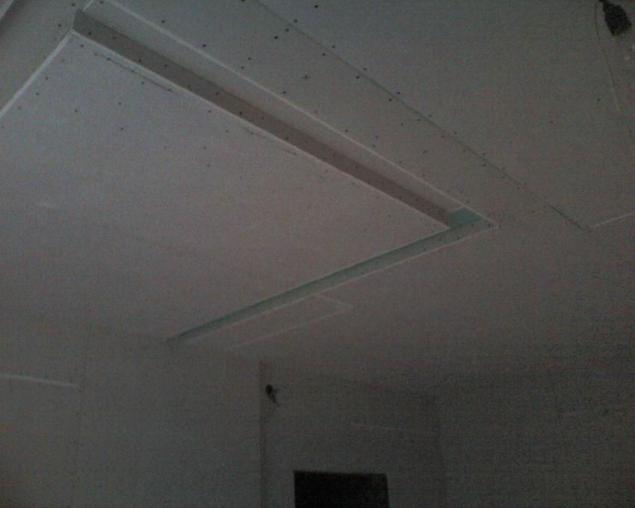
Generally such navertel ... I do not believe it, but conceived it! :)
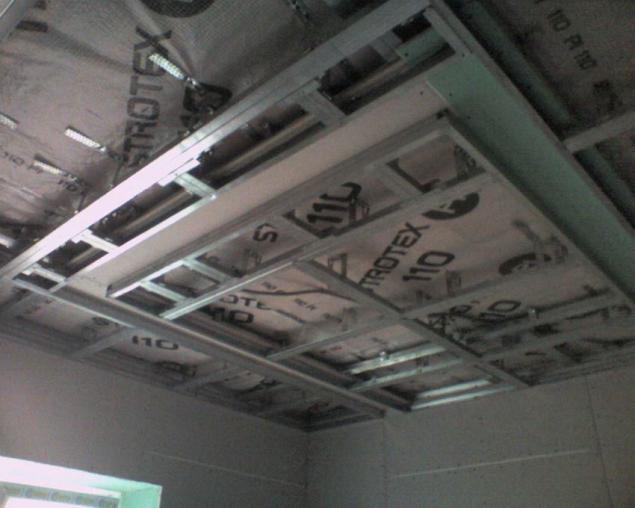
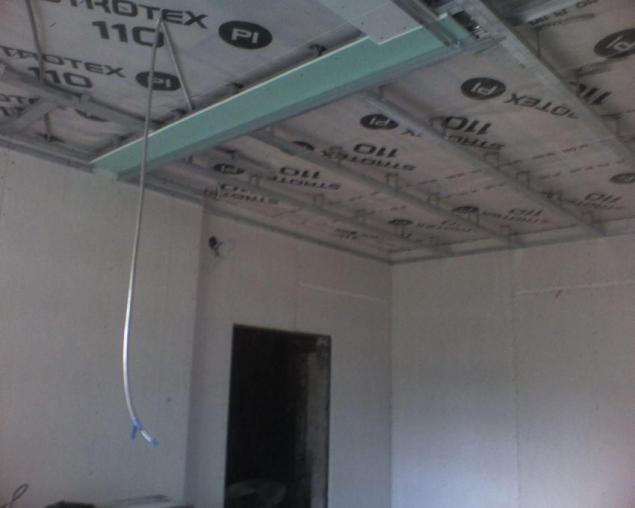
He has started screwing drywall. That's what I can tell you was really hard. Sam, of course, I could not tie a list (by the way, for this is a special device), but I just asked the neighbor and he helped me in this matter.
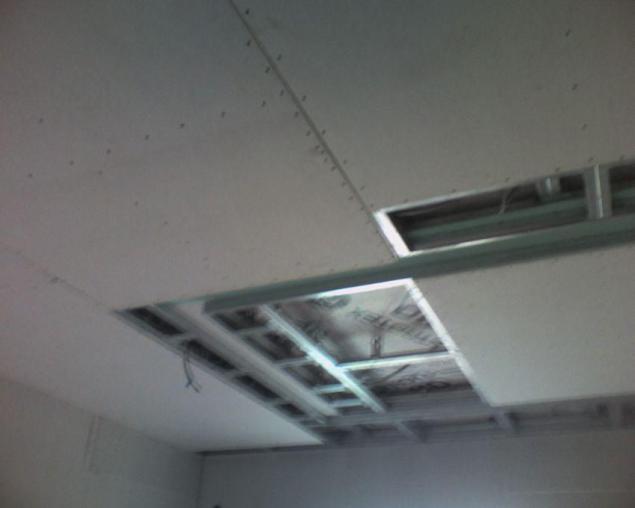
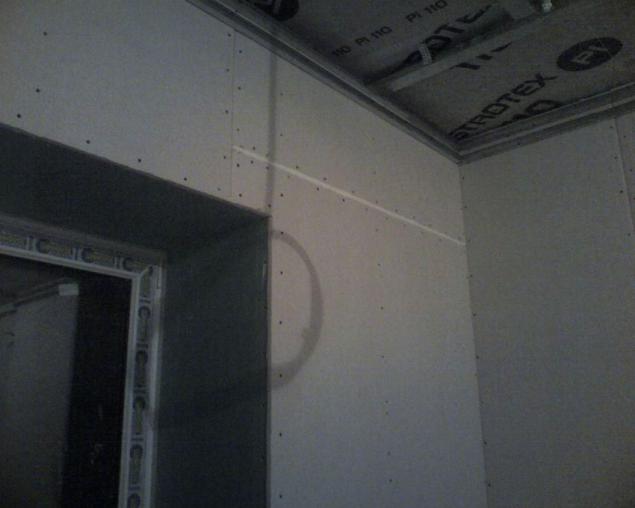
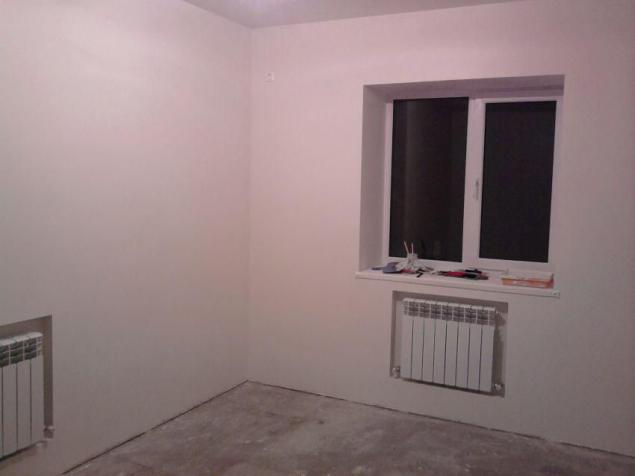
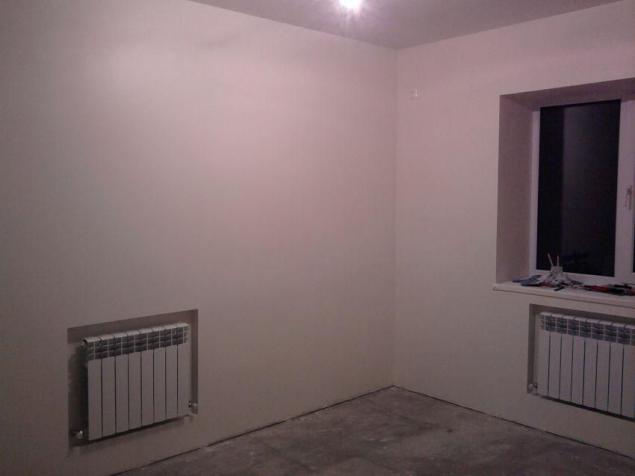
The room is ready! I did it !!!
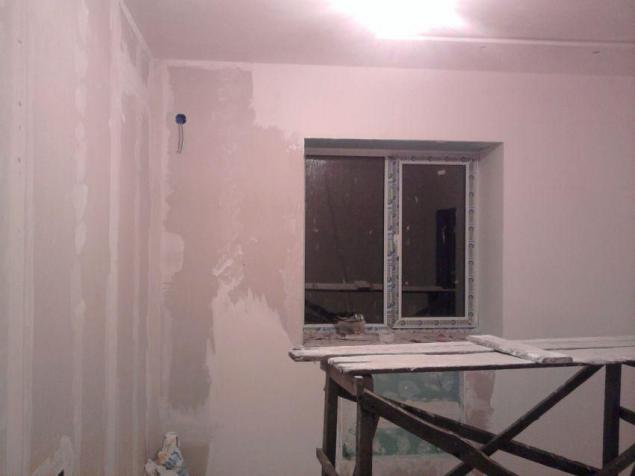
Next, putty. It did not for me, because at that time was occupied in other cases. He was invited specially trained cyborg who Stopper room.
My wife wanted to make the room light and airy, so we decided to paint the ceiling white paint on the walls to make a milky color.
Putty ready to buy buckets (finish). It is very well stretched thin. Launch took dry bagged. For joints drywall was bought special. Also I bought a big roll of the grid for the vertical joints of plasterboard, paper roll for horizontal joints and metal corner all the coal.
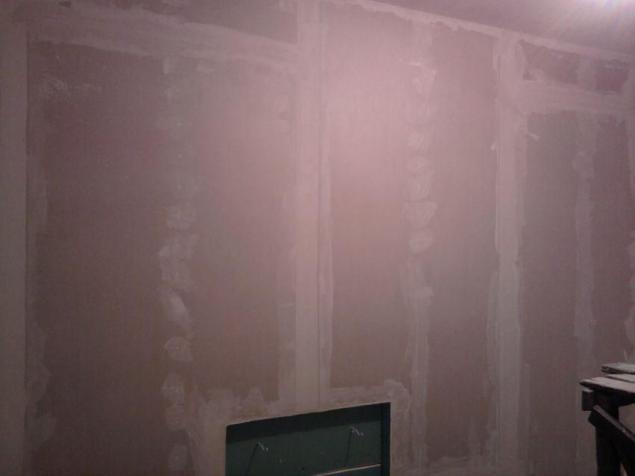
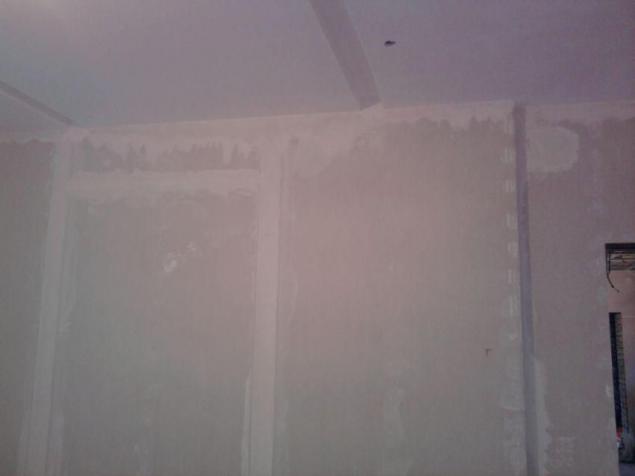
Ceiling poshpatlevan but poshkuren.
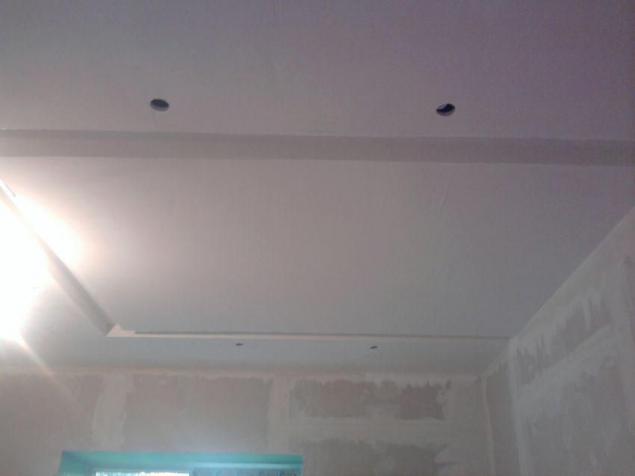
Done. We turn to painting.
In the paint did not save and buy expensive paint TM Sadolin, which can be washed. He painted himself in several layers, causing pre-primer. In the photo the color is difficult to see because the evening, but then we will see.
The ceiling in the process of painting.
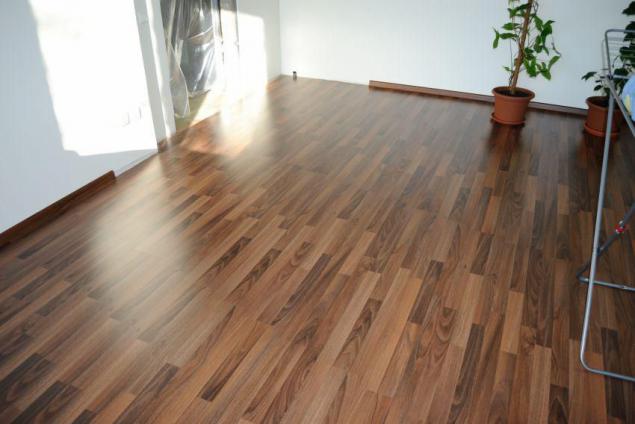
On the floor, it was decided to lay laminate. Laminate is also not cheap to buy. The most important thing - this laminate all the locks treated with wax or paraffin, do not remember, but the fact is that then, if something suddenly poured on the floor joints are not povzduvayutsya laminate. Under the laminate floor gested plug, as this material is warm and the eternal (not erased).
Assembling a laminate - is the collection of the designer. It's very simple, but required the purchase of a set of jigsaw and drank. Roll out the plug (taking in rolls of 10 meters) and forward.
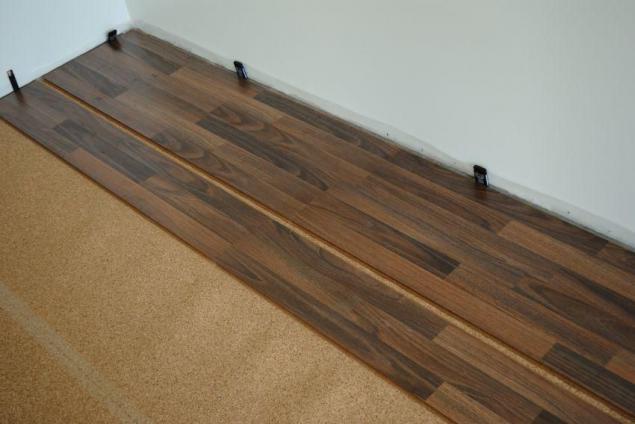
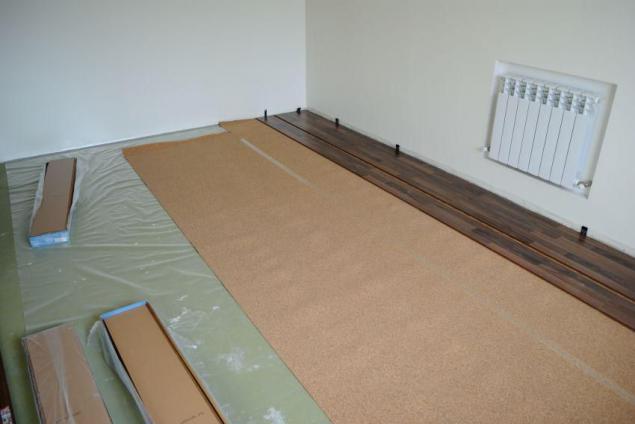
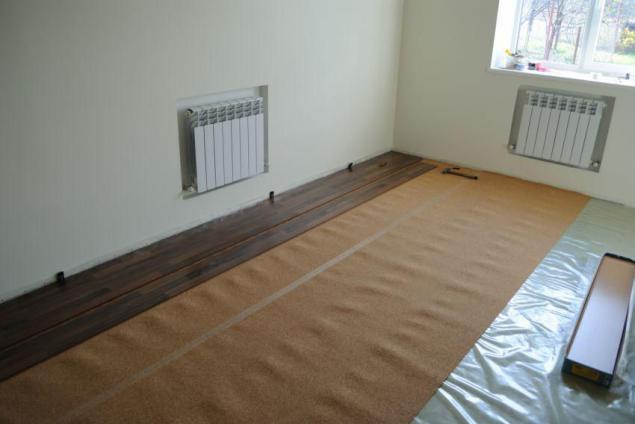
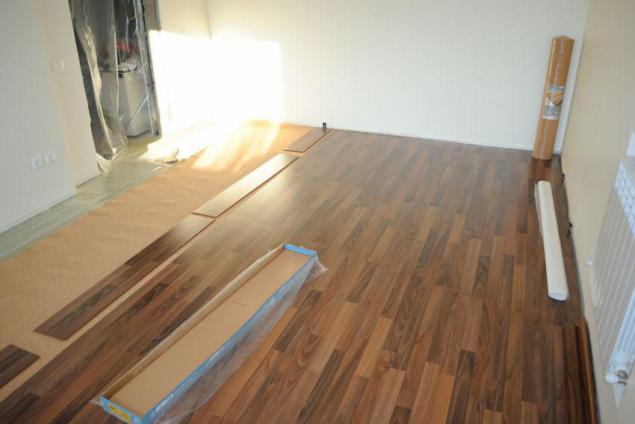
Laminate bed now very much behind the skirting board. I buy plastic, and very easy going.
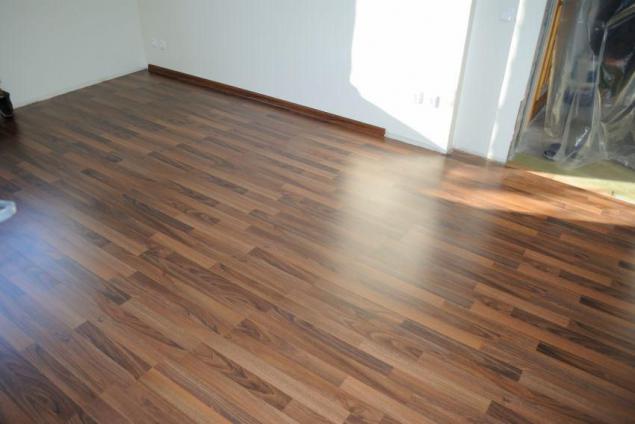
Almost done.
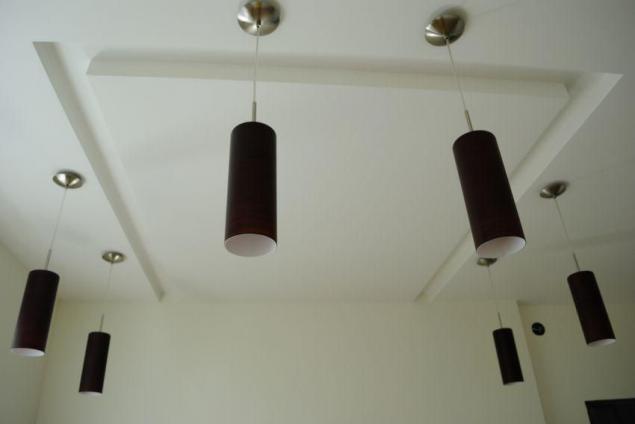
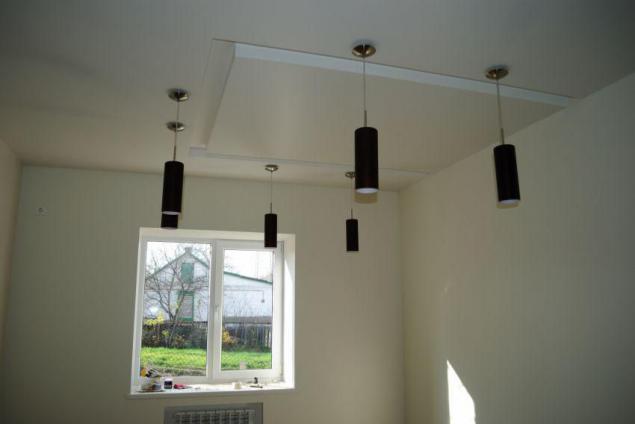
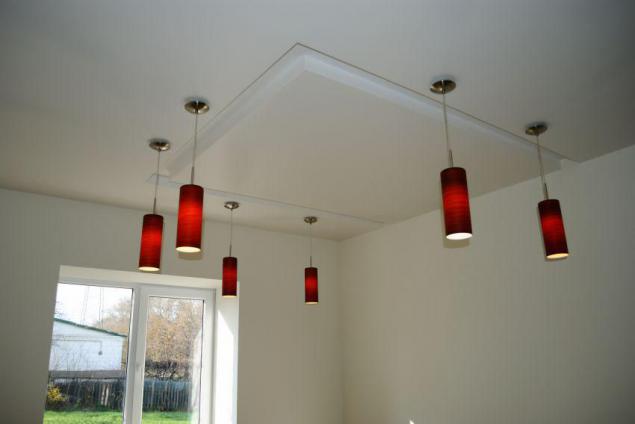
Hung and his wife selected fixtures. It turned out beautiful, I like.
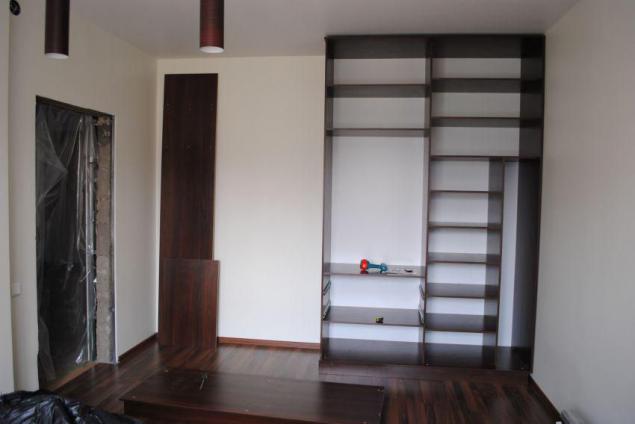
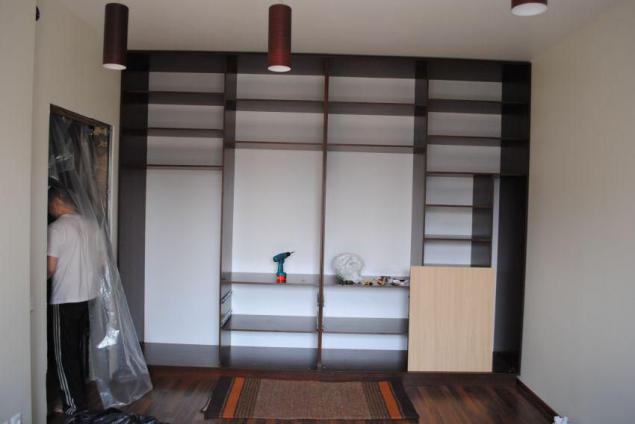
There was also ordered wardrobe. Very handy thing! The cabinet made the 4 compartments, plenty of space.
Source:
The recent huge number of posts on the topic construction. Construction, as well as repair, always important for those who want to improve their living conditions, so I also decided to create this post in which I will try to describe what my wife and I realized. Today describe the repair (if you can call it that, because it makes everything from scratch) in one of the rooms. This is our bedroom with his wife. The main architect of the project, as well as the ideological inspiration, the designer and the customer performed my wife :) I also acted as general contractor for this project. Just want to note that all but putty plasterboard, I was doing with his own hands. Prior to that, I have nothing to do with the repair and construction had not. I learned everything from scratch. I also want to appeal to those who really want to repair their own hands in the room / apartment / house, but doubt their own abilities. No one will do repairs for you better than you do! 99% of builders invited you to implement your ideas, do not care what happens, who will live here and will fall off anything in a year in this room! The only person who cares - this is you, because no one but you will invest more love and diligence in making your comfort. The most important thing in the process - not to compromise with yourself! (One of those "and so goes", "yes figs with him," etc.) You get all !!! Checked :) Originally walls of the house were covered in white sand lime bricks. Inside the house was made of masonry "lympicha" (the pottery, the size of a cinder block). I disassembled and taken out of the house all the clay, laid unnecessary in the future window openings and smeared with a solution seams. Outside the house was completed in masonry 1, 5 bricks.
On the floors were old fiberboard, which was under the clay. All of this also, I tore and dug and carried. Granshlak imported, he fell asleep floors, filled with water and well rammed. The basis under the screed is ready. Gallery like pouring screed left, as they were in the old phone, I do not remember where ... in general was filled screed on the average thickness of 5 cm and soldered heating.
It turned out this way.

Among the new beams knocked the bottom board and 25mm staple gun nailed vapor barrier (see photo). After podokladyval walls and scattered electrician (electrics write separately, as he did).

Walls decided to do drywall for painting, as I that my wife does not like the wallpaper. The most interesting thing that I used drywall never seen, because bought a book on a la "Drywall for Dummies" from which I learned what tex, CD, UD profile :) The most interesting thing is that after reading it, I have everything still left a lot of questions! Then I decided to talk with the experts in this matter. I bought in the supermarket in my 10 bottles of beer, chips, nuts, and with all this good alternates to the construction site. Most importantly, they told me and clearly shown the ins and outs of the process!
From my instrument was bought:
1. Drill (his father was, because not buy punch).
2. Screwdriver wired (by the way, can someone come in handy if you are in the future will not always use the screwdriver, wire buy it, because if you buy a battery and renovated place it around, the battery in it "fray" and comes screwdriver useless. Maybe now there are others, but when you buy consult).
3. Level 0 and 2m, 8m.
4. Gidrouroven.
5. Plumb.
6. Tape 5m.
7. The coil with methylene blue (in the spool of thread is filled with blue, thread stretched along the wall, pulled with two fingers and released. On the wall is a flat line. Very convenient.)
8. 2 cruciform nozzles on the screwdriver (to buy expensive!)
9. Building a pencil market, gloves.
10. Grater plasterboard.
11. Powerful building Knife + blade (blade 25mm).
12. 2 6mm diameter drill for drilling concrete +1 6mm drill for profiles.
13. Thread.
14. Shears for metal.
15. Hammer.
Started CD to install the profile.


Almost made the first wall.


Screw the drywall. Niche under the battery has not yet been made.


I make a second wall, and began to exhibit the profile on the wall 3. It really helped tips builders.


All the walls are made out of ordinary plasterboard, but for windows specifically bought a few sheets of water-resistant.


So the walls are ready! You can not imagine how much time I myself felt a superman! :) Fucking feeling !!! That's when I suggested to my wife to make a two-level ceiling. Of course she agreed, and looked at me like I did not just Superman, and I even can not tell. She has designed and started doing. He started to collect construction.


When I almost made the top level, all have outplayed and ceiling had to be different. Also two-level, but little else. So I did not want to dismantle what navayal ... I decided to leave, and on the basis of the existing structure to do what is necessary.
In the first photo I will probably be not very clear ideas, but will continue to be the overall picture. He began to turn the new design.


The upper level is ready. I proceeded to the lower level. He pulled strings and forth!


Generally such navertel ... I do not believe it, but conceived it! :)


He has started screwing drywall. That's what I can tell you was really hard. Sam, of course, I could not tie a list (by the way, for this is a special device), but I just asked the neighbor and he helped me in this matter.


The room is ready! I did it !!!


Next, putty. It did not for me, because at that time was occupied in other cases. He was invited specially trained cyborg who Stopper room.
My wife wanted to make the room light and airy, so we decided to paint the ceiling white paint on the walls to make a milky color.
Putty ready to buy buckets (finish). It is very well stretched thin. Launch took dry bagged. For joints drywall was bought special. Also I bought a big roll of the grid for the vertical joints of plasterboard, paper roll for horizontal joints and metal corner all the coal.


Ceiling poshpatlevan but poshkuren.

Done. We turn to painting.

In the paint did not save and buy expensive paint TM Sadolin, which can be washed. He painted himself in several layers, causing pre-primer. In the photo the color is difficult to see because the evening, but then we will see.


The ceiling in the process of painting.

On the floor, it was decided to lay laminate. Laminate is also not cheap to buy. The most important thing - this laminate all the locks treated with wax or paraffin, do not remember, but the fact is that then, if something suddenly poured on the floor joints are not povzduvayutsya laminate. Under the laminate floor gested plug, as this material is warm and the eternal (not erased).
Assembling a laminate - is the collection of the designer. It's very simple, but required the purchase of a set of jigsaw and drank. Roll out the plug (taking in rolls of 10 meters) and forward.


Laminate bed now very much behind the skirting board. I buy plastic, and very easy going.

Almost done.

Hung and his wife selected fixtures. It turned out beautiful, I like.


There was also ordered wardrobe. Very handy thing! The cabinet made the 4 compartments, plenty of space.


Source: