1462
Making a simple continuous-flow cooler
Not much kick, this is my first experience in the construction of the distiller, according to this error does not inevitably.
Not once I have an idea to make yourself a small distiller, usually such thoughts come after reading all sorts of delicious recipes. But as the saying before I was born lazy, all hands did not reach, and buying as that did not seem to like. I would not like for several reasons, well, first of all known toad in the second distiller, according to my calculations, I will need 5 times a year, and of the least why buy something that you can assemble yourself. I figured that I have, and came to the conclusion that there is basically everything except the refrigerator. Well cube can be sent desyatilitrovuyu cooker, hoses - stainless corrugation on prikubnik (mokroparnik) jar out of cucumbers Refrigerator wanted to make as simple as possible, ie without any welds, twisting, without special tools, etc., etc..
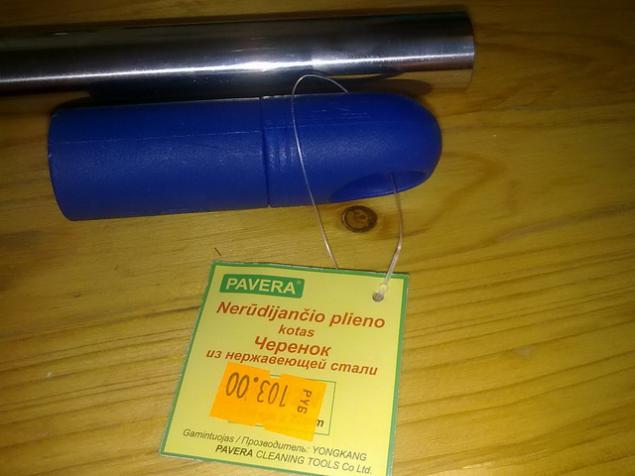
So how specifically at the hardware store I came across a great tube of stainless steel, only $ 100, and the size of it is covered with a supply my needs. This handset was called "Sharing of stainless steel" type handle for a mop. Bought at home actually checked this stainless steel silt no magnet test, water and soldering confirmed - Stainless steel. Well chudnenko scored its dimensions (1240h21) in "calculator" and found that about 3,000 watts it will. What do I have enough for anyone with a good margin, heating me up to 2000 watts.
Here is the "handle of a mop»
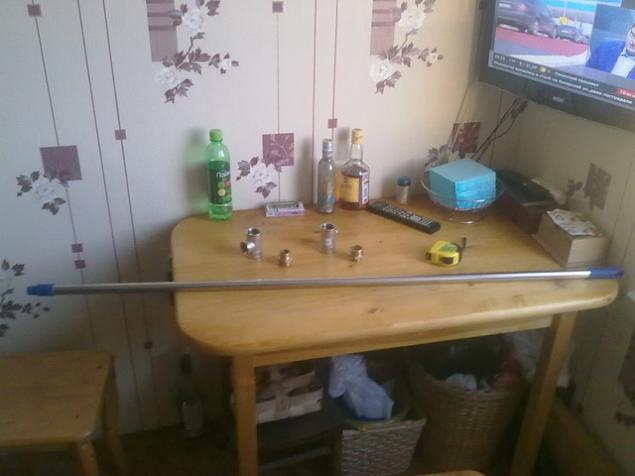
Photo2
I estimated that the cooling jacket will do out of the ordinary PVC pipe santeh sorokovke, connecting fitting ½ standard size for all kinds of flexible inlets. Digging for trash and stash naryl this, began to try, put on the size of the stack, in general, can be seen from the gallery
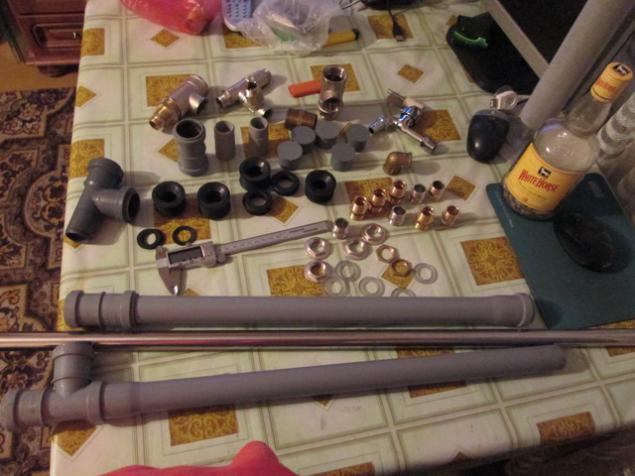
Photo4
Photo 5
Photo 6
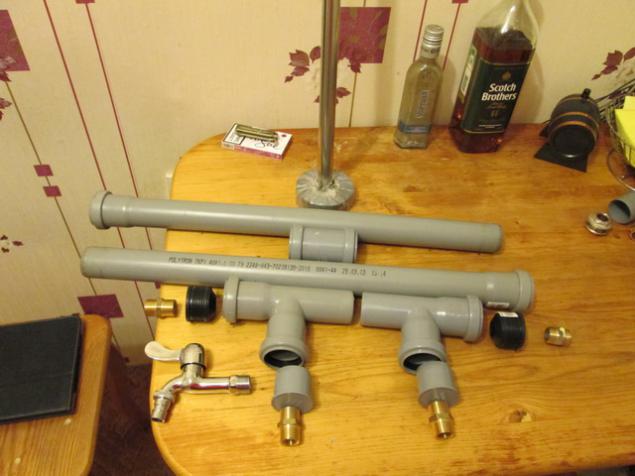
Selected to work here is a set of two tee, two pieces of pipe, a sleeve, two plugs and two seals, they are used to connect the hose washing machine.
Start assembly
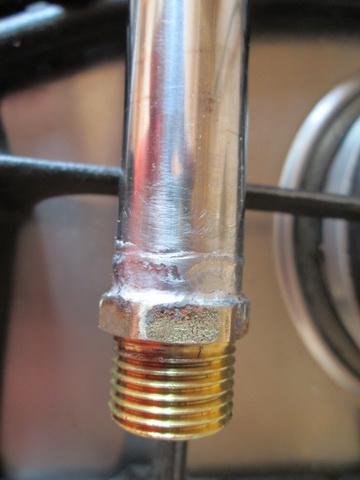
To start the tube soldered on each side of the nipple ½. Soldering process is simple, and hot, according to this much photographed, but everything is very simple. Obluzhivaem first tube on each side, from the inside to the outside of 5 mm 10 mm. Do not forget to use a special flux for stainless steel, which is then washed off with plain water. Then we take a nipple, smear flux and paste in the building hair dryer, hair dryer at 280 degrees and wait a couple of minutes. Then he put on his tin (Ludim), tin spreads itself without the help of a soldering iron. Well, at the end of a hot pin inserted into the phone, adding more tin and smooth the soldering iron. Do not forget at the last stage, too warm hairdryer.
Do not forget to wash up after soldering with hot water under pressure requires a flux guide, I washed minutes 30. As a result, we get a result here.
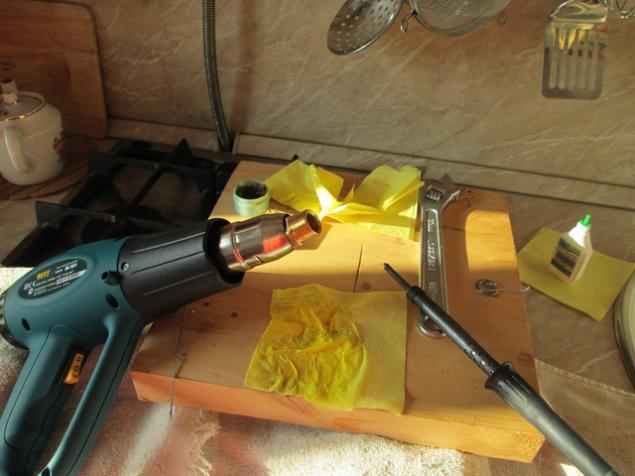
Photo 9
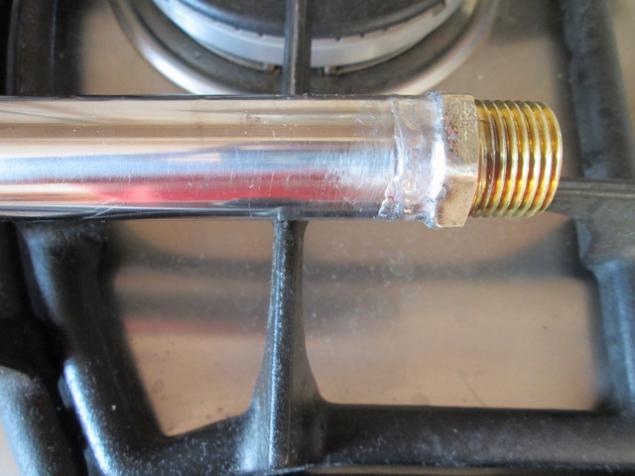
Photo 10
Now make a drill for drilling holes in the plugs. Take a pen on a tree, twenty, and this is how to grind, from the pictures it is clear how. Winepress grinder at low speed but can be anything, though needle files
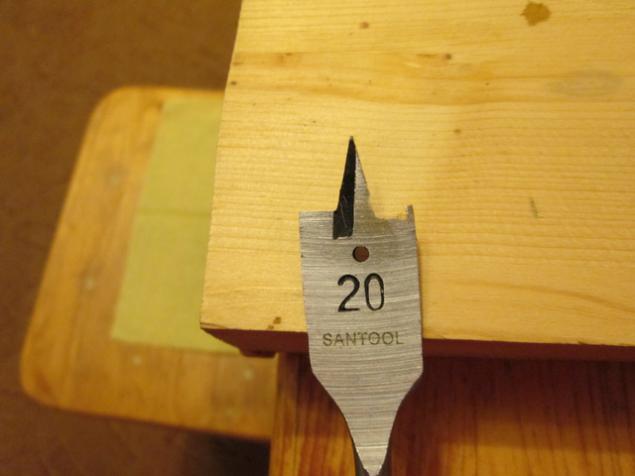
Photo 12
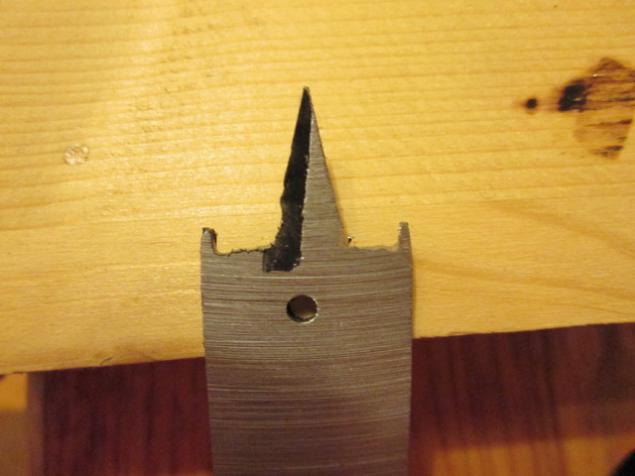
And actually drill plugs and one cover prikubnika, a very accurate and fast.
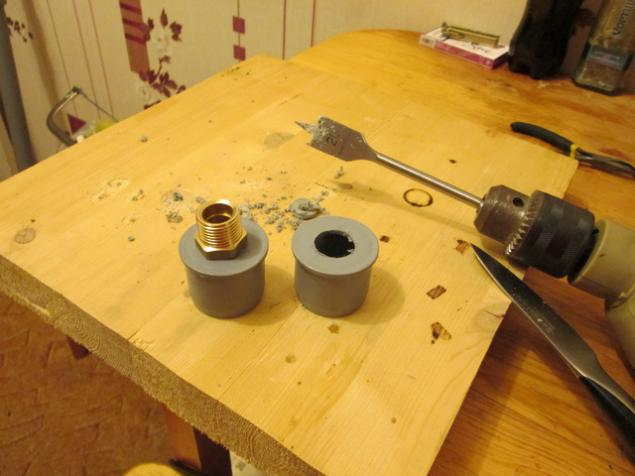
Photo 14
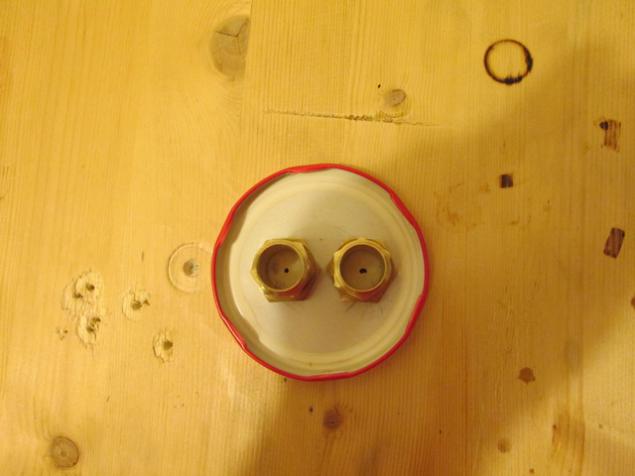
Photo 15
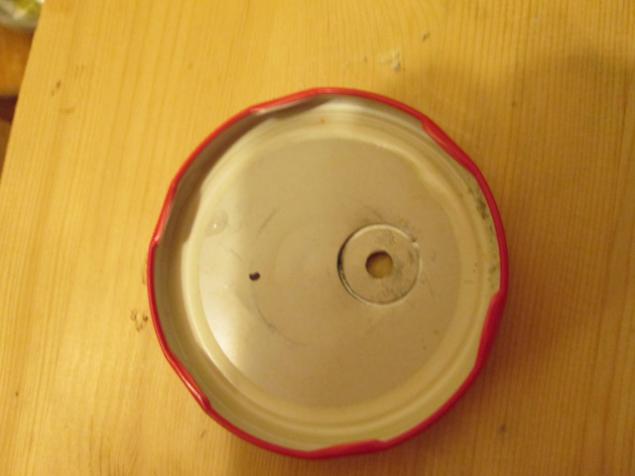
Photo 16
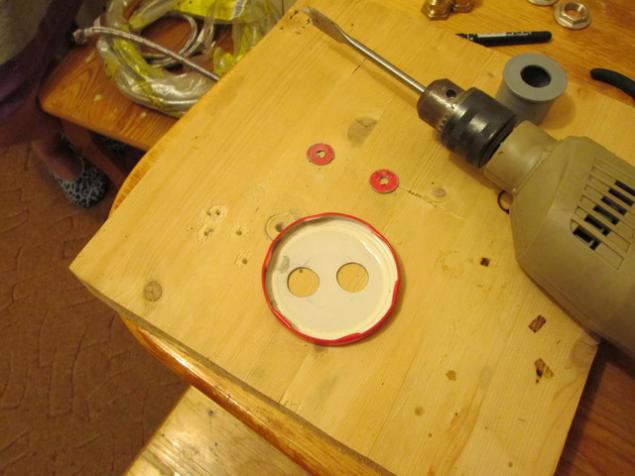
Well holes are ready and can begin tightening nipples everywhere where it is necessary, but we need to screw into the lid of the pressure cooker, two nipples, one for the removal of the other pair of the thermometer, screw in the cap to cover prikubnika. Do not forget to use only in the process of silicone gaskets and silicone sealant promazyvat them. Sealant take "food", which for aquariums. That's actually the whole process.
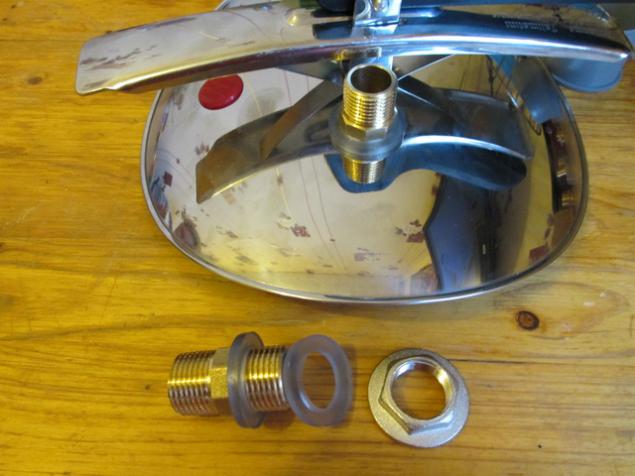
Photo 18
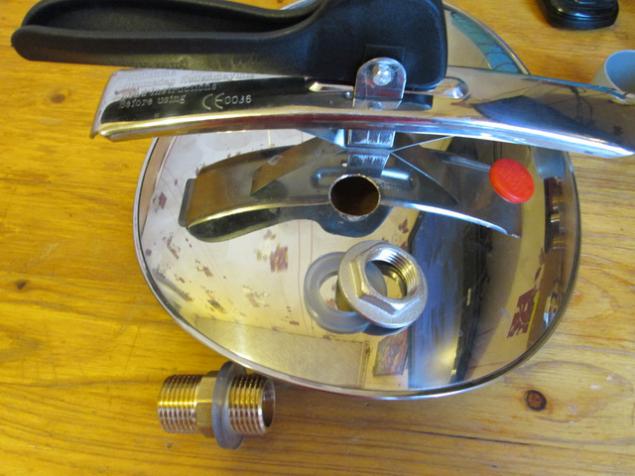
Photo 19
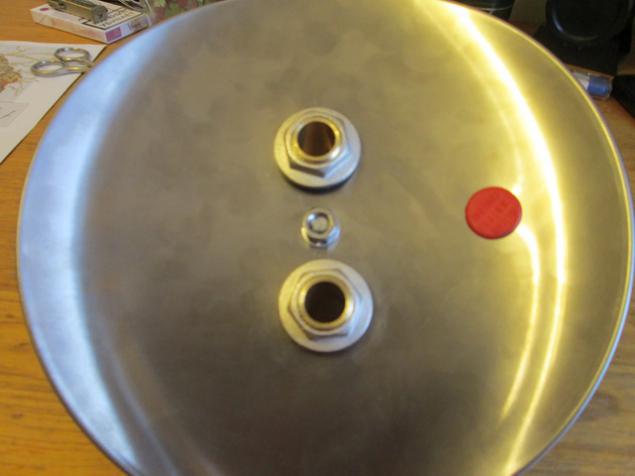
Photo 20
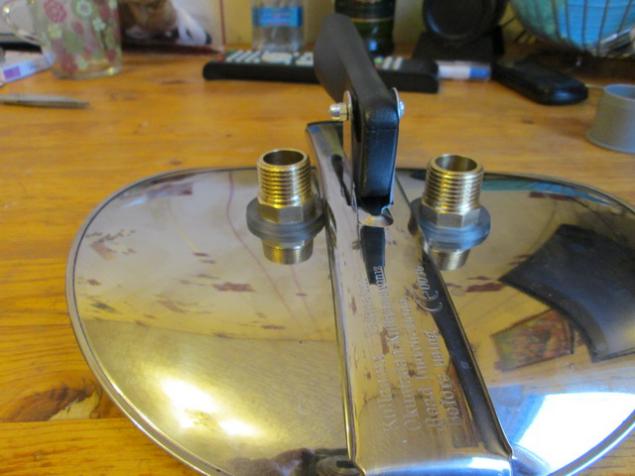
Photo 21
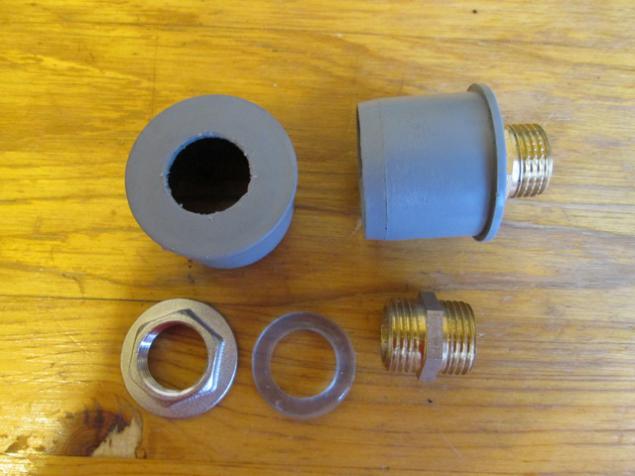
Photo 22
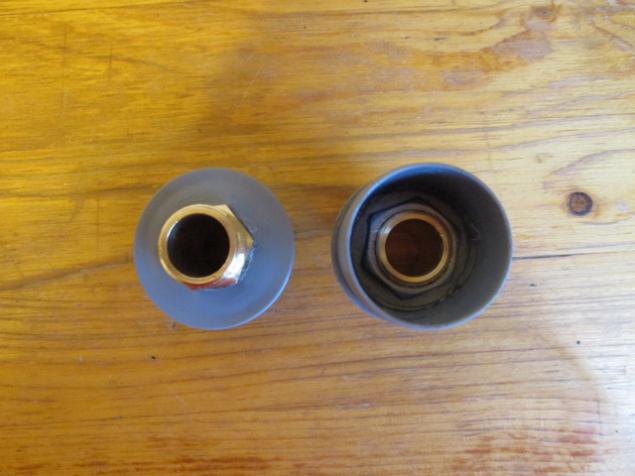
Photo 23
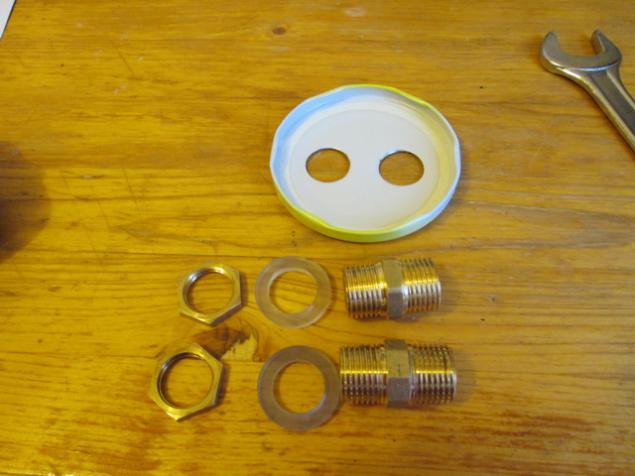
Photo 24
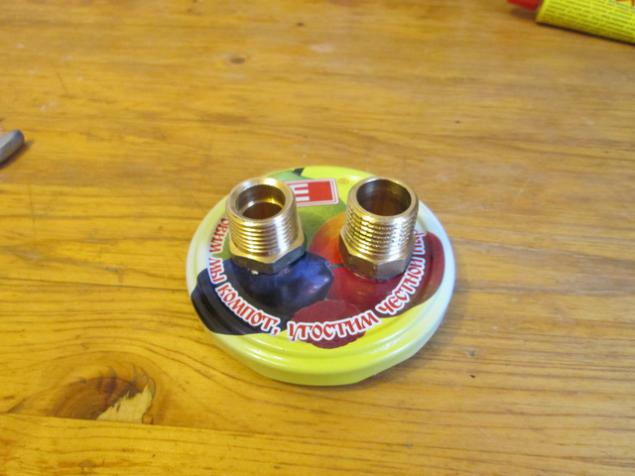
Photo 25
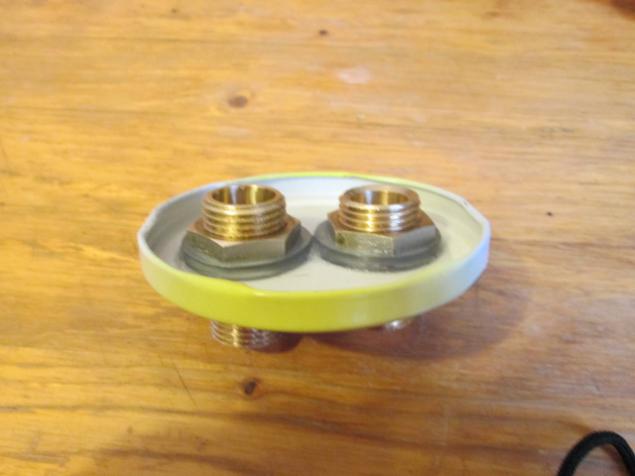
Well, the final fitting and assembly of the refrigerator, everything is going by hand and without gimoroya. All can be seen from the photos.
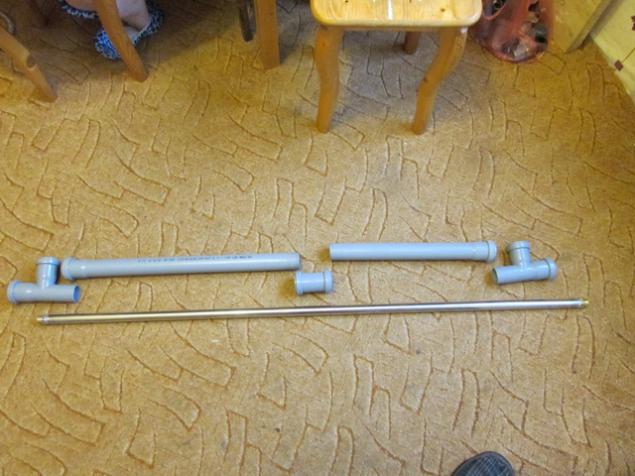
Photo 27
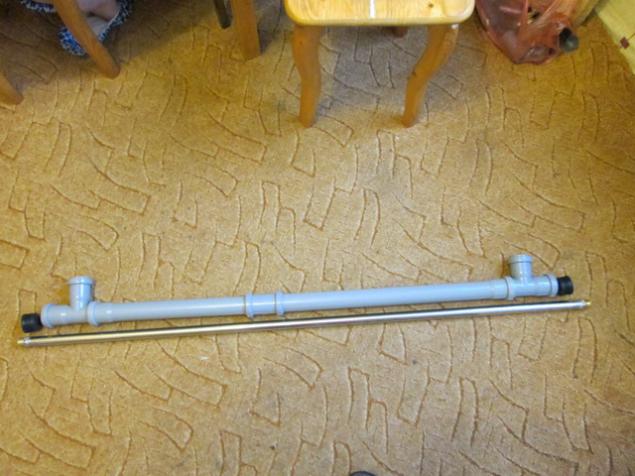
Photo 28
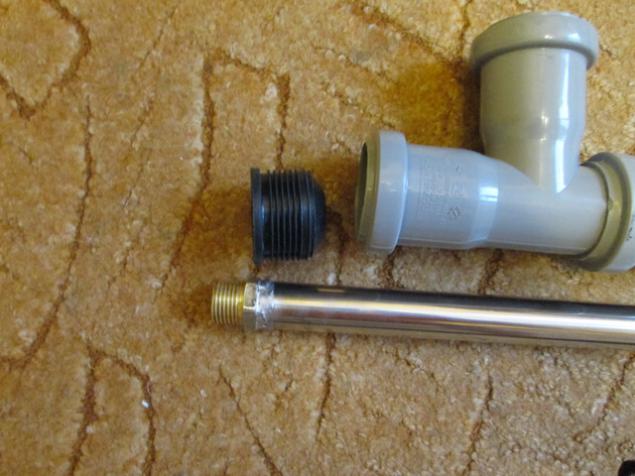
Photo 29
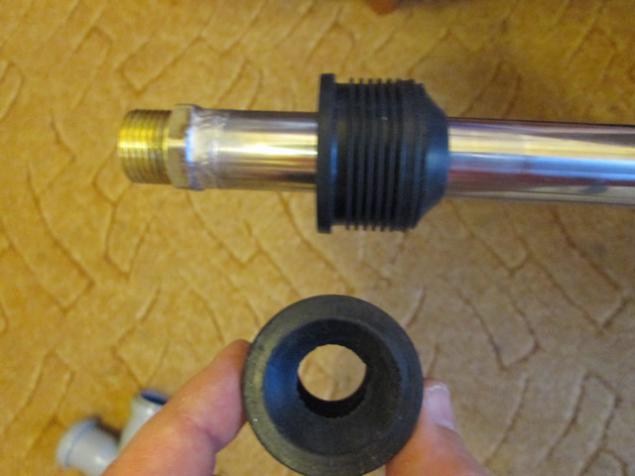
Photo 30
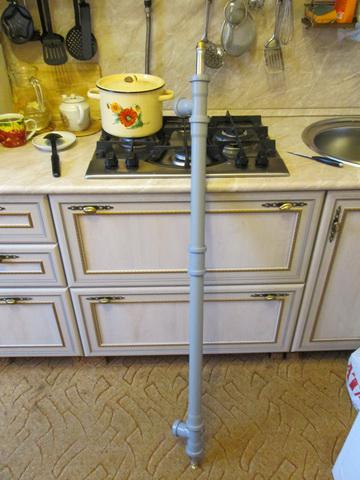
Photo 31
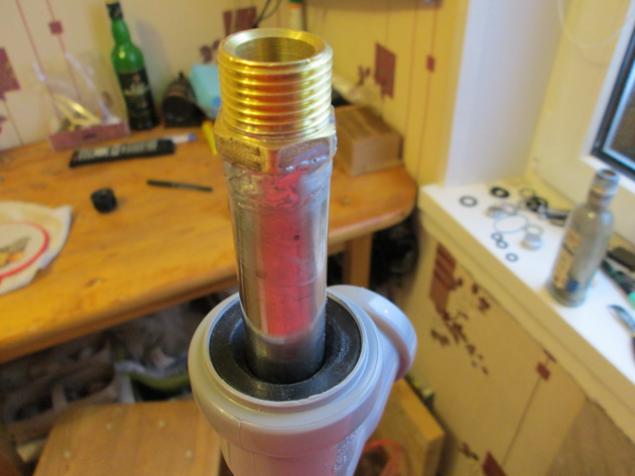
Photo 32
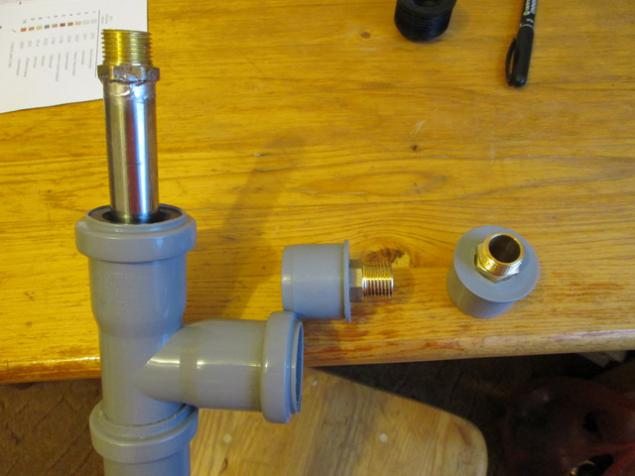
Photo 33
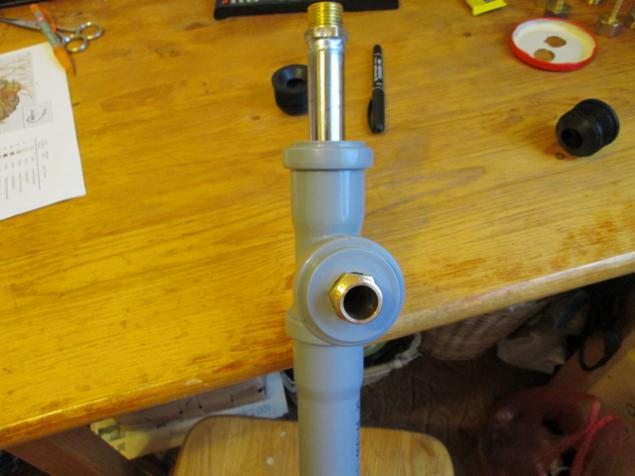
Photo 34
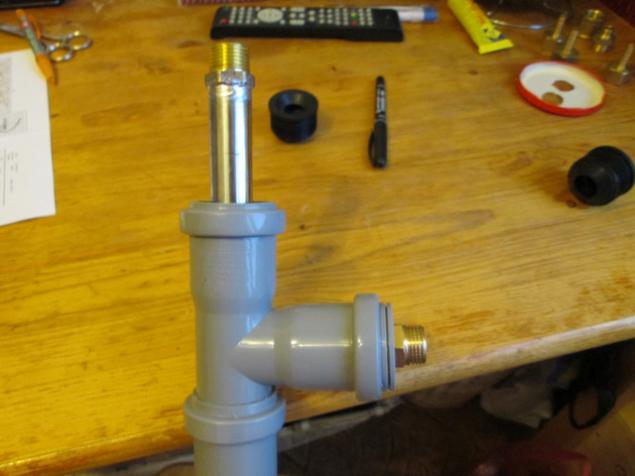
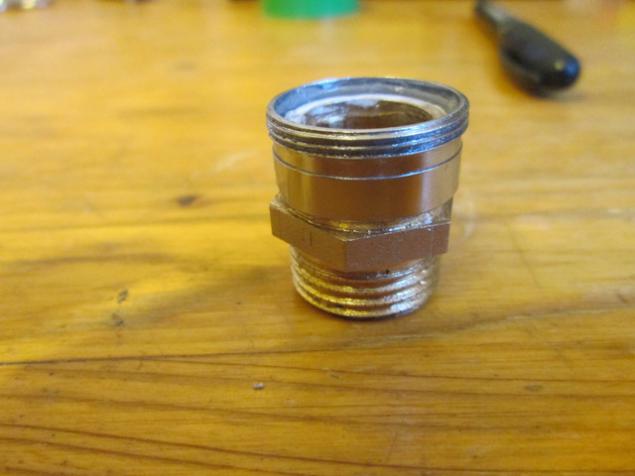
Now we need to make an adapter for tap water supply. I screwed outlet faucet aerator (interestingly, correctly written?) By this has been bought and razdrakonen same, that is, remove all of the stuffing and through fumlentu sealant welled up in simple nipple. It turned out like normal, though a bit of collective, well, God bless him, there is no pressure to be on the safe side and then tie insure.
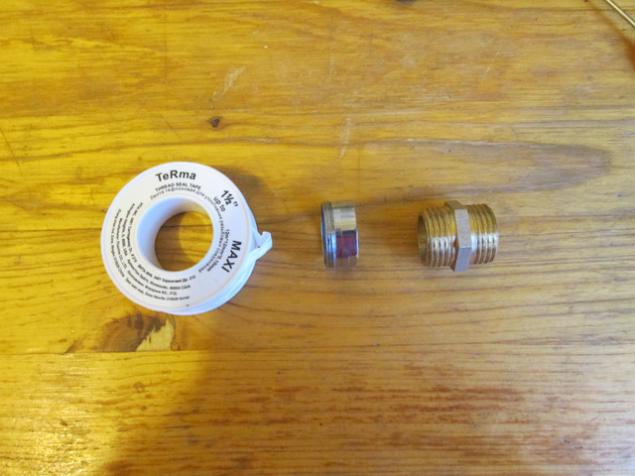
Photo 36
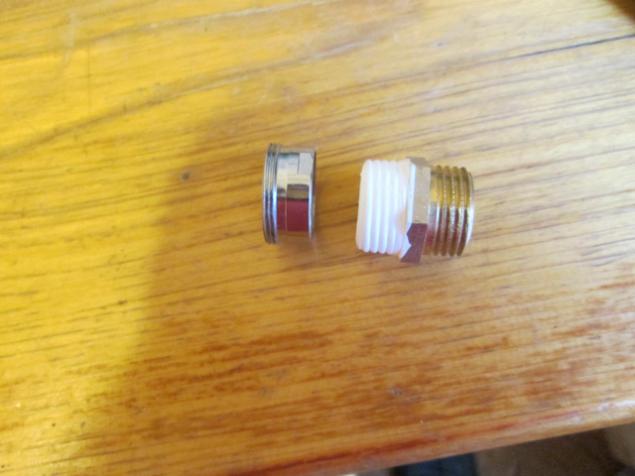
Photo 37
Now bother to manufacture temperature control, visual Take two adapters with ½ on the hose as it's called on the scientific, and set them in thermometers. For pressure cooker I have used a thermometer to measure the temperature of the meat, it is with a long pin. To control the temperature of the steam at the inlet of the refrigerator, I used a simple electronic thermometer. As seen from the collected photos, sealing with silicone sealant and blue tape. Top termousatkoy upset, very simple.
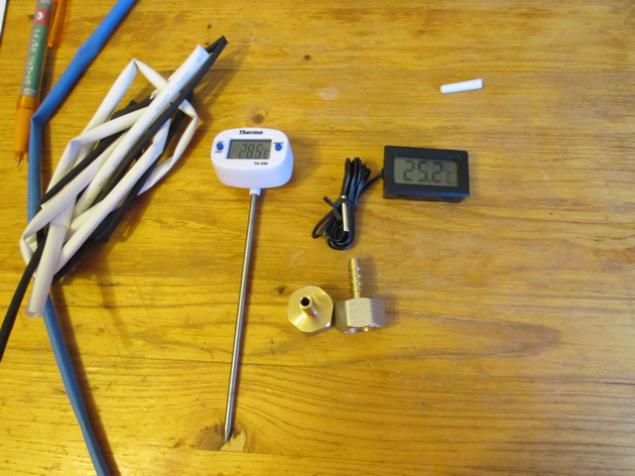
Photo 39
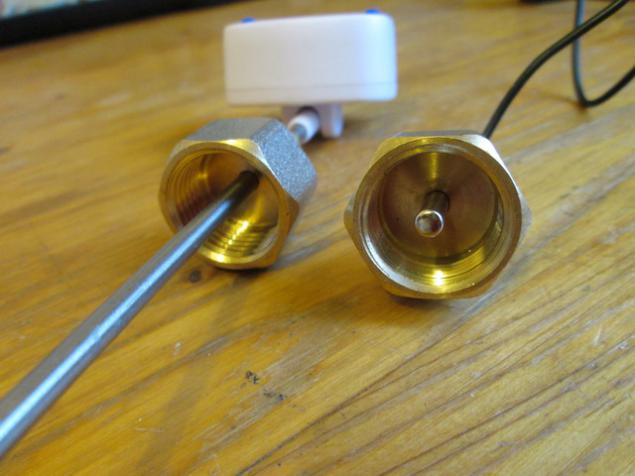
Photo 40
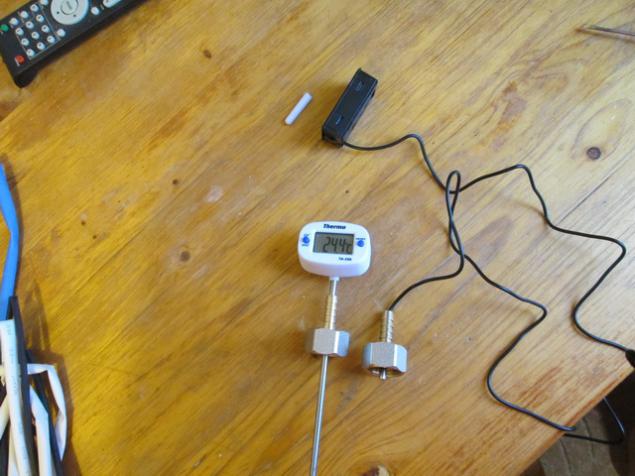
Photo 41
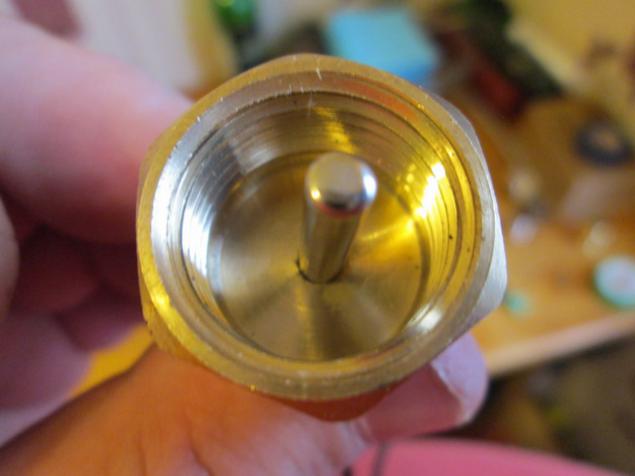
Photo 42
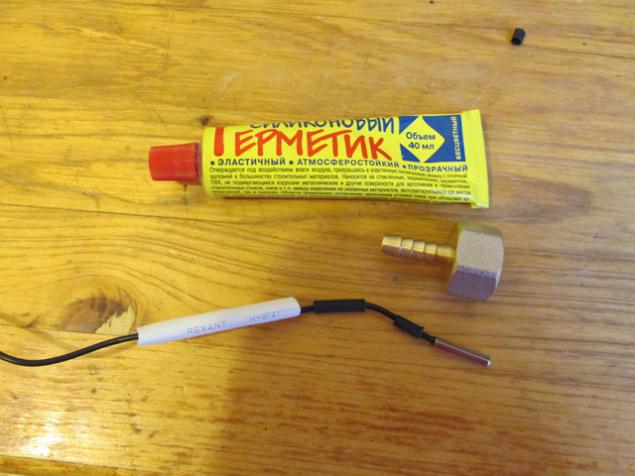
Photo 43
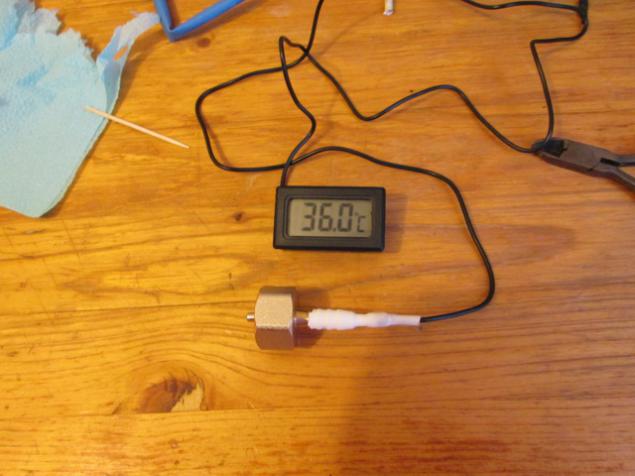
Photo 44
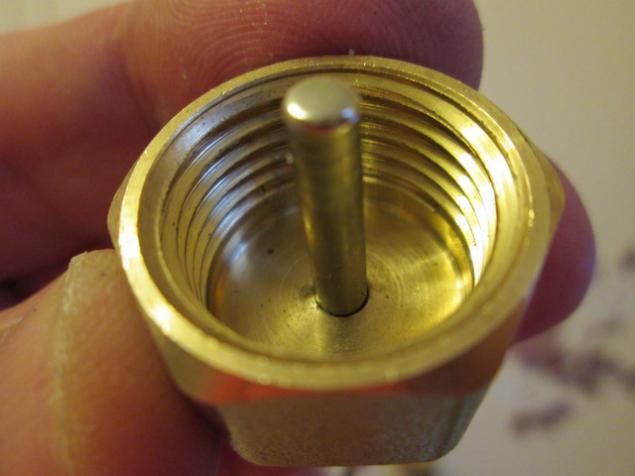
Photo 45
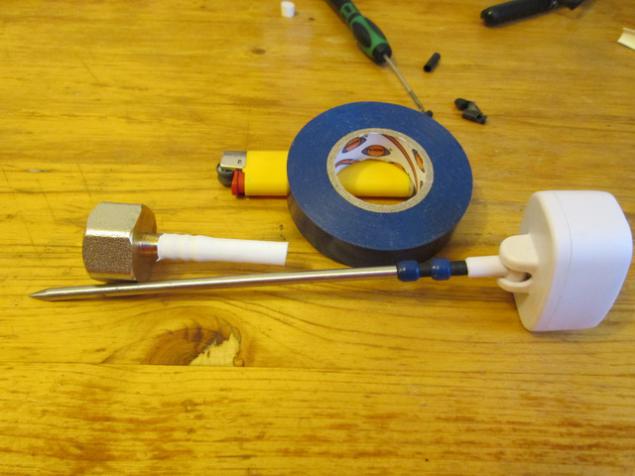
Photo 46
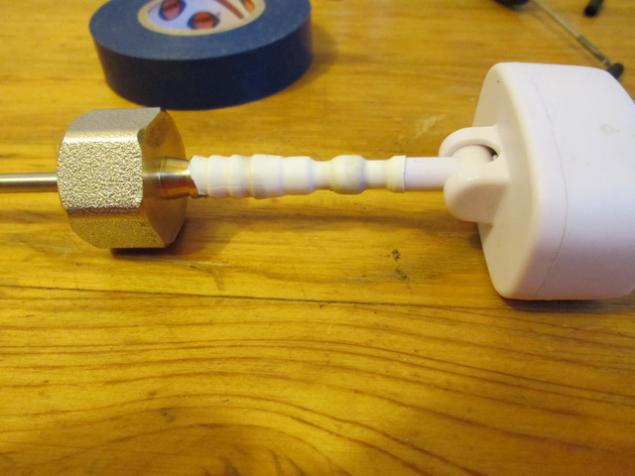
Photo 47
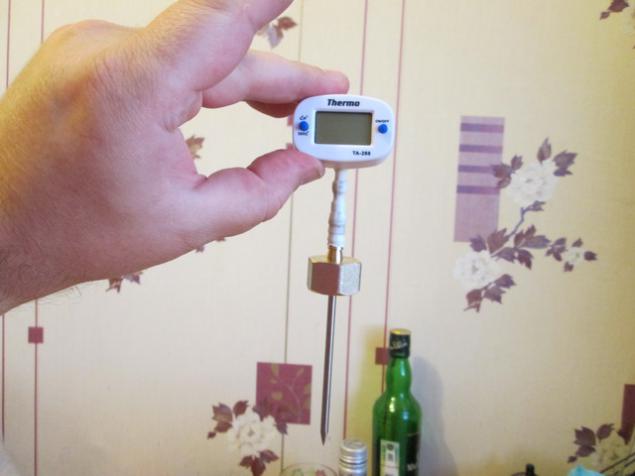
Photo 48
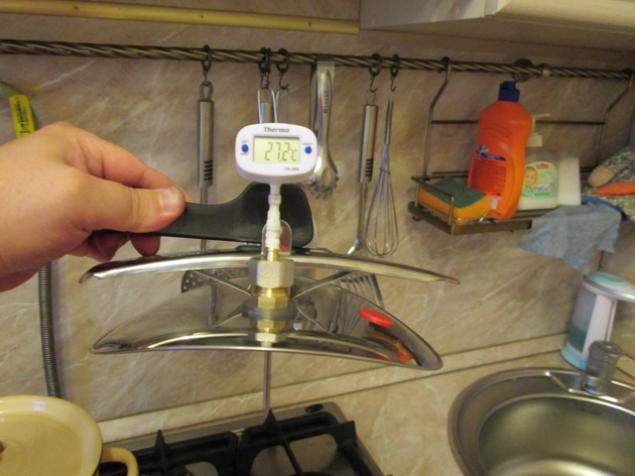
Well, that's basically made, now it is necessary to test for leaks and hammering.
Hung on a rope refrigerator and let him be tortured. torture revealed low resistance Surge caps began to slowly climb out, according to this, it was decided to fix them, for it could not be better, come greenbacks ties. Repeated tests have shown the elimination of this deficiency.
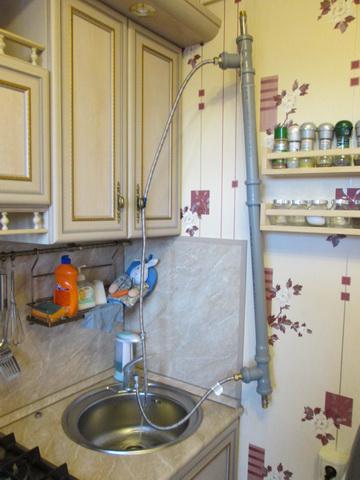
Photo 50
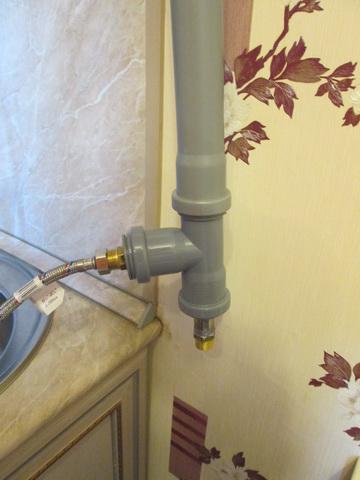
Photo 51
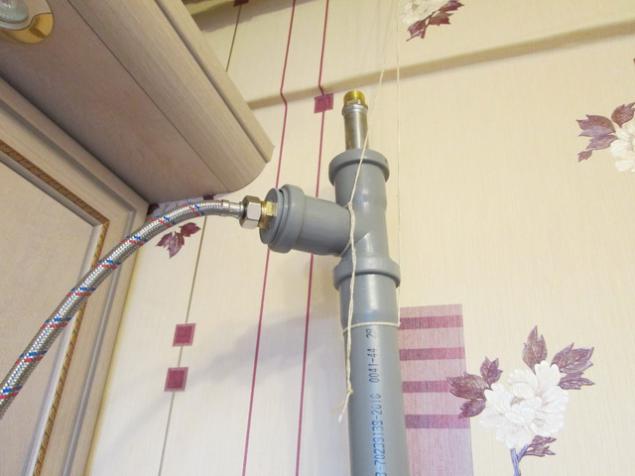
Photo 52
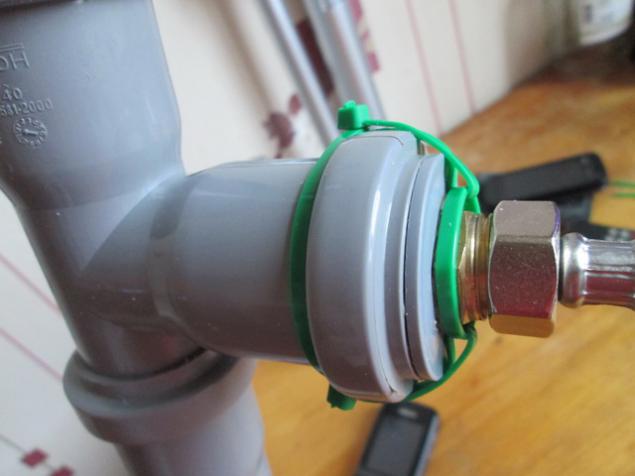
Then remembered that there is no raw material for tests, we had to put the process of this well-known and does not require a description. Here it is - put - wait - merged accurately
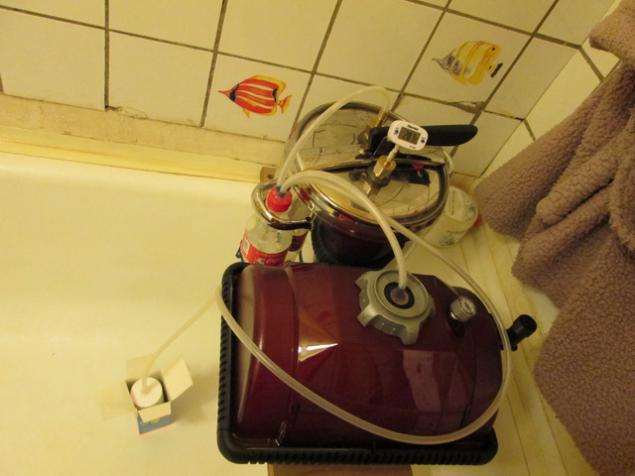
Photo 54
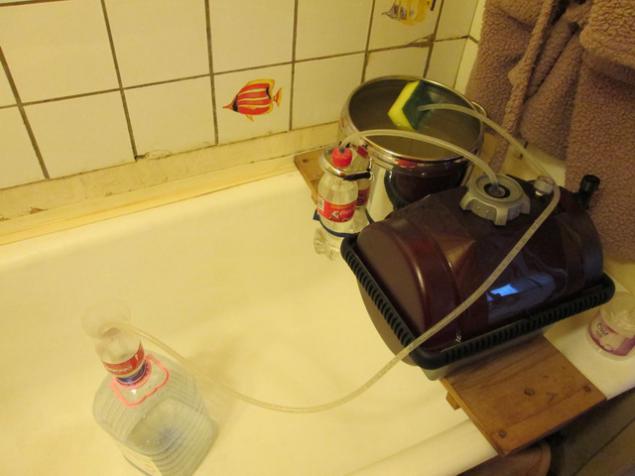
Photo 55
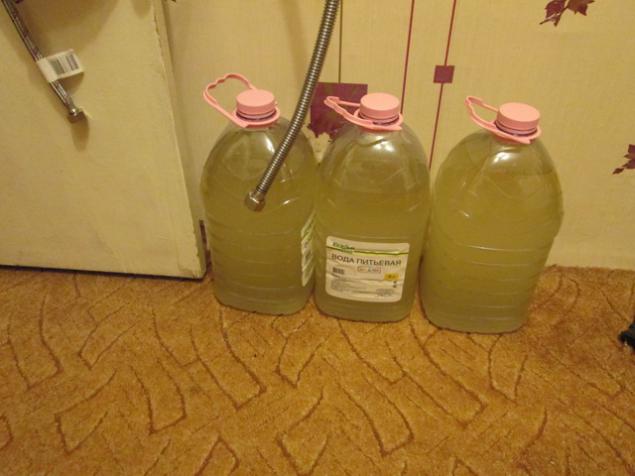
It's time to make final assembly and carry out the distillation of water.
At the entrance of the refrigerator set tee top in a pair of sensor.
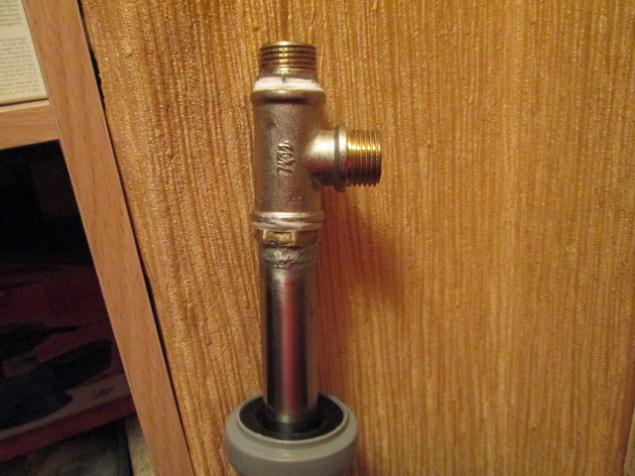
Photo 57
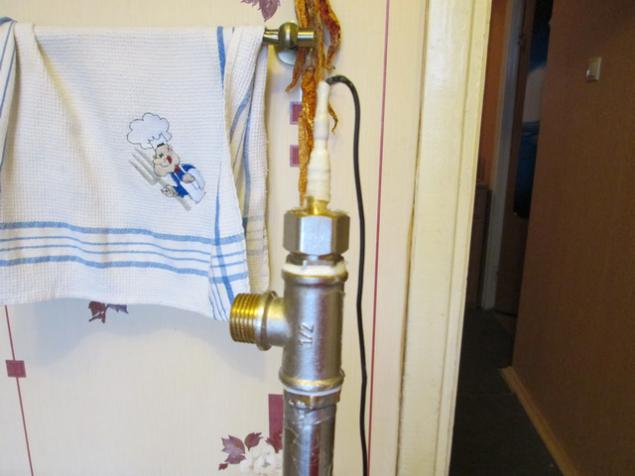
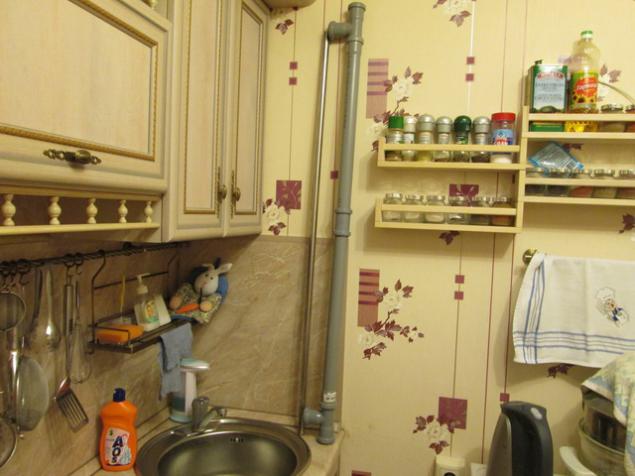
Then firmly fasten the refrigerator to the wall, connect it to the tap, just in case insure ties interruption. Putting pressure cooker with refrigerator through prikubnik (mokroparnik). Connected by stainless gas fittings. Do not forget that the gasket should only be silicone or asbestos fabric, give the usual rubber smell in the distillate.
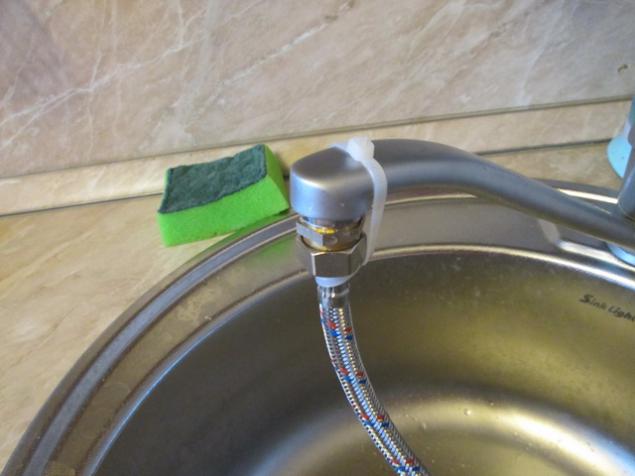
Photo 59
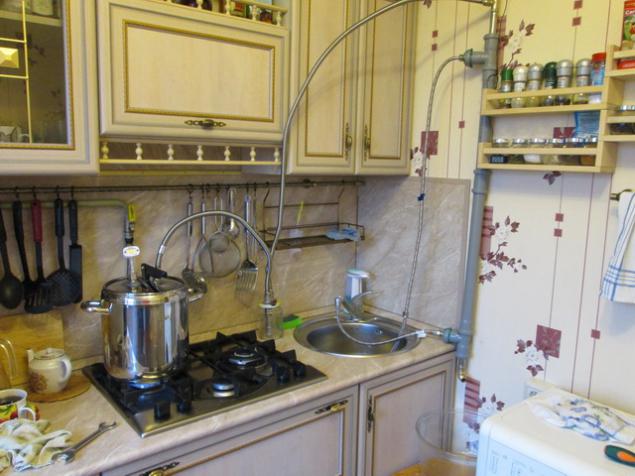
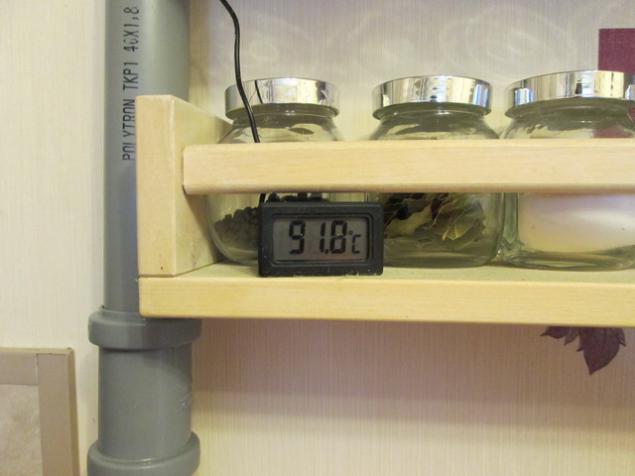
And now the fun, turn heat to carry out tests on the water to the fullest capacity. Tests have been just fine! At the entrance pairs 91.8 degrees. The output of 16 degrees. Just right! Refrigerator by 100 to cope with the load.
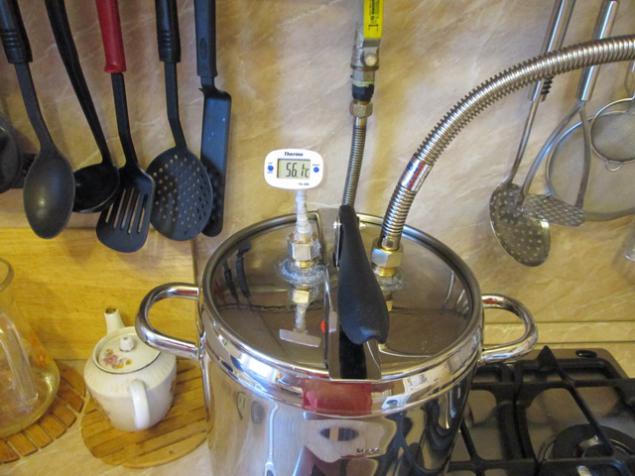
Photo 61
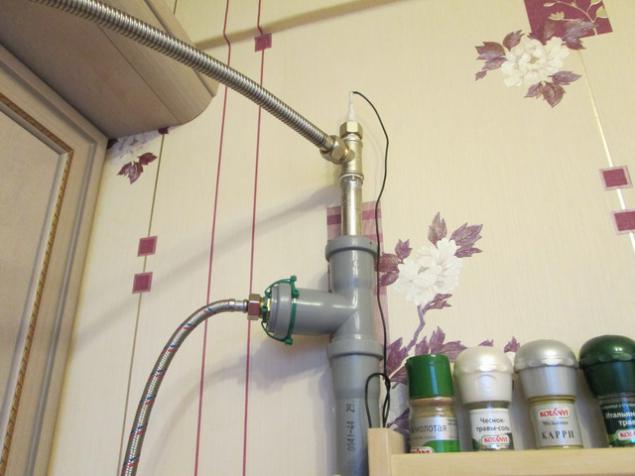
Photo 62
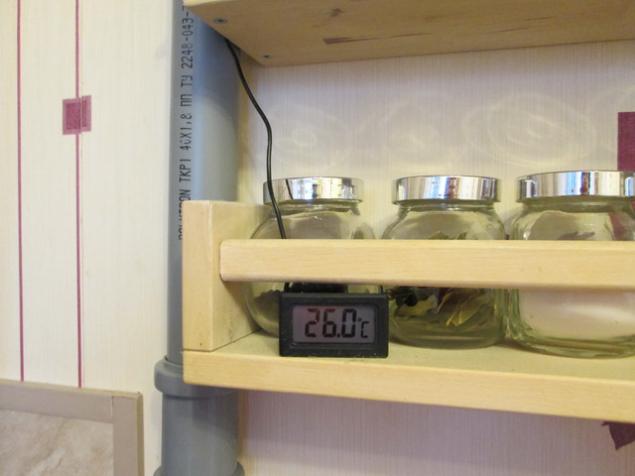
Photo 63
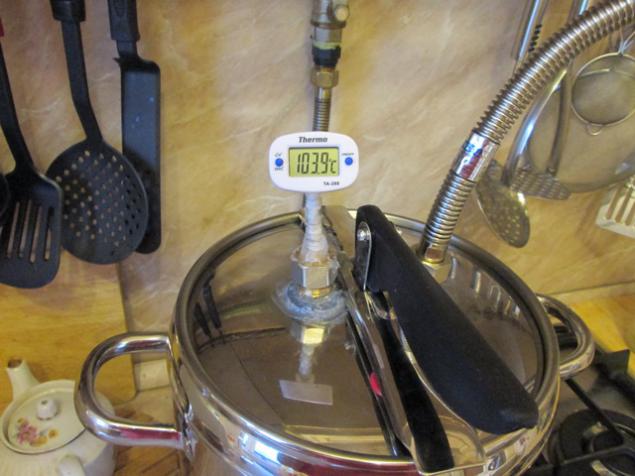
Photo 64
Source: ">