170
Two methods to return the violet to lush flowering
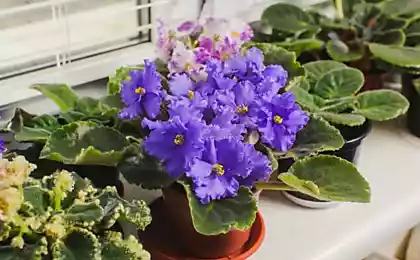
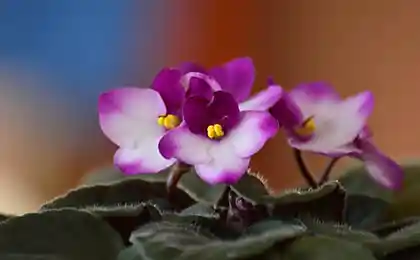
It is difficult to find a plant lover who has not grown violets at least once. It is not surprising, because they have long decorated the houses of our grandmothers and mothers, pleasing the eye with cute and prolonged flowering.
Despite this, like any other plant, violets lose their elegance and decorativeness over time. As a result of aging, the flower trunk becomes coarse, and the leaves become sloppy. Therefore, the editorial board "Site" I decided to share two ways. violetsThey will return to their former form.
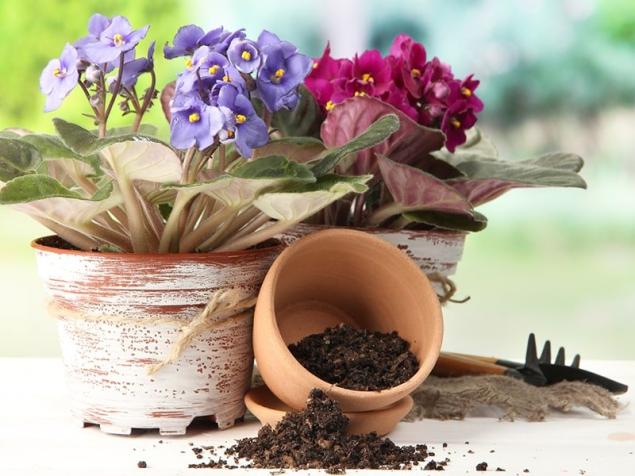
Rejuvenation of violets is to “refresh” the roots of the plant, rid it of excess leaves and provide it with a new, nutrient-rich soil.
There are two ways to rejuvenate a violet. One is more radical, although it is quite simple and always working. The second is slightly more humane and no less useful for the plant. Choose any one you prefer.
Method 1
Method 2
To my instructions, I attach a video where you can see the violets rejuvenation procedure in more detail.
about:blank
After the manipulations, The flower will look well and well again.. Use these tips, and your green wards will become a real delight for the eyes. Good luck!
Despite this, like any other plant, violets lose their elegance and decorativeness over time. As a result of aging, the flower trunk becomes coarse, and the leaves become sloppy. Therefore, the editorial board "Site" I decided to share two ways. violetsThey will return to their former form.

Rejuvenation of violets is to “refresh” the roots of the plant, rid it of excess leaves and provide it with a new, nutrient-rich soil.
There are two ways to rejuvenate a violet. One is more radical, although it is quite simple and always working. The second is slightly more humane and no less useful for the plant. Choose any one you prefer.
Method 1
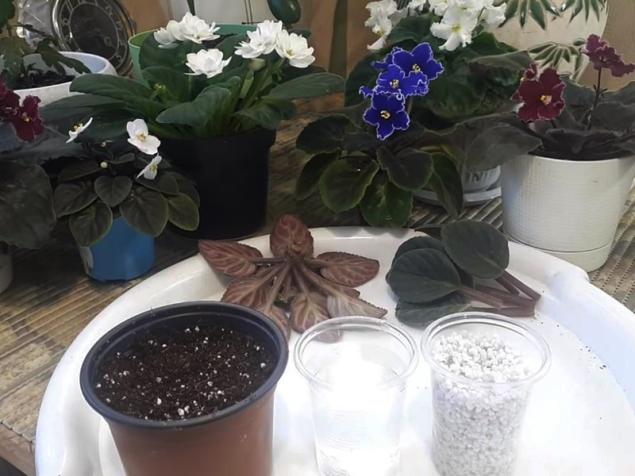
- First, select the old violets, the appearance of which we will restore. To do this, you will need a pre-prepared substrate, perlite, pots, drainage, always clean, disinfected with alcohol scissors and a knife. Here we go. The flower should not be removed from the pot. Just take the scissors and cut the violet at the base of the barrel just above ground level.
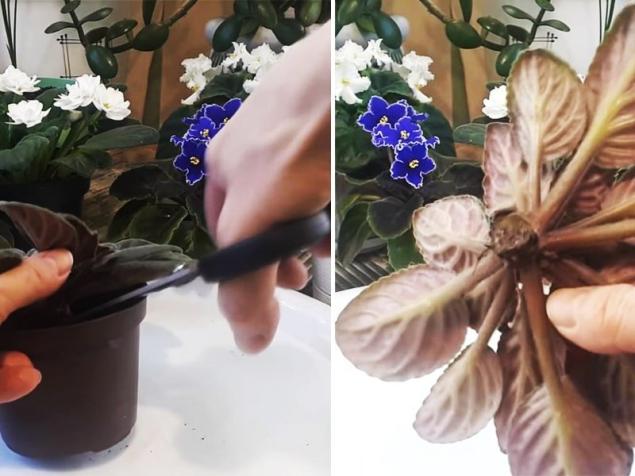
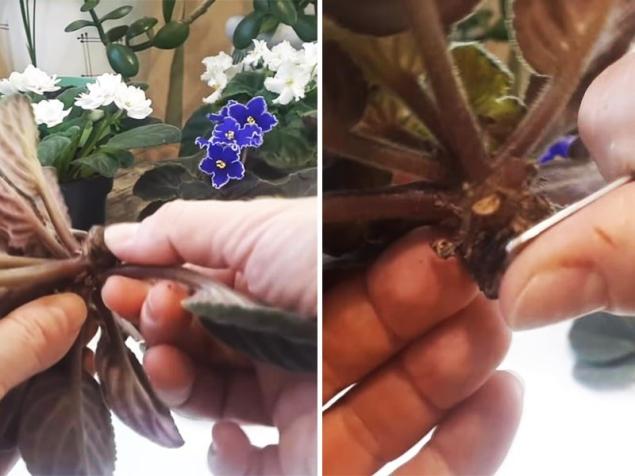
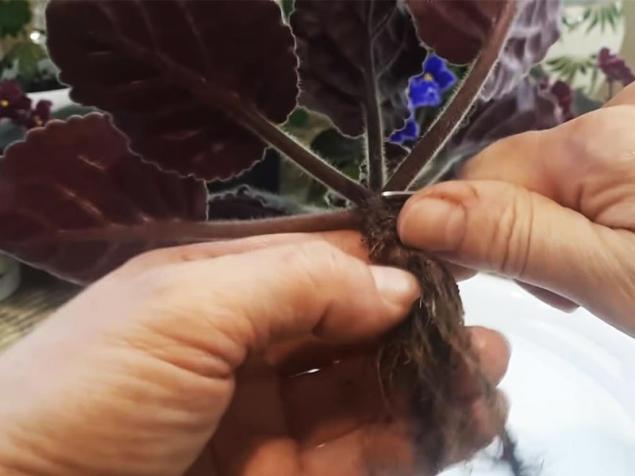
- Then carefully. break downuntil a symmetrical, beautiful socket of young leaves is formed. If desired, the leaves can not be thrown away, but left for subsequent rooting. We take a knife and clean the “wooden” layer of the trunk as if we were cleaning a carrot. At the end, update the slice.
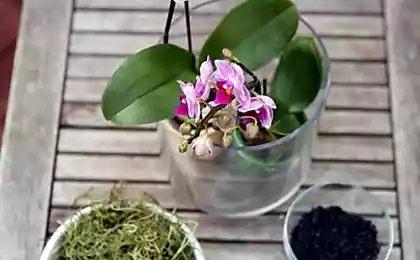
- Prepare the soil for the rooting of the plant. It can be used. pot with soil, glass with chilled boiled water or perlite. It is better to give preference to perlite. Since this material retains moisture well and is almost sterile, the probability of rooting in it is 100%, while in earth or water there is a high probability of rotting of the trunk. Having rooted the plant in wet perlite (or other soil of your choice), place the container with violet in the bag and carefully tie. This will create the greenhouse effect necessary for the flower during this period.
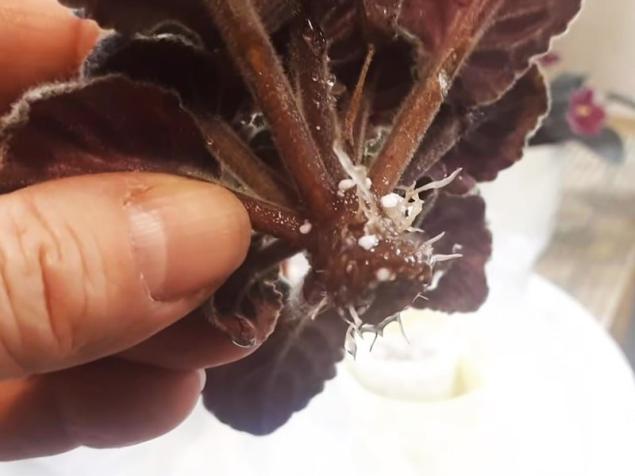
- After about 3 weeks, the violet will form a sufficient number of roots and will be ready to go to the pot with new soil.


Method 2
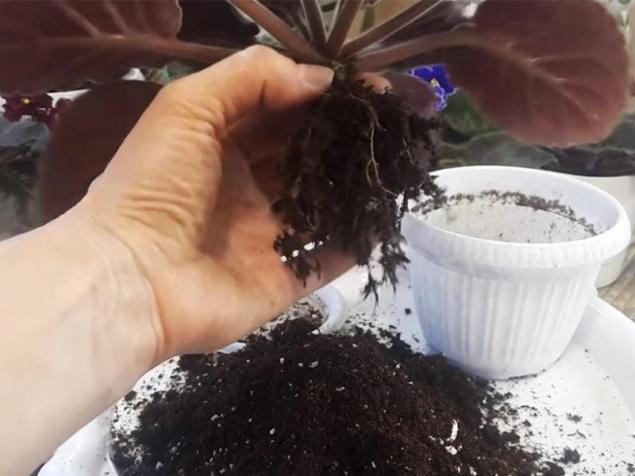
- To rejuvenate the violet using the second method, remove the plant from the pot directly from the ground. Then you need to thoroughly clean the root system of the earth, which is already devoid of any nutrients. For the best effect, you can even gently wash the roots in water.
- Once again, we break off the lower tier of leaves and remove the dense layer from the plant trunk in a way that is already familiar to us.
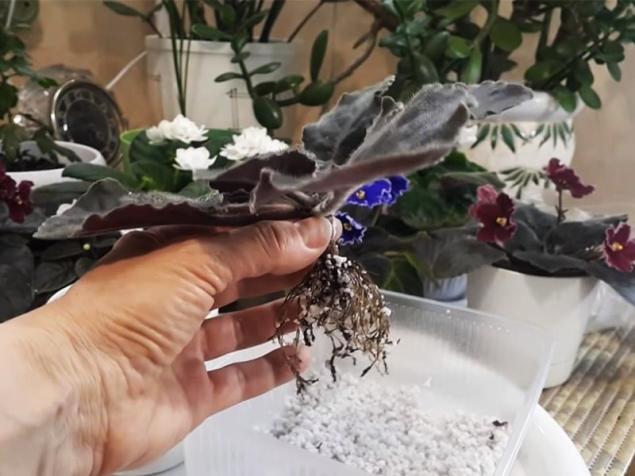
- Prepare the soil for the violet. But before planting it in the ground, envelop the wet roots of the flower in perlite, which will prevent rotting and provide additional aeration. Place the violet in a pot filled with 2/3 earth. We spread the roots of the plant and fill the soil from all sides. At the end, sprinkle the base of the violet with perlite for additional protection and moisture retention. The soil should eventually reach the level of the lower leaves. Done!
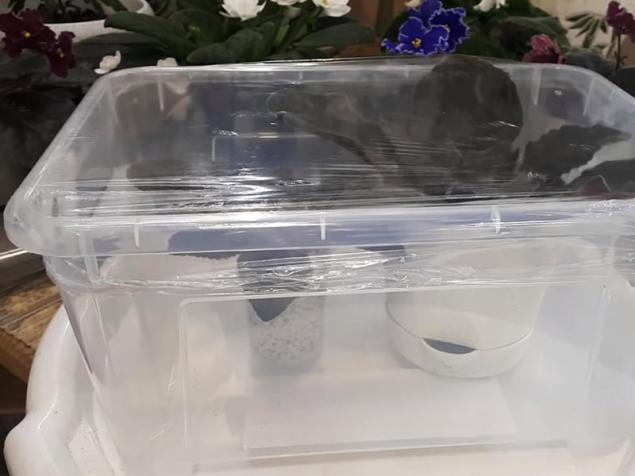
- As a home greenhouse for plants, you can use not only packages, but also an ordinary transparent tray. Place pots with violets there, covering the container on top with food film. Don't forget to make small holes so the flowers can breathe.


To my instructions, I attach a video where you can see the violets rejuvenation procedure in more detail.
about:blank
After the manipulations, The flower will look well and well again.. Use these tips, and your green wards will become a real delight for the eyes. Good luck!