186
Plastic bucket flower pot
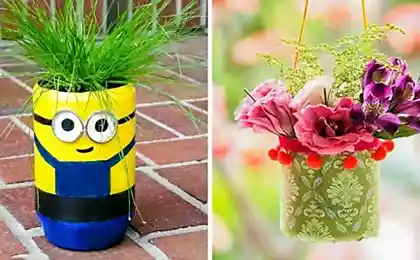
We have repeatedly said that plastic buckets made of mayonnaise and other products are things that can not be thrown away. This amazing material for crafts will be useful at home, in the country and in the garden, will be an excellent basis for baskets, suitable for storing cutlery and even for making flower pots of extraordinary beauty. We'll talk about the latter.
If there are a lot of flowers, you can not get pots on them! "Site" will tell and show How to make a flower pot from an old plastic bucket, so that an unusual craft fits into the interior of the home and adequately performs its function.
How to make a pot for flowers You will need
Manufacture
about:blank
I can’t believe that this cute and practical flower pot is made literally out of nothing and in one pleasant evening. Be sure to try to make such beauty, and do not forget to share photos of your masterpieces in the comments. Crafts from mayonnaise buckets These are always cute and practical decor items. In a word, a great material for needlework!
Did you like this intelligible master class on making a flower pot from an old bucket? Hurry up and share it with your friends!

If there are a lot of flowers, you can not get pots on them! "Site" will tell and show How to make a flower pot from an old plastic bucket, so that an unusual craft fits into the interior of the home and adequately performs its function.
How to make a pot for flowers You will need
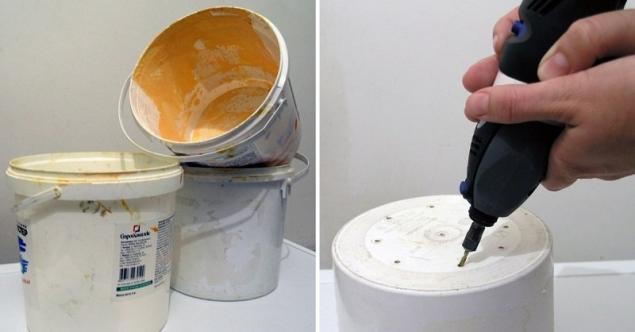
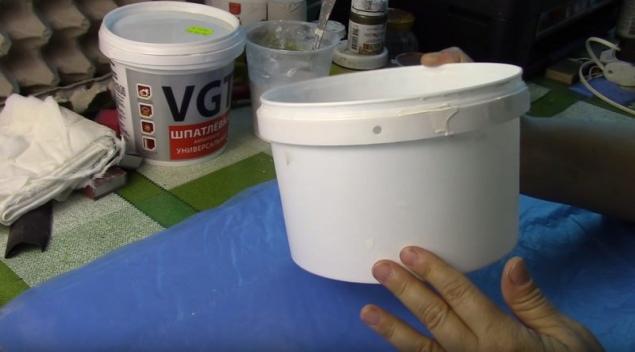
- Plastic bucket of paint or mayonnaise
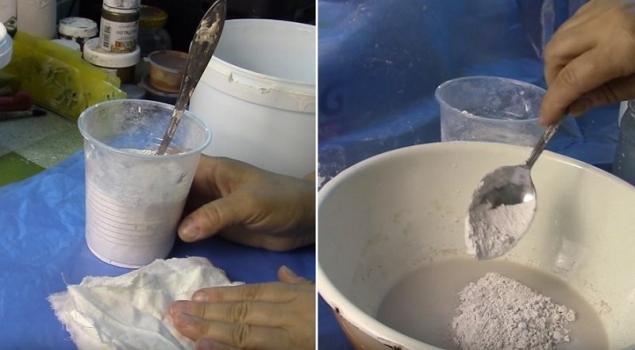
- plaster
- Acrylic paints
- Fabric for decoration (cotton or knitwear)
- Acrylic lacquer
- Putty
- Egg cardboard tray
- Sandpaper
- Glue gun.
Manufacture
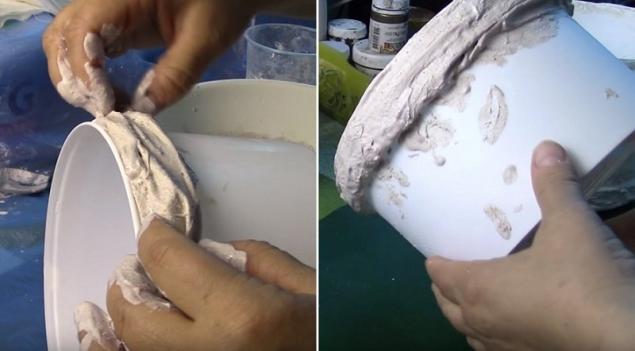
- First, the bucket must be cleaned of the remaining contents. A clean bucket must be carefully scratched with large sandpaper so that the future plaster decor better grips with the plastic base.
- Dilute the cast with water. The amount of powder depends on the size of the bucket and the future decor. Pour some water into a deep vessel, and then gradually pour into the liquid gypsum to get a thick mass of sour cream consistency.
- Cut the fabric into thin stripes. Each piece of cloth dip in a plaster and then wrap it in a bucket. The fabric can be folded, folded, straightened, laid only on the edges or on the entire surface - as you like. The main thing is that gypsum must be worked quickly.
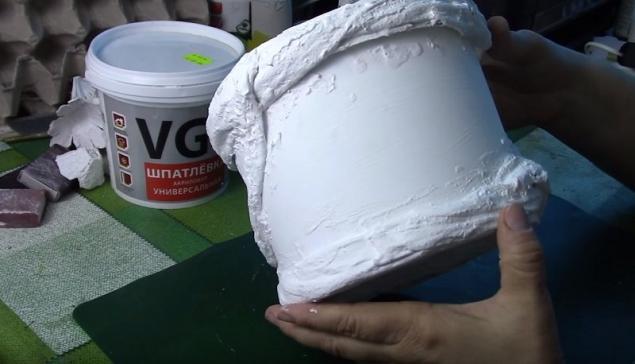
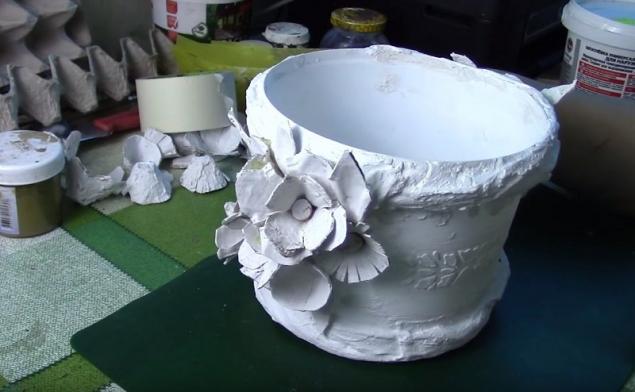
- When the plaster freezes, the surface of the pot must be brushed again with sandpaper and covered with white acrylic paint.
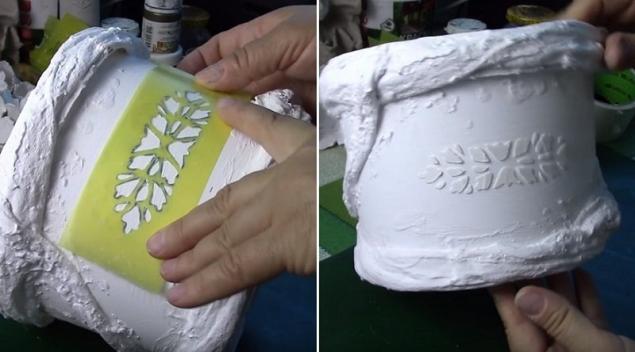
- Let’s start with the most pleasant – decor! With the help of stencils and putty, apply volumetric ornaments or drawings to the walls of the future pot.
- Cut the cardboard trays from under the eggs along, and then cut each of the cells. From the cells make flowers of any size and shape, each flower painted with white acrylic paint on all sides.
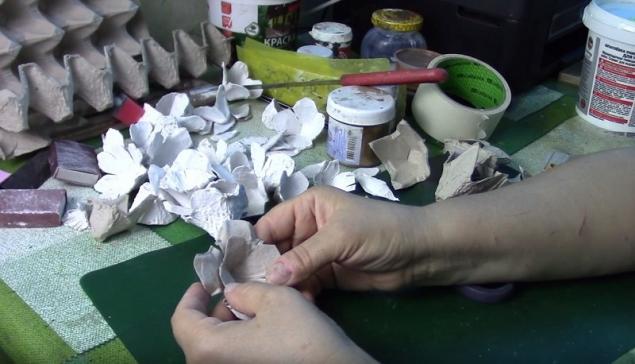
- With glue, attach the flowers to the bucket. Important! Decor should be attached not to plastic, but to fabric, so that it does not fall off prematurely.
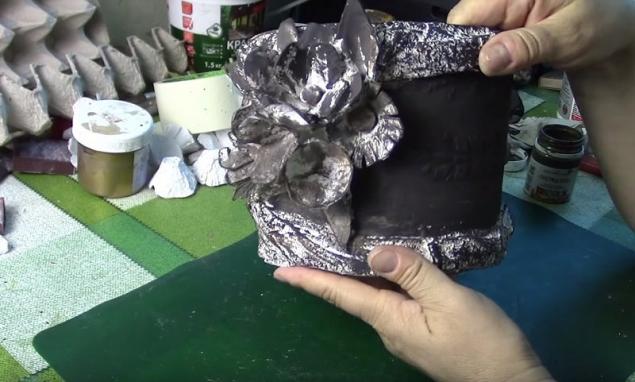
- Now the most creative moment is the coloring of the flower pot. The craftsman from the video below preferred a flower pot in dark tones. We believe that it turned out a little gloomy, but bright colors flower pot with such an outstanding decor would not hurt to add!
- After painting, it is necessary to consolidate the work done with the help of acrylic varnish. You can use an aerosol car, or you can take an ordinary one and carefully apply it to all the details of crafts using a brush.
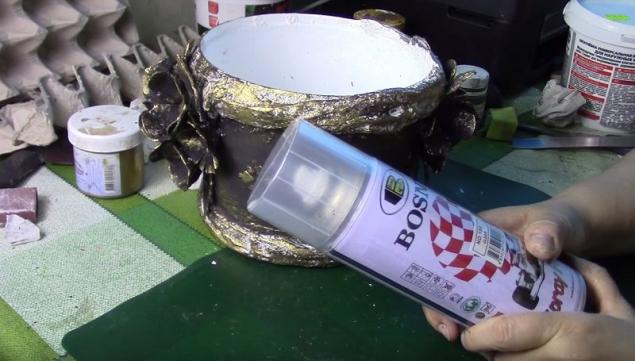
- The sturdy flower pot is ready! Manufacturing such crafts will not take much time, and most importantly - will give only positive emotions.


about:blank
I can’t believe that this cute and practical flower pot is made literally out of nothing and in one pleasant evening. Be sure to try to make such beauty, and do not forget to share photos of your masterpieces in the comments. Crafts from mayonnaise buckets These are always cute and practical decor items. In a word, a great material for needlework!
Did you like this intelligible master class on making a flower pot from an old bucket? Hurry up and share it with your friends!