167
Scheme for crocheting protective mask
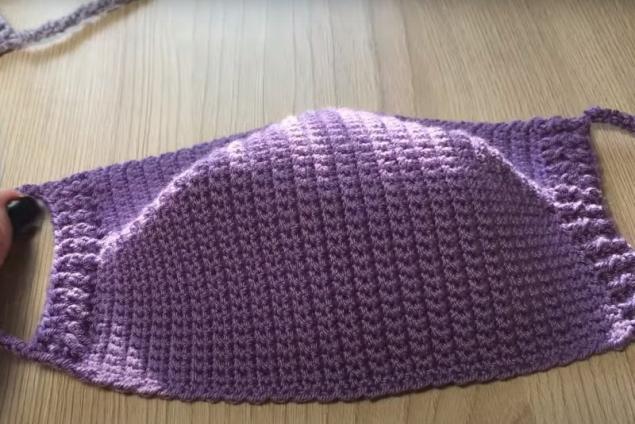
Reusable face masks are now very popular. Firstly, they are easy to sew with your own hands. Secondly, you do not need to look for new masks in pharmacies every day, wash it well enough in hot water and iron the mask with an iron. Today we're going to tell you how to tie a mask with a hook of yarn residue.

Disposable and reusable masks made of fabric are often annoying, and you want to constantly scratch your nose, besides, they do not always fit tightly to your face. The crocheted mask of soft cotton yarn fits well and is pleasant to the touch. At the end of the article there is a video with a detailed analysis. Okay, here we go.
You'll need it.
Read more about how to tie a protective mask, see the video on the channel of a skilled craftswoman who will kindly tell and show about the nuances crochet.
https://www.youtube.com/watch? v=qP72KKuOBjE
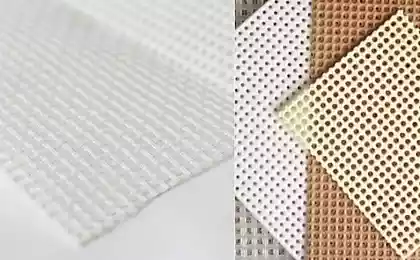
In the middle of this mask can be placed an additional filter. Some make an insert from an ordinary dry napkin, some from gauze. In this case, it is important to regularly change this filter, and wash the mask in hot water and steam with an iron.

Disposable and reusable masks made of fabric are often annoying, and you want to constantly scratch your nose, besides, they do not always fit tightly to your face. The crocheted mask of soft cotton yarn fits well and is pleasant to the touch. At the end of the article there is a video with a detailed analysis. Okay, here we go.

You'll need it.
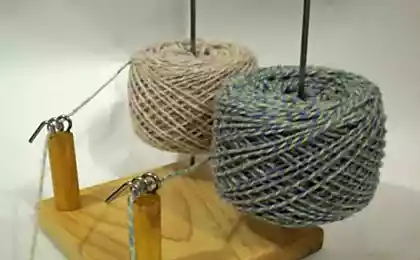
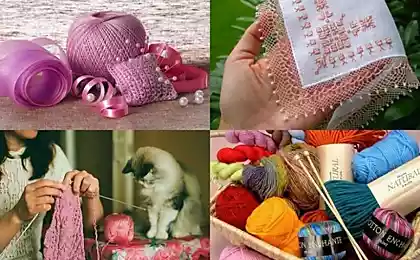
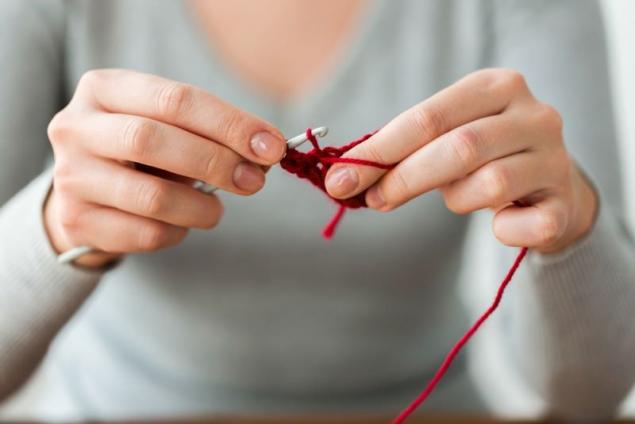
- 1 coil of cotton yarn
- 2.5mm hook
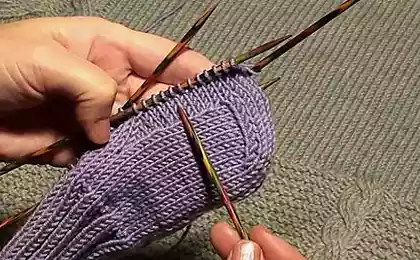
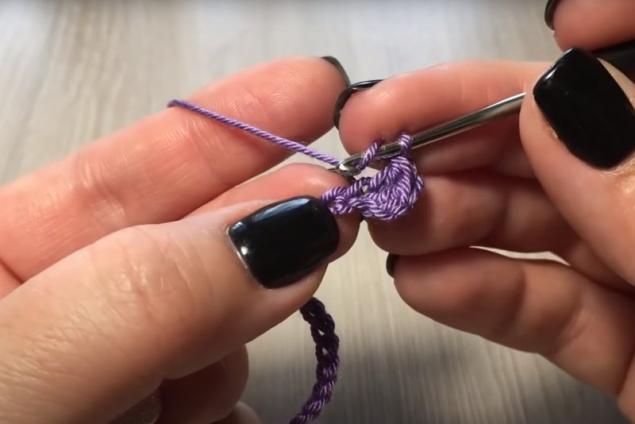
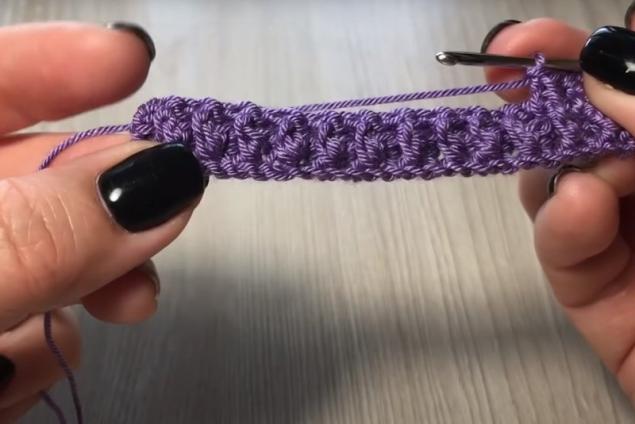
- Dial 29 air loops. In the first row, make 1 cape and tie the pillar with the cape in the third loop. Then tie the entire first row with a cape.
- 2nd row start knitting with two air loops. Tie the rubber band: make a cape and hook the pole from behind and tie the loops.
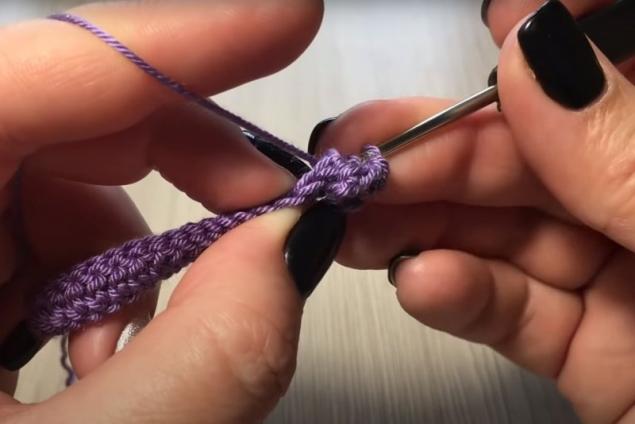
- The next column is hooked in the front and tie the loop to the cape. If you know how to crochet a rubber band, then tie 2 rows.
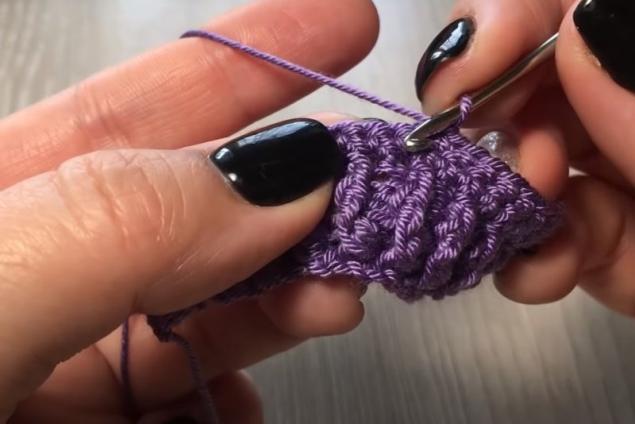
- In the 3rd row, make 1 air loop. Then tie 13 bars without a cape.
- In the 14th column, tie 2 columns without a cape. Put a marker in this place so you don't have to count the loops, there will be loops added all the time. Then tie the row with pillars without a cape.
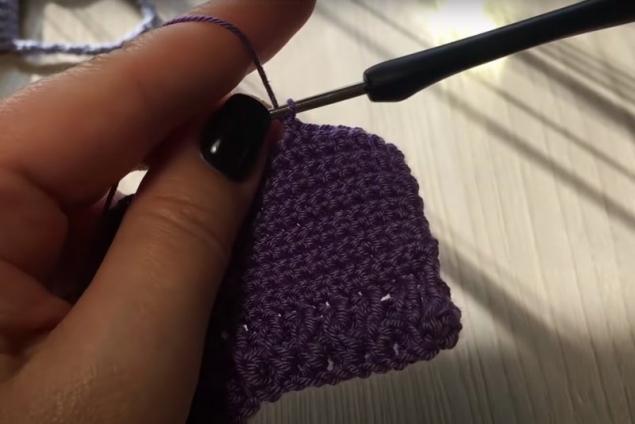
- The 4th row is tied to the middle in columns without a cape. In the middle, make a raise and tie the row to the end without a raise.
- From the 5th to the 11th row, the mask is knit in columns without a cape with an increase in the middle, as in the 4th row. Depending on the yarn, you may have to tie more or fewer rows, so it’s better to focus on centimeters. Part of the mask with extensions should be 4 cm in length. 1851-1980
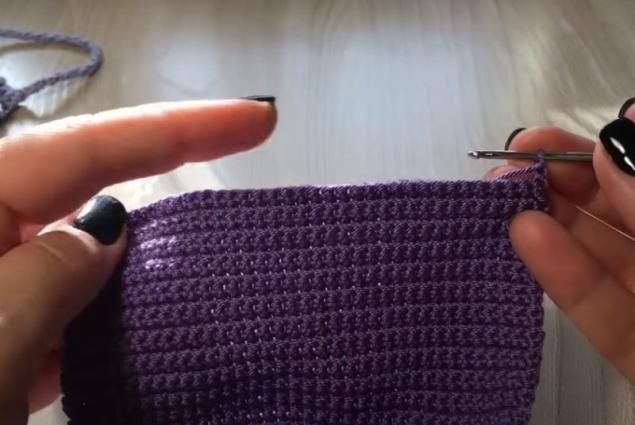
- From the 11th row, tie 8 cm mask (about 10 rows) in columns without a cape.
- In row 21, tie 17 bars without a cape. In the middle, tie a pillar with a cape to the end. Put another loop on the hook. So, you've got 3 loops on the hook, put them together and tie the row with no cape. 522262
- Tie the 22nd row to the middle of the columns without a cape and in the middle make a snail. Before the previous retraction, stretch the loop and behind it - again on the hook you get 3 loops that you need to connect together.
- Tie the rows in rows without a cape with a cloth in the middle until there are 27 columns left, like at the beginning of knitting.
- Tie the second band of the mask. In each column, tie one column with a cape.
- Make 2 air loops and embrace alternately, then in front, then behind the previous columns with loops with one cape. There are two rows like this.
- All I have to do is tie the knots. This can be done with air loops.


Read more about how to tie a protective mask, see the video on the channel of a skilled craftswoman who will kindly tell and show about the nuances crochet.
https://www.youtube.com/watch? v=qP72KKuOBjE
In the middle of this mask can be placed an additional filter. Some make an insert from an ordinary dry napkin, some from gauze. In this case, it is important to regularly change this filter, and wash the mask in hot water and steam with an iron.