148
Why fill plastic bottles with cement?
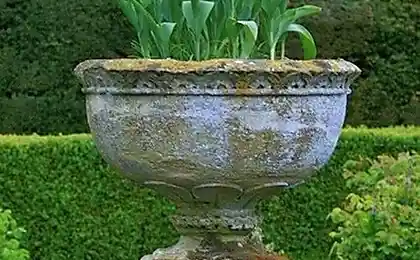
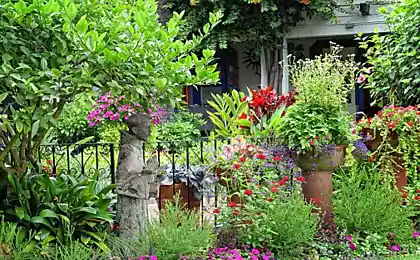
The appearance of a country plot, or even a private house, must be ennobled from time to time with greenery and other gifts of flora. If you do not want to use the land around the building, then beautiful ones will do. potted.
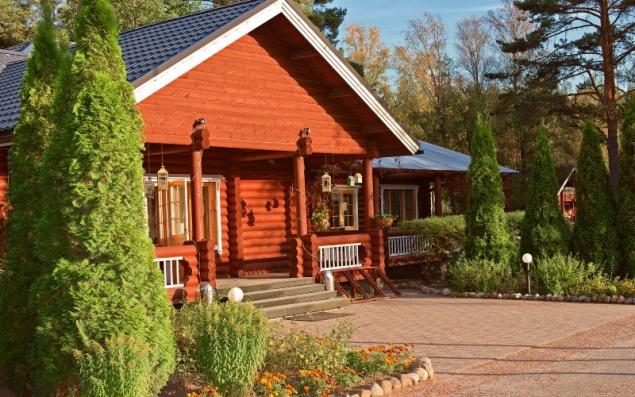
Having adopted this option of decorating the home, the owners save on a usable area of land and can start especially exotic heat-resistant types of flowers, which in severe frosts can simply be brought into the house. However, just buying a lot of big pots to give would be too easy.
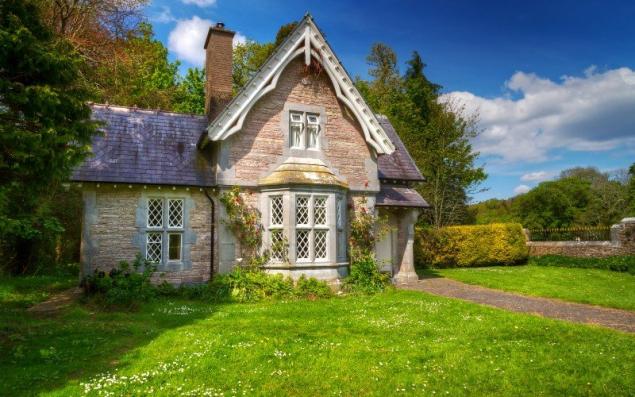
So today we're going to teach you how to make them literally out of garbage: you're going to need empty plastic bottles and some cement. But the result is simply excellent!
Flowers in pots on street Ingredients
Preparation
This is such a beautiful pot you can get if you spend a little time and effort on it. In this case, you can experiment with the number of bottles, volume and so on.
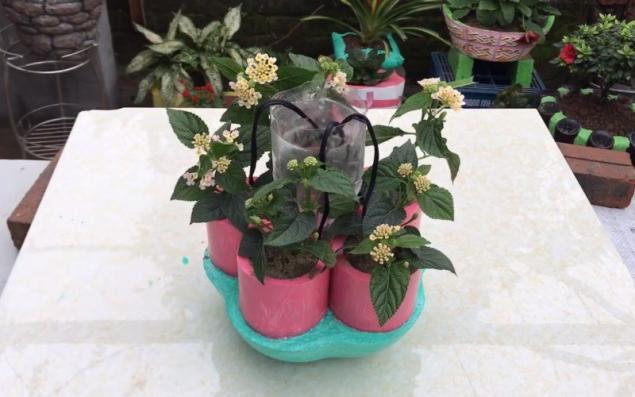
It happens that there is no time for watering flowers at all, and summer is a rather hot period. Ordinary physics will come to the rescue. Take a glass glass of water, place it on the surface between flower “pots” and lower one lace to each. The water will get to the plants without your help.
https://www.youtube.com/watch? v=c2FAcJDLQ
Of course, for the best visual effect, we have prepared a video for you. You like it? And we have a lot more interesting!

Having adopted this option of decorating the home, the owners save on a usable area of land and can start especially exotic heat-resistant types of flowers, which in severe frosts can simply be brought into the house. However, just buying a lot of big pots to give would be too easy.

So today we're going to teach you how to make them literally out of garbage: you're going to need empty plastic bottles and some cement. But the result is simply excellent!
Flowers in pots on street Ingredients
- 5 two-liter plastic bottles
- sand
- cement
- 5 half-liter disposable glasses
- water
- white paint (for primer products)
- paint (to give a choice of color)
Preparation
- First, cut the bottles in half and remove the labels. Now place the top parts of the bottles in the bases with the lids down. Fill a small area near the bottle covers with sand. This should be done with all the bottles. Completely fill the glasses with sand.
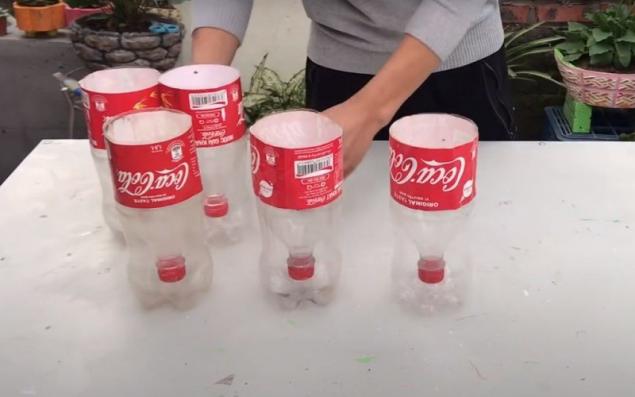
- In a separate deep container, dilute the cement with water as indicated on the package. Now add a little liquid solution to the top of the bottle and put a glass of sand on top. Cement should occupy the outer area of half the bottle, and sand – the inner. So we have an interesting shape with a deepening in the middle. Do that to all the bottles.
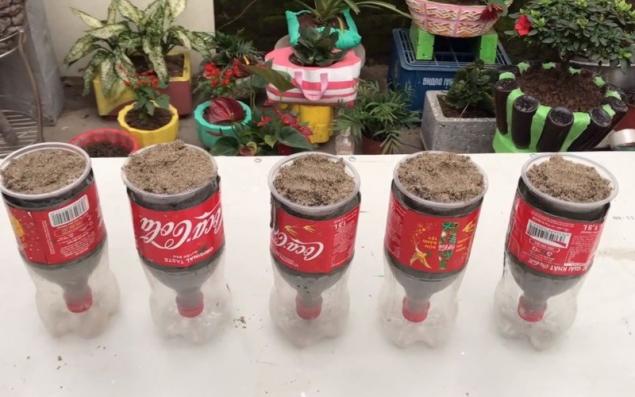
- Let the forms cool in the sun for at least a couple of hours. Then take out the glasses of sand and scissors to remove the plastic layer from the bottles. As you can see, concrete blanks took the form of huge “bullets” with depressions inside. With the help of a wallpaper knife, try to smooth out corners on them where necessary.
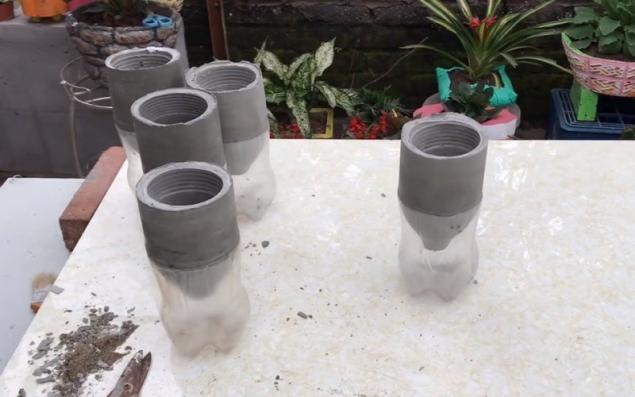
- Take a wide plastic container to work in the garden and mix in it another portion of cement mortar. It should be filled a little less than to the brim. Place all 5 “bullets” on it with depressions upwards. They need to stand firmly in their places and not fall. Let the structure stand for a couple of hours in the sun.
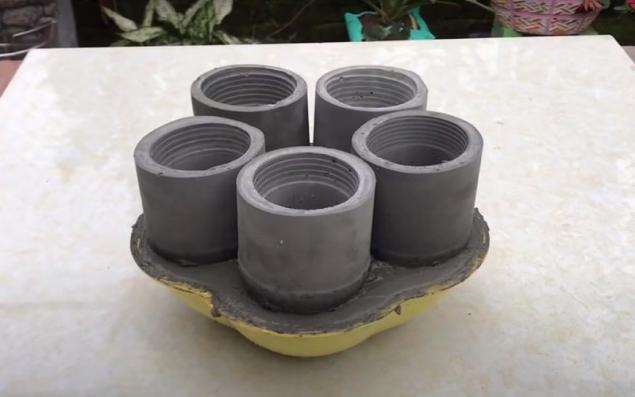
- Turn the future flower pot upside down. The plastic container will now be at the top and it can be easily removed by watering with boiling water on top.
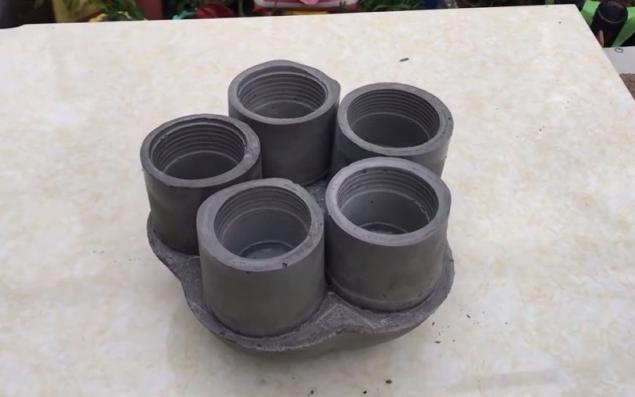
- Print the composition with white paint, and then paint it in any colors of your choice. Now you can safely transplant one flower into each shape you make, thus creating a whole floral ensemble near your home.
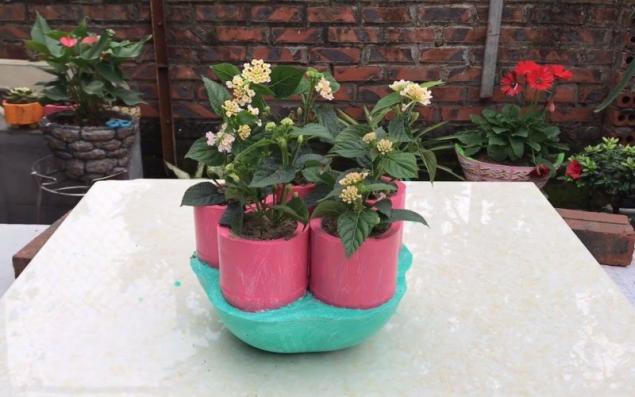
This is such a beautiful pot you can get if you spend a little time and effort on it. In this case, you can experiment with the number of bottles, volume and so on.

It happens that there is no time for watering flowers at all, and summer is a rather hot period. Ordinary physics will come to the rescue. Take a glass glass of water, place it on the surface between flower “pots” and lower one lace to each. The water will get to the plants without your help.
https://www.youtube.com/watch? v=c2FAcJDLQ
Of course, for the best visual effect, we have prepared a video for you. You like it? And we have a lot more interesting!
How to update the space of the apartment using corner shelves
Ideas of facade design for owners of small houses


