183
Impeccable silicone seams around the toilet with their own hands
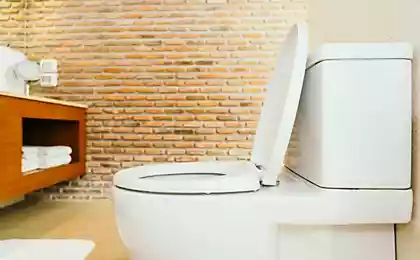
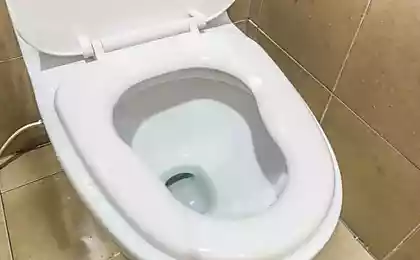
Bathroom renovation is always a long and painstaking process. You need to properly put the tile, connect communications, put a bath and toilet. At the end of the repair of the bathroom, a mandatory stage is the sealing of the seams. Editorial "Site" They will tell you how to do it carefully. silicone around the toilet with their hands.
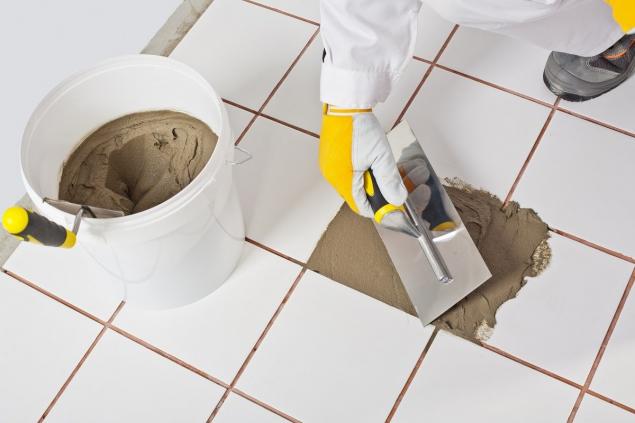
At first, it may seem that it is very easy to fix the seams: took a sealant, walked a couple of times - and it is ready. However, due to the lack of experience, the seam can be uneven, which will spoil the overall impression of the work done. Therefore, it is necessary to study this issue quite well before conducting sealing.
We're going to learn a little bit about welding technology. I will also tell you about one useful life hack, which, for example, helped me more than once. I have done renovations in the bathroom in my house, helping my parents and my neighbor. So I have some experience in this case.
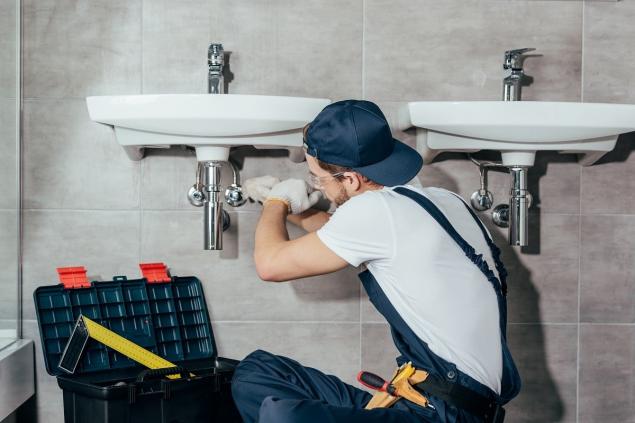
The first thing to do is to prepare a place for applying silicone. The surface on which the sealant is applied should be absolutely dry and clean. It also needs to be degreased with the appropriate means.
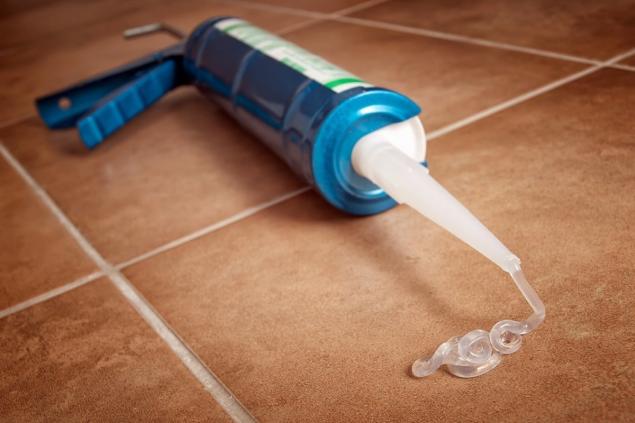
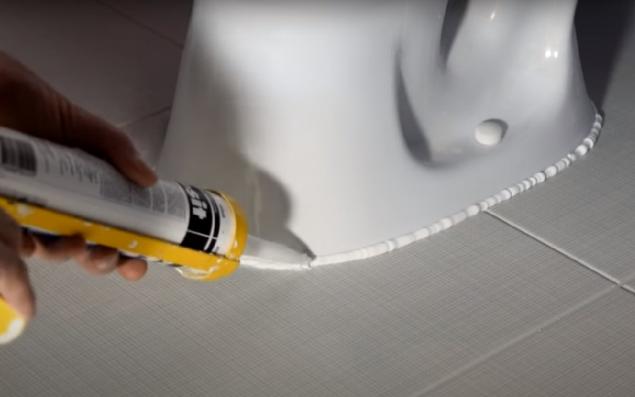
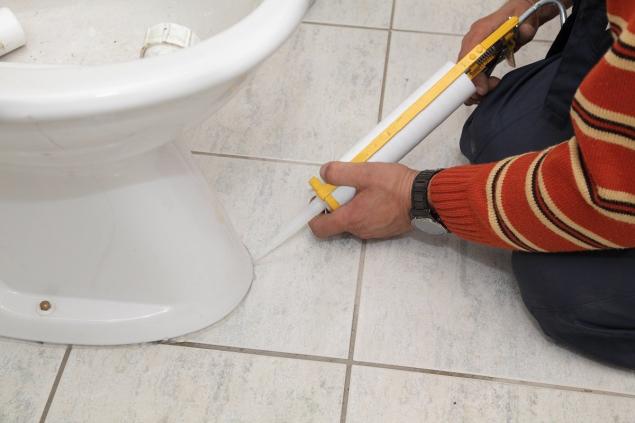
The sealing process is extremely simple: you need to evenly fill the inner space of the gap with silicone sealant. Do this carefully and slowly along the seam, without stopping. I advise you to cut the tip of the tube so that it coincides in width with the seam. This will help to avoid extrusion of excess silicone.
Smoothing seams Most often difficulties arise when smoothing. Silicone itself is very sticky, so it sticks firmly to dry surfaces. In order not to soil the remaining surfaces, some masters paste the edges of the seam on both sides with a paint tape. Then, with the help of a spatula, they form a neat smooth seam.
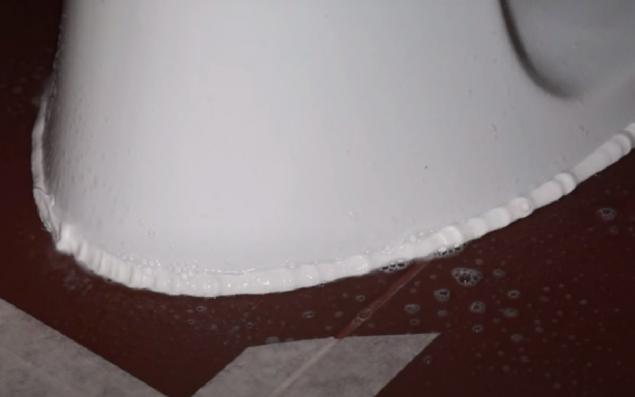
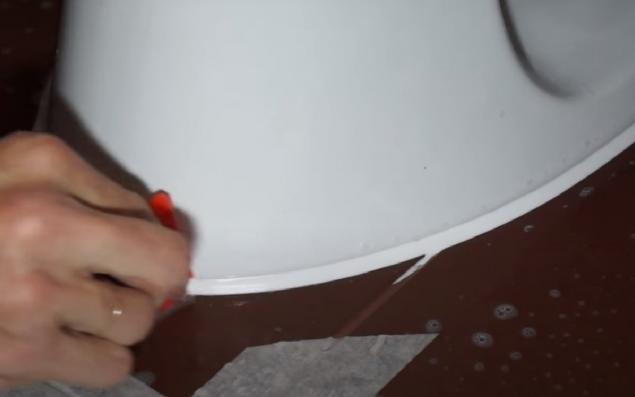
I do not use paint tape in my work – there is no time to mess with these “applications”. I always use this method when cleaning. I make a special soap solution and then wetting And the surfaces next to it. I just mold the silicone material with my fingers, wetting it a little bit. The seam turns out to be slightly sunken and at the same time looks beautiful and neat.
Such a simple hack from me and the editorial board. "Site". Time will come for repairs, remember this useful life hack. By the way, you can apply this technology to other places that have silicone seams. I hope this article was helpful to you. And what life hacks do you use for sealing in the bathroom or bathroom?

At first, it may seem that it is very easy to fix the seams: took a sealant, walked a couple of times - and it is ready. However, due to the lack of experience, the seam can be uneven, which will spoil the overall impression of the work done. Therefore, it is necessary to study this issue quite well before conducting sealing.

We're going to learn a little bit about welding technology. I will also tell you about one useful life hack, which, for example, helped me more than once. I have done renovations in the bathroom in my house, helping my parents and my neighbor. So I have some experience in this case.

The first thing to do is to prepare a place for applying silicone. The surface on which the sealant is applied should be absolutely dry and clean. It also needs to be degreased with the appropriate means.
The sealing process is extremely simple: you need to evenly fill the inner space of the gap with silicone sealant. Do this carefully and slowly along the seam, without stopping. I advise you to cut the tip of the tube so that it coincides in width with the seam. This will help to avoid extrusion of excess silicone.

Smoothing seams Most often difficulties arise when smoothing. Silicone itself is very sticky, so it sticks firmly to dry surfaces. In order not to soil the remaining surfaces, some masters paste the edges of the seam on both sides with a paint tape. Then, with the help of a spatula, they form a neat smooth seam.

I do not use paint tape in my work – there is no time to mess with these “applications”. I always use this method when cleaning. I make a special soap solution and then wetting And the surfaces next to it. I just mold the silicone material with my fingers, wetting it a little bit. The seam turns out to be slightly sunken and at the same time looks beautiful and neat.


Such a simple hack from me and the editorial board. "Site". Time will come for repairs, remember this useful life hack. By the way, you can apply this technology to other places that have silicone seams. I hope this article was helpful to you. And what life hacks do you use for sealing in the bathroom or bathroom?
