679
Ennoble old laptop
I want to share with you this little hobby that involved my wife called decoupage.
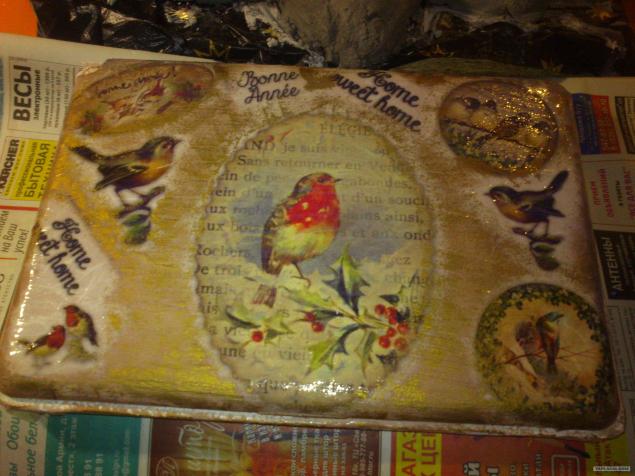
Well, for example, show that as a result it turns
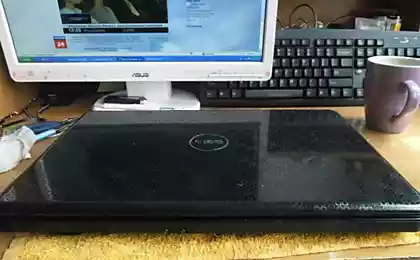
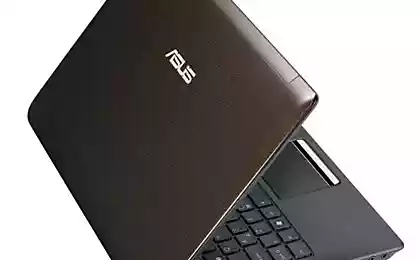
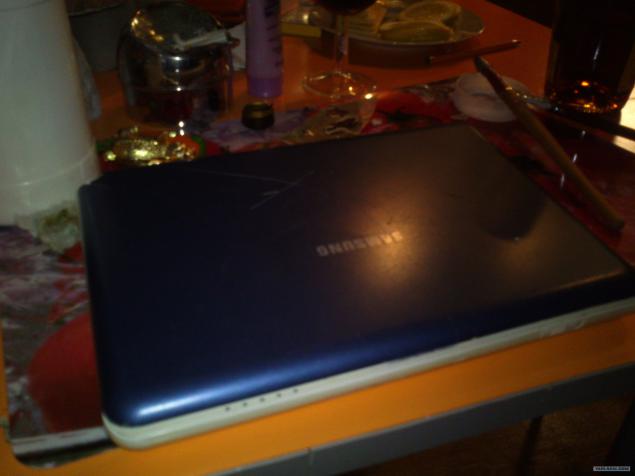
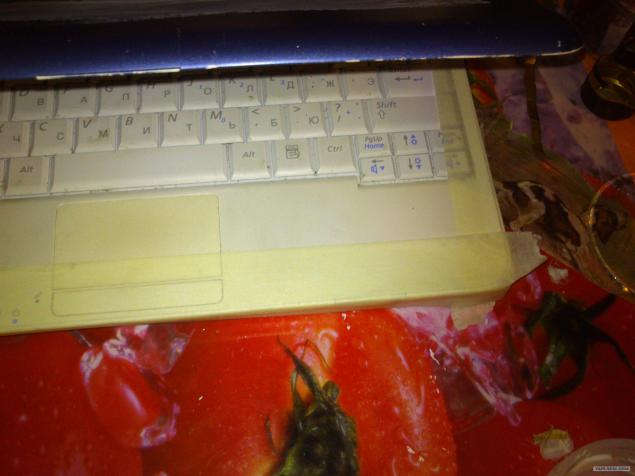
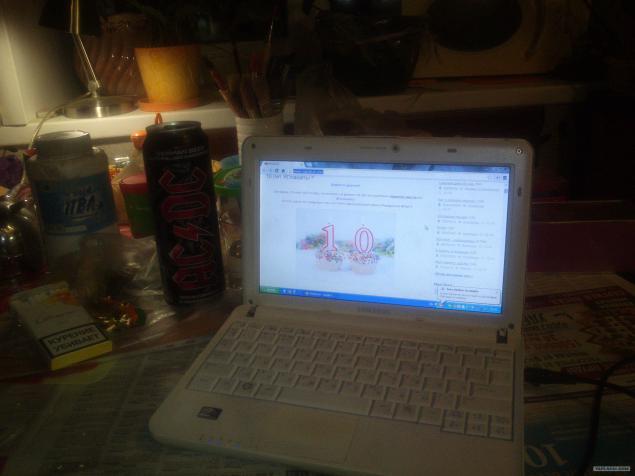
And so, we have no old beech battered by time and fate, but still clinging to life.
And also we have the desire to make it a little nicer to him and our STAYS little more fun.
22 photo.
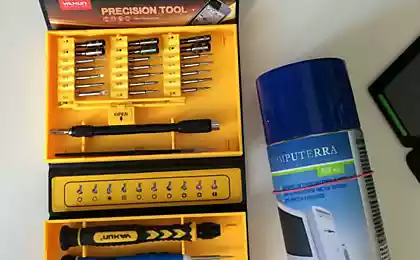
First you need to paste over the possibility of masking tape are the places that will be near the proschadi works as disassemble it has no desire, and not what it is, we all do neatly
Then take a brush and start to paint primed mercilessly.
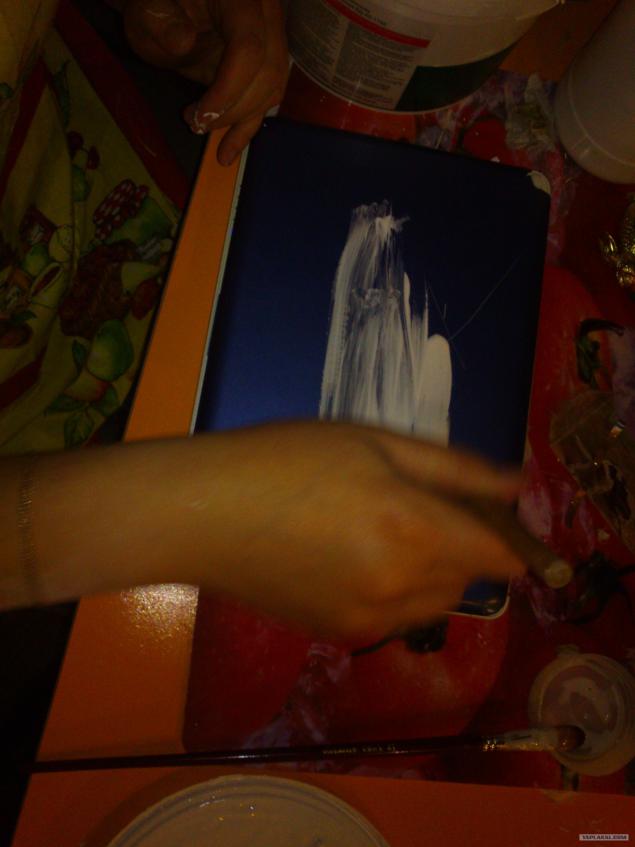
After the first layer of soil here is get something.
For jobs ispoluem acrylic paint since - firstly, it does not smell, dries quickly in the second, third ... well, in general it has many more advantages.
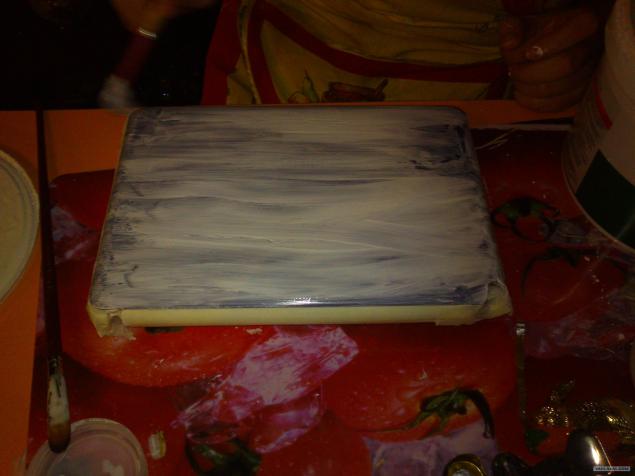
Then we put another two - three layers of soil dries out naturally while waiting to touch the previous layer.
The output is uniformly white color over the entire surface.
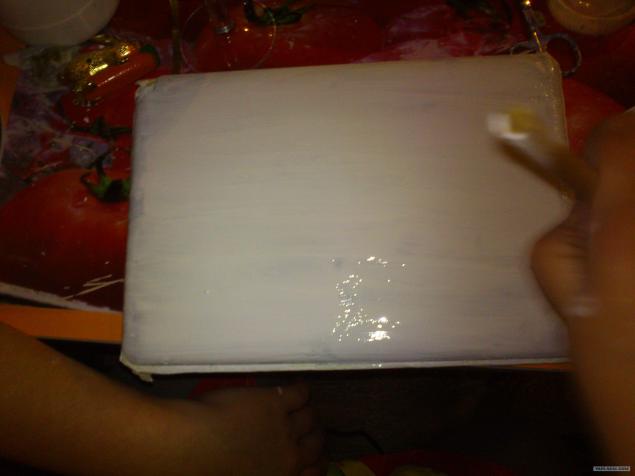
To speed up the drying process allowed the use of dryers socks :)

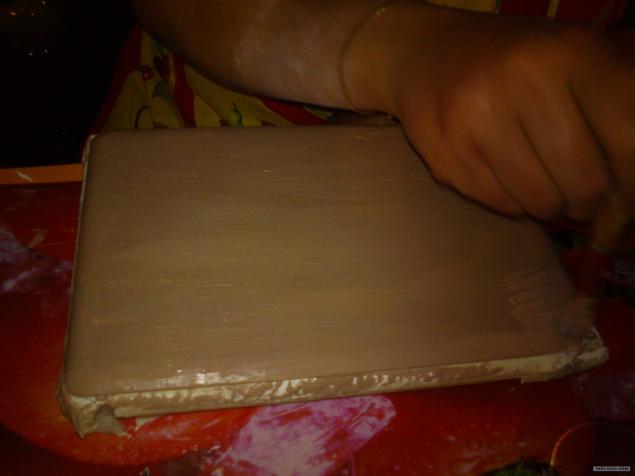
After the primer has dried Apply base color.
For the primary color all take the same acrylic paint and kolyaruem it in the desired color to us.
We decided to do the same color.
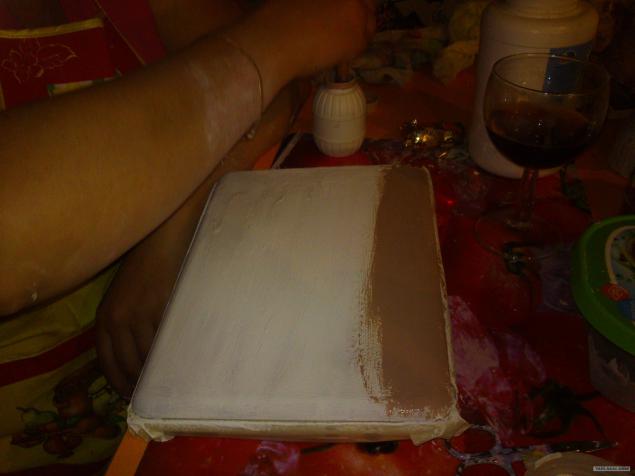
Evenly over all surfaces of nowhere trying to nebylo gaps - in fact, if there are no large gaps that nothing bad will happen.
Traditionally, state control comes
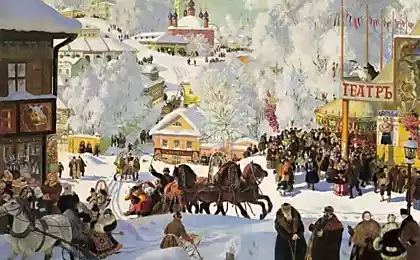
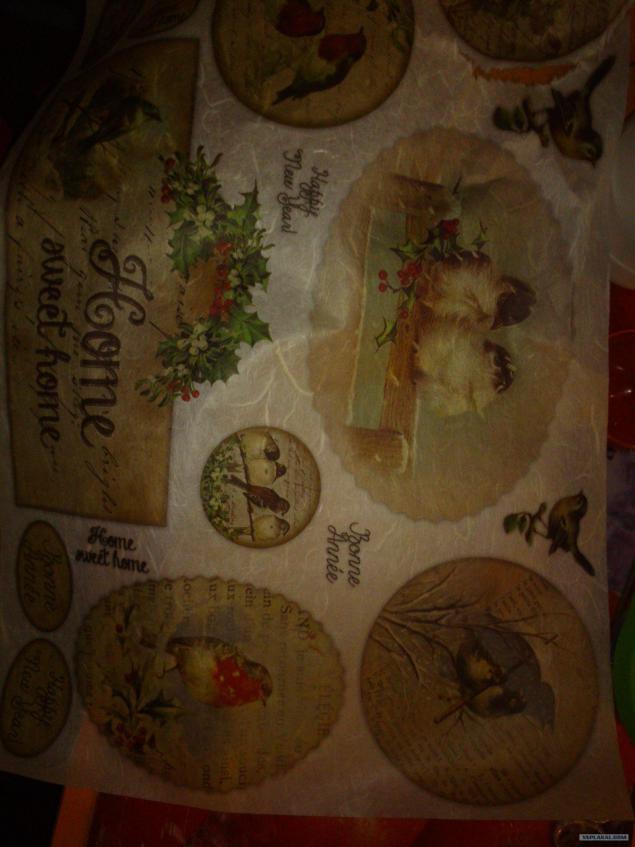
Then take the rice map. But we figure it will not look. :)
For decoupage technique used all sorts of pictures, which are mainly applied to a napkin or on a rice paper.
In the case of drawings on rice paper, they are called rice card.
We'll use just such a card.
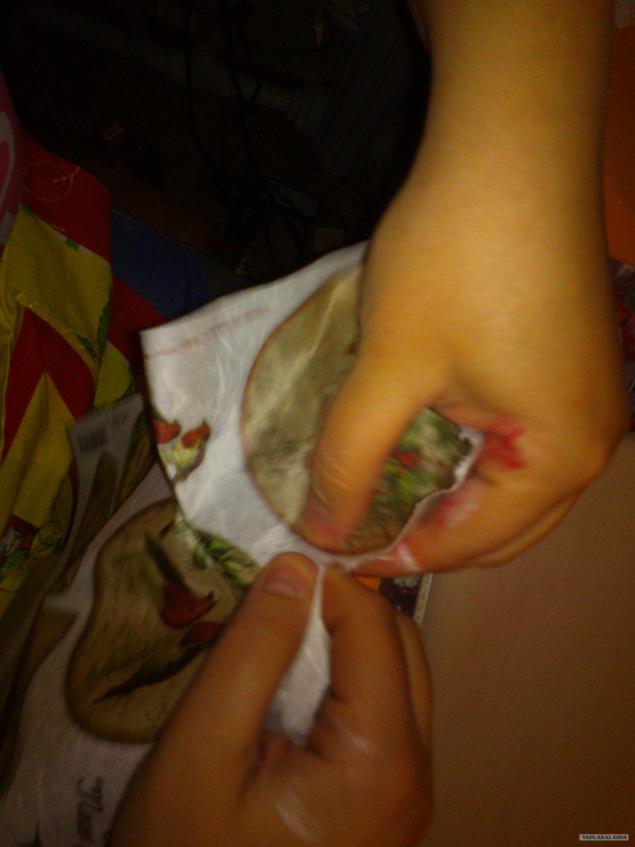
From this map, we have to select those pictures that we liked and snatch them from there.
ie We will use your hands instead of scissors.
Then we try will look like our pictures on the site. ie we just lay them out and see how they will lie, what the picture is much better place, etc. etc.
and begin to stick our pictures
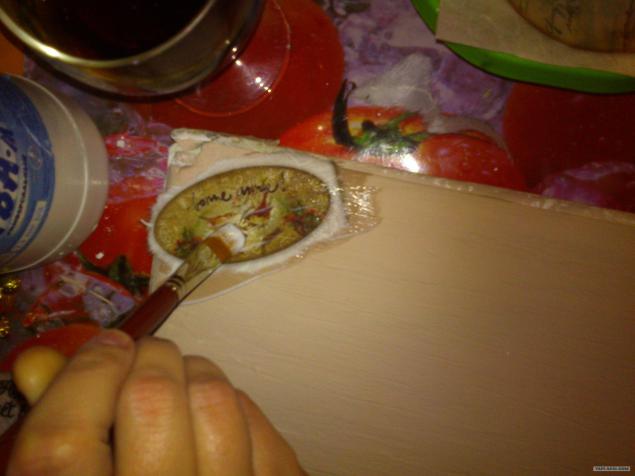
Glue our rice paper, we are not as we usually are accustomed to having smeared the bottom and attach, and vice versa.
We are putting a picture we like to paint and starts over it with glue. ie we have the whole picture completely saturated with glue and glued.
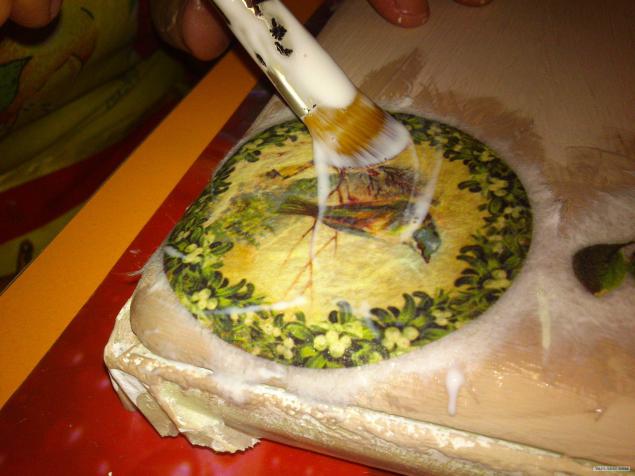
Glued all this miracle on a regular PVA glue.
The picture begins to emerge, but the final is still far.
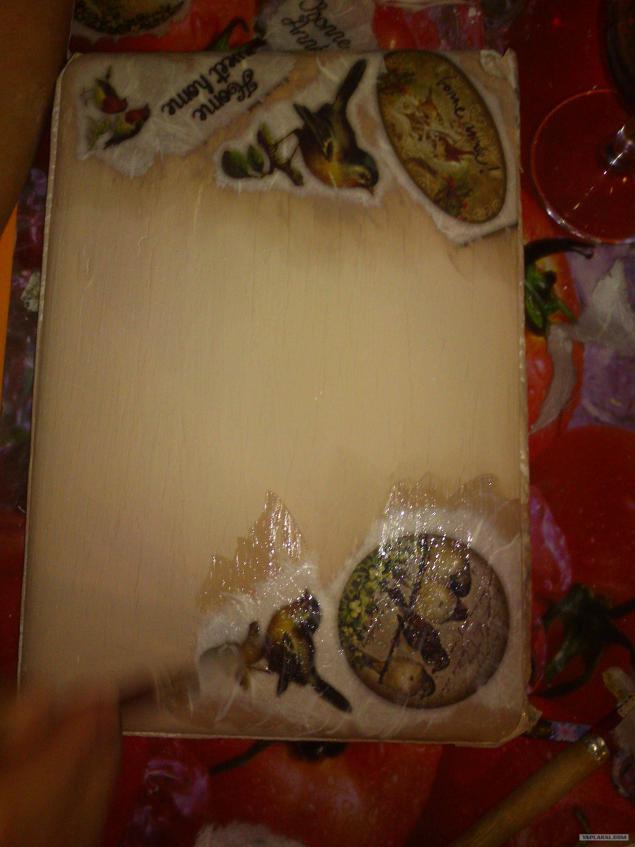
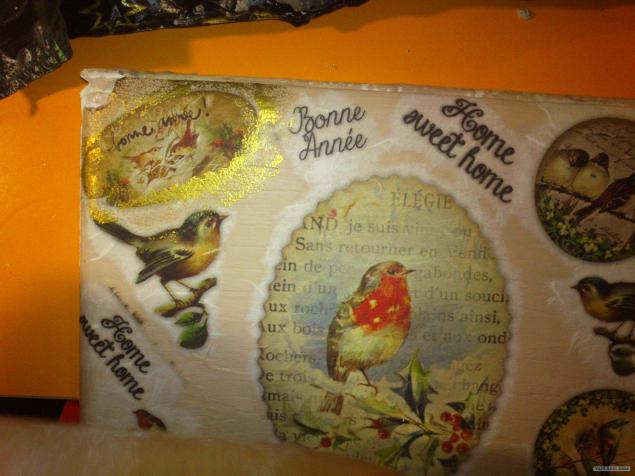
Well, all the pictures that we have identified themselves at the beginning of glued.
It turns out like this, but the end is not yet.
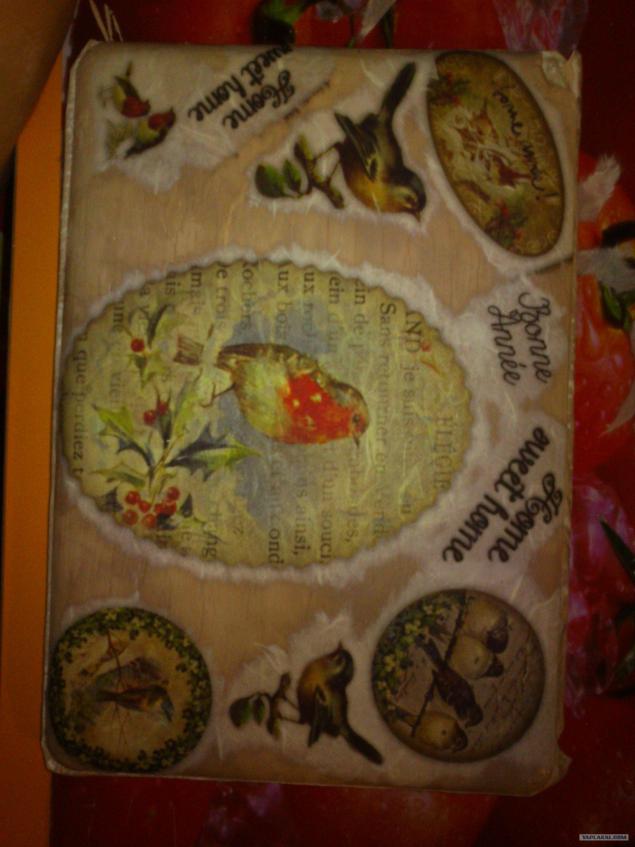
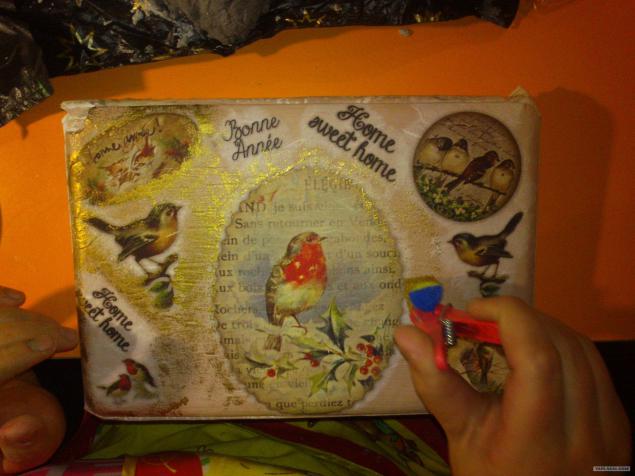
Take the gold paint and begin to shade our drawings tampiruya space between them.
For the production of gold paint take acrylic lacquer and extending a copper powder.
You can certainly go out and buy in an art shop but worth it to be there as a wing of the Boeing :)
Gradually, the entire space between the patterns coated with gold
Gold need not nakrashivat namely tampirovat, ie neat lightly, slightly trample down sponge.
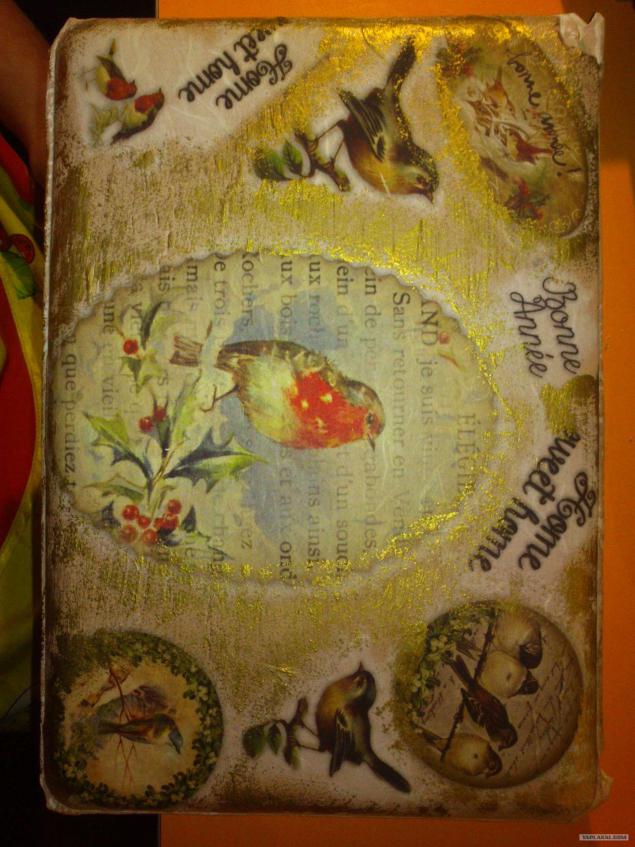
Well, that's in front of us is almost finished product. You're a couple of strokes.
To protect all our beauty, which we then Paul, we must all varnished in several layers.
Then you can relax and leave everything to dry completely.
Luck, as we wrote above, we use also not toned acrylic.
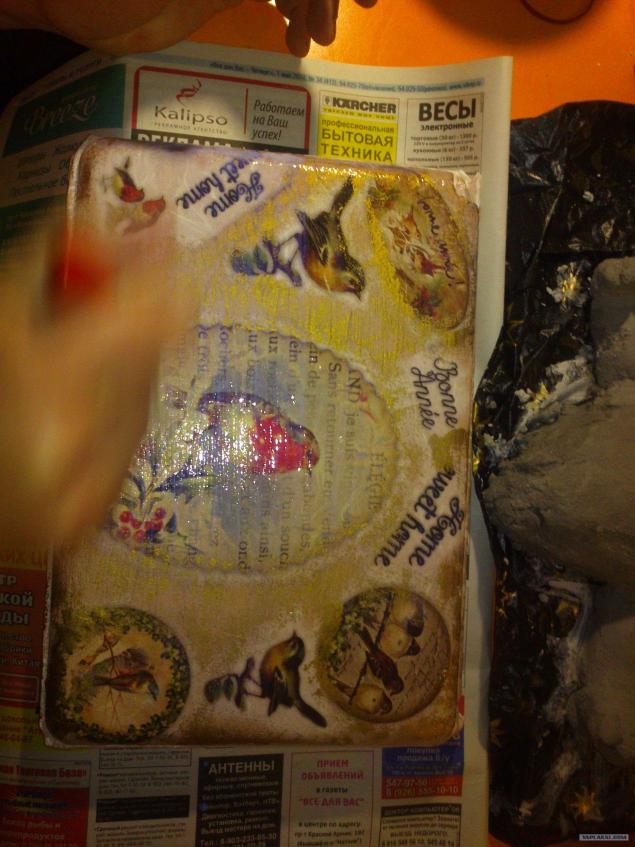
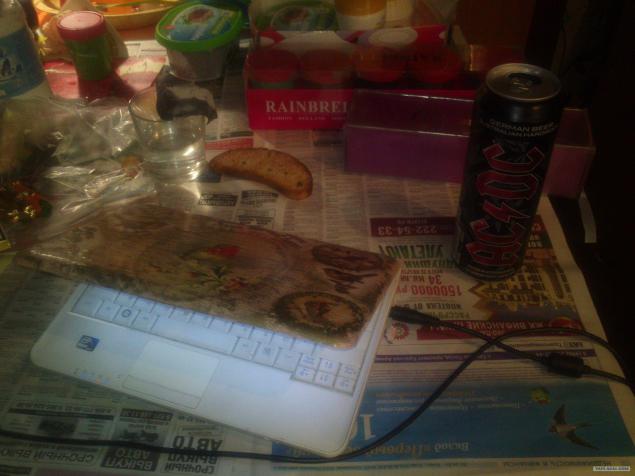
So in the end it looks like the cover of our beech is not after varnishing.
Once dry, open, peel off the adhesive tape, a little place where we clean it is certainly hit the paint or varnish well and finally turn.
Hurrah !!! Works !!!
More
Well, according to tradition ...
Photographed on all the brush, so that the quality can imagine.
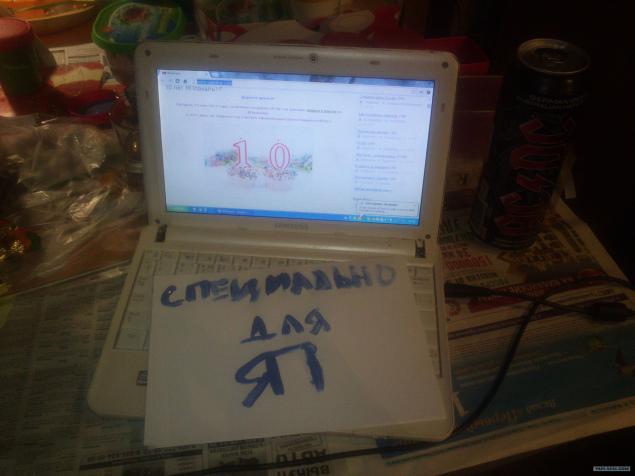
I'm !!!
Thank you !!!
Well, for example, show that as a result it turns
And so, we have no old beech battered by time and fate, but still clinging to life.
And also we have the desire to make it a little nicer to him and our STAYS little more fun.
22 photo.

First you need to paste over the possibility of masking tape are the places that will be near the proschadi works as disassemble it has no desire, and not what it is, we all do neatly

Then take a brush and start to paint primed mercilessly.

After the first layer of soil here is get something.
For jobs ispoluem acrylic paint since - firstly, it does not smell, dries quickly in the second, third ... well, in general it has many more advantages.

Then we put another two - three layers of soil dries out naturally while waiting to touch the previous layer.
The output is uniformly white color over the entire surface.

To speed up the drying process allowed the use of dryers socks :)

After the primer has dried Apply base color.
For the primary color all take the same acrylic paint and kolyaruem it in the desired color to us.
We decided to do the same color.

Evenly over all surfaces of nowhere trying to nebylo gaps - in fact, if there are no large gaps that nothing bad will happen.

Traditionally, state control comes

Then take the rice map. But we figure it will not look. :)
For decoupage technique used all sorts of pictures, which are mainly applied to a napkin or on a rice paper.
In the case of drawings on rice paper, they are called rice card.
We'll use just such a card.

From this map, we have to select those pictures that we liked and snatch them from there.
ie We will use your hands instead of scissors.

Then we try will look like our pictures on the site. ie we just lay them out and see how they will lie, what the picture is much better place, etc. etc.
and begin to stick our pictures

Glue our rice paper, we are not as we usually are accustomed to having smeared the bottom and attach, and vice versa.
We are putting a picture we like to paint and starts over it with glue. ie we have the whole picture completely saturated with glue and glued.

Glued all this miracle on a regular PVA glue.
The picture begins to emerge, but the final is still far.

Well, all the pictures that we have identified themselves at the beginning of glued.
It turns out like this, but the end is not yet.

Take the gold paint and begin to shade our drawings tampiruya space between them.
For the production of gold paint take acrylic lacquer and extending a copper powder.
You can certainly go out and buy in an art shop but worth it to be there as a wing of the Boeing :)

Gradually, the entire space between the patterns coated with gold
Gold need not nakrashivat namely tampirovat, ie neat lightly, slightly trample down sponge.

Well, that's in front of us is almost finished product. You're a couple of strokes.

To protect all our beauty, which we then Paul, we must all varnished in several layers.
Then you can relax and leave everything to dry completely.
Luck, as we wrote above, we use also not toned acrylic.

So in the end it looks like the cover of our beech is not after varnishing.

Once dry, open, peel off the adhesive tape, a little place where we clean it is certainly hit the paint or varnish well and finally turn.
Hurrah !!! Works !!!

More

Well, according to tradition ...
Photographed on all the brush, so that the quality can imagine.
I'm !!!
Thank you !!!