817
Christmas toys from cones with their hands
7 photo
We make toys for the Christmas tree with the children.
What you need:
1. several brushes;
2. gouache;
3. old nail polish, or any other toolbox (color hairspray, paint in cans, sequins, beads, etc.);
4. imagination;
5 children from one or more, although some, who do not yet, is extremely useful, too, to do it, because in this there is some visualization of the future large family;
6. conventional cones;
7. The artificial snow or salt.
Proceed
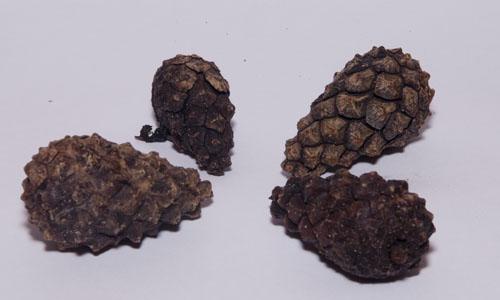
I will try to describe the whole principle of the work in terms of the fact that this information is written for children, but it does not mean that it is focused only on them.
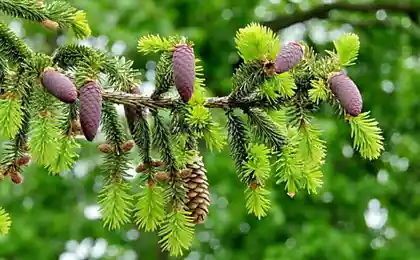
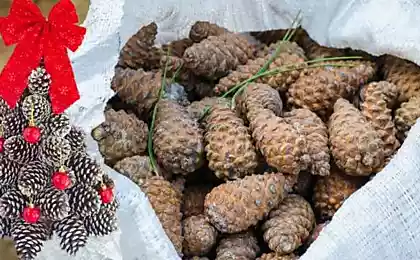
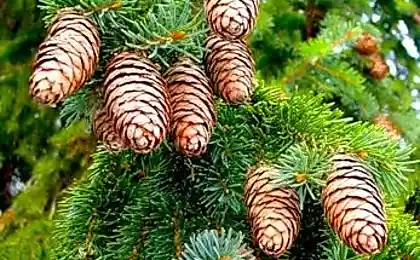
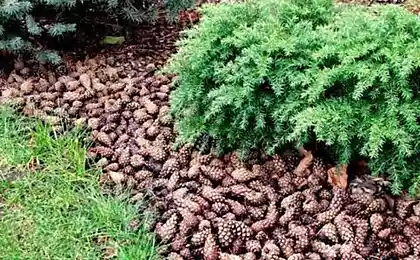
Be sure to make the event of a hike in the forest for the cones, the child should explain why you are going to go and what goals are pursuing. For example, go to the forest to collect cones to make their New Year's toys on the Christmas tree for yourself, as a gift for grandparents, and so on. D.
Collect a lot of bumps, if the children interested, better yet throw out than take away a child's happiness from the collection of matter.
Step Two - cook cones
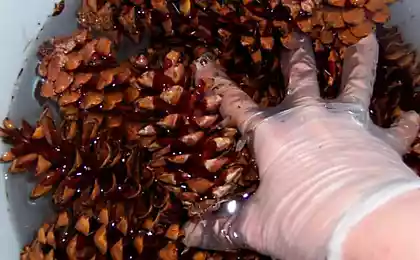
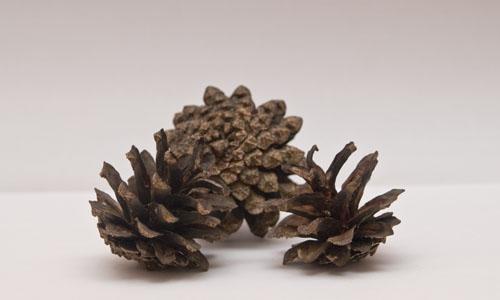
This step is also advisable to explain to children, cones are cooked not to eat them later, and to kill germs and after drying (third stage), they are well opened.
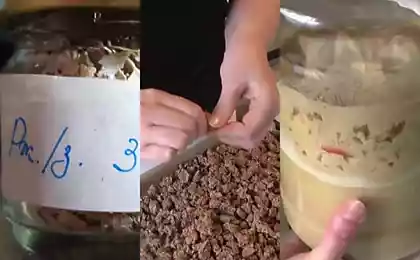
Cook for 20-30 minutes, we give cool and put on the battery, so they dry faster and better revealed.
The third stage - drying
Be sure to explain to your child that when dry cones open and preobretajut unique and familiar to us all kind of open cones. By the way, a very interesting transformation.
Cooking paints, brushes and children - the fourth stage
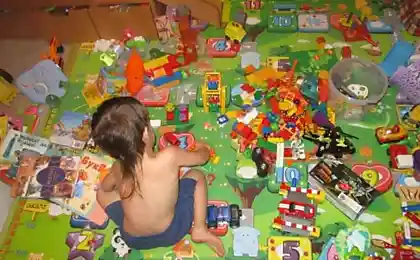
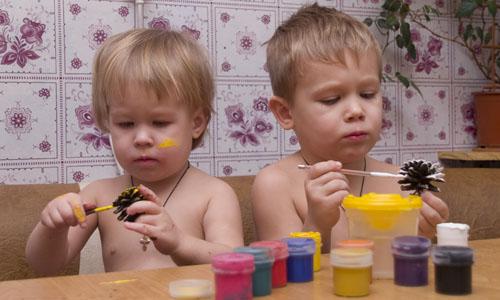
Here you have to be ready soon, because in this case, the paint will not only bumps and foreheads, Bellies, hands and all other parts of the body of your children, and even some of your own. By the way, get ready for that table, walls and other surrounding objects will be war paint in the creative process of your children - but then, they are children. No need to shout, take care of your nerves!
The fifth stage - creativity and imagination
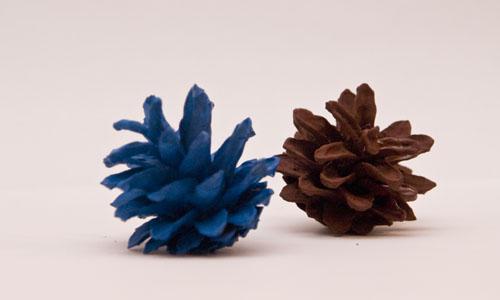
There is nothing special to describe, here it is necessary to dream, to paint, to dream again and again to paint.
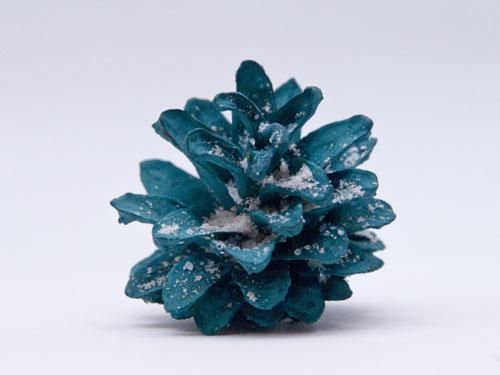
We first paint a lump in one or more colors, after drying the first layer we put a second (if gouache too absorbed). At this stage, you can use varnish, glitter and other improvised instruments. The store sells artificial snow, is best suited dry, but it is quite possible to replace the salt - the effect is not worse.
Note: Gouache dries very quickly (approximately 5-10 minutes), glitter and paint applied easily, so the whole process does not take a lot of time.
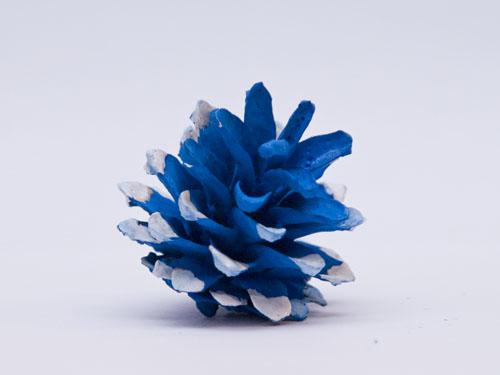
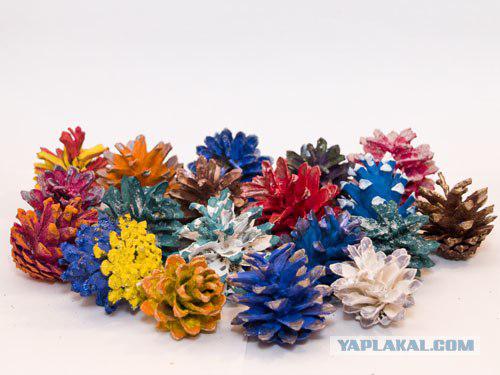
Ideas for such a beautiful Christmas cones
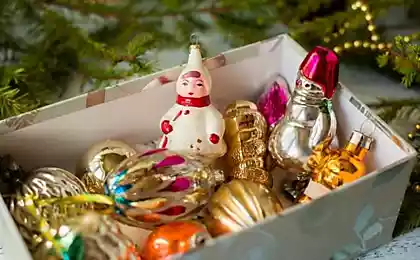
1. Carefully pierced the middle of a cone with a needle (tip down), in the ear can be to thread, and tie - ala Wu, toys for the Christmas tree is ready!
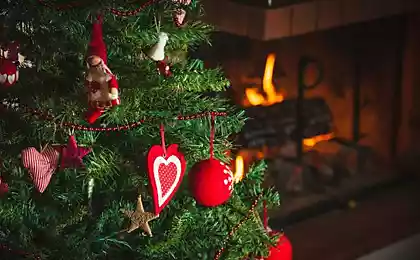
2. Under the Christmas tree to put something white and fluffy (imitation snow), cotton or man-made snow, and spread out on top of a beautifully made by children cones.
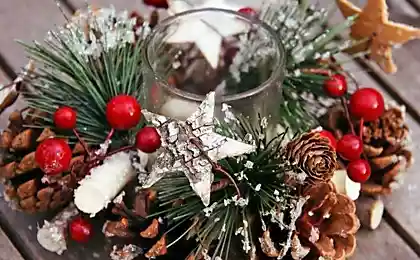
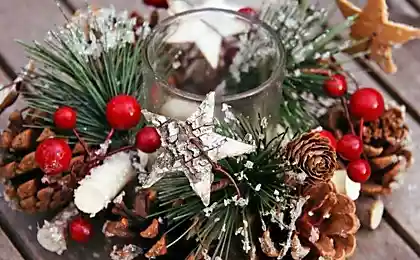
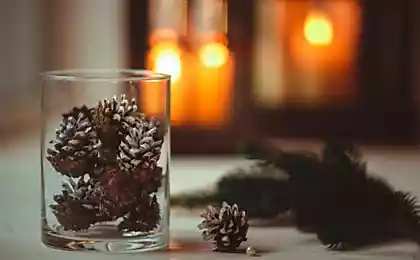
3. These bumps will look great in candlesticks, vases or any other objects that serve as decoration for the New Year's table.
In preparing the material, no animal was hurt, no child did not get satisfaction. Maybe hit a table, chairs, walls, refrigerator, and just a little bit, the nerves of parents
Pros
Pluses are obvious.
Cons
We can say, have not been found.
Side effects
No.
Result robots
The result of the - there.
Source
Source:
We make toys for the Christmas tree with the children.
What you need:
1. several brushes;
2. gouache;
3. old nail polish, or any other toolbox (color hairspray, paint in cans, sequins, beads, etc.);
4. imagination;
5 children from one or more, although some, who do not yet, is extremely useful, too, to do it, because in this there is some visualization of the future large family;
6. conventional cones;
7. The artificial snow or salt.

Proceed
I will try to describe the whole principle of the work in terms of the fact that this information is written for children, but it does not mean that it is focused only on them.
Be sure to make the event of a hike in the forest for the cones, the child should explain why you are going to go and what goals are pursuing. For example, go to the forest to collect cones to make their New Year's toys on the Christmas tree for yourself, as a gift for grandparents, and so on. D.
Collect a lot of bumps, if the children interested, better yet throw out than take away a child's happiness from the collection of matter.

Step Two - cook cones
This step is also advisable to explain to children, cones are cooked not to eat them later, and to kill germs and after drying (third stage), they are well opened.
Cook for 20-30 minutes, we give cool and put on the battery, so they dry faster and better revealed.
The third stage - drying
Be sure to explain to your child that when dry cones open and preobretajut unique and familiar to us all kind of open cones. By the way, a very interesting transformation.

Cooking paints, brushes and children - the fourth stage
Here you have to be ready soon, because in this case, the paint will not only bumps and foreheads, Bellies, hands and all other parts of the body of your children, and even some of your own. By the way, get ready for that table, walls and other surrounding objects will be war paint in the creative process of your children - but then, they are children. No need to shout, take care of your nerves!

The fifth stage - creativity and imagination
There is nothing special to describe, here it is necessary to dream, to paint, to dream again and again to paint.
We first paint a lump in one or more colors, after drying the first layer we put a second (if gouache too absorbed). At this stage, you can use varnish, glitter and other improvised instruments. The store sells artificial snow, is best suited dry, but it is quite possible to replace the salt - the effect is not worse.
Note: Gouache dries very quickly (approximately 5-10 minutes), glitter and paint applied easily, so the whole process does not take a lot of time.

Ideas for such a beautiful Christmas cones
1. Carefully pierced the middle of a cone with a needle (tip down), in the ear can be to thread, and tie - ala Wu, toys for the Christmas tree is ready!
2. Under the Christmas tree to put something white and fluffy (imitation snow), cotton or man-made snow, and spread out on top of a beautifully made by children cones.
3. These bumps will look great in candlesticks, vases or any other objects that serve as decoration for the New Year's table.
In preparing the material, no animal was hurt, no child did not get satisfaction. Maybe hit a table, chairs, walls, refrigerator, and just a little bit, the nerves of parents

Pros
Pluses are obvious.
Cons
We can say, have not been found.
Side effects
No.
Result robots
The result of the - there.
Source

Source:
