518
Atari Punk Console on Friday night
Hello everyone, this is my first post, the idea of which actually occurred by chance.
I sat the other day on the Internet and found an interesting scheme, namely the scheme Atari Punk Console. I looked closer and it was interesting.
I warn you once. This is my first job almost with a soldering iron And at one point cruelly stepped, but because I was a novice.
Will be 16 photos and little text. And at the end of the video. Do not break pliz.
1 Find out what you need from the parts went to the store and bought a radio parts, and then built the circuit PCB ... well I smash his head until it did. As in the example was a used one timer 556, and I had to build all the work by 2 timers 555.
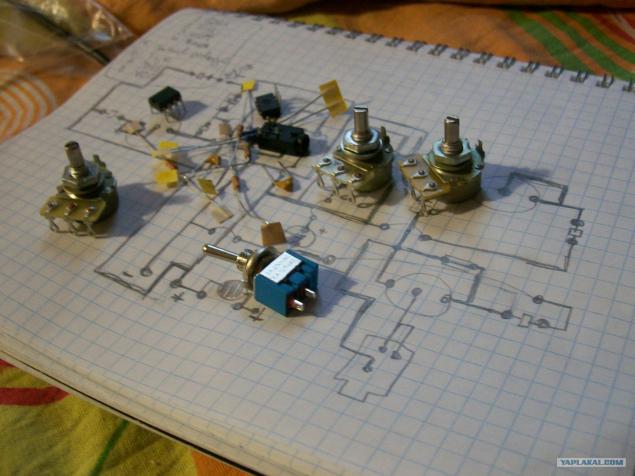
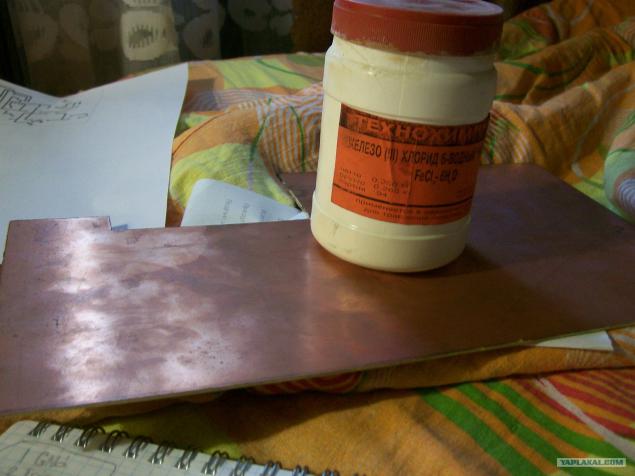
2 But equally important elements of iron chloride and PCB. Without them, I would have broken off)
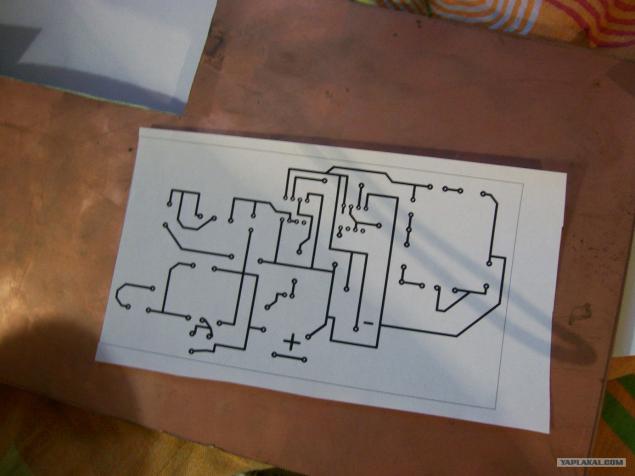
3 own schemes, which must be transferred to the PCB.
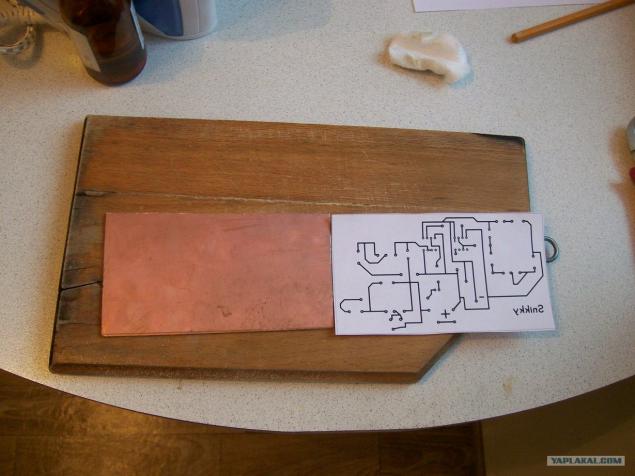
4 Textolite already cut to the required size.
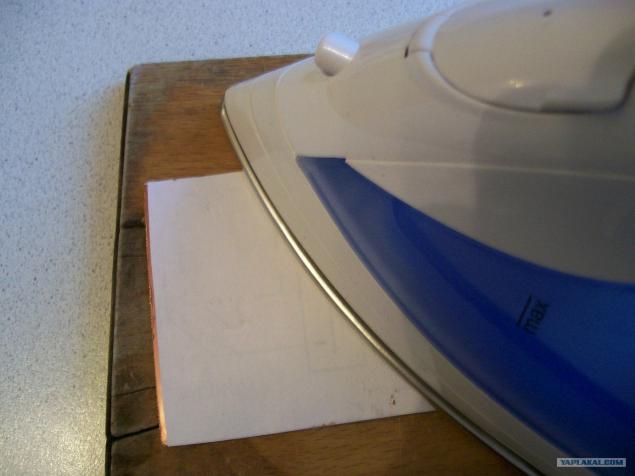
5 To transfer the pattern on the PCB using an iron. How long I have not used them
6 Well scheme transferred to the PCB, you can prepare for etching
7 Drop a PCB in the tub with a solution of ferric chloride dissolved.
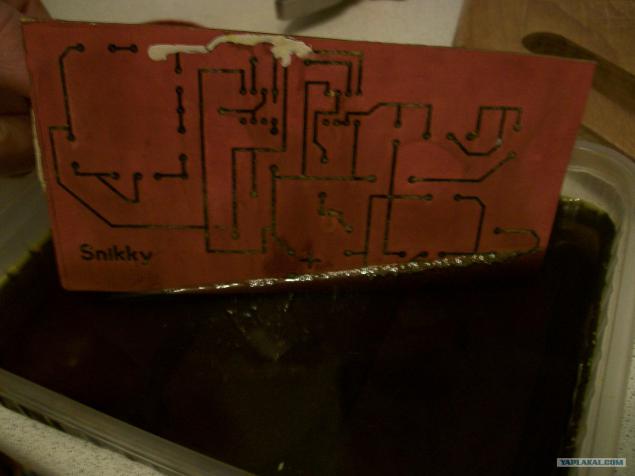
8. So she has to lie there for about half an hour.
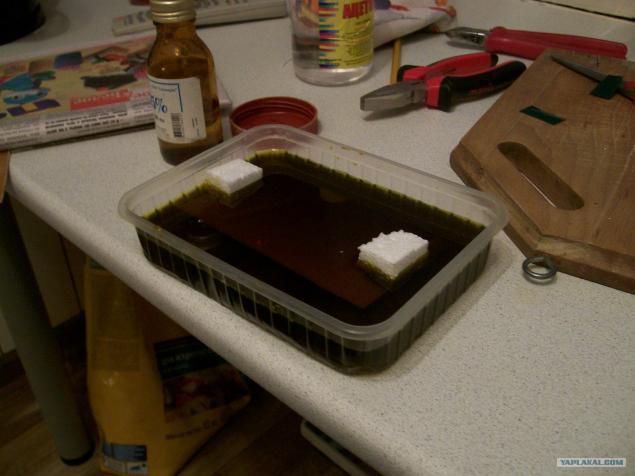
9 iron bath etched
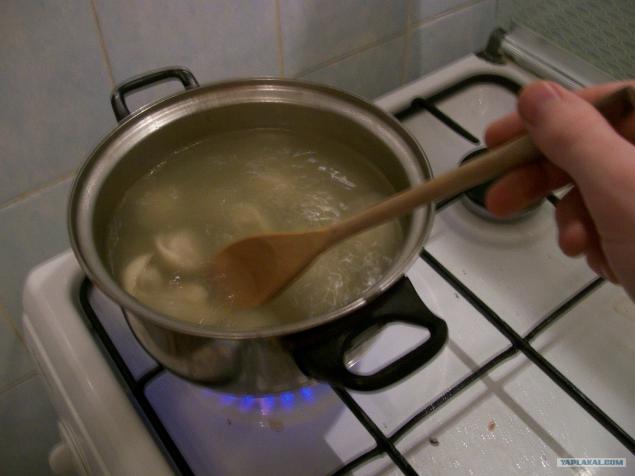
And I cooked dumplings
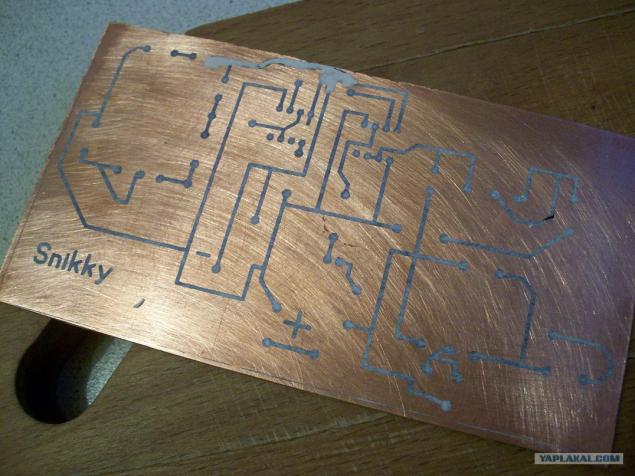
10 Well, that's all, and we look extract that extra layer of copper went down with a bang, and it was only under the paint
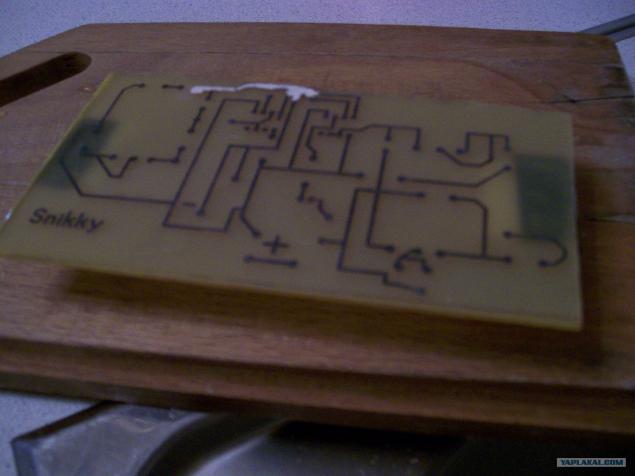
11 Erase paint and preparing to drill holes.
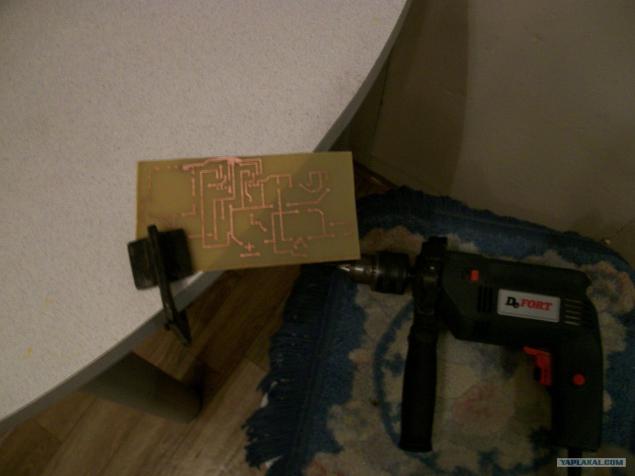
12 Fee tipped, holes done, tin finished. You can navigate to the diet.
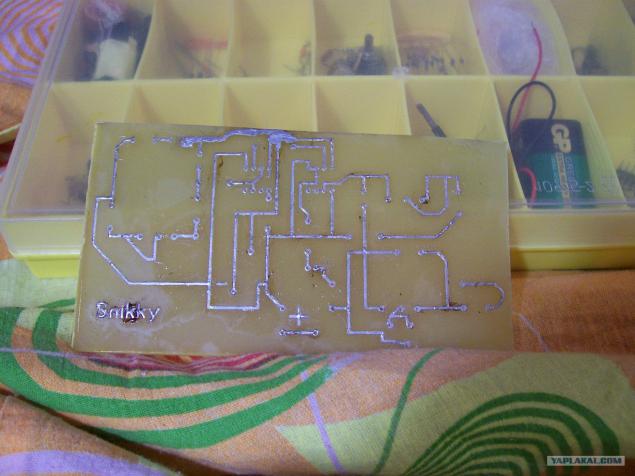
13 And here is the first elements begin to appear in the scheme.
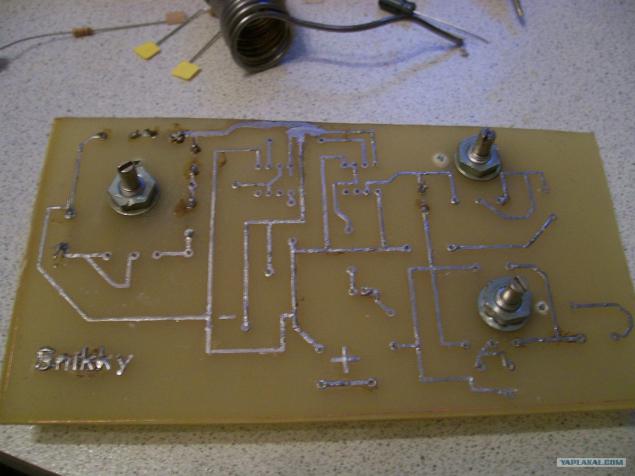
14 A little.
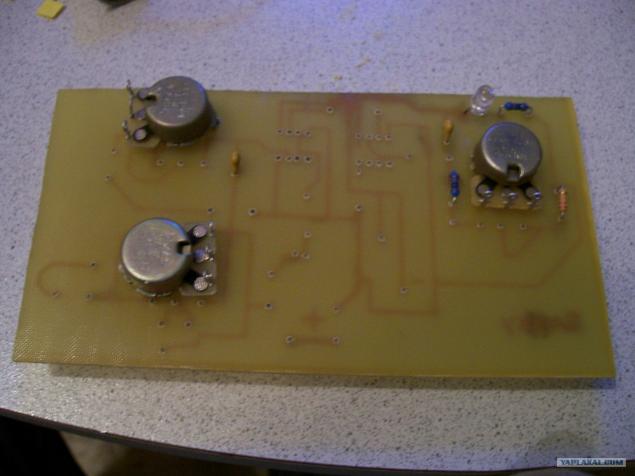
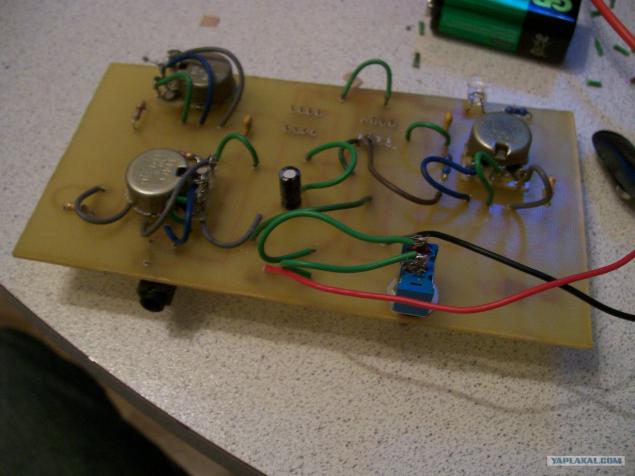
15 Then I went into the excitement that even forgot about the camera down. Actually the final version in front of you.
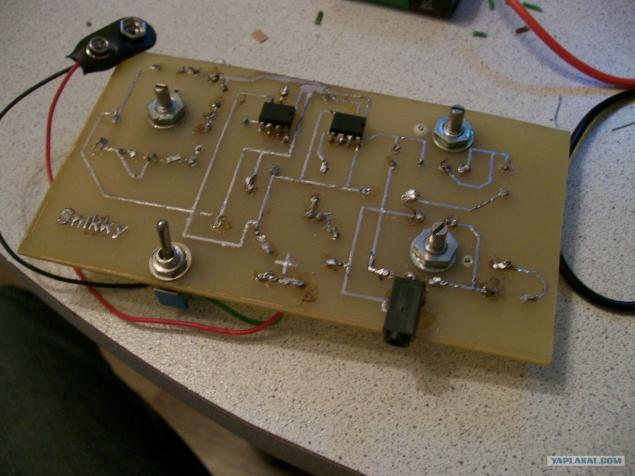
16 On the other hand.
Posted in [mergetime] 1323454615 [/ mergetime]
That's the final video. The cat was still in shock probably half an hour)
I have everything
Source:
I sat the other day on the Internet and found an interesting scheme, namely the scheme Atari Punk Console. I looked closer and it was interesting.
I warn you once. This is my first job almost with a soldering iron And at one point cruelly stepped, but because I was a novice.
Will be 16 photos and little text. And at the end of the video. Do not break pliz.
1 Find out what you need from the parts went to the store and bought a radio parts, and then built the circuit PCB ... well I smash his head until it did. As in the example was a used one timer 556, and I had to build all the work by 2 timers 555.

2 But equally important elements of iron chloride and PCB. Without them, I would have broken off)

3 own schemes, which must be transferred to the PCB.

4 Textolite already cut to the required size.

5 To transfer the pattern on the PCB using an iron. How long I have not used them

6 Well scheme transferred to the PCB, you can prepare for etching

7 Drop a PCB in the tub with a solution of ferric chloride dissolved.

8. So she has to lie there for about half an hour.

9 iron bath etched
And I cooked dumplings

10 Well, that's all, and we look extract that extra layer of copper went down with a bang, and it was only under the paint

11 Erase paint and preparing to drill holes.

12 Fee tipped, holes done, tin finished. You can navigate to the diet.

13 And here is the first elements begin to appear in the scheme.

14 A little.

15 Then I went into the excitement that even forgot about the camera down. Actually the final version in front of you.

16 On the other hand.
Posted in [mergetime] 1323454615 [/ mergetime]
That's the final video. The cat was still in shock probably half an hour)
I have everything

Source:
A series of photos of candles so romantic and mysterious at the same time.
Climbing on the frozen waterfall
