855
Tube preamp
That's decided to share. Maybe someone from the readers will be interested. There was a task to make tube preamp (phono RIAA) for vinilproigryvatelya with the release of a low-impedance load. I want a man to enjoy rock music with vinyl records.
Thus, the problem posed. We will implement
/ Will be about 30 pictures. The end will tell. /
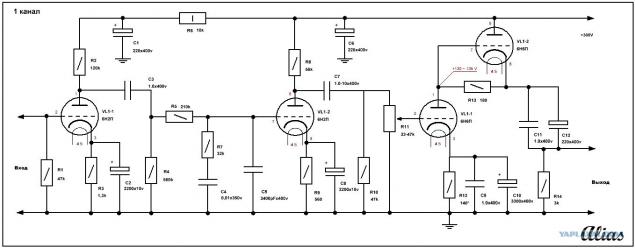
As always, it all starts with the theory. Draw a diagram. There actually is nothing special. Everything is taken from reference books and years of perfect scheme.
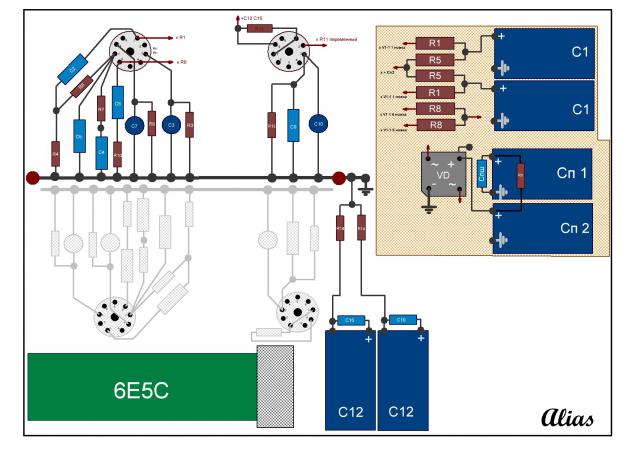
Further, it is necessary to estimate the installation will look like. Everything is done half way desirable for the lamp circuits.
The main theoretical part ready. If you do not delve deeply into the details.
We proceed to the construction of the body. For me it is important that the product was finished look and pleasing to the eye, and there was a bunch of soldered parts.
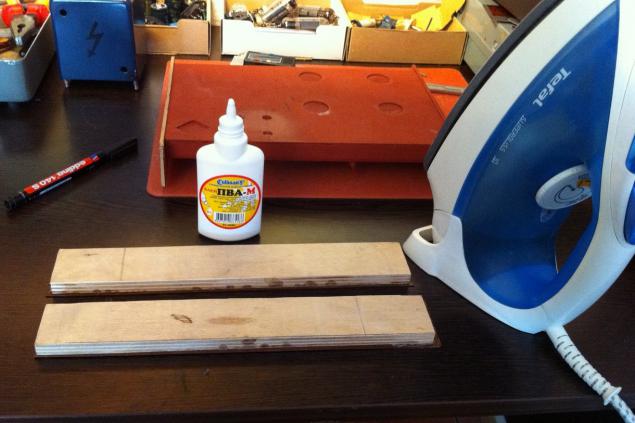
Tools and materials are chosen.
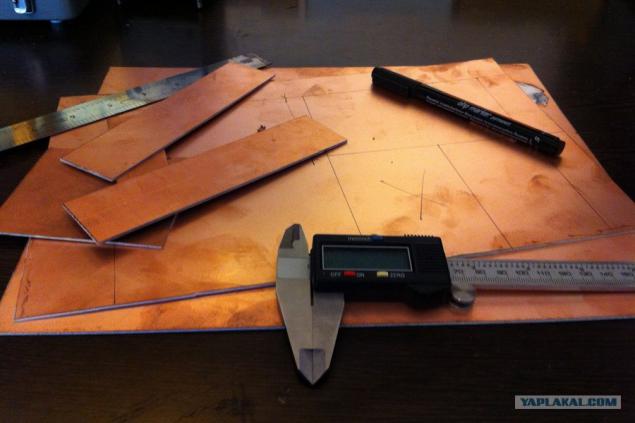
The best option for body seemed a foil PCB.
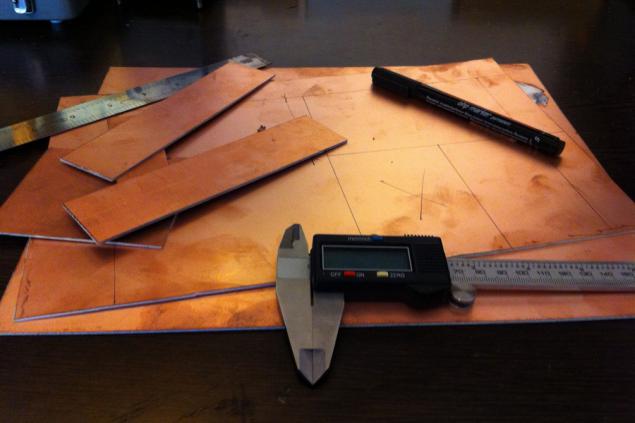
Further, according to the sketch that I have in my head, and cut rascherchivaem PCB. To connect the parts there is nothing more reliable soldering simple powerful soldering iron. That's what I started to turn ...
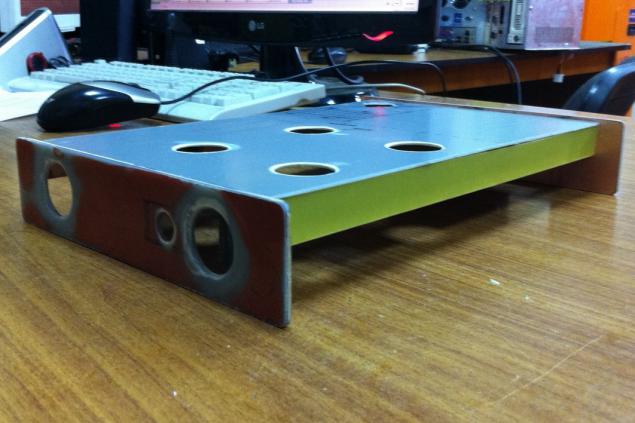
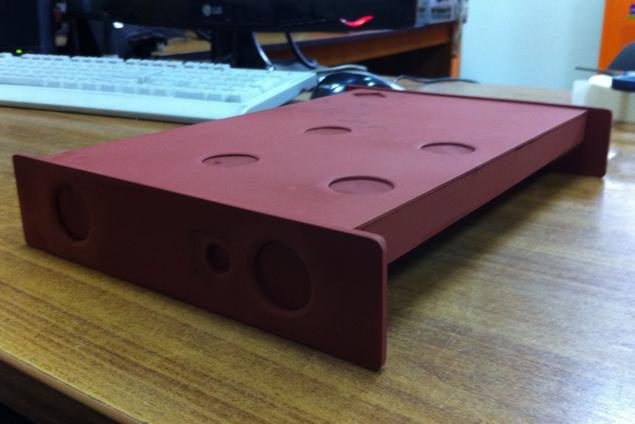
Welded body

In it provided reinforcement ribs and brackets under some details
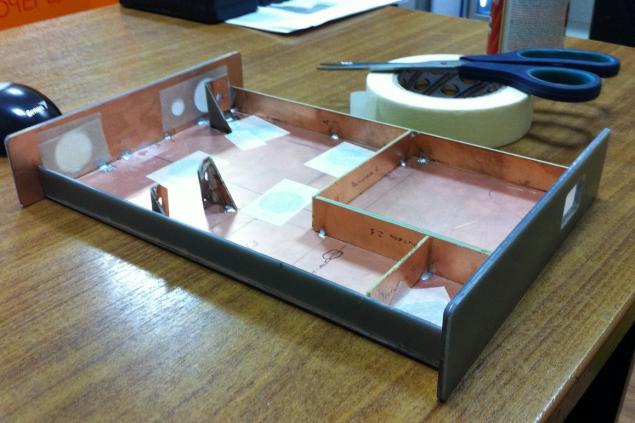
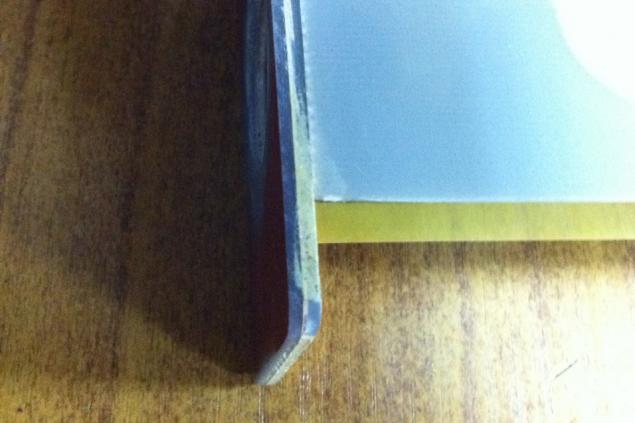
Here you can see: the front panel is glued together from two sheets of greater thickness and better appearance.
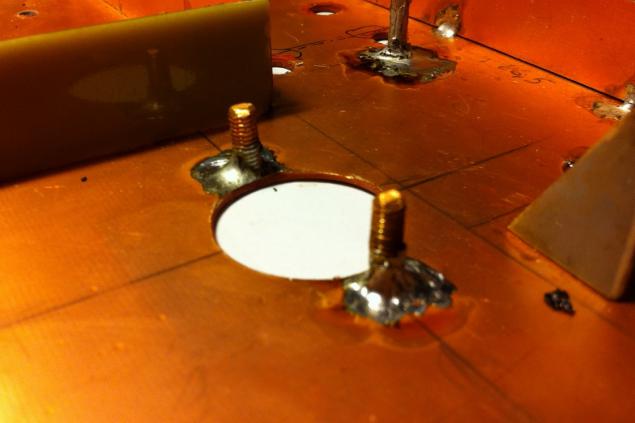
Solder pins for securing sockets and dimensional details
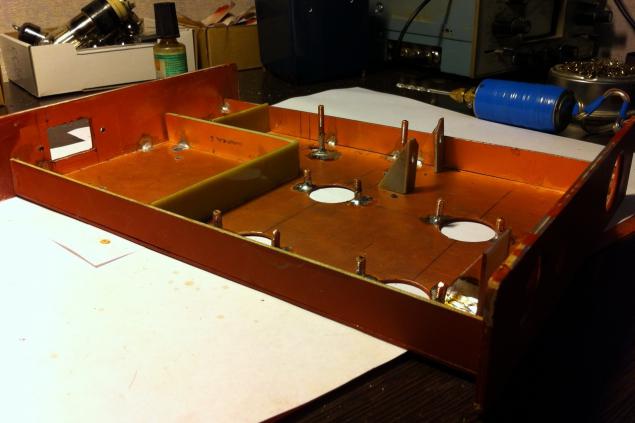
Studs under the panels.
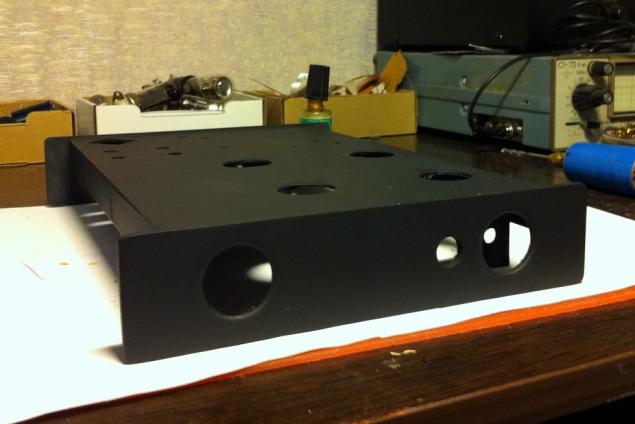
Next, cover the ground, look to correct irregularities and sandpaper and file.
It does not matter. Beautiful. My favorite process. I can repainted and 5 times if you do not like the result.
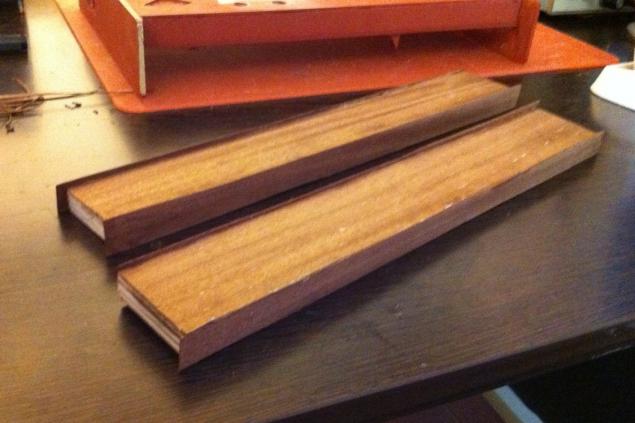
Make a side panel mahogany. Cut to size plywood, covered with natural veneer.
On the one hand
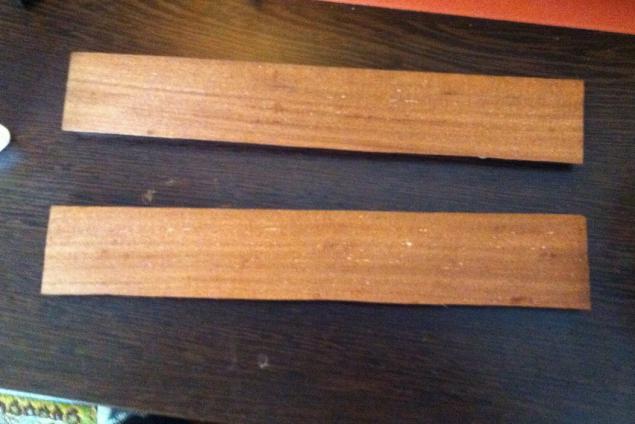
Two sides
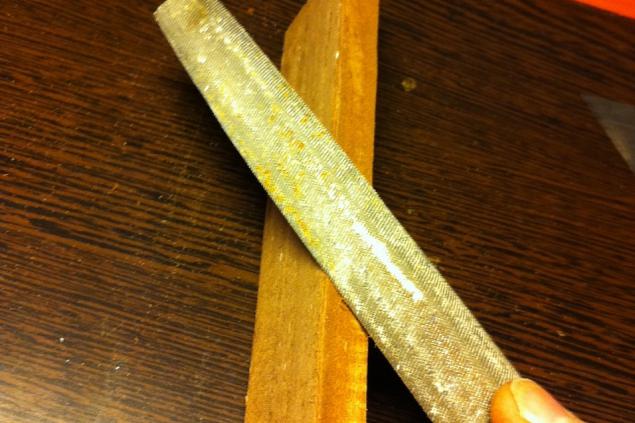
Remove the excess with a knife

And processes the file. The most important tool in the assembly.
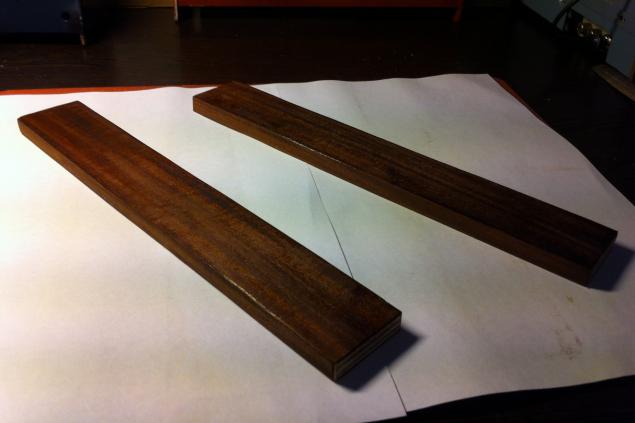
Varnish. My objective - matt surface. For this veneer do not process "nulevku" and nail goes, as a protection for the tree structure. Result - & gt;
We are ready: colored body frame, side panels, and all the details. You can move on to the assembly and installation.
Then unfortunately I was so engrossed in the process, he forgot about the camera.
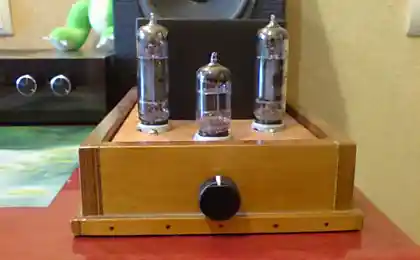
Photos of the finished assembly.
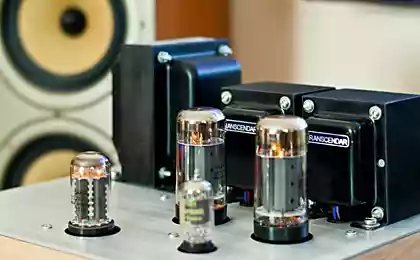
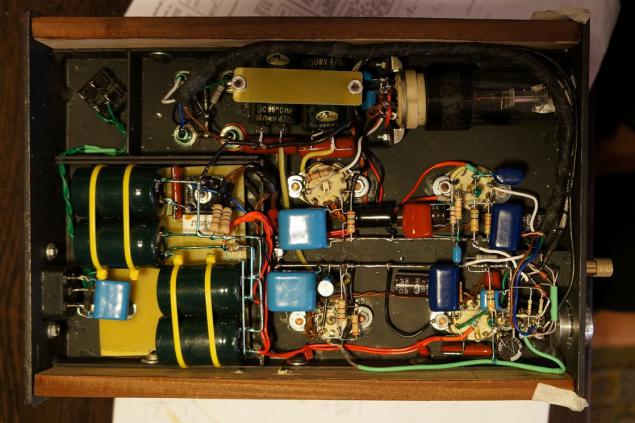
Here you can see the 6 large elektolitov, 4 sockets with bodywork, lamp indication 6E5S top, jack and volume control. In the thick plait at the top, there is a signal from the player to the preamp. Since Voltage sooo small - of the order of 0, 004, then it caught all the noise that is clearly audible in the headphones. Then the signal goes from the first to the second gain stage. That's an advantage-mounting - minimum signal path on the conclusions of the conductors, cut off parasitic capacitance and crosstalk. Next, the second stage is fed to the output signal to the headphones. Left four capacitors - a power filter that is used to cut off the background in 50Hz (frequency home network) after the rectifier.
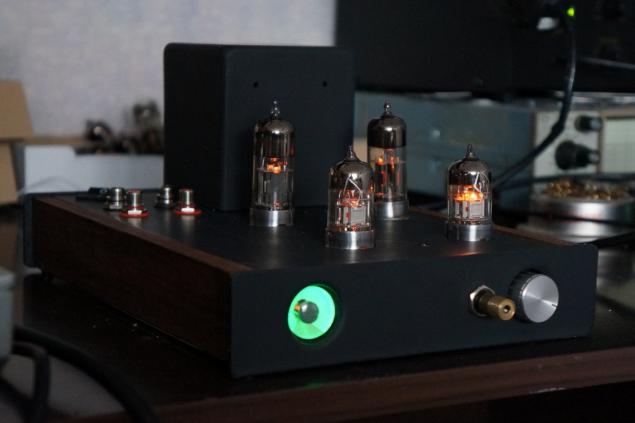
What happened as a result: a top duct hidden power transformer power supply, rear - the power switch and the input signal from the player. 4 lamps. Left signal strength indicator, which is a nice glows green, then headphone output and volume control.
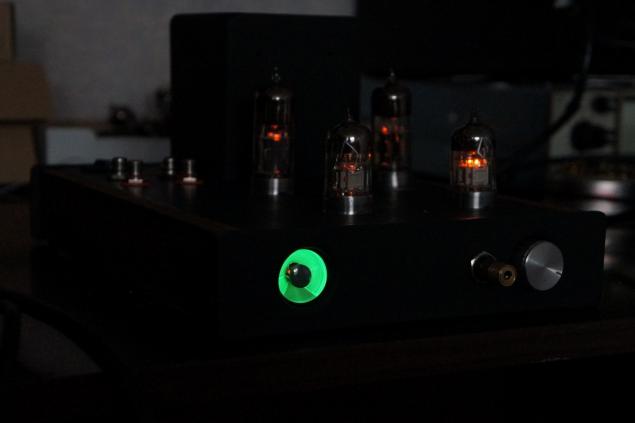
One more photo. In the dark. It is clearly seen as a signal strength indicator lights.
This is how the indicator.
By the way, precisely because of this indicator and an expression: "I agree 120% on everything." Such indicators previously installed on the receiver as a received signal strength indicator. If the signal was very strong, the petals could interfere "overlap" of about 20%. All. Gallery is a bit smaller than expected.
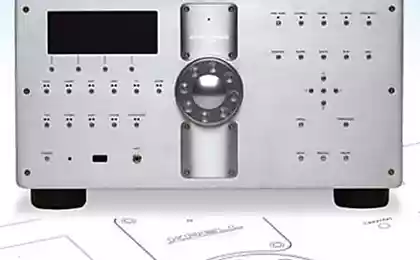
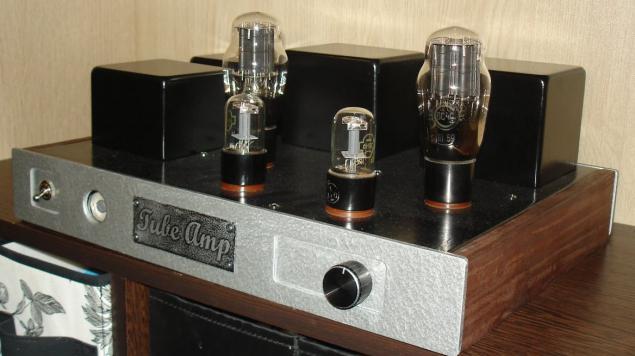
The front panel should have been nameplates, but I was a little "prodinamili" with their manufacturer, so the device is shown in the image without
And it had to be something like this:

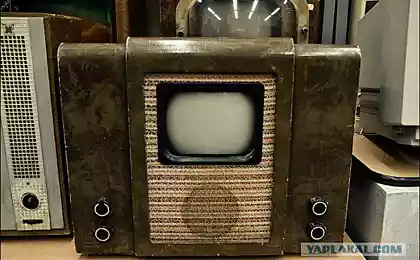
As in the previous my child.
Source: http: //
Thus, the problem posed. We will implement
/ Will be about 30 pictures. The end will tell. /

As always, it all starts with the theory. Draw a diagram. There actually is nothing special. Everything is taken from reference books and years of perfect scheme.

Further, it is necessary to estimate the installation will look like. Everything is done half way desirable for the lamp circuits.

The main theoretical part ready. If you do not delve deeply into the details.
We proceed to the construction of the body. For me it is important that the product was finished look and pleasing to the eye, and there was a bunch of soldered parts.
Tools and materials are chosen.
The best option for body seemed a foil PCB.

Further, according to the sketch that I have in my head, and cut rascherchivaem PCB. To connect the parts there is nothing more reliable soldering simple powerful soldering iron. That's what I started to turn ...

Welded body

In it provided reinforcement ribs and brackets under some details

Here you can see: the front panel is glued together from two sheets of greater thickness and better appearance.

Solder pins for securing sockets and dimensional details

Studs under the panels.

Next, cover the ground, look to correct irregularities and sandpaper and file.

It does not matter. Beautiful. My favorite process. I can repainted and 5 times if you do not like the result.

Make a side panel mahogany. Cut to size plywood, covered with natural veneer.

On the one hand

Two sides

Remove the excess with a knife

And processes the file. The most important tool in the assembly.

Varnish. My objective - matt surface. For this veneer do not process "nulevku" and nail goes, as a protection for the tree structure. Result - & gt;

We are ready: colored body frame, side panels, and all the details. You can move on to the assembly and installation.
Then unfortunately I was so engrossed in the process, he forgot about the camera.
Photos of the finished assembly.
Here you can see the 6 large elektolitov, 4 sockets with bodywork, lamp indication 6E5S top, jack and volume control. In the thick plait at the top, there is a signal from the player to the preamp. Since Voltage sooo small - of the order of 0, 004, then it caught all the noise that is clearly audible in the headphones. Then the signal goes from the first to the second gain stage. That's an advantage-mounting - minimum signal path on the conclusions of the conductors, cut off parasitic capacitance and crosstalk. Next, the second stage is fed to the output signal to the headphones. Left four capacitors - a power filter that is used to cut off the background in 50Hz (frequency home network) after the rectifier.

What happened as a result: a top duct hidden power transformer power supply, rear - the power switch and the input signal from the player. 4 lamps. Left signal strength indicator, which is a nice glows green, then headphone output and volume control.

One more photo. In the dark. It is clearly seen as a signal strength indicator lights.

This is how the indicator.
By the way, precisely because of this indicator and an expression: "I agree 120% on everything." Such indicators previously installed on the receiver as a received signal strength indicator. If the signal was very strong, the petals could interfere "overlap" of about 20%. All. Gallery is a bit smaller than expected.
The front panel should have been nameplates, but I was a little "prodinamili" with their manufacturer, so the device is shown in the image without
And it had to be something like this:

As in the previous my child.

Source: http: //